Cheyenne Tunic Sew Along Day 1: Interfacing and Placket
Cheyenne Tunic Sew Along Day 2: Pockets and Yoke
Cheyenne Tunic Sew Along Day 3: Neckbands and Sleeve Tabs
Cheyenne Tunic Sew Along Day 4: Sleeve Binding and Sleeves
Cheyenne Tunic Sew Along Day 5: Hem and Cuffs
Cheyenne Tunic Sew Along Day 6: View A and Long Sleeves
OK, today we’re going to go over the parts of View A and the long sleeve that are different from View B and the 3/4 sleeve.
First, an apology. This is a double cloth from the IndieSew shop and it’s gorgeous and super soft and just terrific for any kind of garment making. But it might be confusing for these pictures since there’s really not a wrong side, and that’s where the apology comes in. For clarity, the shirt I’m making uses the blue plaid as the right side and the black gingham as the wrong side…..for the most part. I’ll indicate in the tutorial when I switch things around.
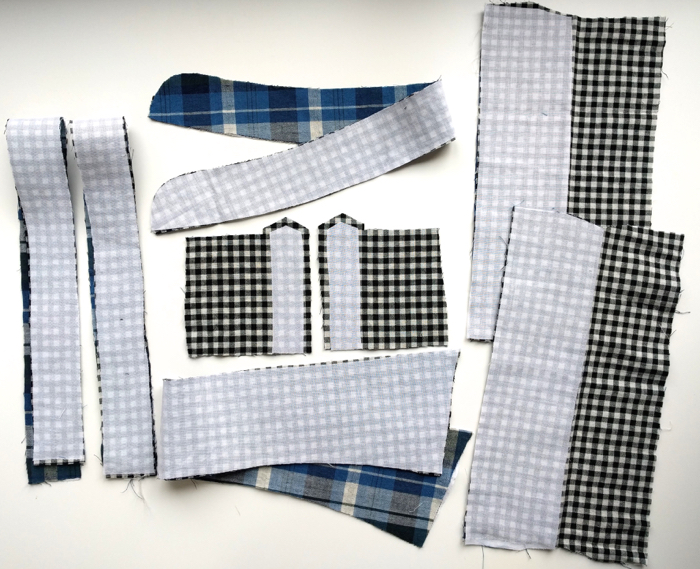
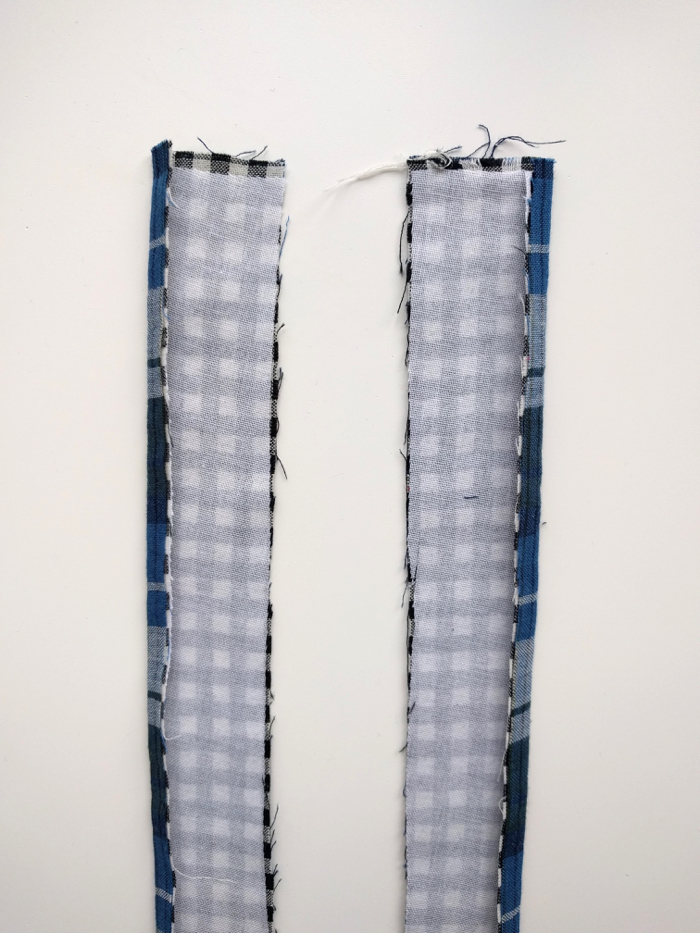
First, interface the wrong side of both button plackets (shirt or tunic length depending what you’re using), one collar and one collar stand (the others will now be known as the collar stand facing and collar facing), half of each cuff (the interfaced side will show on the outside), and the towers of the sleeve plackets. The sleeve placket interfacing has its own pattern piece, and you just center it within the tower portion of the placket. Cut notches as marked in the collar stand, collar, and the rest of the pattern pieces. Mark the button holes on the right button placket. Mark the placket slit on the sleeve plackets.
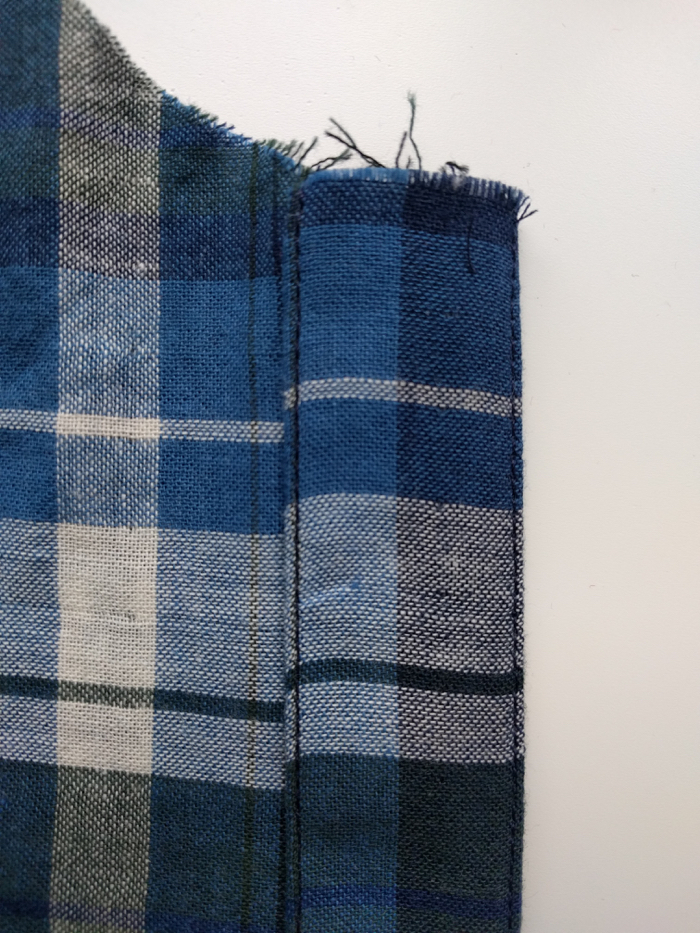
First up, the button plackets. If your fabric is directional, you’ll first want to lay your button plackets on either side of the shirt front center to see what looks best. Remember that the right placket will overlap the left (as worn). The best way to match stripes and plaids is to cut them on the bias so you don’t have to 🙂 I attempted to match plaids on this shirt and failed miserably. This double cloth fabric was very shifty and even though the stripes lined up at the seam allowances, they did not line up when I flipped everything to the right side and top stitched it. You’ll see. If you’re worried about stripe matching or it’ll really bother you if it’s not perfect, I highly suggest cutting your button plackets on the bias!
Fold the outer edge of the plackets to the wrong side by 1/4″. Pictured here are the left and right plackets, respectively. This is the direction they will face as worn, so the placket on the right will be the one that shows on the outside of the garment. Be sure prints are facing up!
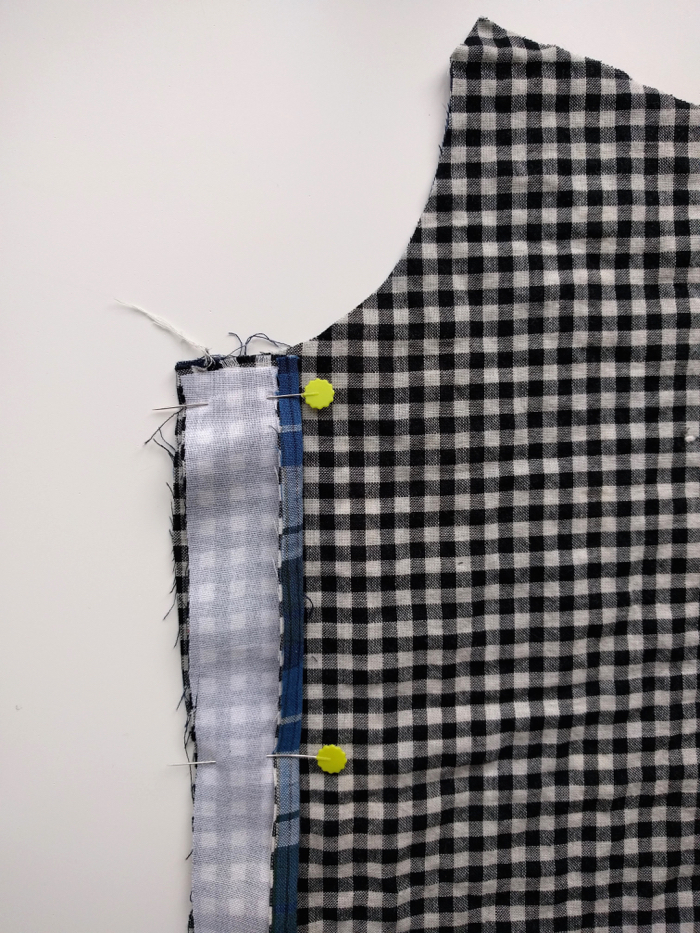
Flip the right shirt front over to the wrong side. Lay the unfolded edge of the right placket right side down along the center front and pin in place.
Sew the placket to the shirt using a 1/4″ seam allowance. Repeat for the left placket on the left side of the shirt.
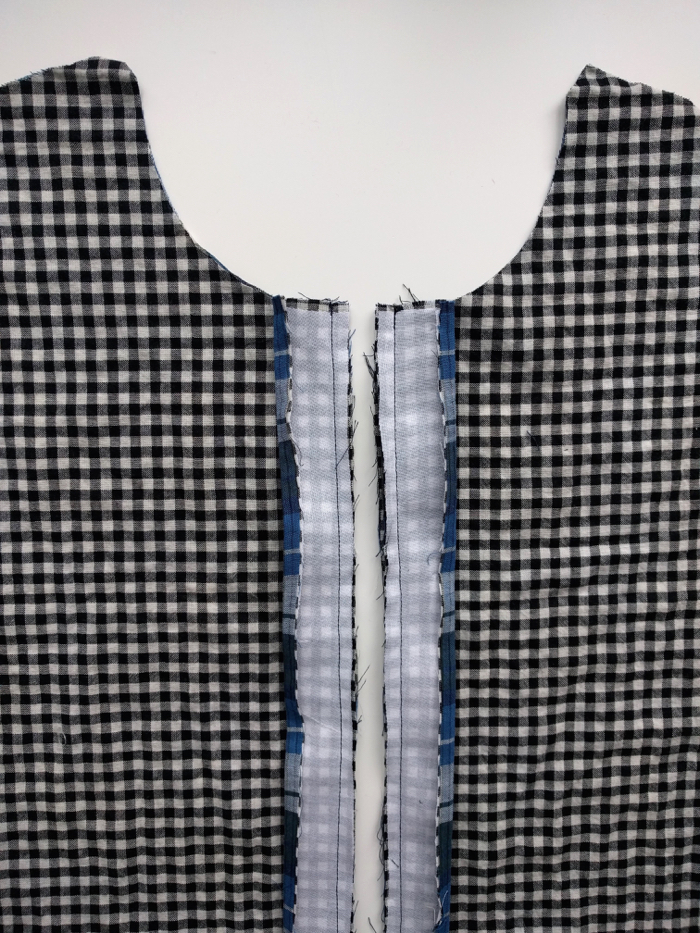
Flip the shirt fronts over so the right side is facing up. Press the placket seam allowance toward the placket.
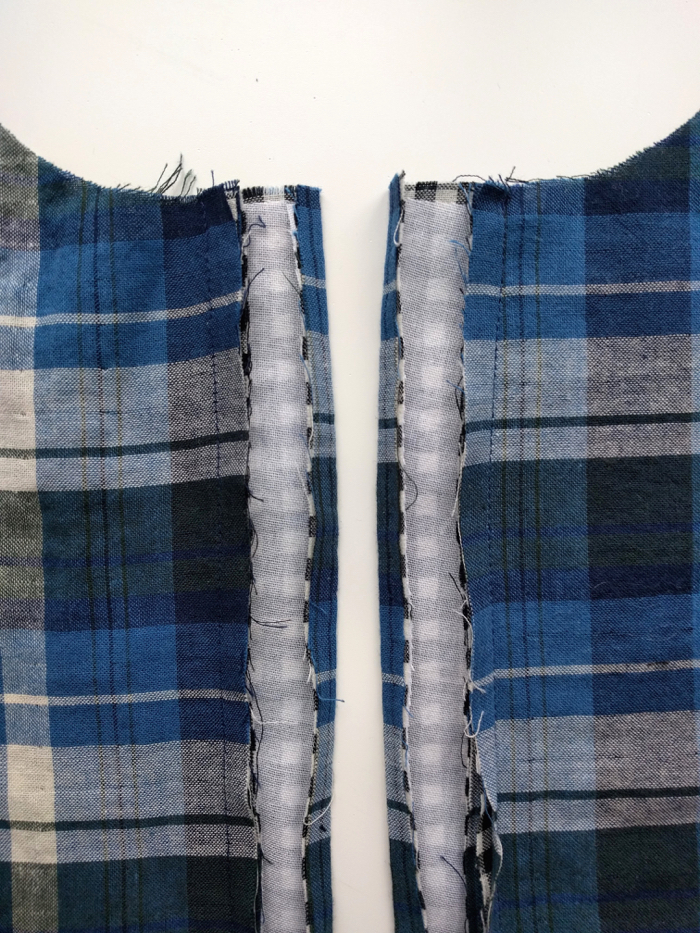
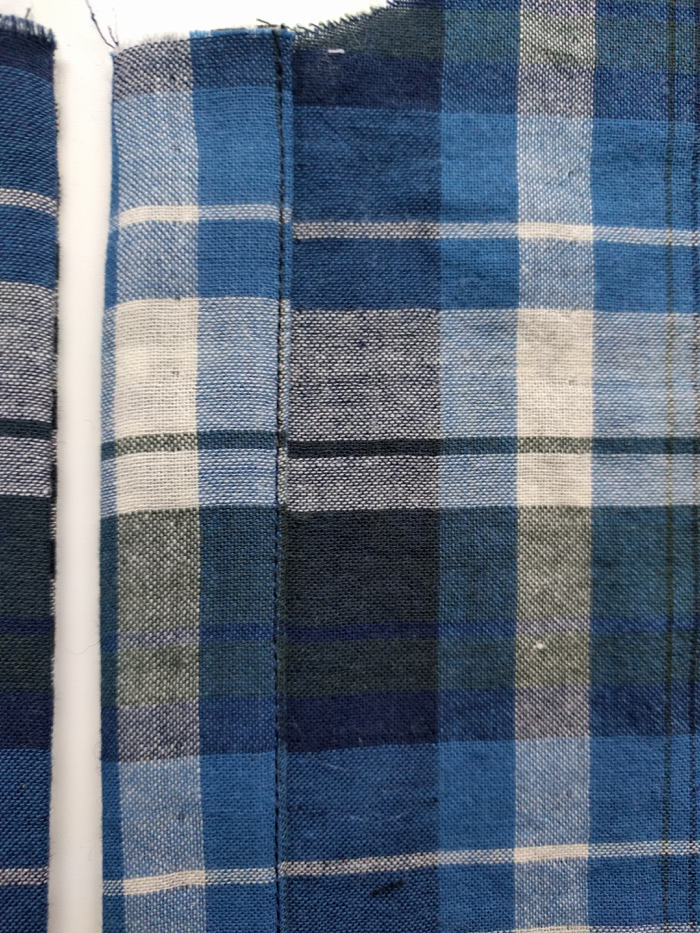
Flip the plackets over to the right side and press well. Edge stitch along the fold from the neck to the hem.
If desired you can also edge stitch along the outer fold of the placket for a casual look.
Mark the buttonholes using the placket pattern piece and sew the buttonholes to the RIGHT placket only. Then stick a pin through the buttonholes to mark the location for buttons and sew them on as well. And that’s it – your button placket is finished!
Use the previous days of the sew along to sew the pockets and then the yokes and shoulder seams, and then we’ll move on to the collar!
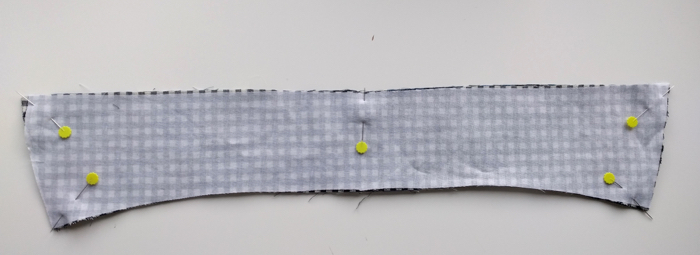
Lay your collar and collar facing right sides together and pin.
Sew around the sides and top of the collar using a 3/8″ seam allowance.
Clip the corners and turn the collar right side out, pushing out the corners and pressing well.
Top stitch around the top and sides of the collar.
Pin the collar and the collar stand together at the center notches. The collar stand should be laying right side up, and the collar should be right side up but upside down, as pictured (you’ll know you have it right because the collar should curve to match the collar stand. Remember that the right side of the collar is the side that is interfaced).
At the center fronts, the collar stand will stick out past the collar slightly. Pin in place.
Baste the collar to the collar stand using a 1/4″ seam allowance.
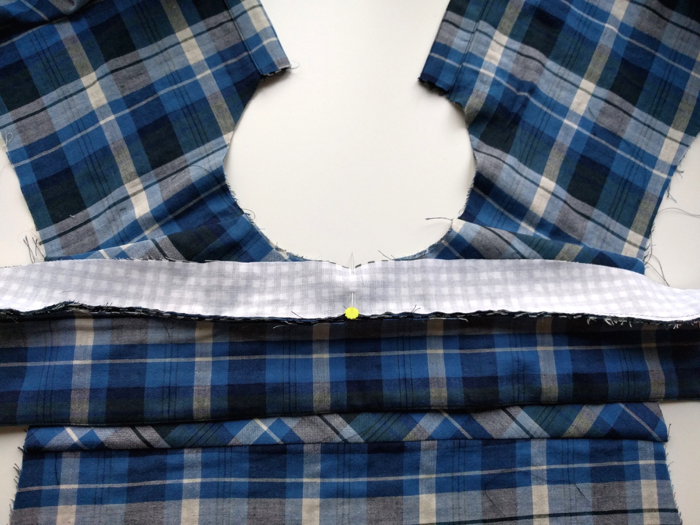
Flip the collar stand up, so the interfacing is visible. Pin the collar stand right sides together with the shirt back, aligning the center notches. Note that the collar itself is hanging free and does not get pinned to the shirt.
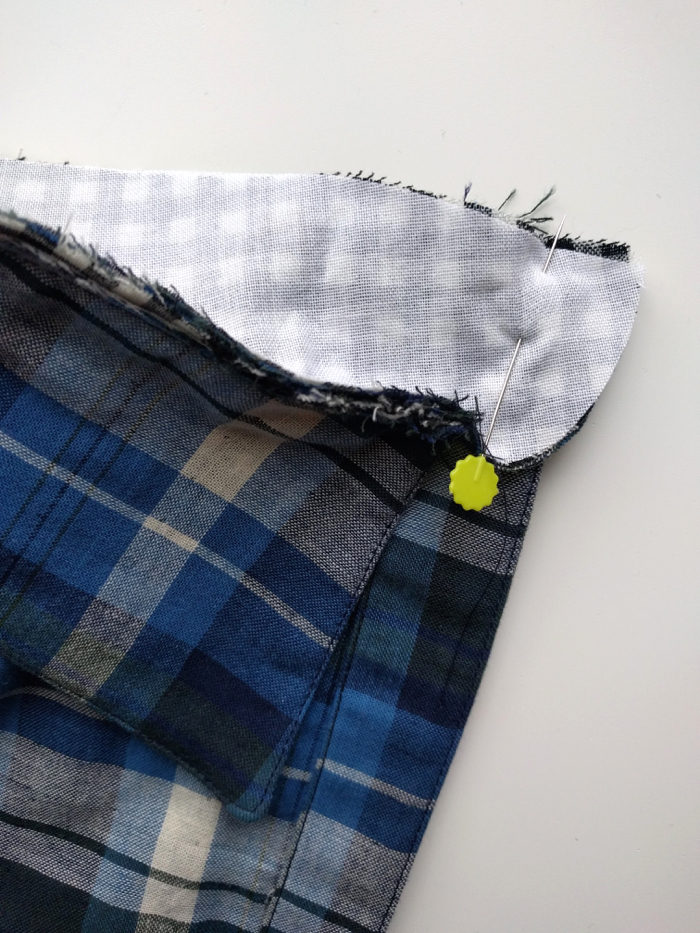
Bring the collar stand around to the front of the garment and pin the notch on the collar stand to the outer edge of the button placket on both sides of the shirt (I was a dummy and interfaced after cutting the notch, so you can’t really see it in this picture).
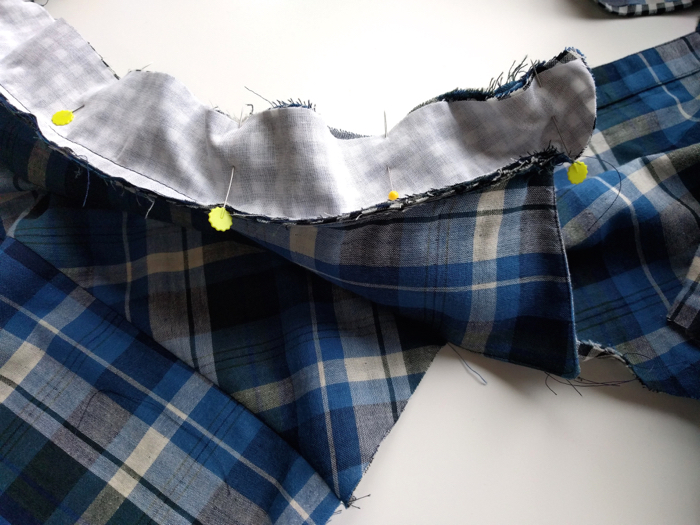
Continue pinning between the center front and back to match the collar stand to the shirt neckline. You may have to lift the shirt to match the curves. There will be ripples between the pins but as you sew it’ll even out.
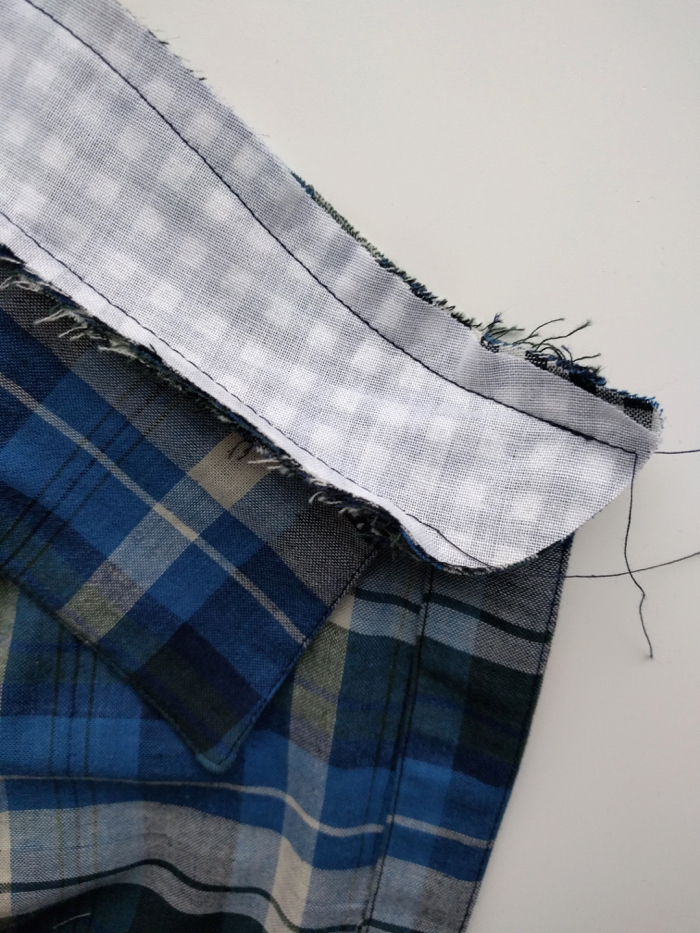
Sew the collar stand to the shirt using a 3/8″ seam allowance. Flip the collar stand up and press the seam allowances toward the collar stand.
On the collar stand facing, sew a basting stitch along the bottom edge using a 3/8″ seam allowance.
Press to the wrong side along the basting stitch. Here you’ll notice that I changed it up and now the blue plaid is acting as the wrong side. This is because I wanted the inside of my collar stand to feature the black and white gingham, so it is now the “right side” for my collar stand facing piece ONLY.
Pin the collar stand facing to the collar stand, right sides together. The collar will still be hanging down and will be sandwiched between the two.
Starting at the center front, sew the collar stand facing to the collar stand with a 3/8″ seam allowance. Start as close to the outer button placket as possible without catching it in your stitches.
Sew all the way around to the opposite side and then trim your concave curves and clip into the convex curves all the way around the collar stand.
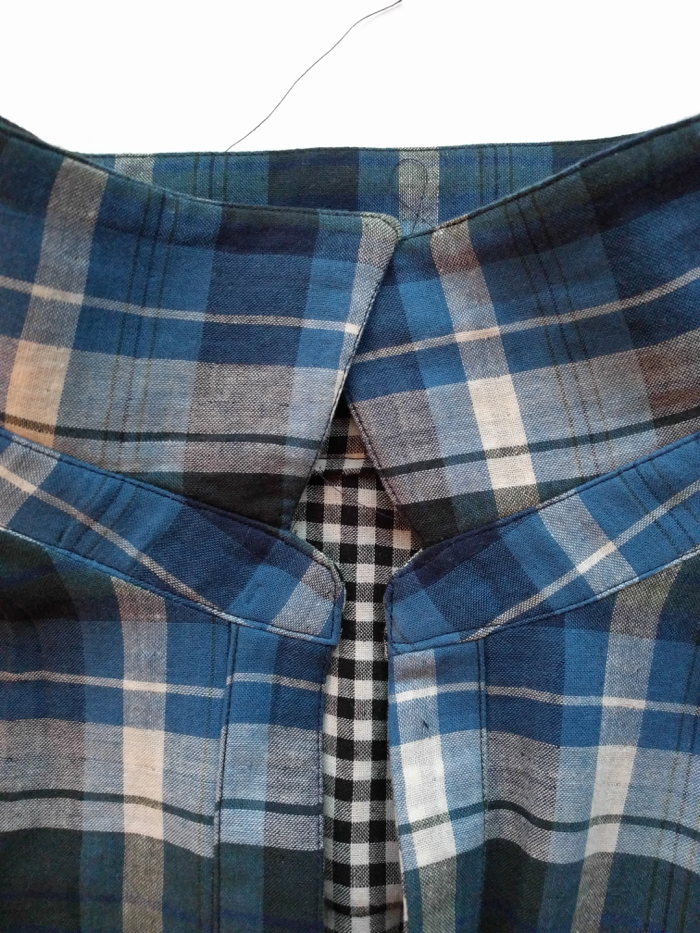
Flip the collar stand facing to the inside of the shirt. The fold you pressed in place earlier should just cover the seam line. Pin in place very well. The more pins the better here! (This picture also shows why I altered the directionality of print on my collar stand facing. Now the right side is b&w gingham to match the inside of the shirt and add some visual interest at the collar while worn.)
Starting at the top and center back of the collar stand, begin stitching around the perimeter. Sew all the way to the center front, around the curve, and back to the center back, stopping directly below where you started sewing.
Move back up to the top of the collar stand and sew around the other side of the collar stand. You’ll notice that I had my needle over to the left and now I’ve moved it over to the right so I can continue to top stitching on the collar stand.
When you’re finished, both your collar and collar stand should be fully edge stitched! Obviously my edge stitching is much nicer when the needle is moved to the left, but we always need to have areas to improve in life, hey? 😀
The center back of your collar stand should be your only start/stop places while sewing. When the collar is turned down, it will hide this area.
The collar is finished! If you’re making 3/4 sleeves, you can just use the rest of the sew along from here on out. For long sleeves, use the sew along to sew the sleeve tabs, if desired, and then continue below.
Fold your sleeve right sides together at the hem until both pleat notches align. My picture didn’t turn out for this step, but sew the pleat by stitching vertically starting at the apex of the notches and then going up the sleeve for about 5-6 stitches. Lock your stitches in place.
On the right side of the sleeve, your pleat should look like this. Press the pleats toward the placket slit notch on both sleeves (the pleats will be pressed in opposite directions on each sleeve).
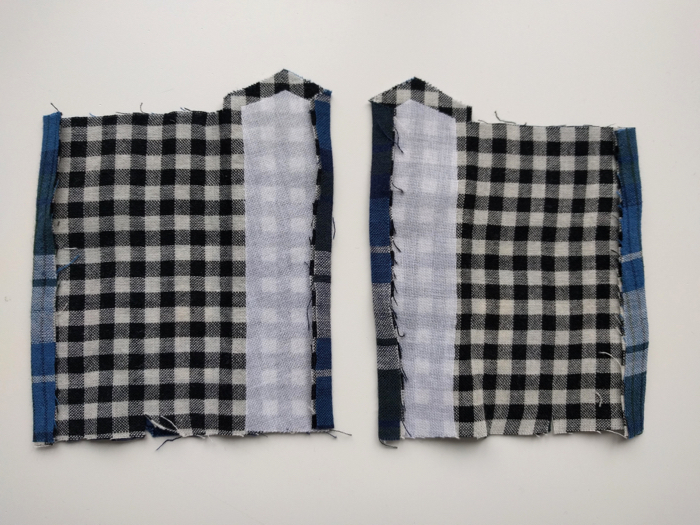
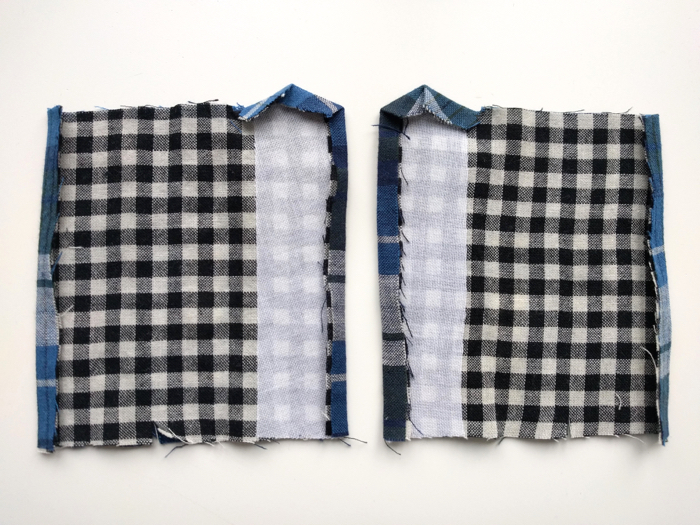
Press the sleeve plackets to the wrong side by 1/4″ on both sides.
Press the top of the tower triangle to the wrong side by 1/4″.
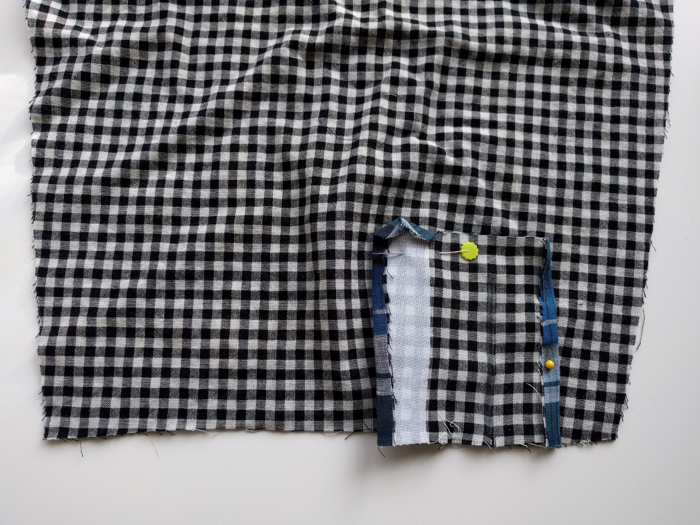
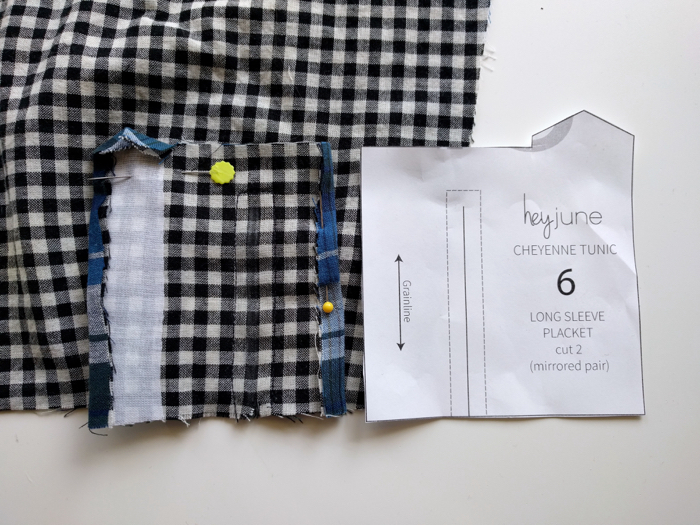
Pin the placket right side down to the wrong side of the sleeve. Pictured here is the right sleeve. On the left sleeve, the placket will be a mirror image of this one, with the tower on the right. The tower will cover the pleat for now.
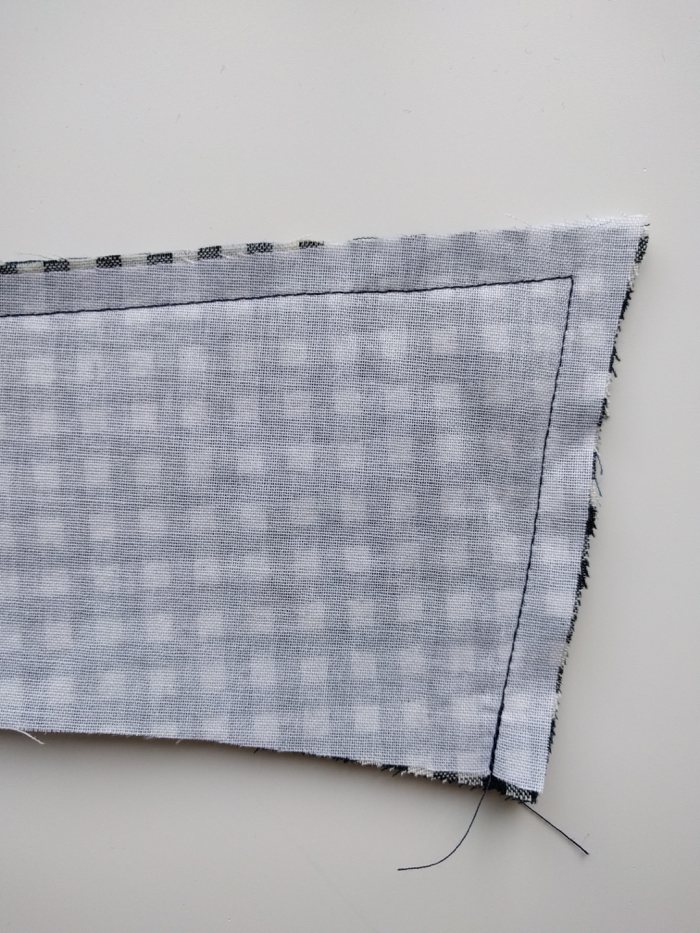
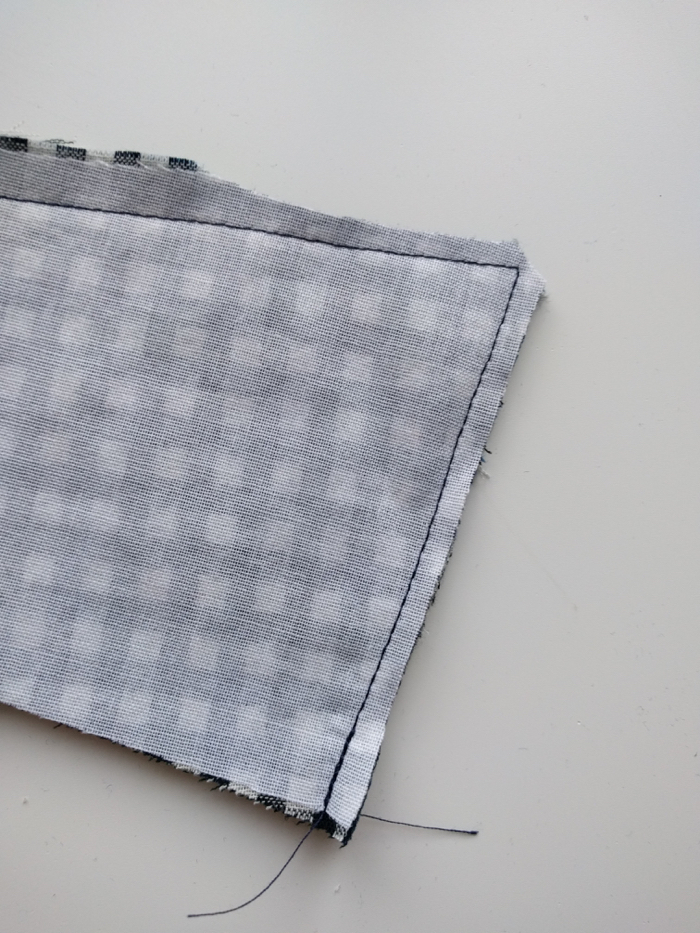
Sew around the marked placket slit using a 1/4″ seam allowance. My stitch line is hard to see on that black and white, so I’ve shown the pattern piece for reference.
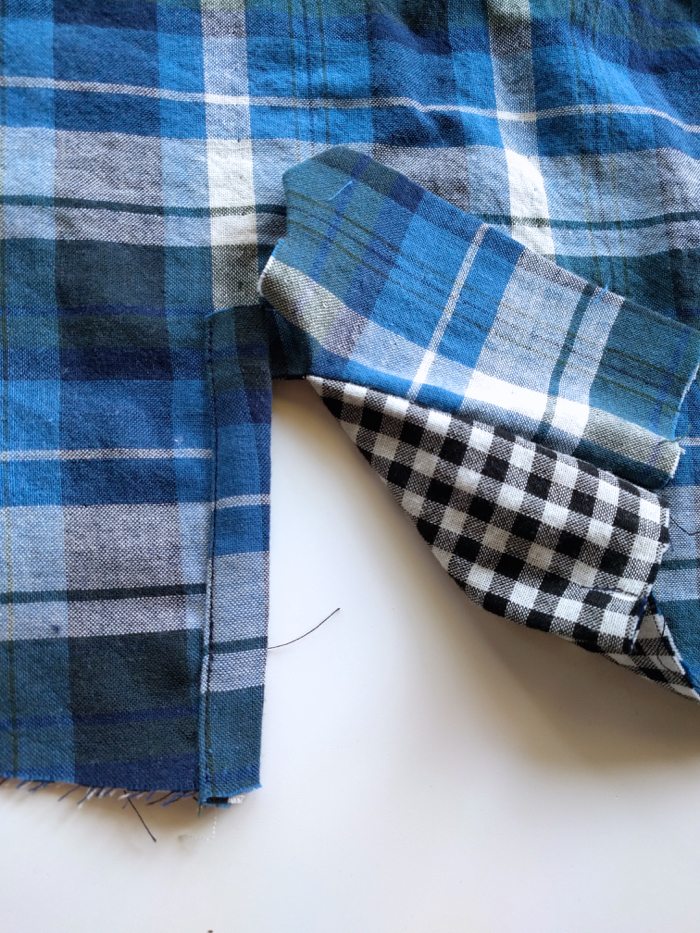
Cut the slit open down the center and cut into the corners without cutting through your stitch line.
Turn the entire placket to the right side of the sleeve.
Working with the under placket first (the portion without the tower), press the seam allowances toward the under placket.
Turn the under placket back so the pressed fold just barely covers the stitch line.
Edge stitch along the fold to secure the under placket.
Repeat for the over placket. Press the seam allowances toward the placket.
Turn the placket back so the pressed fold just covers the seam line. As you press the placket in place, be sure the tower forms a perfect triangle at the top. You can fiddle with the fold, making it deeper or shallower if necessary, to achieve a perfect triangle.
Once everything looks nice and neat, pin the placket in place directly along the upper edge of the open slit (you will be able to feel it through the placket).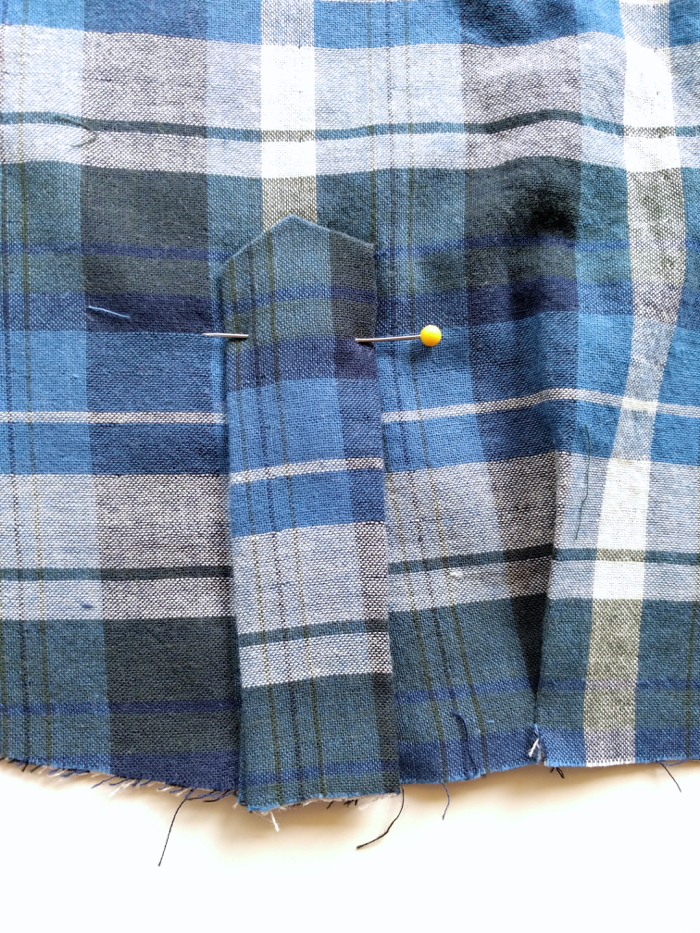
Sew down until you get to the horizontal line. Stop with your needle down and pivot.
Sew across the placket along the marked line.
Continue stopping with the needle down and pivoting to sew around the triangle. Go very slowly and carefully on this part so your final placket stitching stays nice and even.
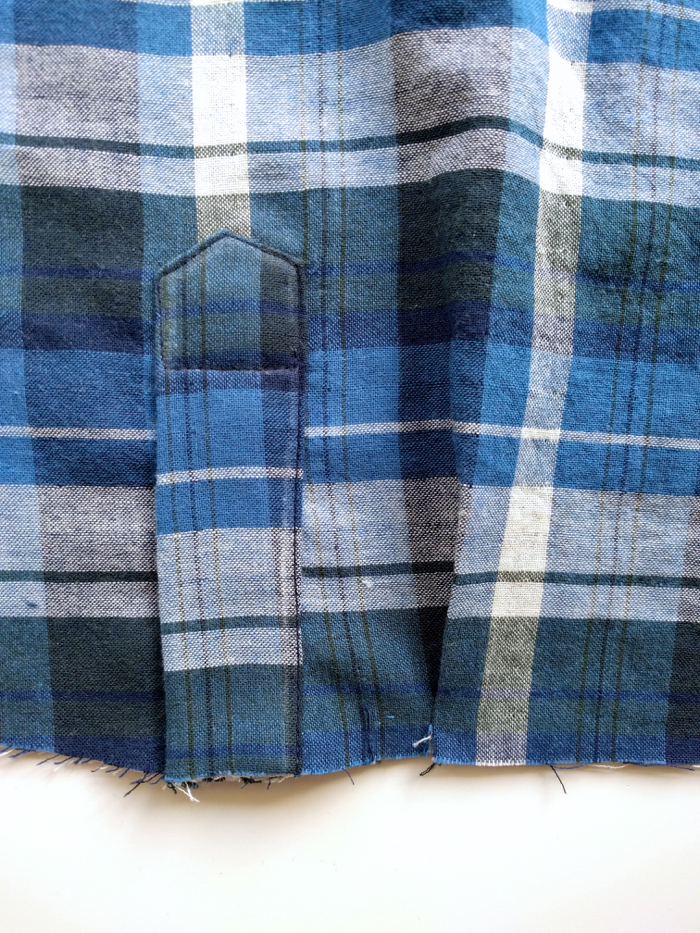
As you come around the last turn, you’ll sew all the way down to the hem, securing the placket fold and sewing over your first couple stitches to lock them in place.
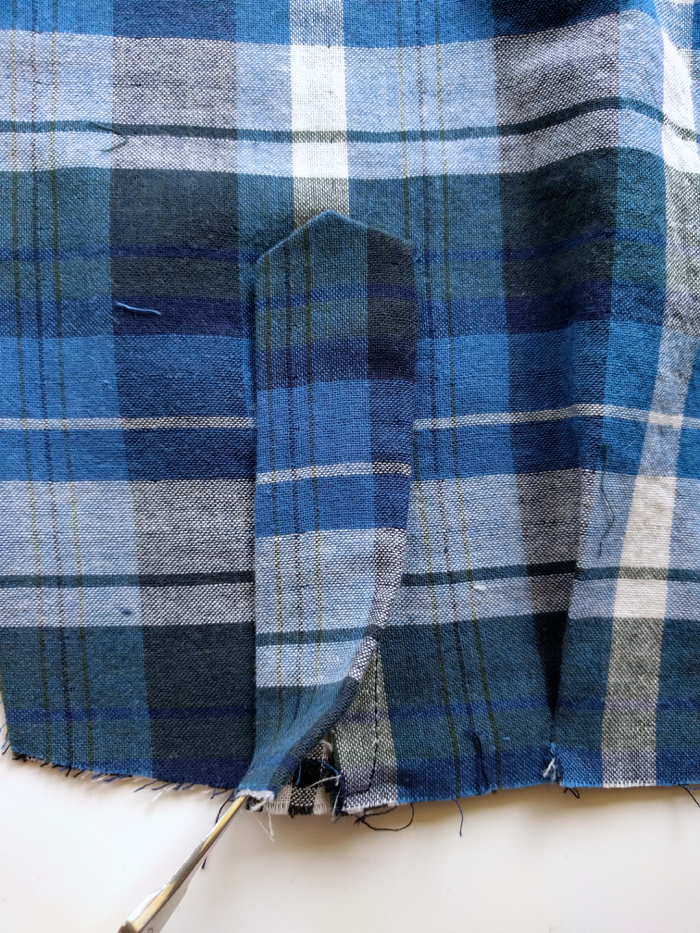
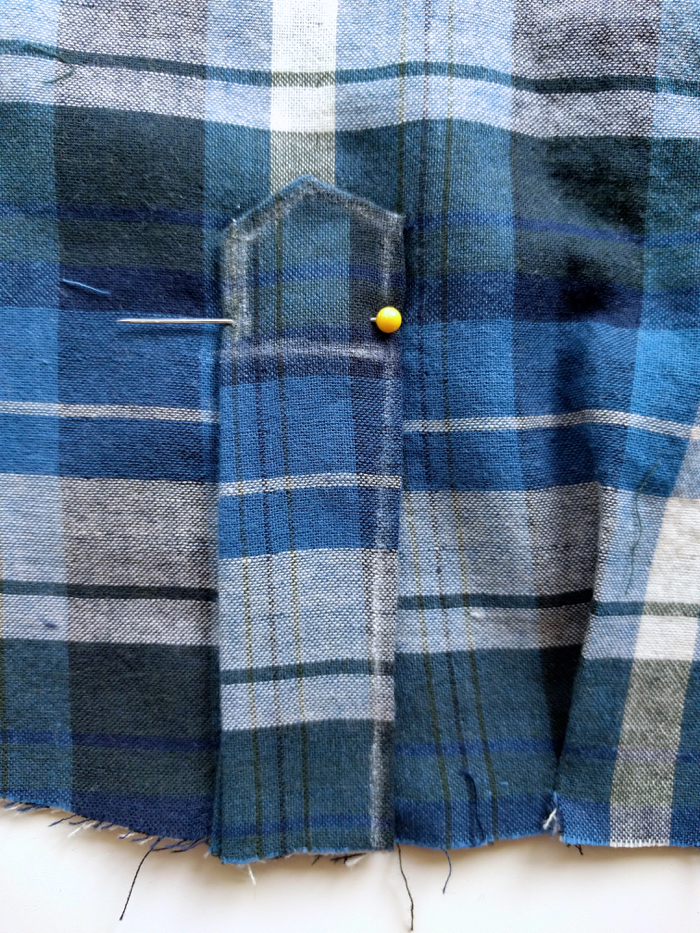
Here’s your final RIGHT sleeve placket!
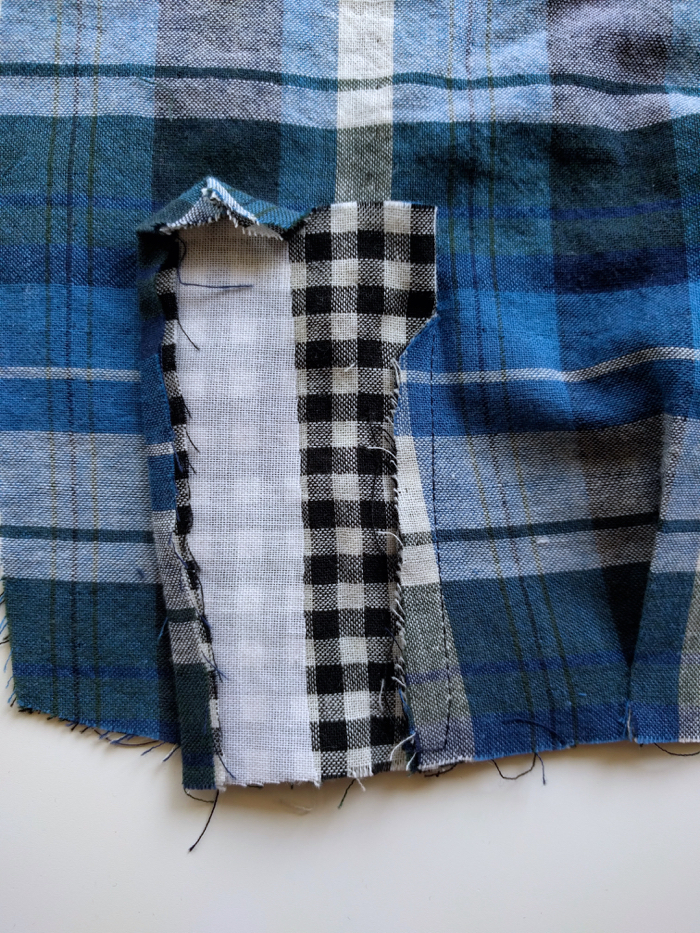
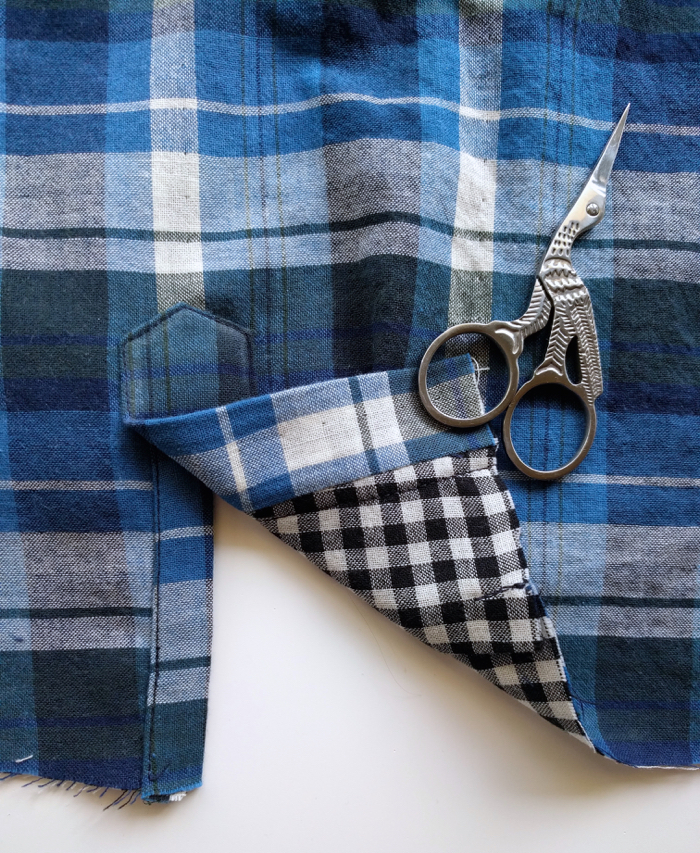
When you open it up you should see the under placket looking all nice and tidy.
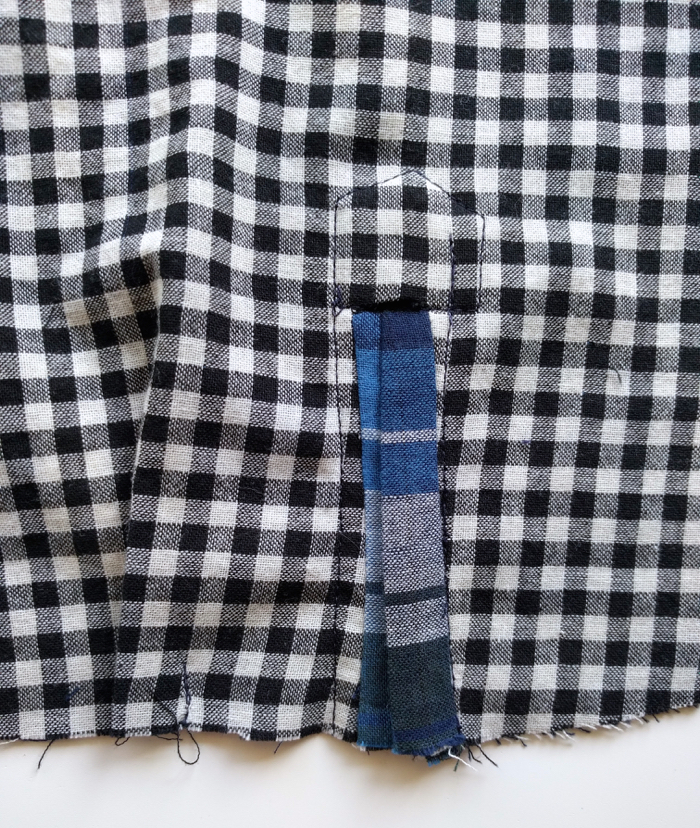
And the wrong side of the sleeve should look nice and neat too!
And that’s it! Now you can continue using the rest of the sew along to sew the sleeves, cuffs, side seams, and hems. The long sleeve cuff is slightly different in shape from the 3/4 length sleeve cuff, but it is sewn and inserted in the exact same way. The button on the cuff should still be below the overlap in the placket.
Please feel free to contact me with any questions or ask in the Hey June Facebook group, and be sure to share your projects on social media with #CheyenneTunic!
Thanks for sewing along!

[…] Which, turns out, was pretty dumb since neither were hard to do. Though, I did reference the sewalong to double check that I understood what to do with the long sleeve placket and found it to be super […]