Cheyenne Tunic Sew Along Day 1: Interfacing and Placket
Cheyenne Tunic Sew Along Day 2: Pockets and Yoke
Cheyenne Tunic Sew Along Day 3: Neckbands and Sleeve Tabs
Cheyenne Tunic Sew Along Day 4: Sleeve Binding and Sleeves
Cheyenne Tunic Sew Along Day 5: Hem and Cuffs
Cheyenne Tunic Sew Along Day 6: View A and Long Sleeves
Welcome to day 4 of the Cheyenne Tunic sew along! Today is admittedly a longer day, but I’m trying to get this done in 5 posts so you guys can finish your shirts this week! We’ll be constructing the sleeve bindings and sleeves today, so just take it one step at a time and you’ll be great!
For this version, we’ll be constructing the 3/4 sleeves. The sleeve bindings are the big difference between the 3/4 and long sleeve, but I’ll be demonstrating the long sleeve placket in a later post, don’t worry! This type of opening is called a continuous bound placket and can actually be used in several places on a garment, not just a sleeve opening. You may also want to try it on a neckline or in the skirt portion of a dress with a waist seam to provide room for dressing.
First up, press your sleeve bindings along one long edge 1/4″ to the wrong side.
Find the marked line on your sleeve. Start sewing 1/4″ away from the line at the sleeve hem. As you sew toward the top of the line, decrease your seam allowance until you stop just above the top of the line with almost no seam allowance at all – about 1/16″.
At the top of the line, leave your needle down and pivot so you can begin sewing back down to the hem. Increase your seam allowance so that you end up back at 1/4″ when you reach the hem. Your sleeve slit line should now look like this, with an angled stitch line on both sides of it. Carefully cut along the slit line, up to but not through your stitches.
Open up the sleeve along the line you just cut until your stitch line is perfectly vertical. Pin the cut line right sides together with the unfolded edge of the binding. Maintain an even distance between the stitch line and the edge of the binding. As you can see, this will mean that the cut line forms a wide “v” shape and doesn’t align with the binding except at the very top and the very bottom. The binding will extend past the sleeve cut line for now.
Begin sewing JUST to the left of the previous stitch line, catching the sleeve and binding in your seam. Your edge stitch foot will also be very helpful here, as you can follow the seam line with the metal guide and have your needle 1 or 2 spaces to the left.
When you get to the apex of the “v”, there will be lots of extra fabric trying to bunch up under your needle. Stop with the needle down frequently and shift the fabric out of the way so you don’t end up with any puckers sewn into the seam.
This is how your two seams should appear when finished. You can now trim the excess binding that hangs below the sleeve cut line.
Flip the fold in the binding to the wrong side of the sleeve and pin so the fold just covers the stitch lines. You want the fold to only barely cover those stitches to make the next step easier.
Edge stitch the fold of the binding down to the wrong side of the shirt. Again, you’ll have to move and adjust the excess fabric in the sleeve to avoid puckers.
When you flip your sleeve to the right side, this is what you should see: one side of the cut line will show the binding, the other side will be folded over.
Fold the sleeve right sides together to reveal the binding, as so:
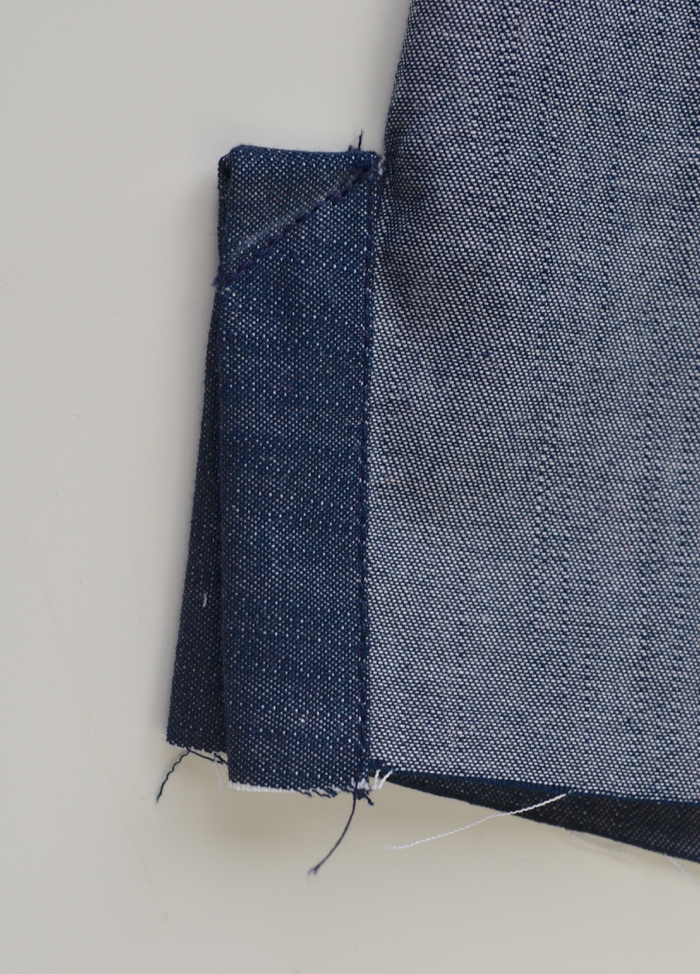
If desired, mark a diagonal line from the outer edge of the binding up to the point where it meets the sleeve.
Sew along the mark you made (or skip the mark and just eye ball it – it’s a very small area and the angle of your seam here will not affect the outcome). Be sure not to catch the sleeve in this seam, but come as close to the juncture of the binding and sleeve as possible.
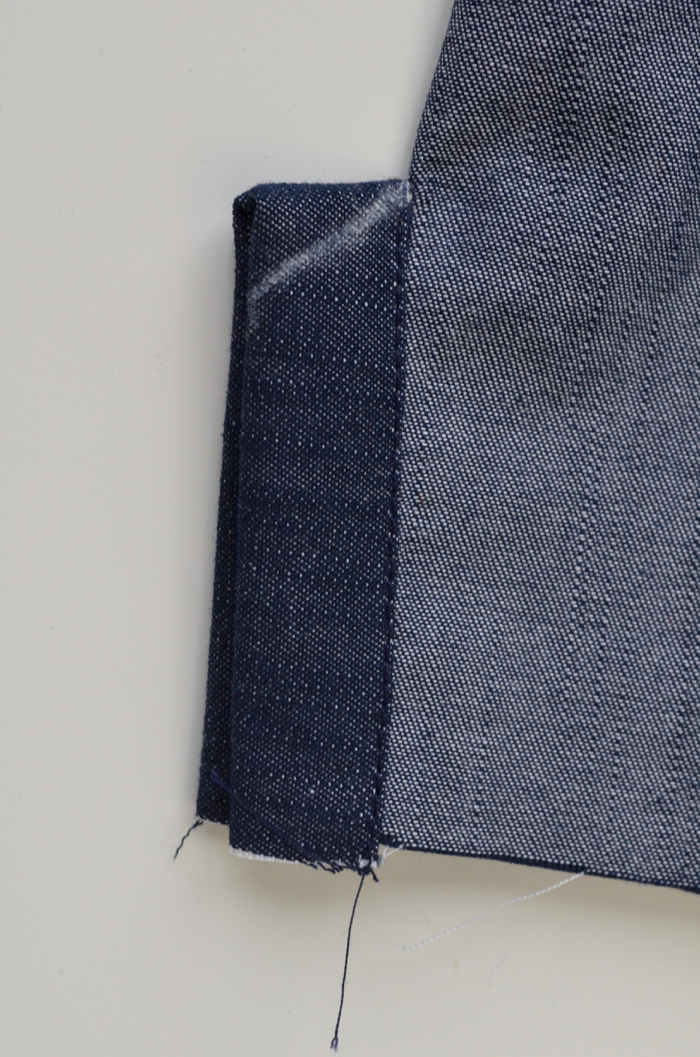
Because the sleeves are mirror images of one another, the plackets will need to be pressed in opposite directions. Pictured are the left and right sleeves, respectively. Fold your bindings so they match the pictures. On the left sleeve, the overlap area should be on the left, on the right sleeve it should be on the right. Once you have them pressed in the right direction, baste the overlap area at the hem to keep it in place.
At the sleeve cap, sew two gathering seams between the front and back notches using a 1/4″ seam allowance and then a 1/2″ seam allowance. (A gathering seam is made by lengthening your stitches as long as they will go. On my machine, that’s 5.)
Pull the bobbin thread to lightly gather the sleeve cap. You want to avoid ruffles and puckers, so a very slight gather will do.
The following instructions will produce a French seam between the sleeve and the body of the shirt. You can also just sew the sleeve to the shirt using a 5/8″ seam allowance and finish the seams if desired.
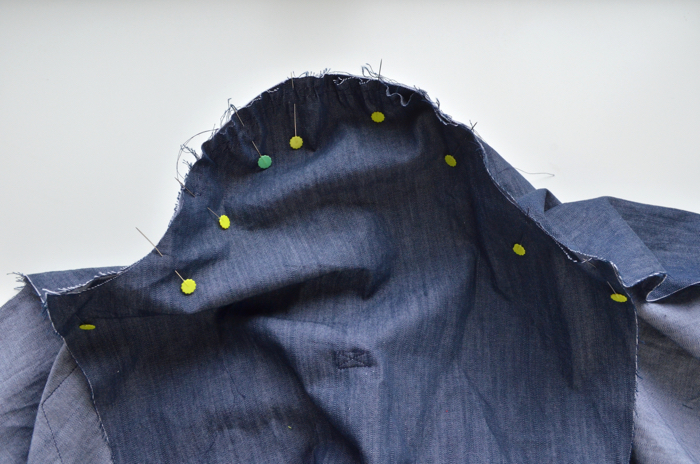
For French seams, pin the sleeve and the shirt body WRONG sides together. Make sure the left sleeve is being attached to the left side of the shirt and vice versa. The front of the sleeve has 1 notch whereas the back has 2 notches to differentiate. First pin them together at the shoulder notch/shoulder seam. Then pin the edges of the sleeve to the ends of the sleeve curve on the shirt, as shown.
Continue pinning starting at the sleeve edges up to the point where the gathering begins.
When you reach the gathered sections, ease the sleeve to match the shirt without creating any gathers or puckers. Pin well.
Sew the sleeve and shirt WRONG sides together using a 3/8″ seam allowance. Shift the sleeve as you sew to avoid creating puckers. If you get a few small puckers it’s ok, we’ll be sewing another seam with a deeper seam allowance next. Trim your seam allowances to 1/8″. This seam allowance needs to be trimmed very small otherwise it will show on the outside of the shirt.
Turn the shirt RIGHT sides together and press your seam very well, pushing out the seam line so it doesn’t buckle in on itself.
Now sew another seam with the shirt RIGHT sides together using a 1/4″ seam allowance. This seam will enclose those trimmed 1/8″ seam allowances.
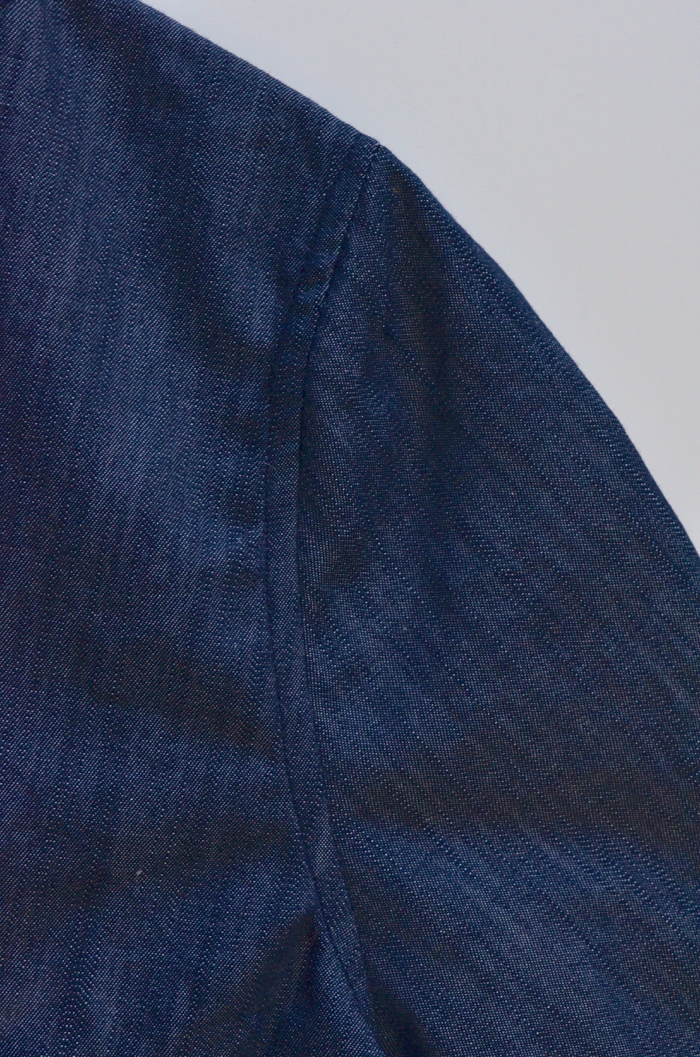
Turn the shirt right sides out again and press well. You should now have a beautiful pucker-free sleeve seam on the outside…
…and a beautiful French seam on the inside! That’s a nice finish right there! Press the french seam toward the shirt (away from the sleeve).
Last step – top stitch on the right side of the shirt, 1/4″ away from the sleeve seam, catching the french seam on the inside.
You did it! Great job powering through. Tomorrow all we have left are the side seams, hemming, and the cuffs, all of which are very straight forward and easy! We’re almost there!






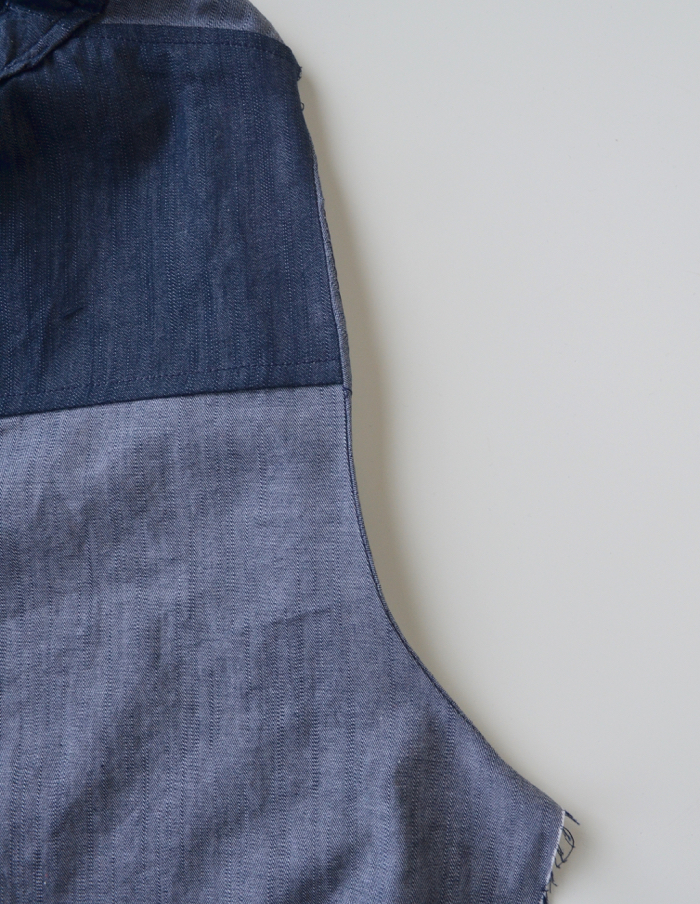


THANK YOU for the great photos for this part! Sleeves make me really nervous. This sew along in general has been really great. I’m excited for the end result!
I’m so glad it’s been helpful for you!
Bonjour,
Je viens d’acheter le patron. Les coutures sont-elles comprises? Je ne trouve pas l’information.
Merci
Hi!
I have just bought the pattern of the Cheyenne tunic. I can’t find a useful information. Are seams included or not on the pattern?
Thanks for helping.