
Cheyenne Tunic Sew Along Day 1: Interfacing and Placket
Cheyenne Tunic Sew Along Day 2: Pockets and Yoke
Cheyenne Tunic Sew Along Day 3: Neckbands and Sleeve Tabs
Cheyenne Tunic Sew Along Day 4: Sleeve Binding and Sleeves
Cheyenne Tunic Sew Along Day 5: Hem and Cuffs
Cheyenne Tunic Sew Along Day 6: View A and Long Sleeves
Hi Cheyenne Sew Alongers! Welcome to day 3, where we’ll tackle the neckbands and then the sleeve tabs (which are optional, of course!)
You should have two sets of front and back neckbands, one interfaced and one not. Sew each pair right sides together at the shoulder seams with a 3/8″ seam allowance. Press open the seam allowances. The interfaced one will be the neckband, the non-interfaced one will be the neckband facing.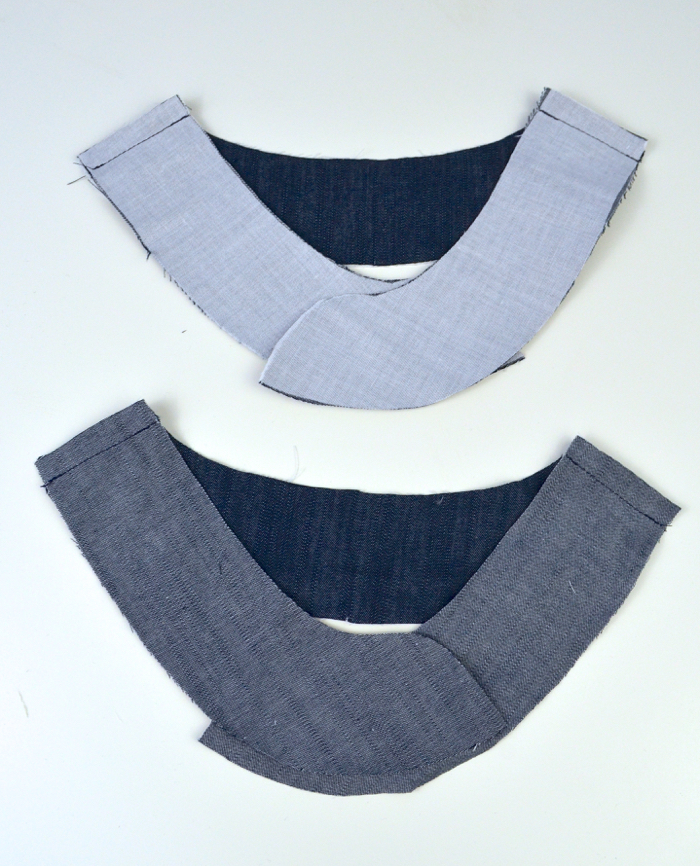
On the neckband facing only, sew around the outer edge with a 3/8″ seam allowance.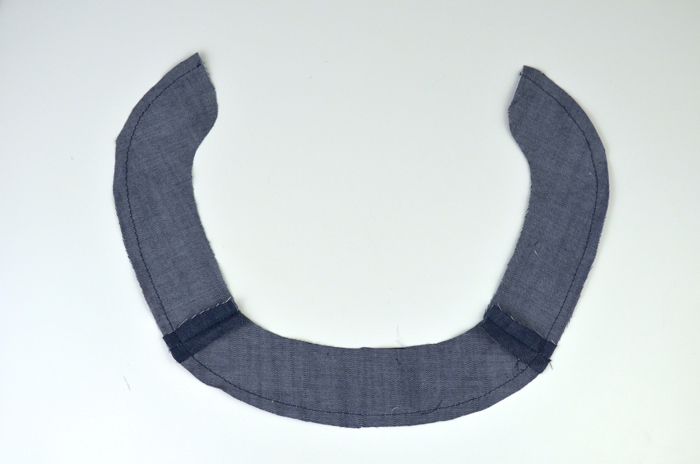
Press the neckband facing to the wrong side along the seam. Put it aside for now.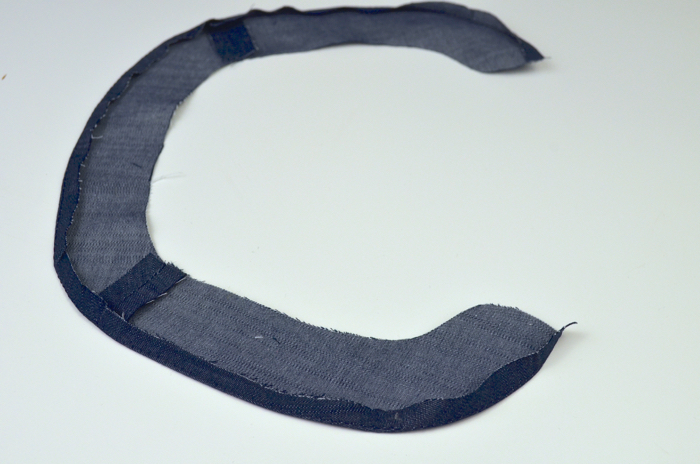
Pin the interfaced neckband right sides together with the shirt neckline. First align the center notches and pin, then the shoulder notches and pin. Continue to pin the neckband to the shirt between those pins. Because you are pinning a concave curve to a convex curve, these will not be easy to align. You may have to lift the shirt up as if it’s being worn to align the two.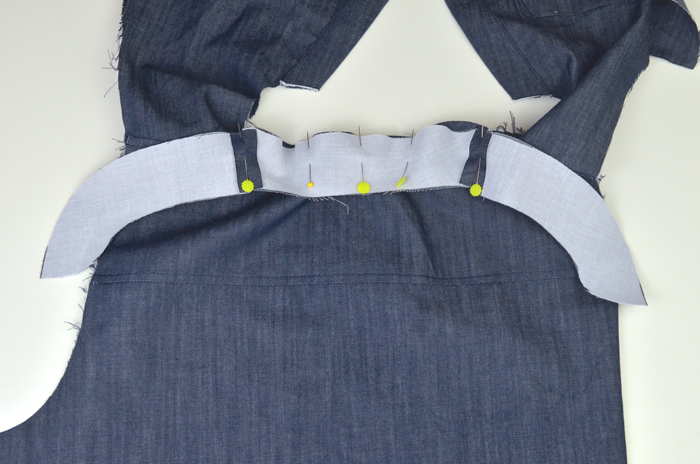
Pin the notch in the front neckband to the outer plackets at the center fronts. The neckband will overhang the placket. Then continue pinning the front neckband up to the shoulder. Again, you’ll have to lift the shirt in order to evenly pin the neckband around the neckline. 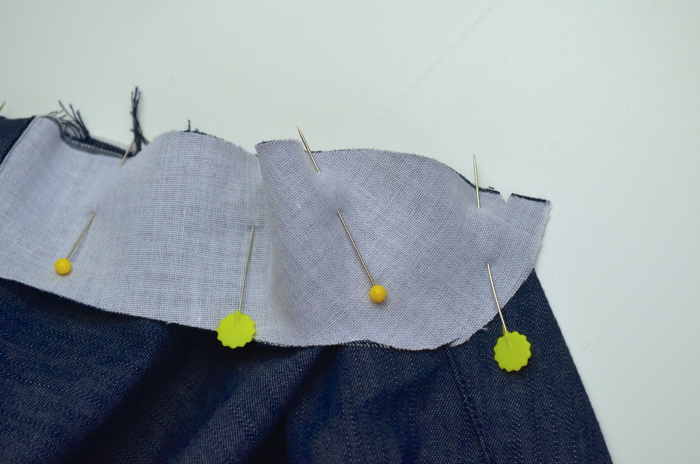
Sew the neckband to the shirt using a 3/8″ seam allowance. Press the neckband and the seam allowances up.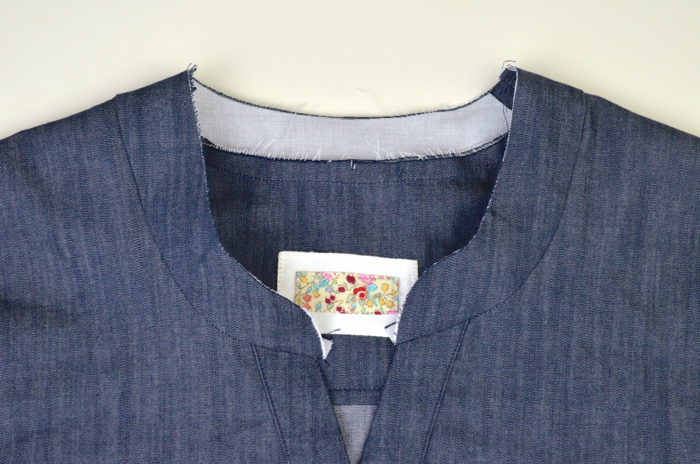
Pin the neckband facing right sides together with the neckband, aligning the shoulder seams and the front center curves.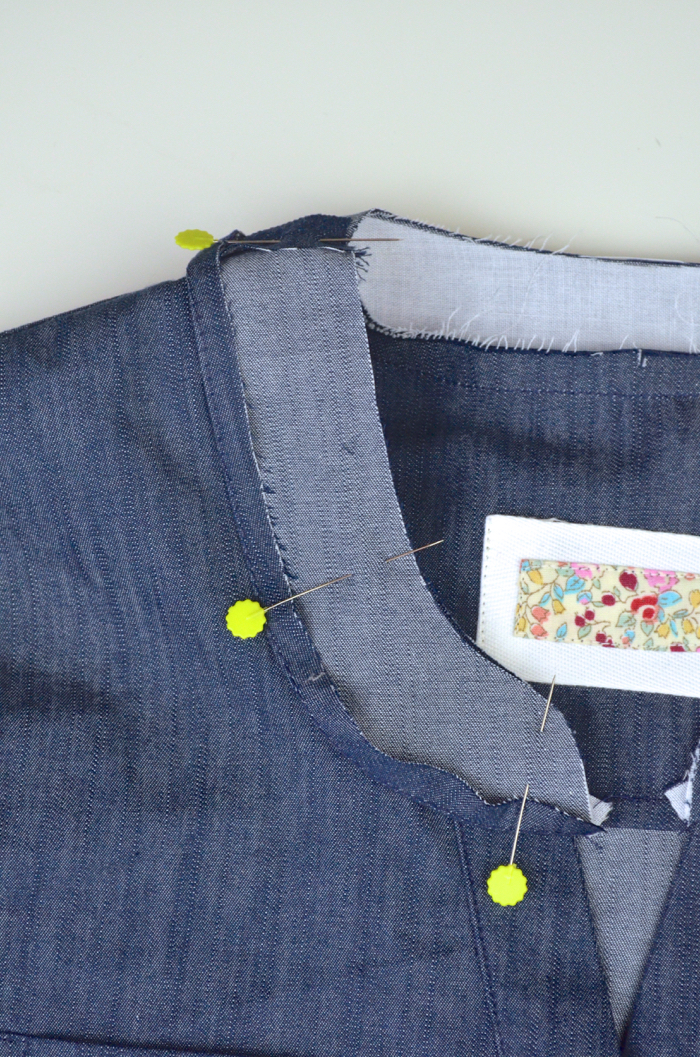
Sew the neckband facing to the neckband using a 3/8″ seam allowance. At the center fronts, sew as close to the outer placket as possible without catching it in your seam. 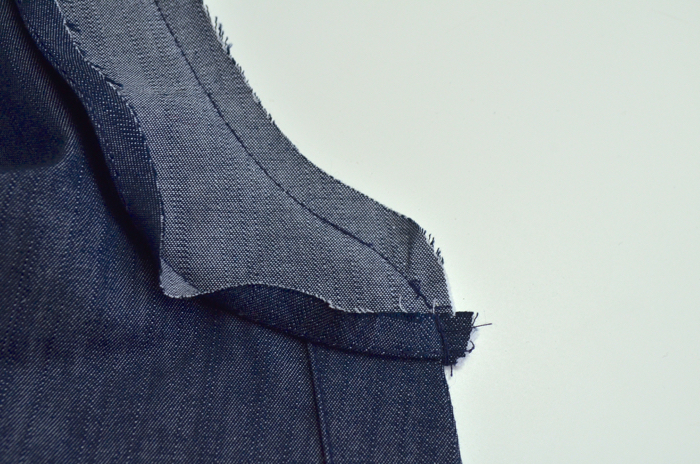
Cut the curves and clip notches around the neckline.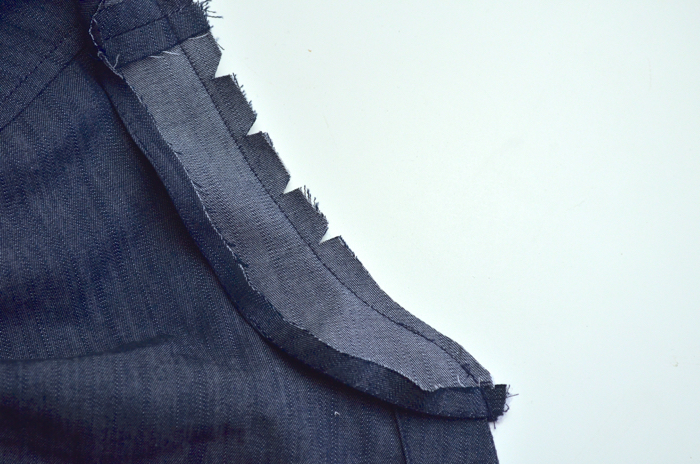
Flip the neckband facing to the inside of the garment and press it well. Press the seam allowances up into the neckband. Carefully pin the neckband facing to the neckband. The more pins you use here, the more you’re guaranteed a good outcome in the next step. I’m not a pinner by nature, but I encourage you to pin it up here as much as possible!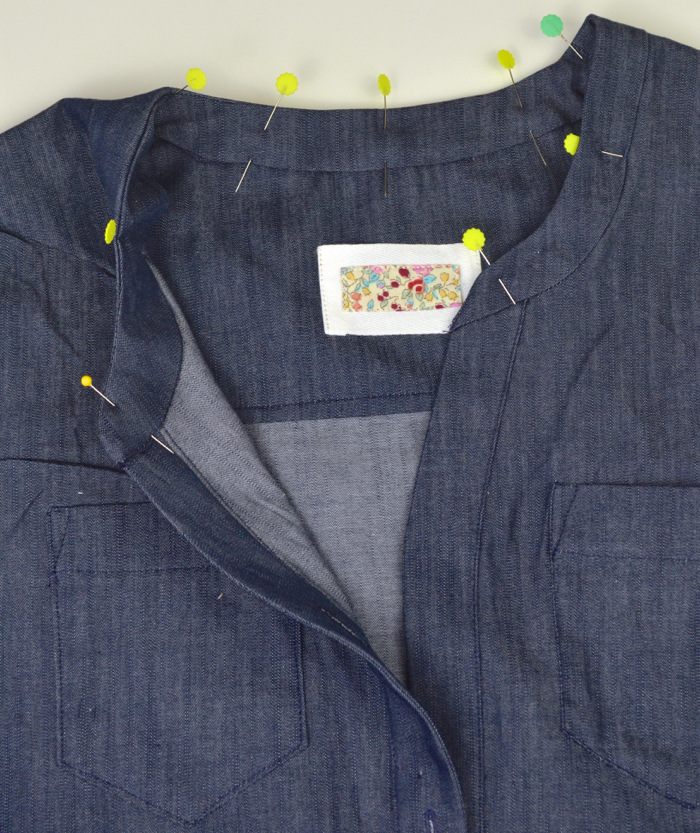
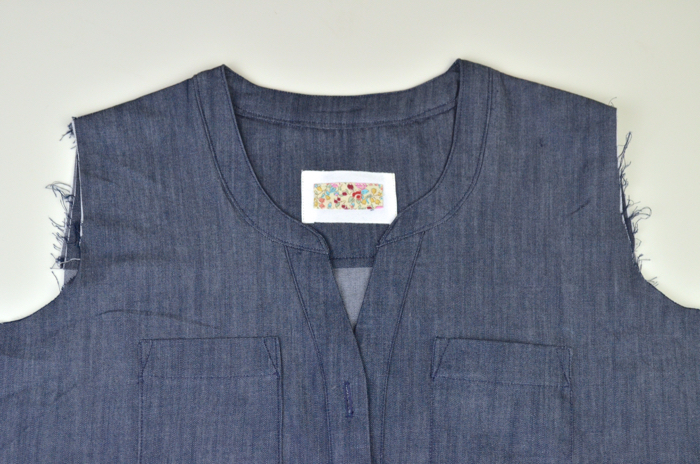
Top stitch around the neckband, catching the neckband facing underneath. You have a couple options here. You could just top stitch around the lower curve of the neckband to secure the facing. Or, you could sew completely around the perimeter of the neckbands for some detail, as shown on this version. For either method, sew in the direction the way the pattern outlines: begin at the top of the center back, sew around the front, and then sew back to the lower back center. Stop sewing and repeat those steps on the other side of the neckline. This way you’re sewing in the same direction (toward the front of the neckband) on both sides which will help the neckband lay nicely. This is another great place to use that spectacular edge stitching foot, if you have one 🙂
The sleeve tabs are optional, but they’re a great detail for your shirt, especially if you’re making the 3/4 length sleeves and plan to keep them rolled up most of the time. Put a non-interfaced tab right sides together with an interfaced one. Repeat for the other two tabs.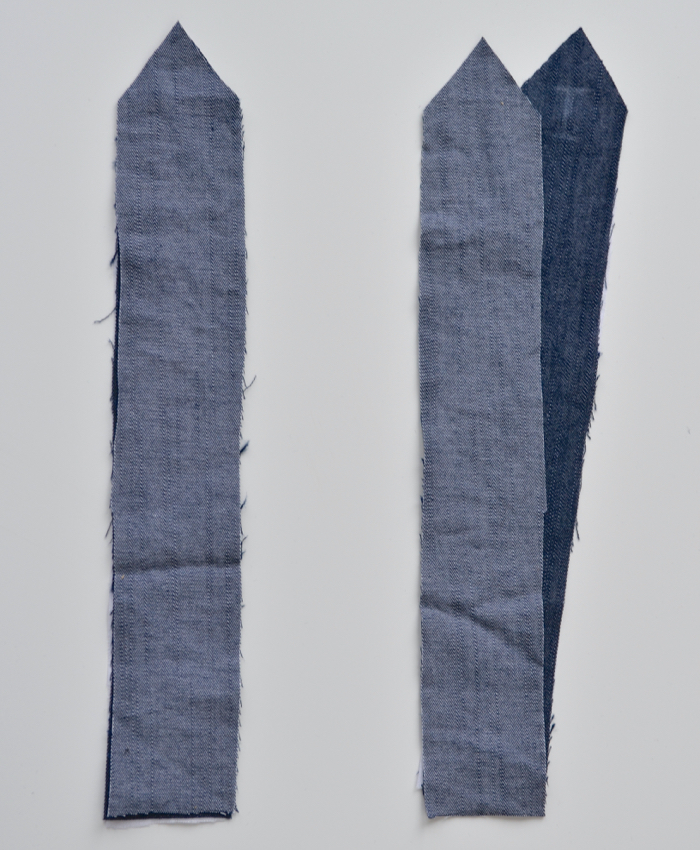
Sew them together along the sides and pointed edge with a 1/4″ seam allowance. Leave the lower edge open for turning. Clip the corners of the seam allowances.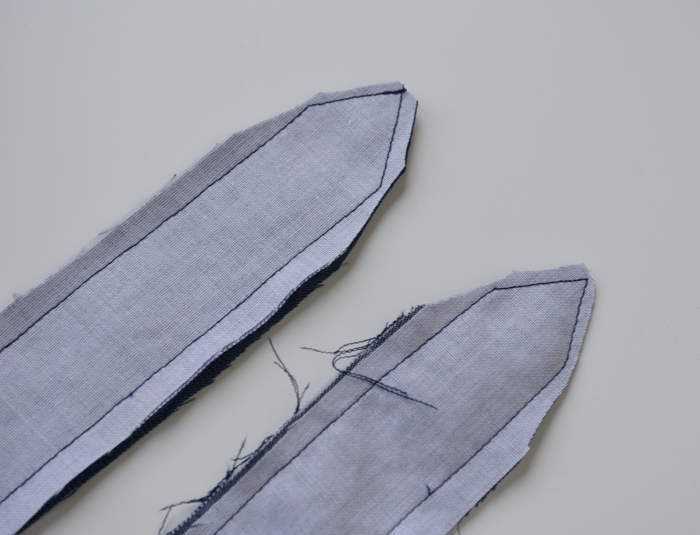
Use a bobkin or other turning tool to turn the tabs right side out. Press the tabs very well and then edge stitch around the perimeter.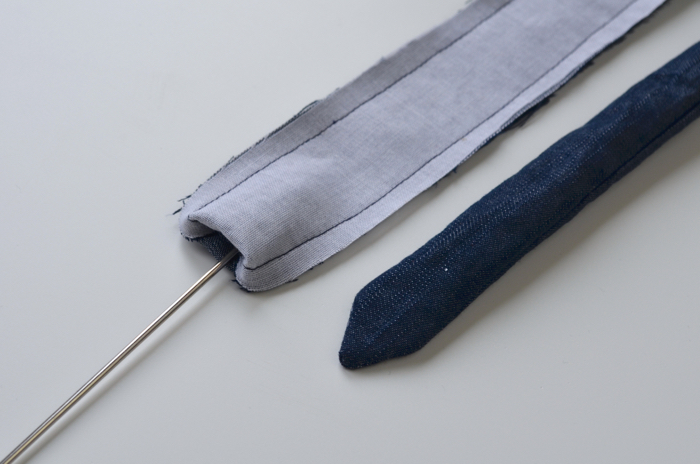
Sew the buttonholes where marked on the interfaced side of the tabs.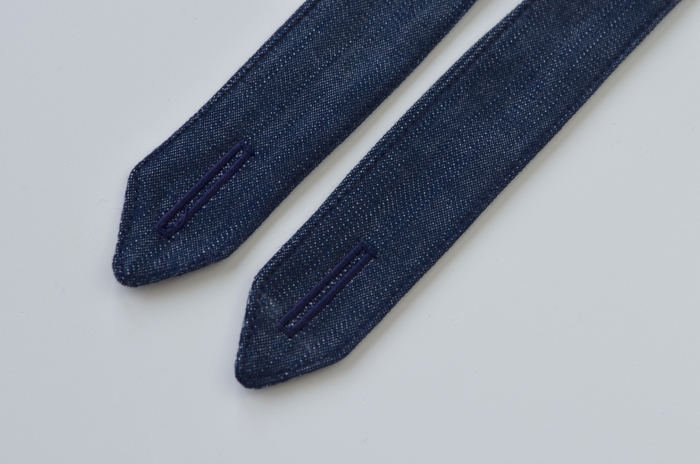
On the wrong side of the tabs, press the lower edge toward the wrong side by 1/2″.
Pin the tabs wrong side down on the wrong sides of the sleeves, aligning the center of the folded section with the marked point on the sleeve.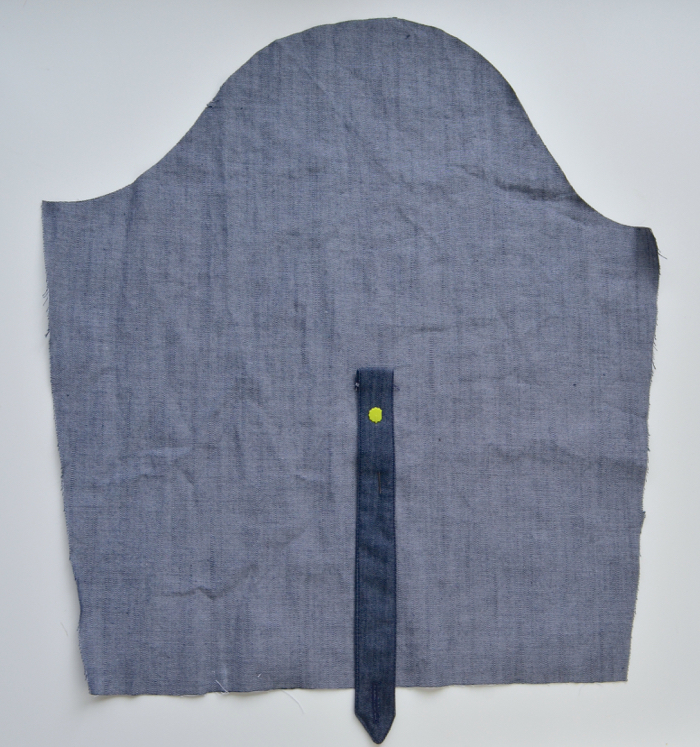
Sew the folded section to the sleeve by sewing in a rectangle and then optionally sewing an “x” inside the rectangle for stability.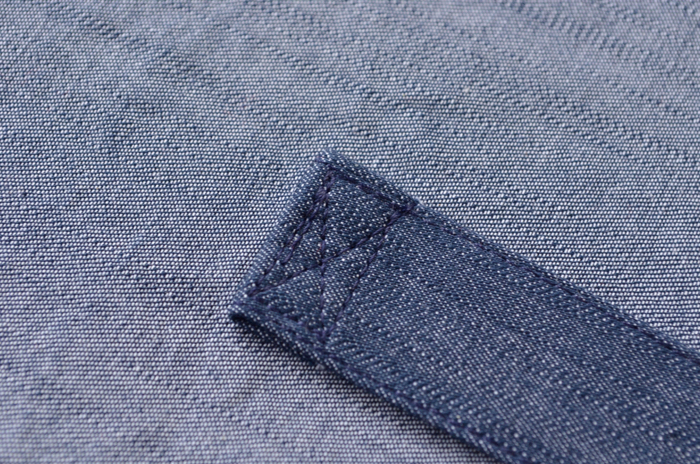
On the right side of the shirt, sew a button directly over the stitched rectangle.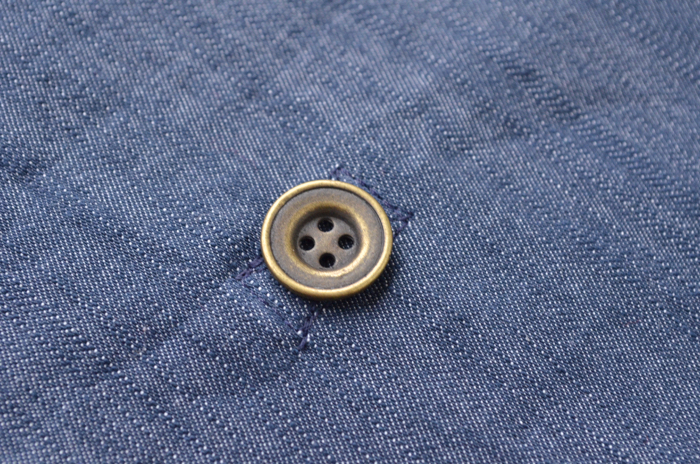
And you’re done for the day! Meet me back here tomorrow and we’ll sew the sleeves!
This is the first shirt I have ever sewn and I have had a hard time with the next line. It is all bunched and does not look great. I think I am too far to fix it on this shirt but I would love advice for future shirts. It looks like the length of the neckline and the length of the neckband are not the same causing a lot of bunching. Thoughts and advice are appreciated. Cheers!
That part is a bit tricky if you haven’t had experience sewing collar stands. The collar stand should be longer than the neckline and hang off the center front up to the marked notch, as noted in the instructions. After pinning it there, I recommend pinning at CB and shoulder seams to make it easier to ease them together while sewing.