
Biscayne Blouse Sew Along
Day 1: Cutting, Interfacing, & Marking
Day 2: Plackets
Day 3: Pockets
Day 4: Neckbands
Day 5: Arm Binding & Hemming
It’s the final day of the Biscayne Blouse sew along! By the end of today you’ll yourself a brand new blouse to wear proudly about. Let’s dive right in with finishing the arms and hem!
First sew up the side seams using the same method you used at the shoulder seams to create a french seam. Sew the shirt WRONG sides together at the side seams using a 1/4″ seam allowance.
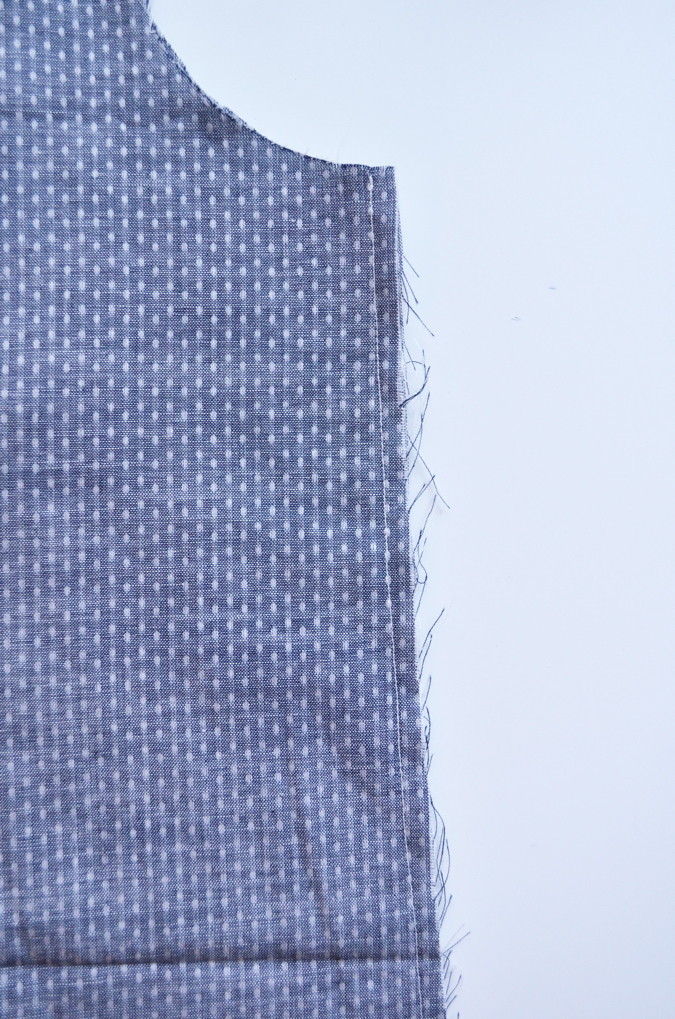
Then press the seam to the back, flip the shirt so it is right sides together, and sew the side seam using a 3/8″ seam allowance, completely enclosing your first seam’s allowances.
If you are using store-bought single fold bias tape, press it open, and then press it in half, wrong sides together. If you are making your own, cut two strips at a 45 degree angle from the selvage that are 1.5″ wide and 27″ long. You can also piece together smaller strips if you don’t have very much fabric to work with.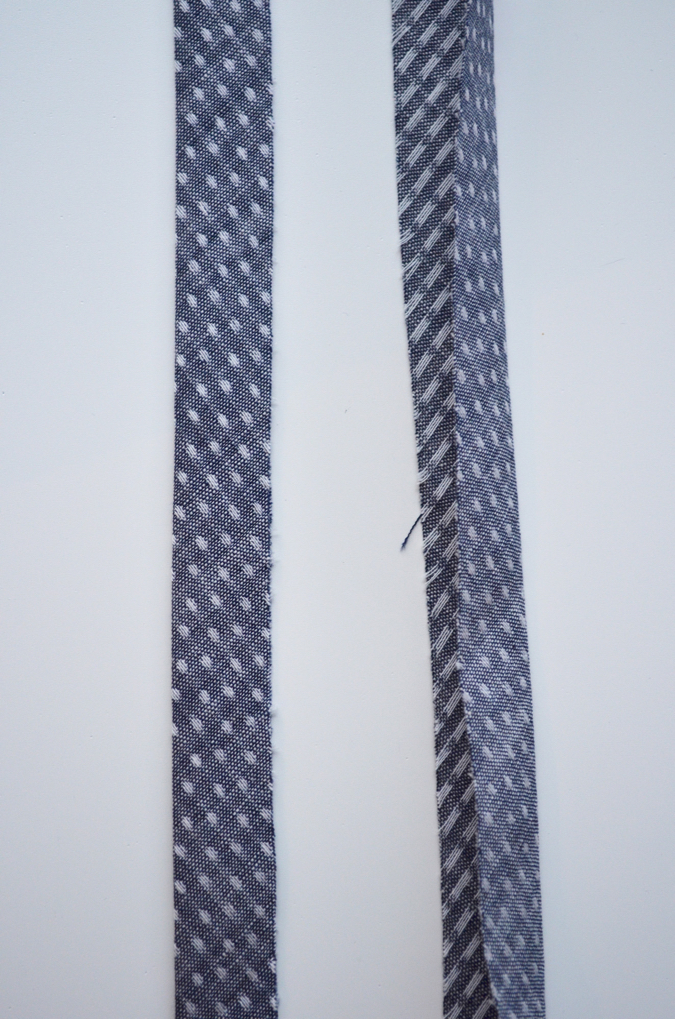
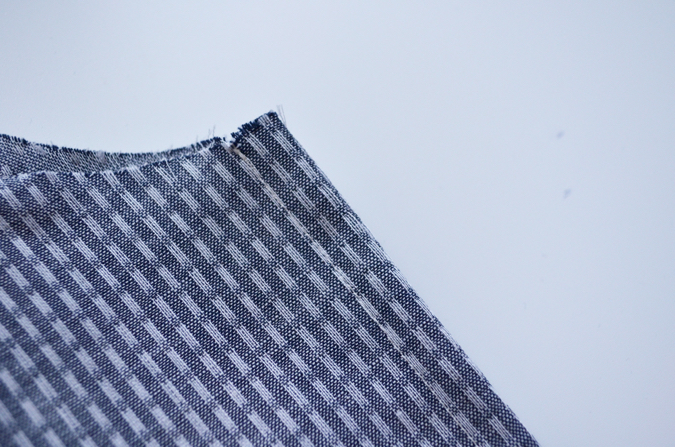
Lay the bias binding against the right side of the shirt, with all three raw edges aligned. Pin it in place about an inch above the underarm seam, leaving at least an inch of binding hanging free beyond the seam.
Starting at the pin, sew the binding to the arm using a 3/8″ seam allowance. Because the bias binding is cut at an angle, it’ll easily form a curve to fit around the curve of the arm.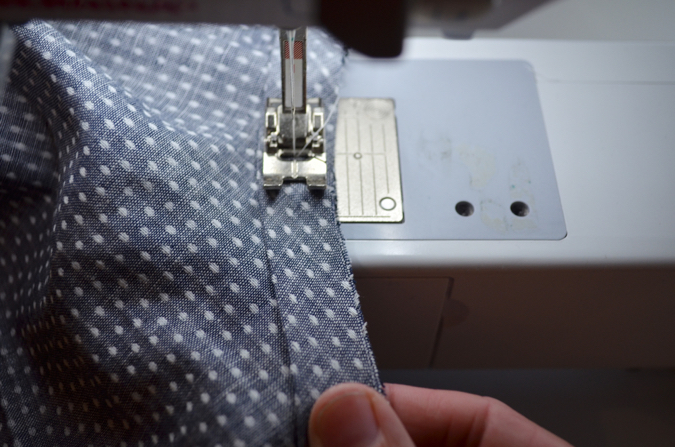
Stop sewing about an inch from the underarm seam.
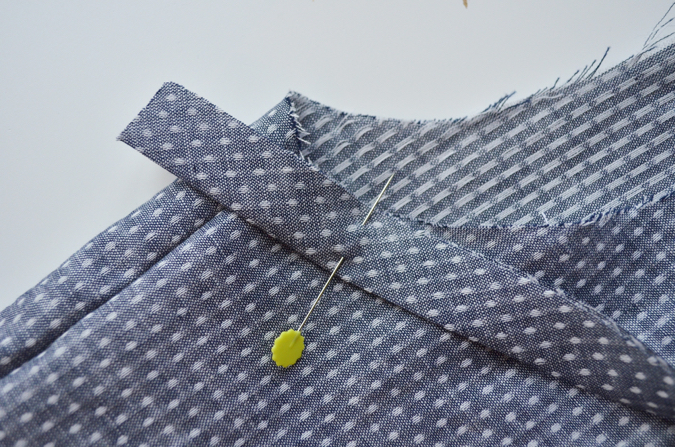
Lay your bias tape against the underarm and mark where the seam intersects the tape. Do this for both sides.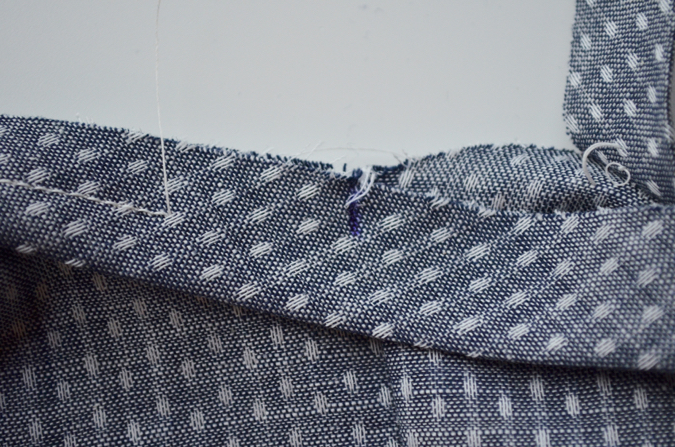
Keeping the shirt out of the way, pull the bias binding away and use a pin to secure the ends of the tape together at the marked underarm seam points.
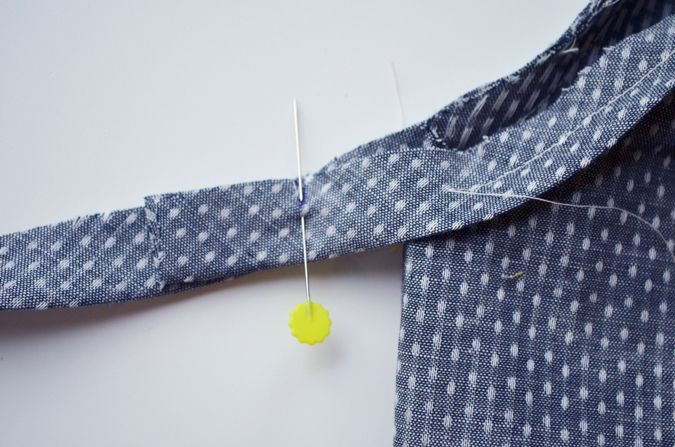
Sew the bias tape together at that mark, making sure the folds and raw edges are aligned. Trim the seam allowances to about 1/2″.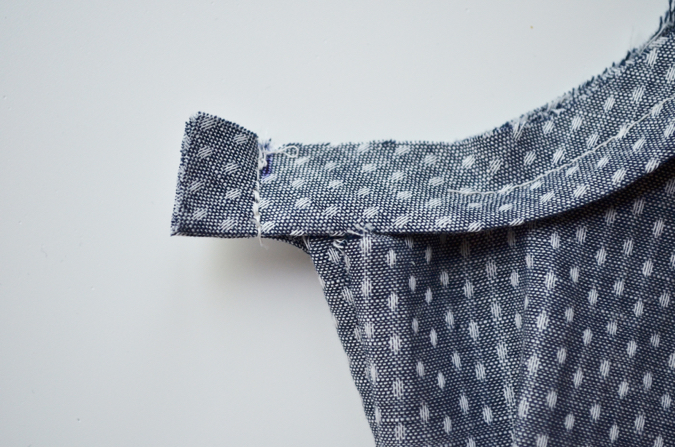
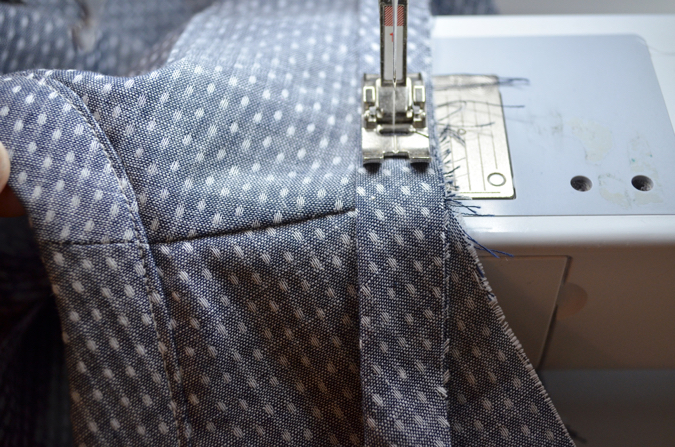
Now that the bias tape is sewn together, you can align the seam in the bias tape with the underarm seam and continue sewing to completely attach the bias tape to the arm. Make sure your seam allowances are pressed open. Trim your seam allowances to about 1/8″.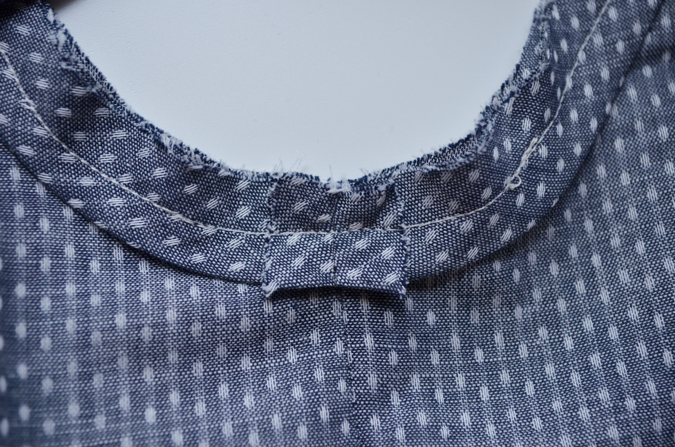
Press the bias tape and seam allowances away from the shirt.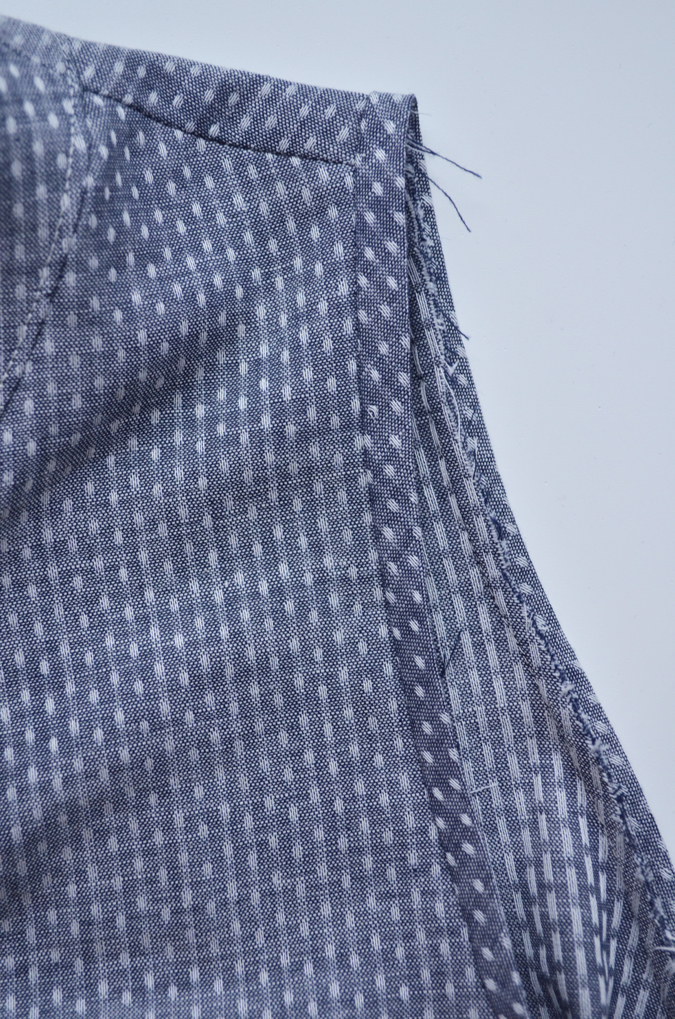
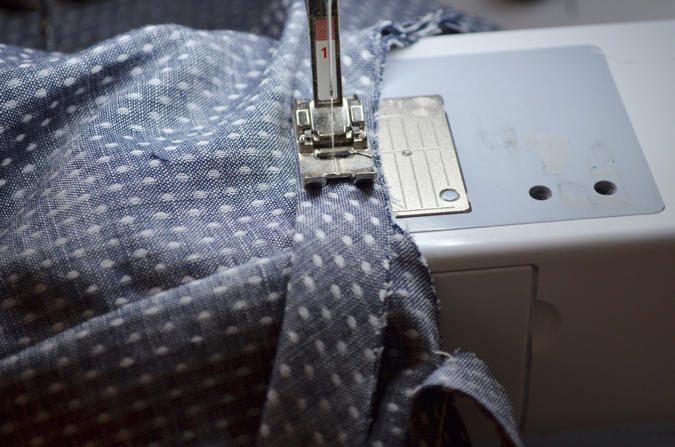
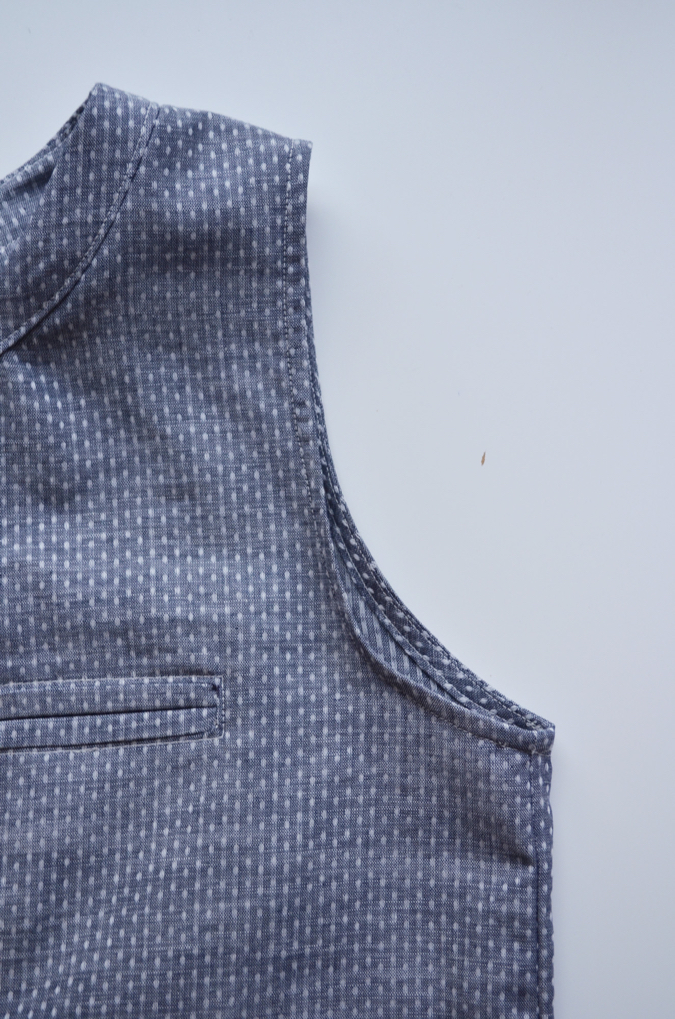
Now you will be understitching the bias tape, much like you did on the neckband. This will help your tape flip to the inside better and also give a very professional finished result. On the inside of the shirt, sew the trimmed seam allowances to the bias tape all the way around the arm. Be sure not to catch the shirt in this seam. Your finished result will look best if you maintain an even and close distance to the original seam.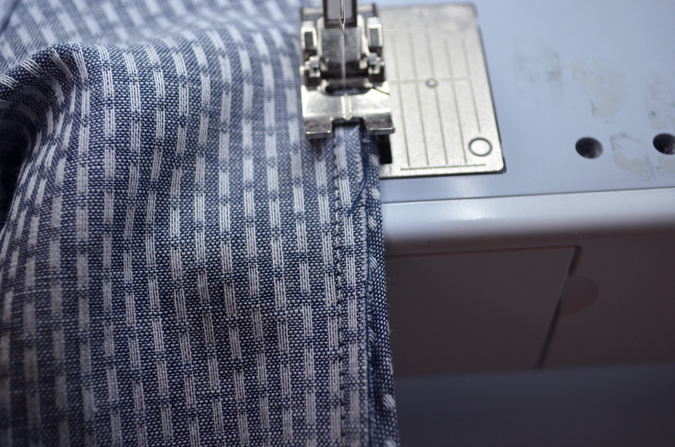
When your understitching is finished, you can flip the bias binding to the inside of the shirt. Press it really well and pin in place. Then, from the inside of the shirt, edge stitch along the fold of the bias tape to secure it to the shirt. Go slowly and sew evenly because your bobbin thread will show on the right side of the shirt.
Repeat these steps for the other side of the shirt and your arms are beautifully finished! Press well and steam to make sure everything is laying nicely.
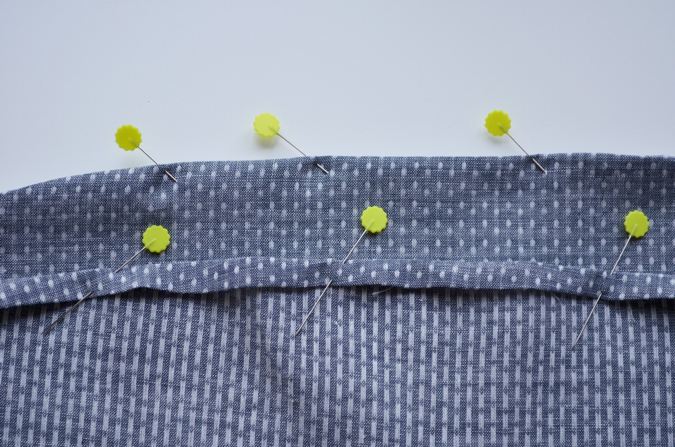
To hem the shirt, begin by pressing up the hem 1/4″ to the wrong side.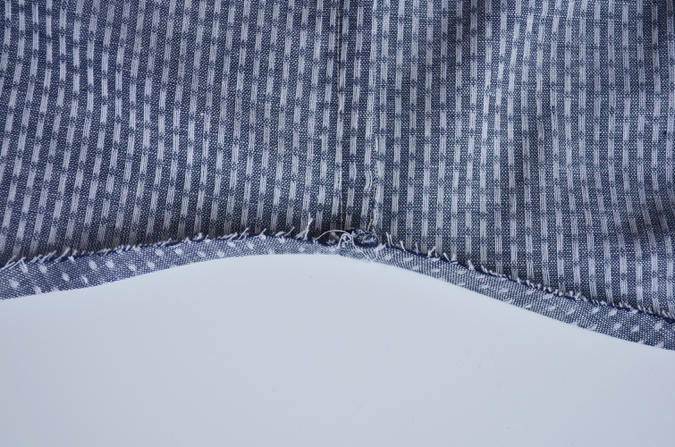
Then fold it up 1/4″ again, press well, and pin in place.
Edgestitch along the fold of the hem all the way around the shirt. It is really important that you don’t stretch the hem at all while sewing or your hem could be wavy.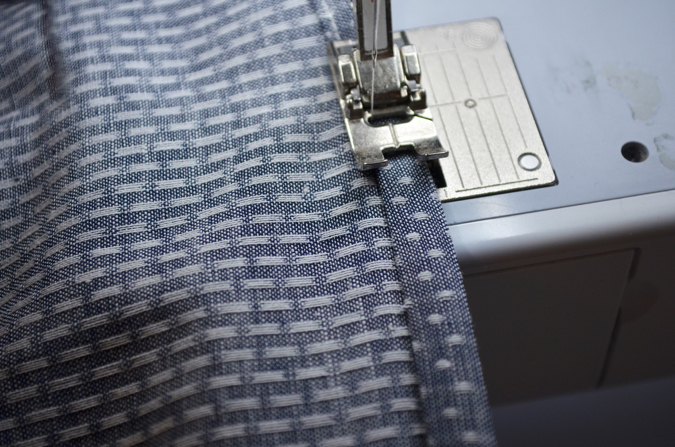
Press and steam the hem well to help it lay nicely.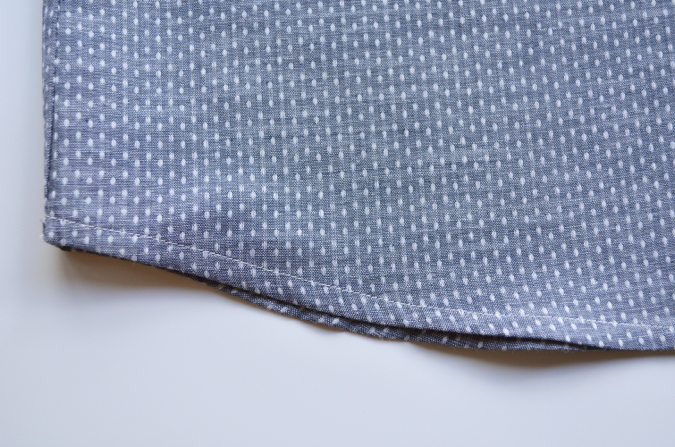
If you haven’t done so, sew the buttons on now where marked on the left placket.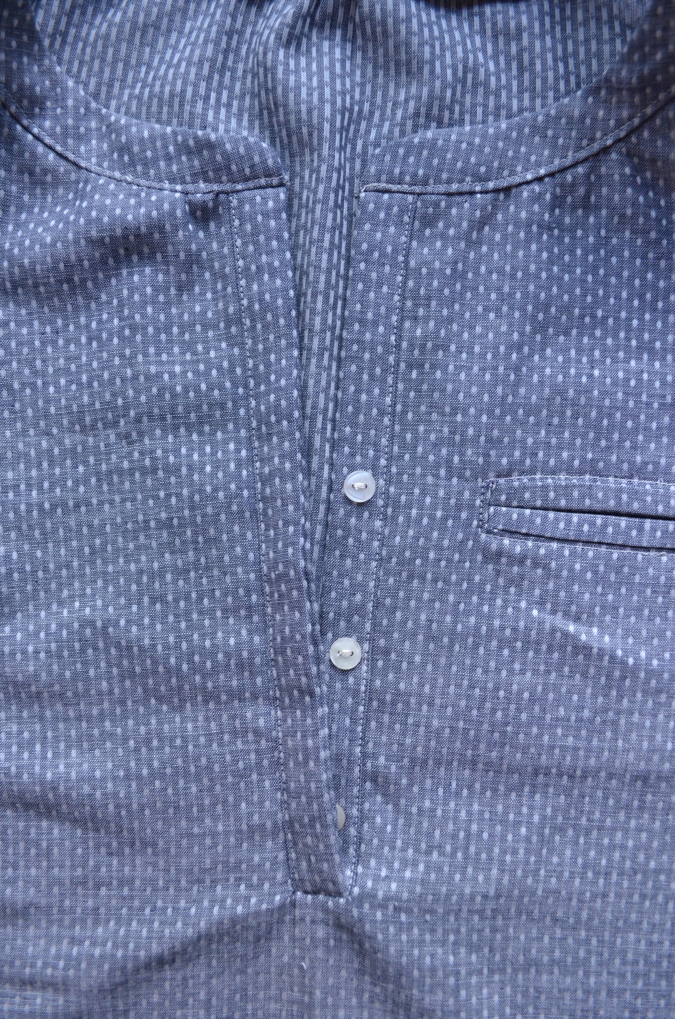
And that, dear sewists, is it! Your Biscayne Blouse is finished! You should feel such a huge sense of accomplishment every time you wear your blouse. It’s a bit of a labor of love, but your shirt is beautiful inside and out and you mastered some intermediate sewing techniques along the way! Congratulations!
We’d all love to see your finished Biscayne Blouses, so be sure to leave your blog link in the comments, tag it on social media using #BiscayneBlouse, or join the Hey June Patterns Facebook group and share it there! If you have a website, I’d love to pin your finished creations to my Hey June gallery board on pinterest also.
Happy sewing!
I think you have the side seam instructions backwards.
thank you!!!