Biscayne Blouse Sew Along
Day 1: Cutting, Interfacing, & Marking
Day 2: Plackets
Day 3: Pockets
Day 4: Neckbands
Day 5: Arm Binding & Hemming
Welcome to day two of the Biscayne Blouse sew along! Today we’re going to tackle that placket. I promise this is much easier than it looks. You might have to do it once or twice, but then it’ll make sense and you’ll be whipping them up in no time. Plackets are so easy to add to any pattern, so once you master them you can add them to anything!
A little tip: All the work for this placket is done before you even start sewing. If you spend time really pressing your placket well, once you sew it on the shirt it’ll basically form itself!
First, we’re going to work on the right placket (right refers to the side of your body the placket piece will be on when you’re wearing the blouse).
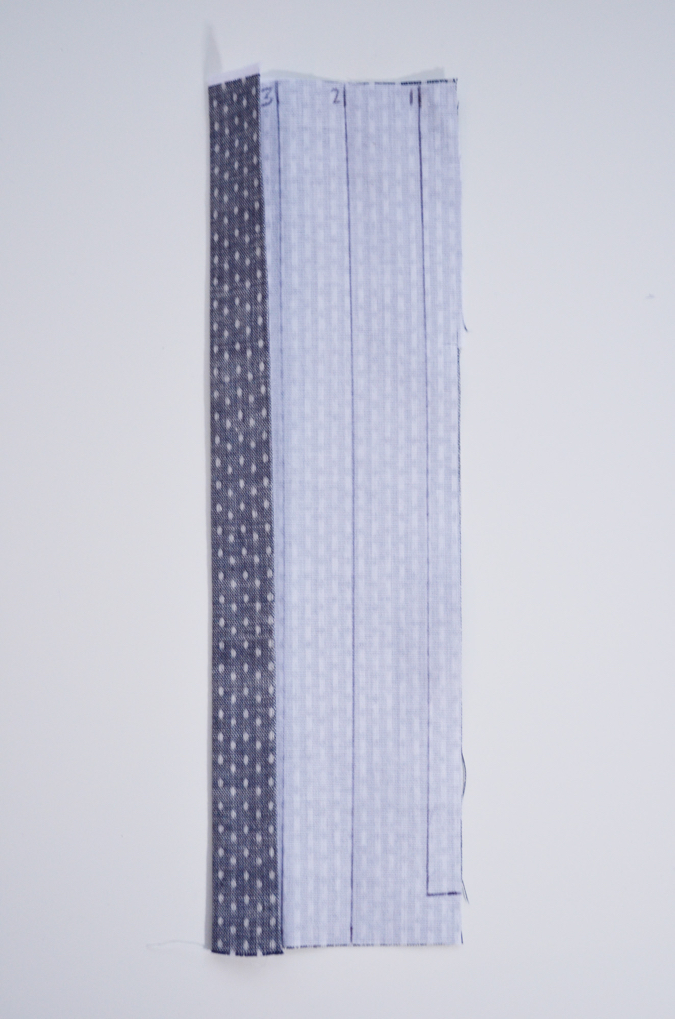
Press along line 5 toward the wrong side.
Press again along line 4 toward the wrong side.
Now press along line three to the right side. This is basically the same technique you used as a kid when making paper fans.
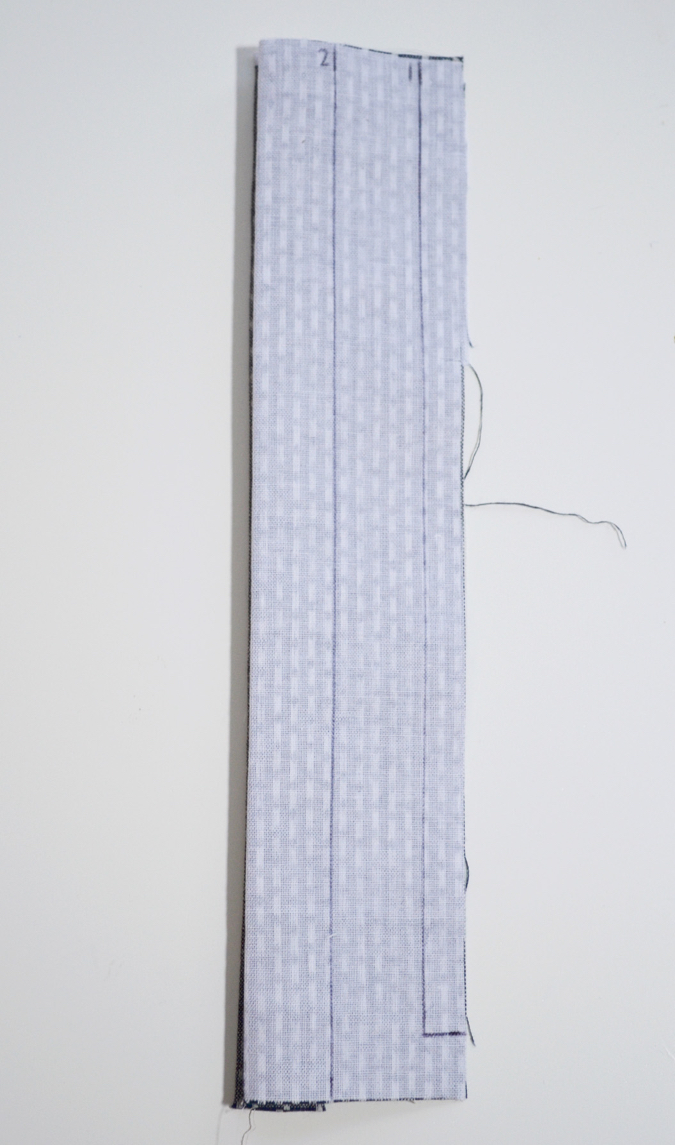
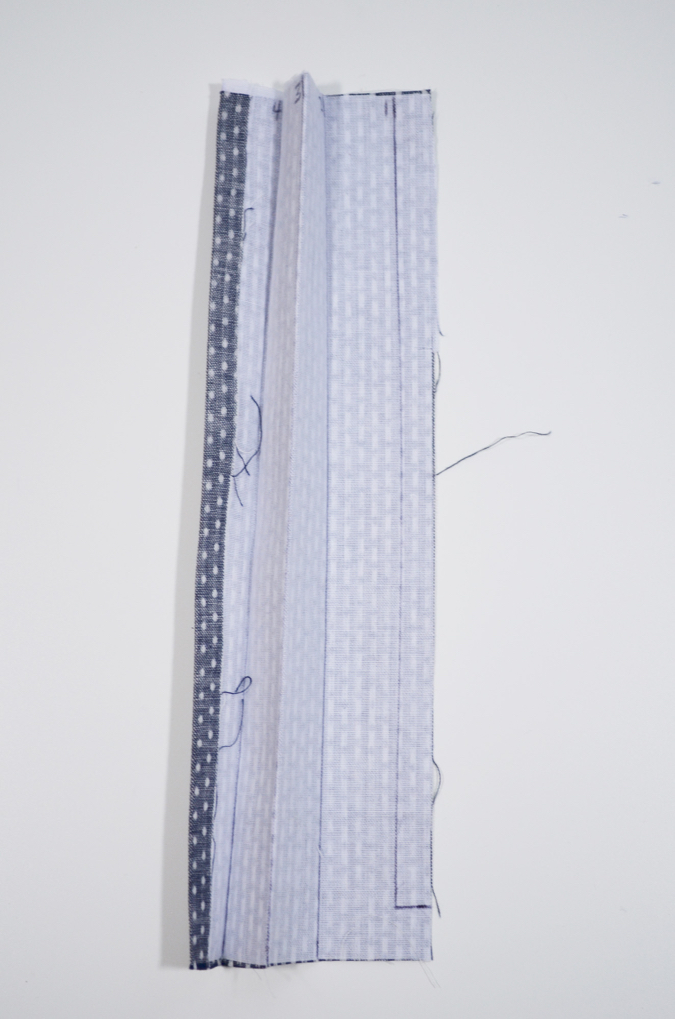
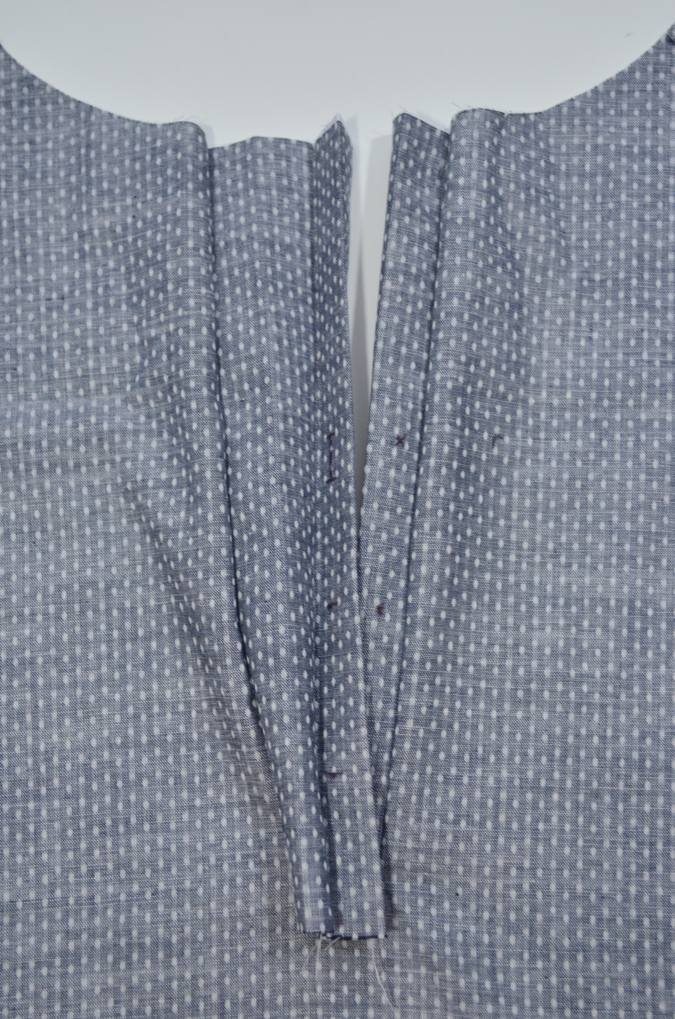
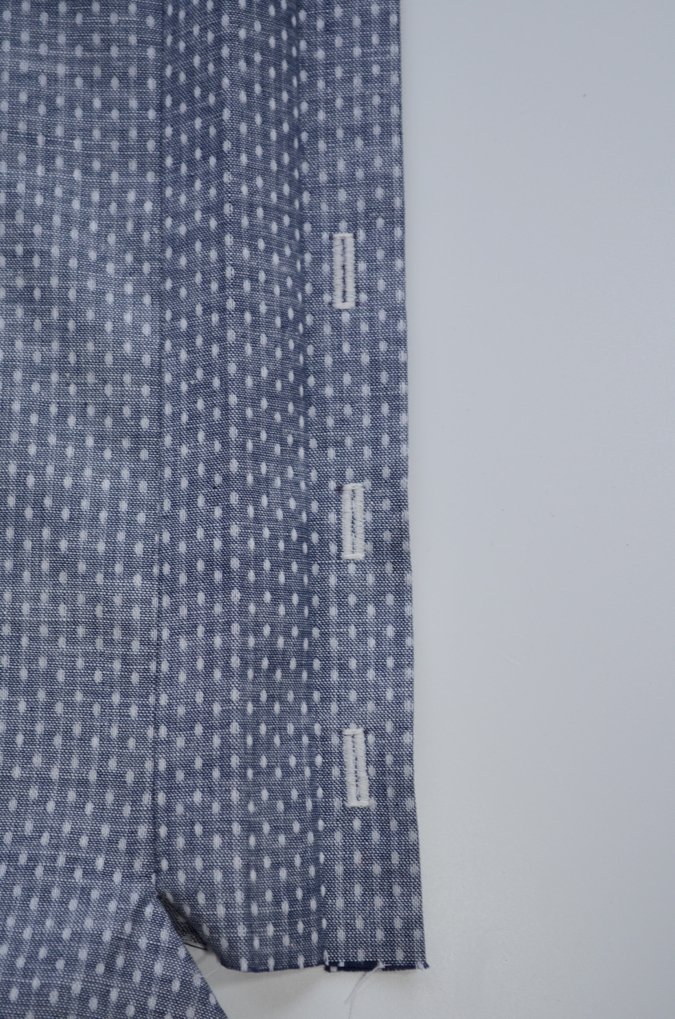
From the right side, your placket should now look like this. Notice the placement of the buttonhole markings.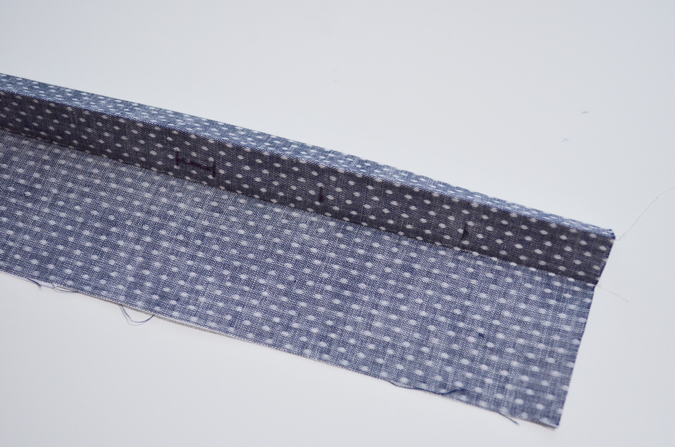
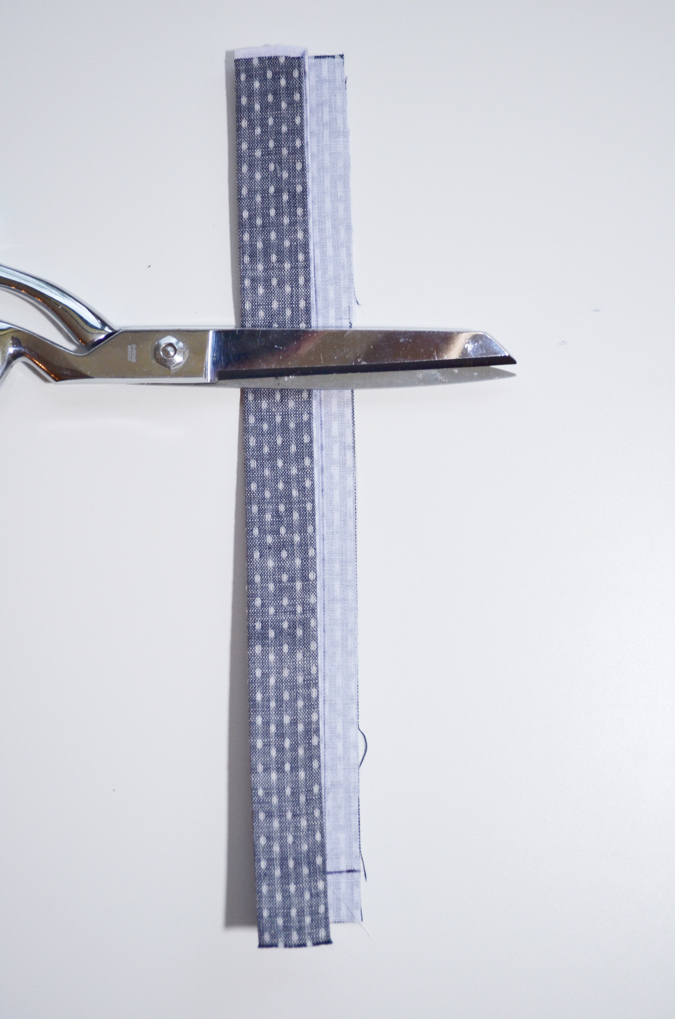
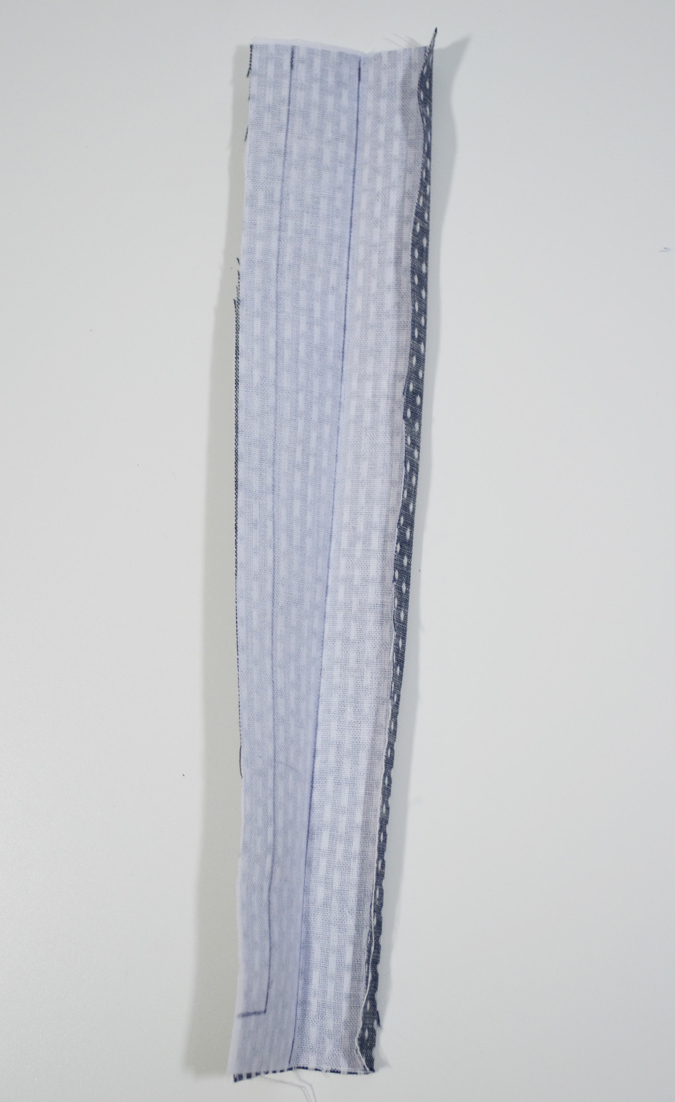
Now your right placket is completely pressed, with the accordion folds in place, and the stitch line (1) just barely visible.
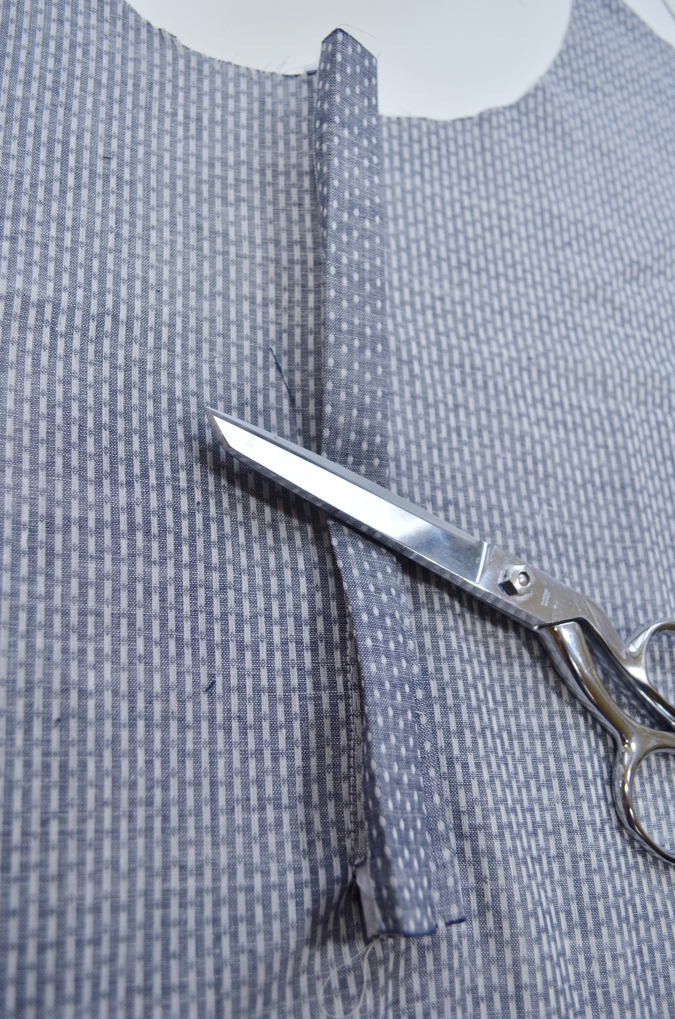
If you let it go (or take off your scissor weight), it’ll open back up, but hopefully you’ll have some nice strong creases that will help the placket fall into place after you sew it onto your shirt.
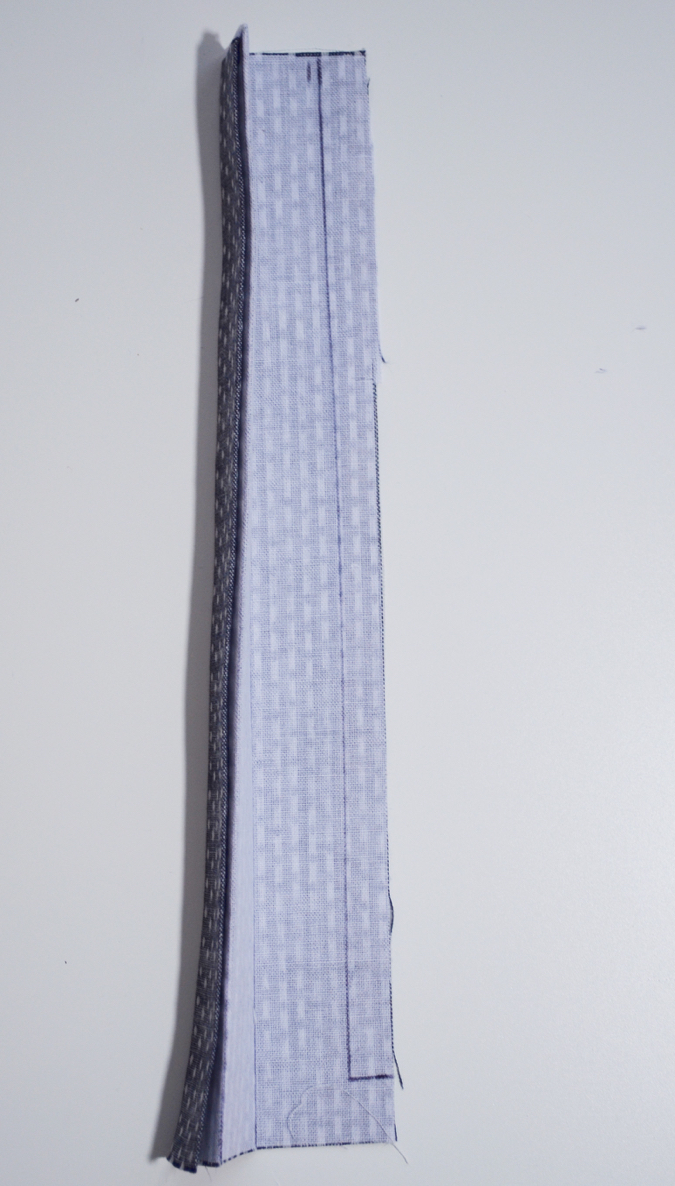
Moving on to the left placket. Press the placket wrong sides together along line 2, which is also the center.
Then press along line 1 toward the wrong side.
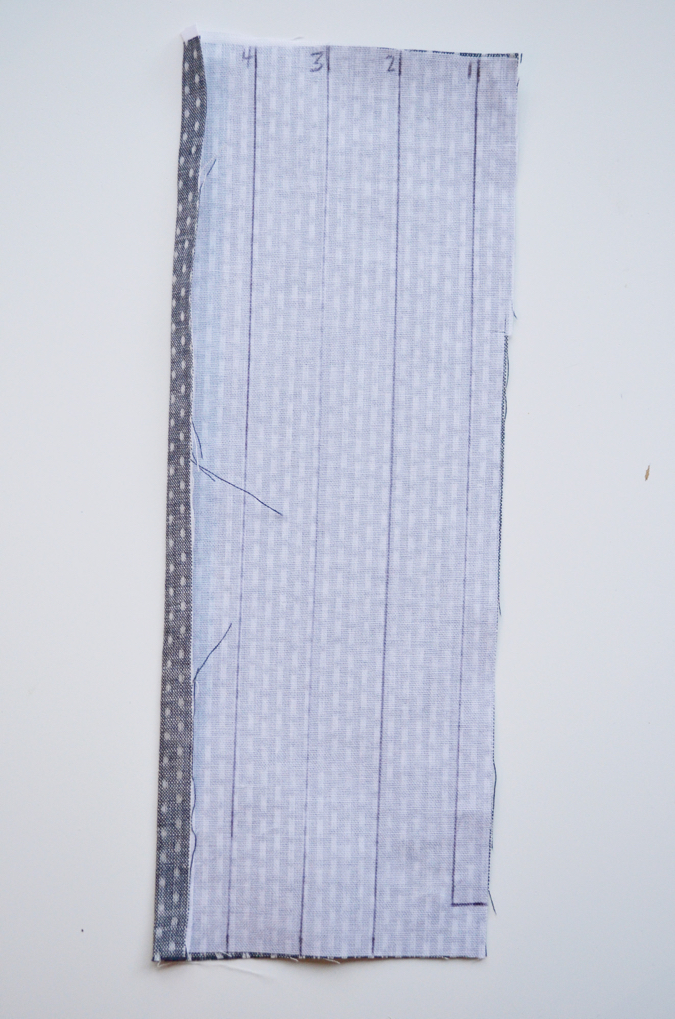
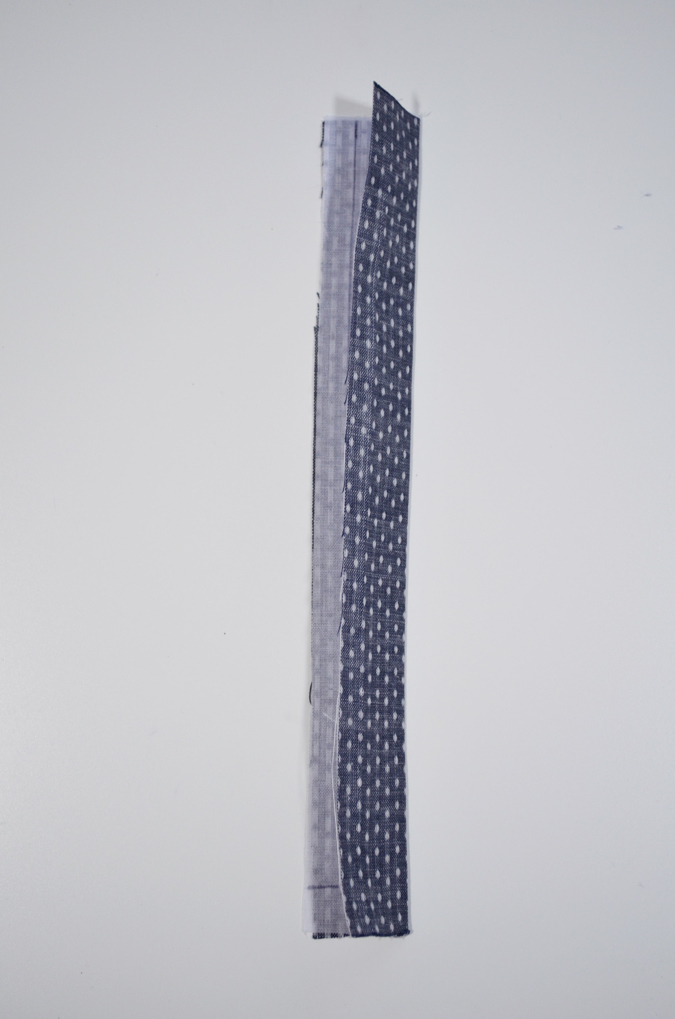
Now your left placket should also be fully pressed, with only the stitch line (3) barely visible.
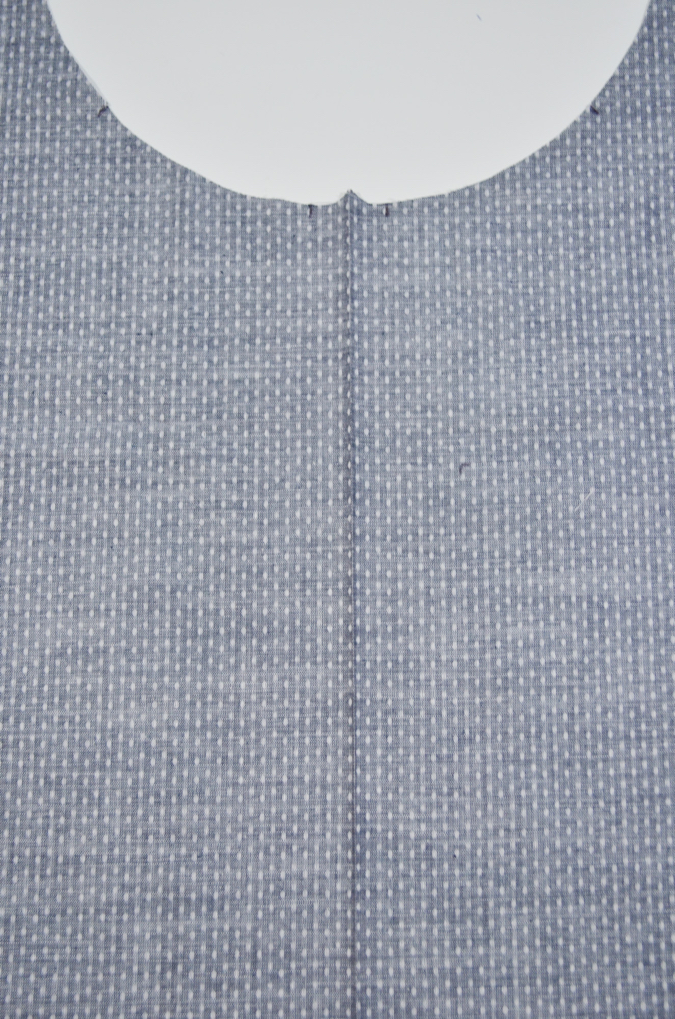
Now we’ll prepare the shirt for sewing. Your shirt front should have a notch at the center front to find center, but I also like to give it a quick press while folded to form a crease down the center.
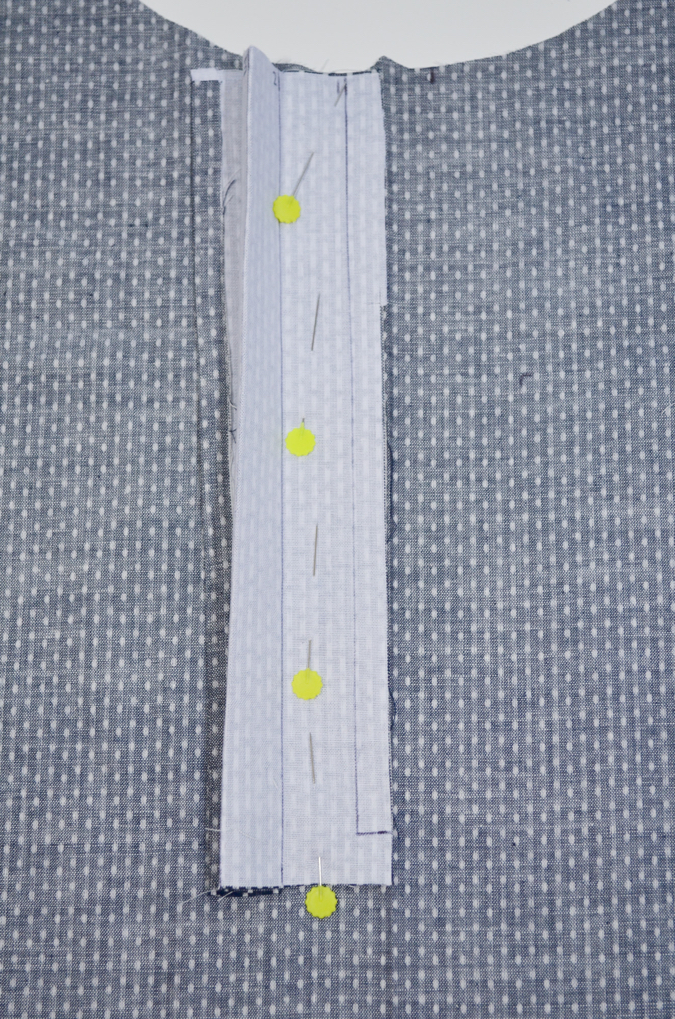
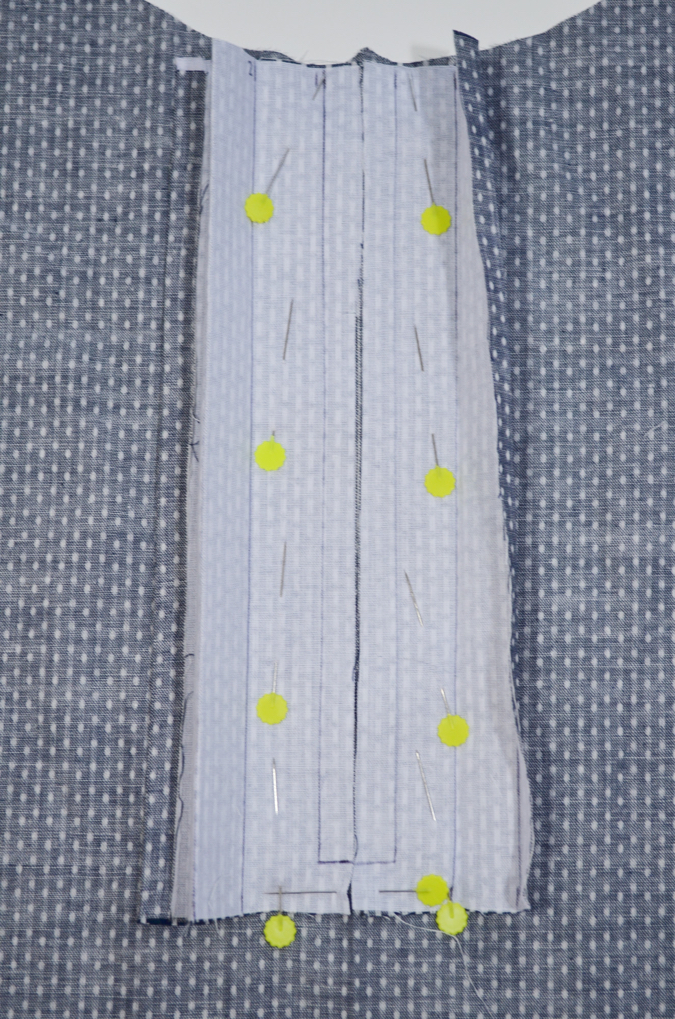
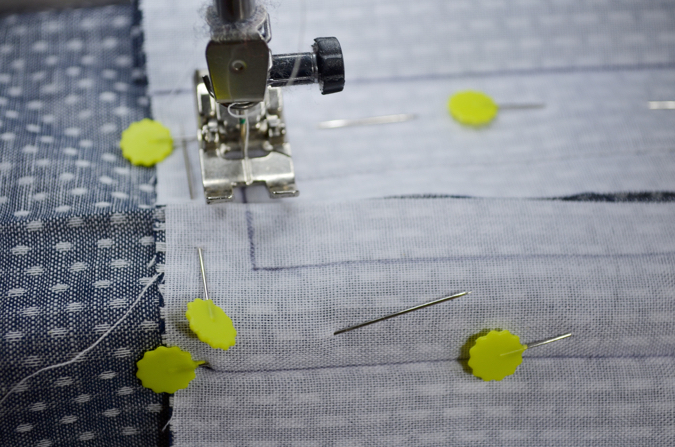
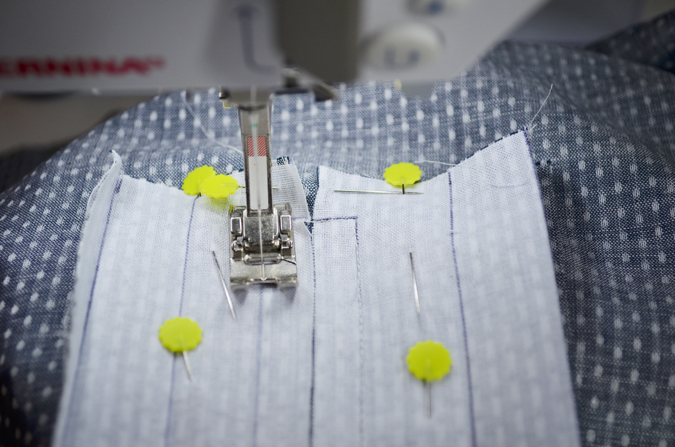
Pin the right placket to the left side of the shirt (this will be the right side when worn). Align the edge of the placket with the center of the shirt. You will be sewing directly on line 1, so pin as close to the line as possible without covering it. If your pins can stay in place while you sew, you will have better results keeping the placket straight.
Pin the left placket to the right side of the shirt (left side when worn). Again, align the edge of the placket with the center crease and pin along the stitch line (line 3).
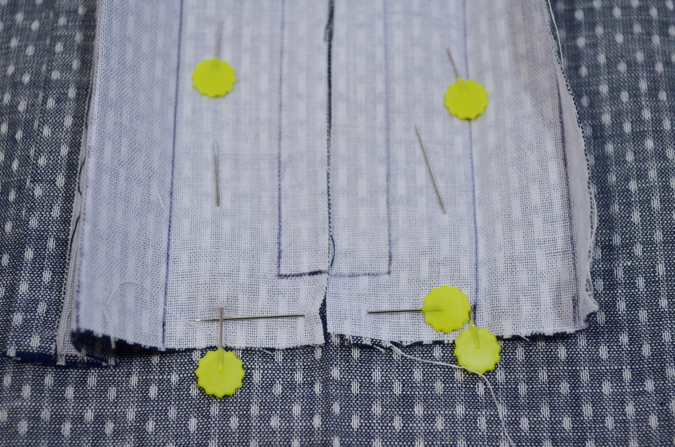
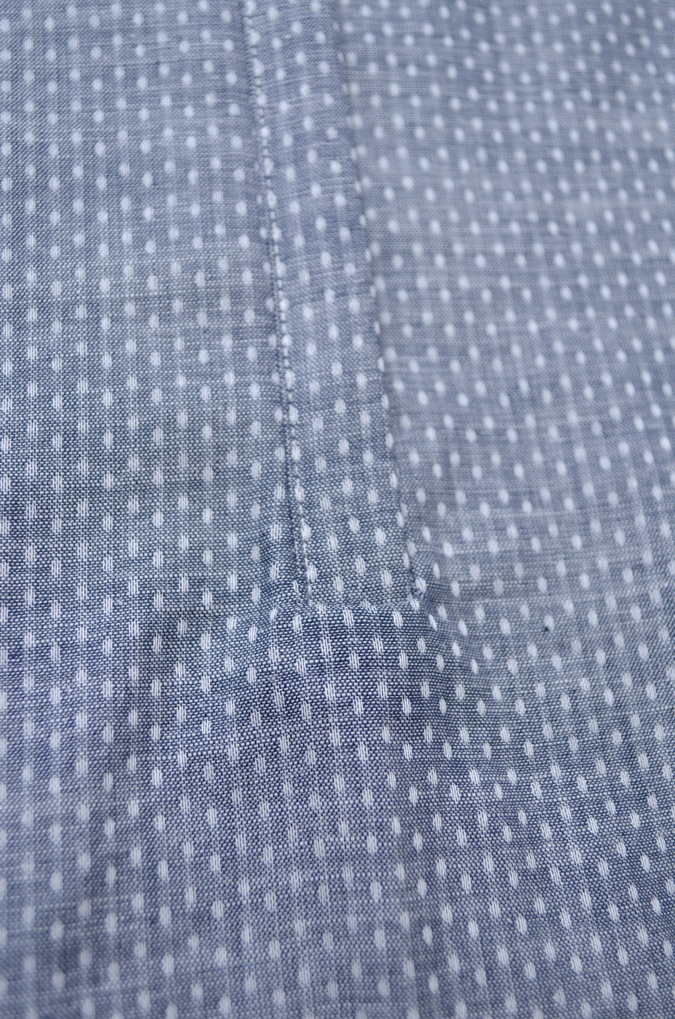
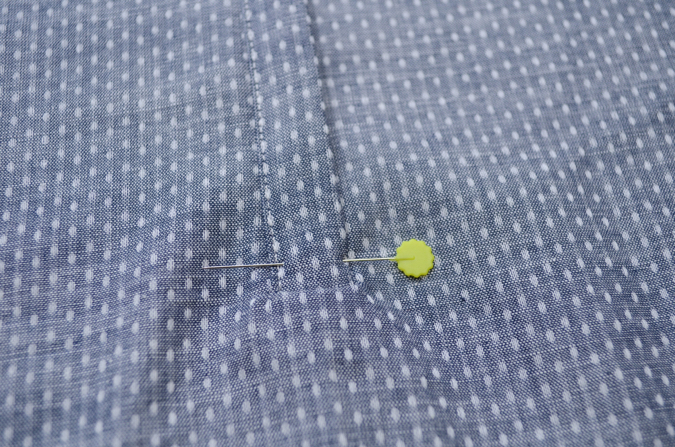
Place a pin horizontally below the end of the stitch lines to hold everything in place securely. Make sure the bottom of the two stitch lines are perfectly aligned and perpendicular to the crease line of the shirt.
Starting at the top of the right placket, sew directly down line 1 until you reach the bottom of the stitch line. Stop with your needle down.
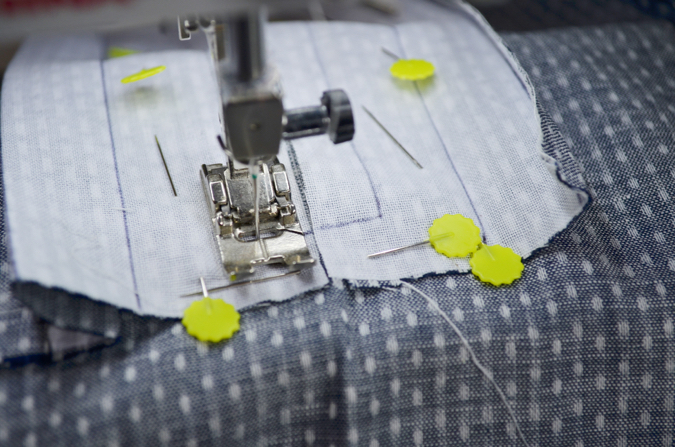
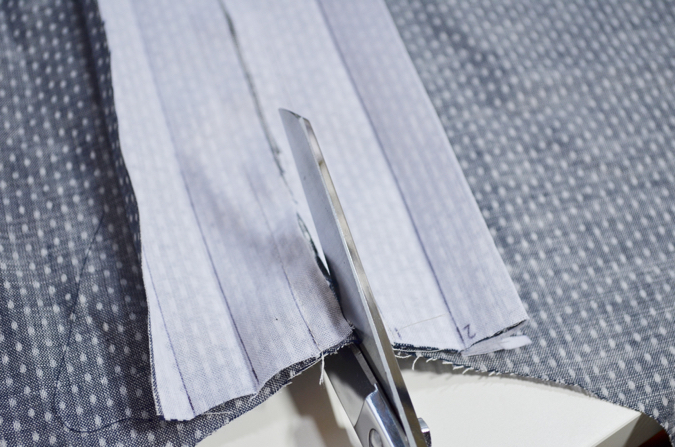
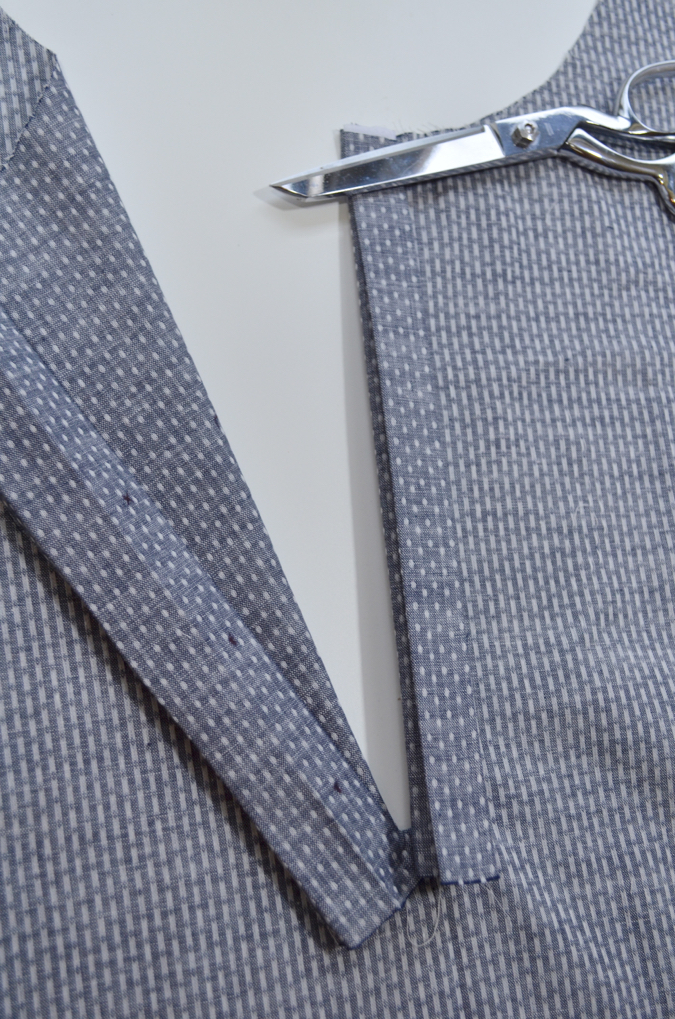
When you’ve finished sewing along the stitch lines, carefully cut between them, along the center crease of the shirt. Stop cutting 1/2″ from the bottom of the stitch lines.
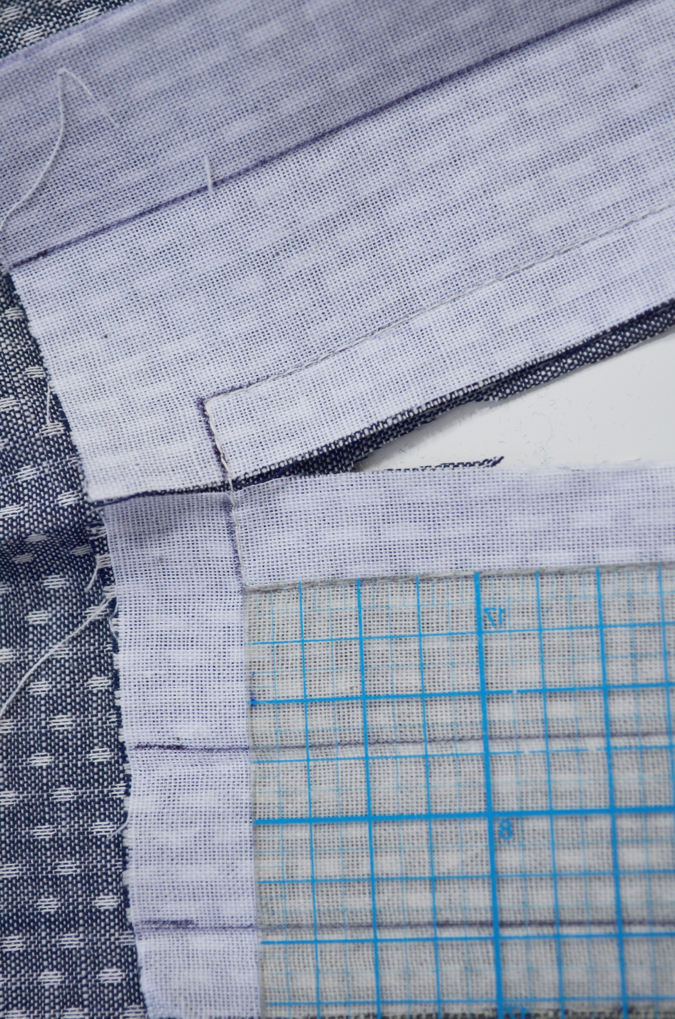
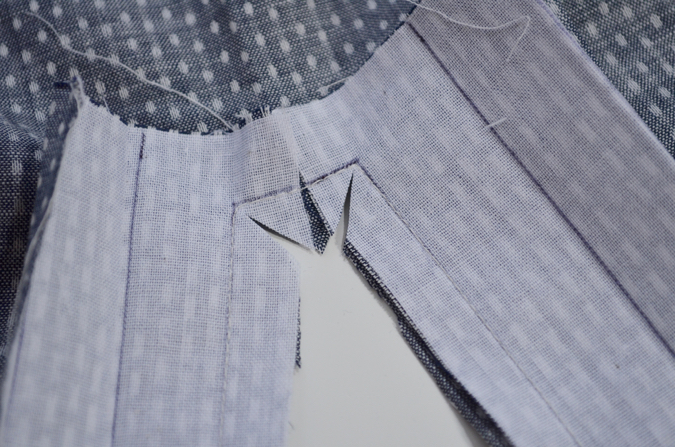
At the bottom, cut into the corners. Cut all the way up to your stitch line but be very careful not to cut through the stitches.
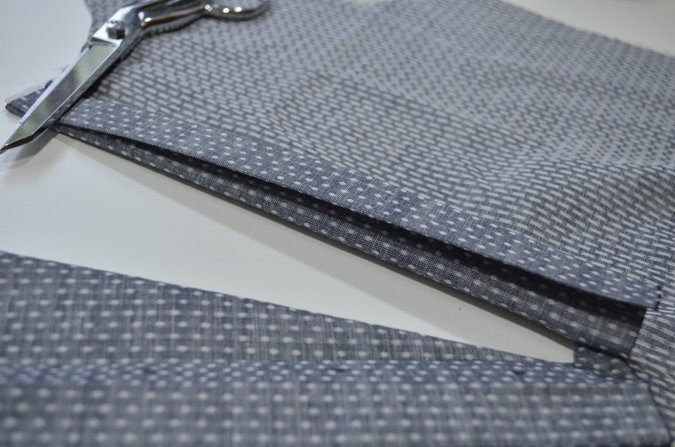
At this point you can flip the plackets over and start to see how they will lay on the shirt. If your pressed creases held together the rest will be very easy.
Flip your shirt over to the wrong side. Press the seam allowances toward the placket on both sides.
Once your seam allowances are tucked in, you can refold your plackets along the crease lines and begin pressing them flat. Notice that the tails of the placket are pressed to the wrong side of the shirt. This picture shows the right placket pressed in place.
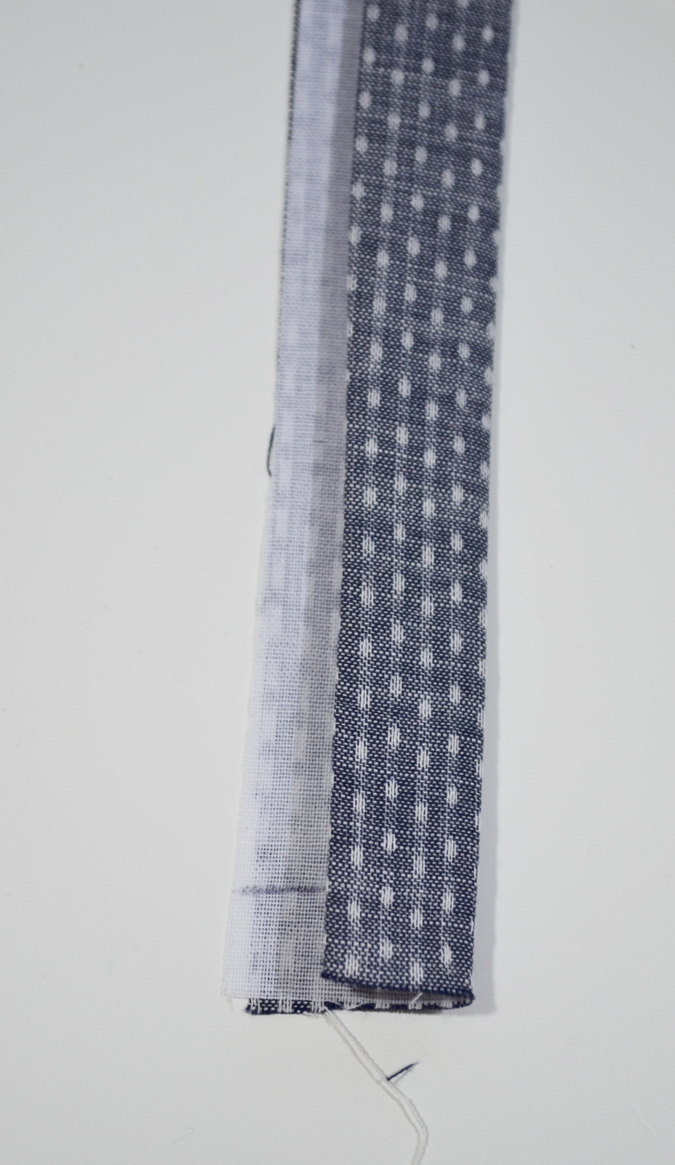
This is what your accordion folds should look like.
Press the left placket in place and layer it behind the right placket on the wrong side of the shirt. When they are perfectly overlapped, press everything really well.
Flip the shirt to the right side and press well on both sides.
Unfold your right placket to reveal the buttonhole guides.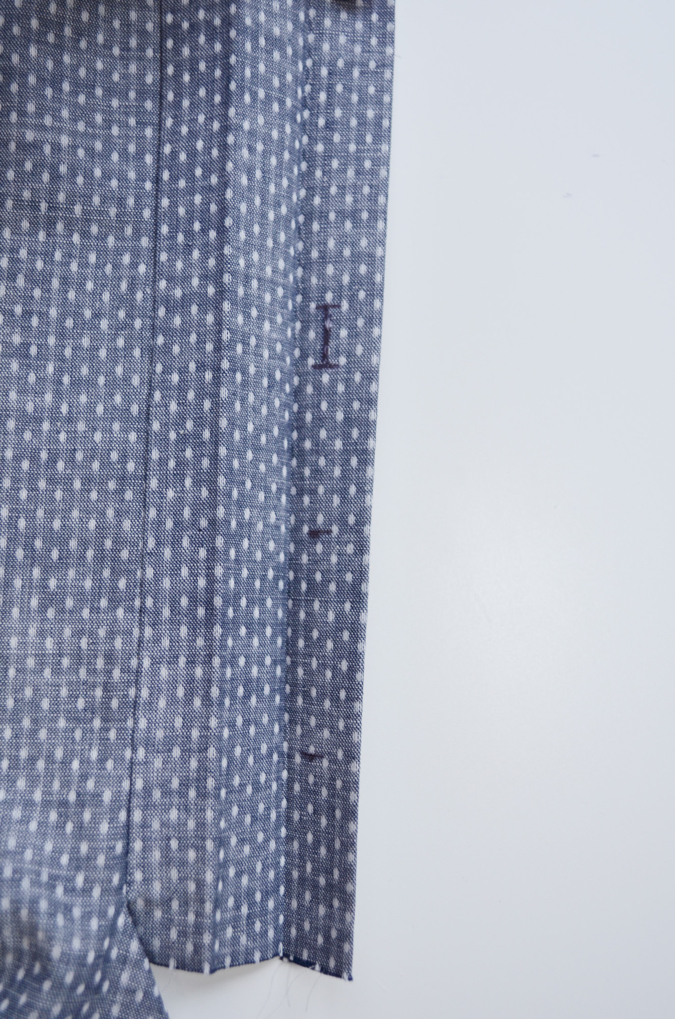
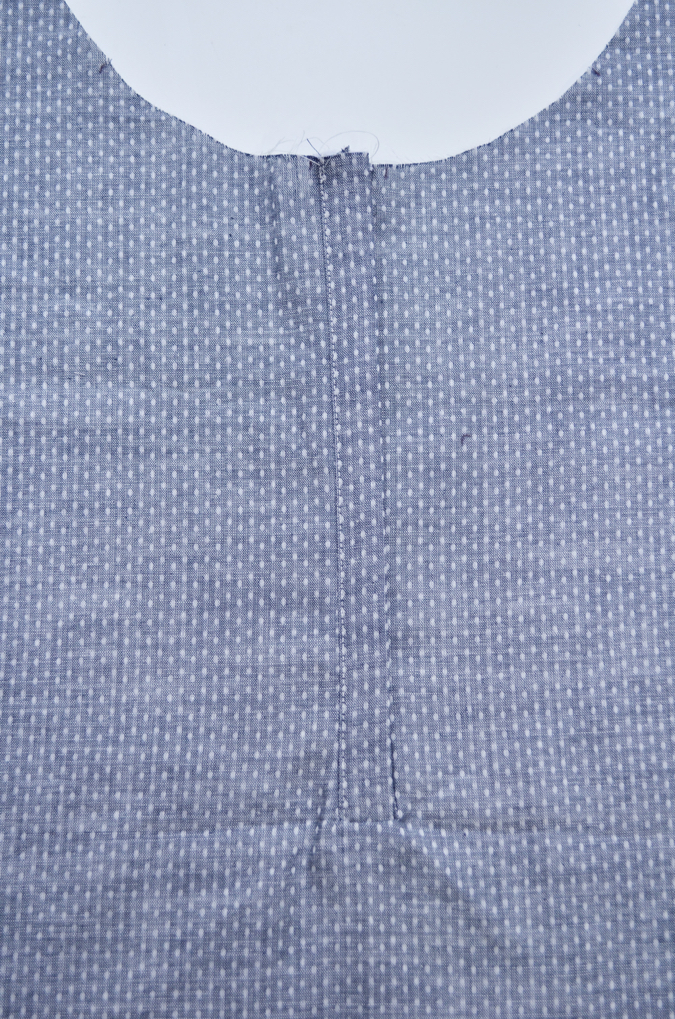
Refold the right placket. On the right side of the shirt, edgestitch along the placket to hold all the pleats in place. This stitch should catch all of the layers of the placket. At the bottom, continue sewing down to the end of the tail. Repeat this step to edge stitch along the left placket.
After both plackets are edgestitched, layer them with the right placket on top of the left placket and all tails tucked to the wrong side. Arrange and press until they are laying perfectly and the bottom of the placket is a straight horizontal line with no puckering. When everything looks nice, stick a pin horizontally through the bottom of the placket. Make sure the tails are not caught in the pin.
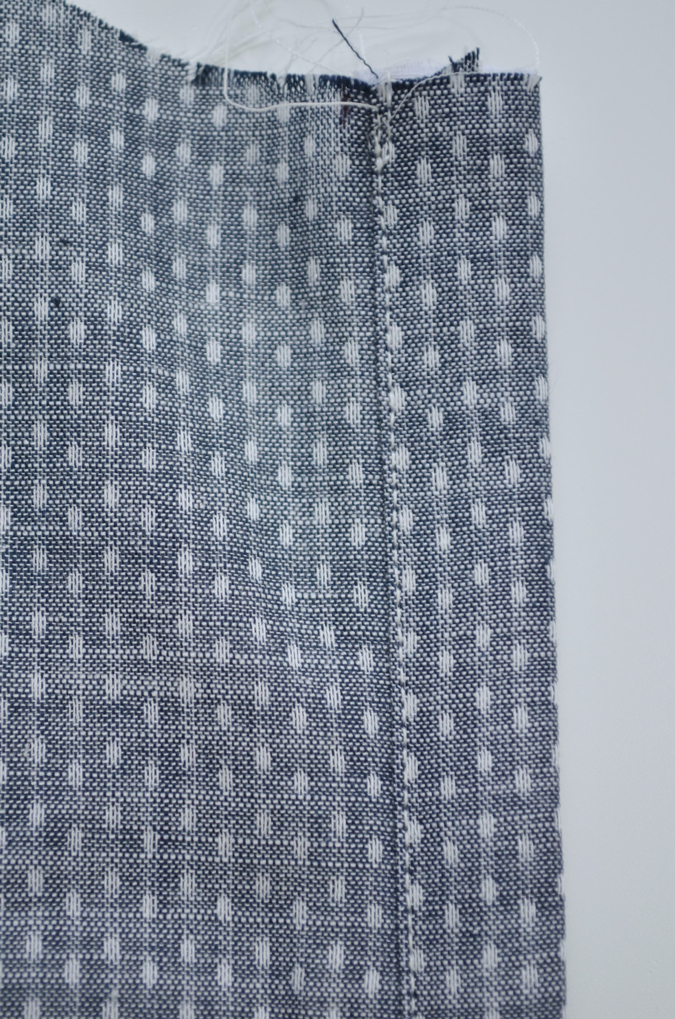
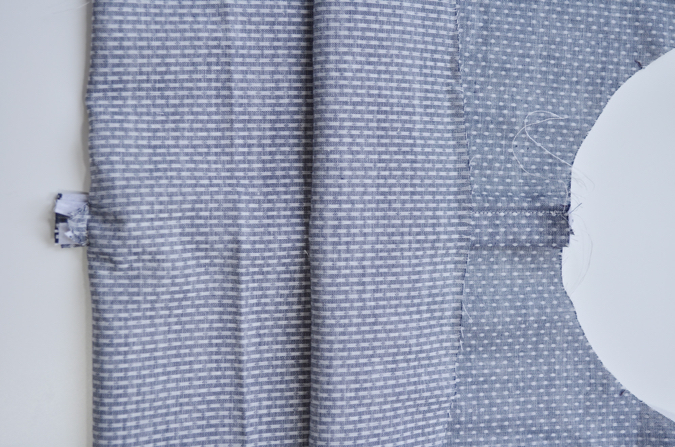
Flip the bottom of the shirt up to reveal the tails on the wrong side. The small triangle you cut into the corners should be visible on top.
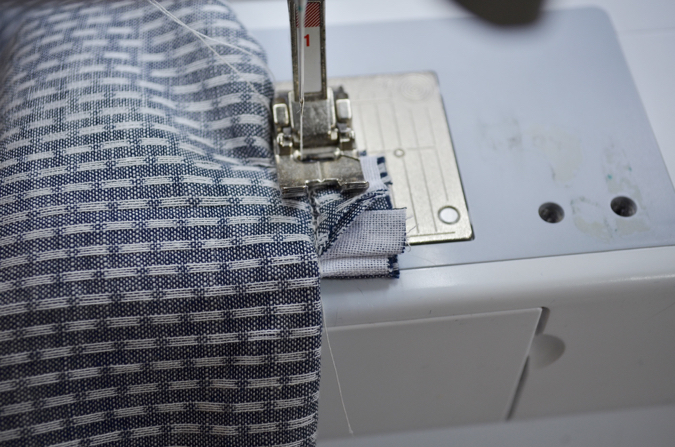
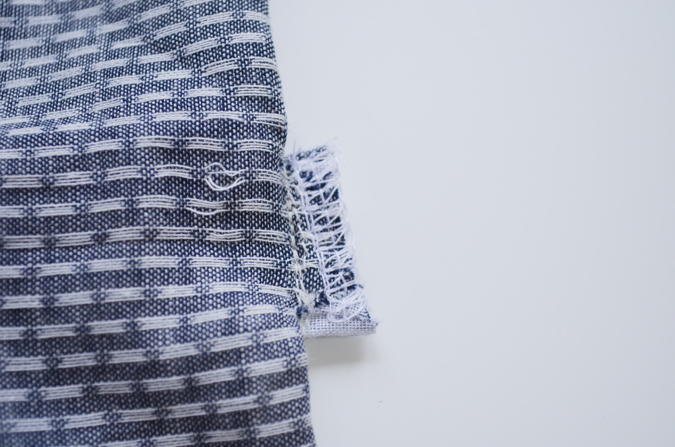
Sew across the placket tails, as close to the shirt as possible without catching the shirt in your seam. Because it is such a short seam, I like to sew across the whole thing and then backstitch all the way back to the beginning instead of back stitching at the beginning and end. This will also keep the placket really securely in place.
Finish your placket tails with your desired method. Serge, zig zag stitch, faux-overlock, or even cover with a scrap of fabric if your shirt is not too thin or sheer.
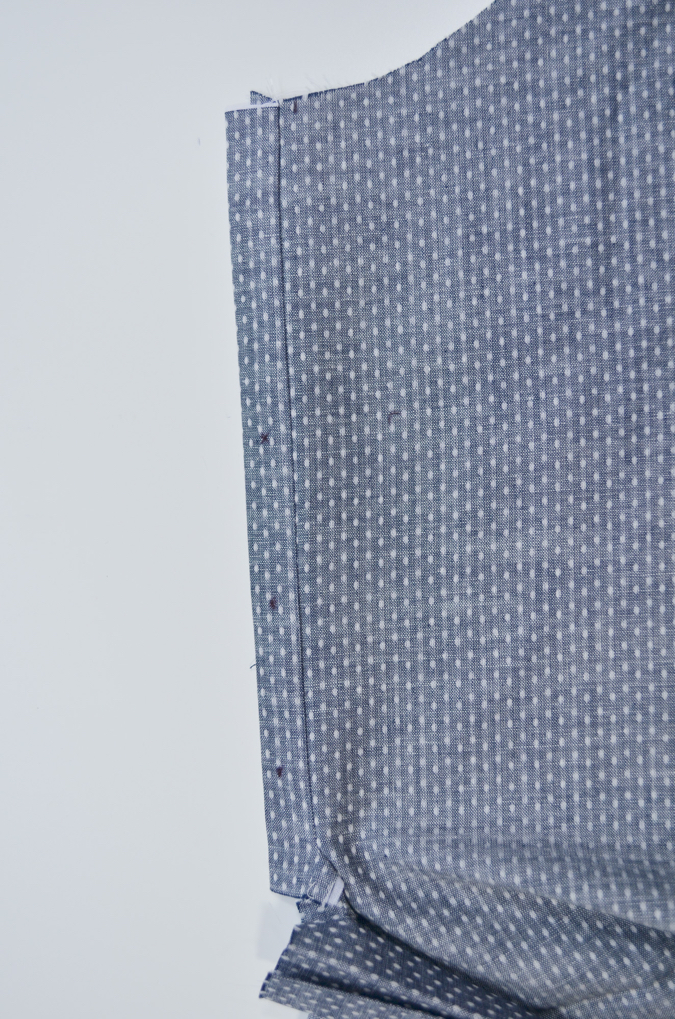
Flip your shirt to the right side and VOILA!!! You made a hidden button placket!! You can choose to sew the buttons onto the left placket where marked now or after the rest of the shirt is completed.
Now go take a break and celebrate your awesome sewing skillz! We’ll meet back here tomorrow to make a pocket!


Wow! Thanks for this tutorial! I’m not sure I could have done the placket without it!! Very clear and easy to follow! My placket looks great!
So glad to hear that Michelle! Happy that the tutorial was helpful!
I did my placket right this time, I have hidd3n buttons, lol. Waiting for day 3 now. X
Wow great tutorial. I am so happy with my placket. Thanks a million