Biscayne Blouse Sew Along
Day 1: Cutting, Interfacing, & Marking
Day 2: Plackets
Day 3: Pockets
Day 4: Neckbands
Day 5: Arm Binding & Hemming
We’re over halfway there! Only two more days and you’ll have a finished shirt! Today we’re going to attach the neckbands, but before we can do that, we need to sew the shoulder seams.
The internal seams on the Biscayne are all french seams. This will make your garment durable and beautiful inside and out. It’s one extra step but completely worth it.
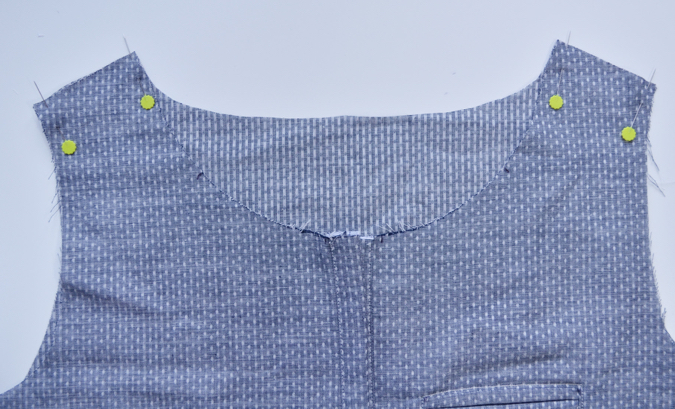
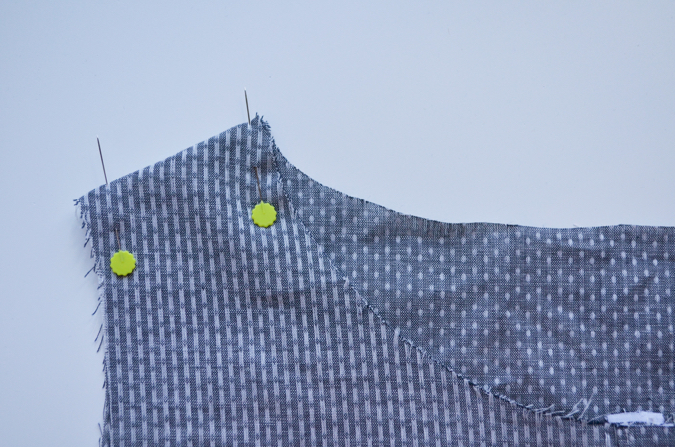
So, start by pinning the shirt front and back together at the shoulder seams WRONG sides together. This will feel so weird, I know. I usually triple check because my brain can’t handle it.
Sew the shoulder seams using a 1/4″ seam allowance. Press the seam allowances to the back. If your fabric frays easily, you might have to trim the seam allowance so it has a nice flat edge with no stray threads.
Now turn the shirt inside out and pin the shoulder seams RIGHT sides together.
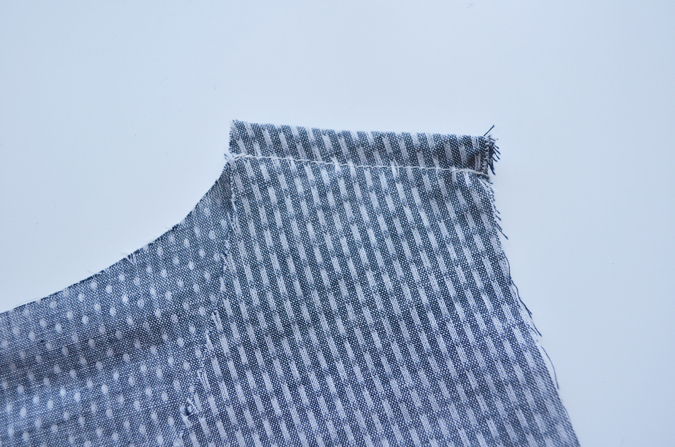
Sew the shoulder seams using a 3/8″ seam allowance, enclosing the seam allowances from your first seam. Again press the seam allowance toward the back. And that’s it! A beautiful french seam. Now we can move on to the neckbands.
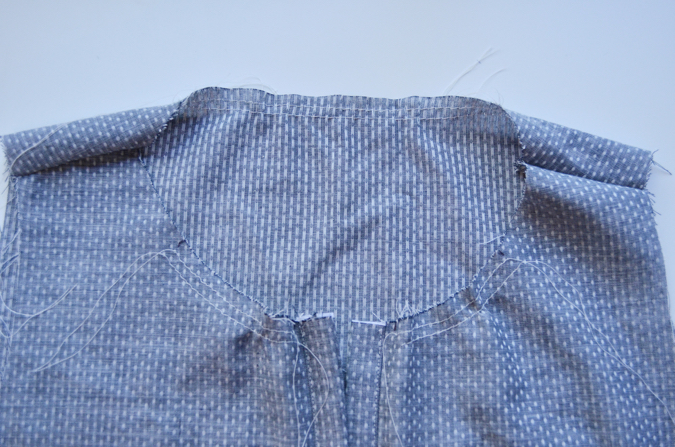
Sew two parallel gathering stitches where indicated on both sides of the front neckline and the center back neckline. Use your longest stitch length and leave long thread tails at the beginning and end of the seam. Don’t pull the threads to gather yet.
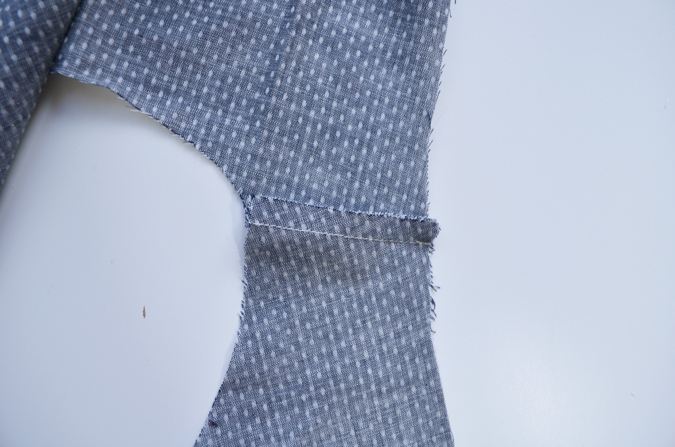
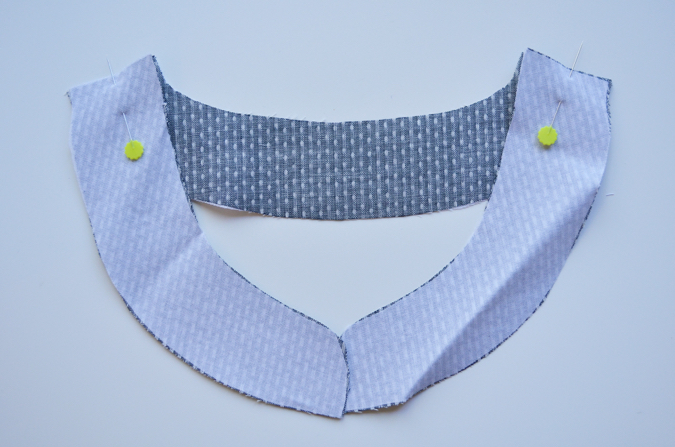
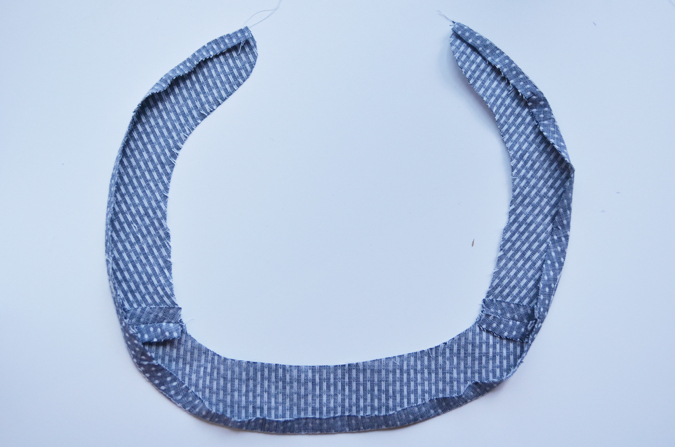
Pin the neckband fronts to the neckband back at the shoulder seam, right sides together. Sew using a 3/8″ seam allowance. Repeat this process for the neckband facings. Just a note: traditionally the facing of a pattern piece will be interfaced, but because this blouse can be made with sheer and lightweight fabrics, the neckband itself is interfaced to prevent the seam allowances from showing through the fabric on the right side.
Press the seam allowances open on the neckband and neckband facing.
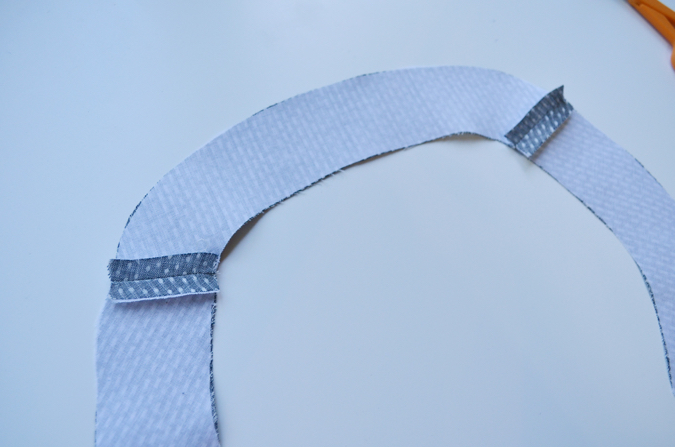
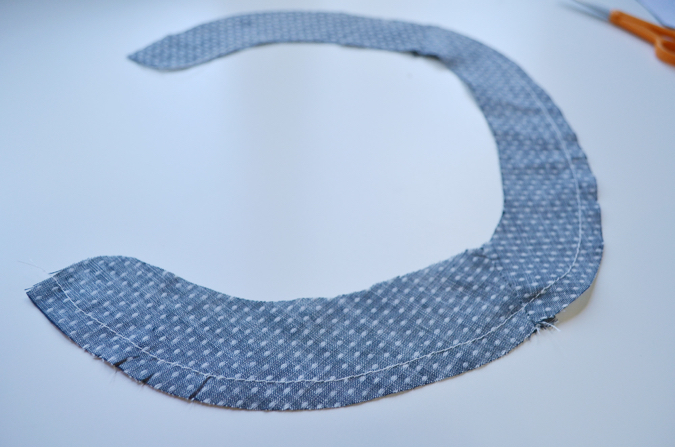
On the neckband facing only, sew around the outer edge using a 3/8″ seam allowance.
Use that seam as a guide to press the neckband facing to the wrong side along the outer edge.
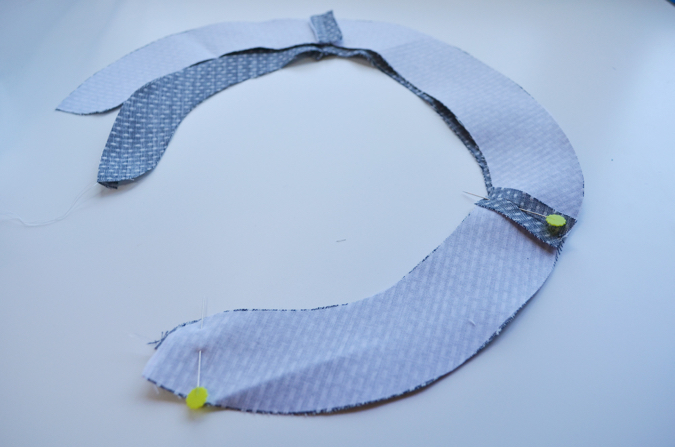
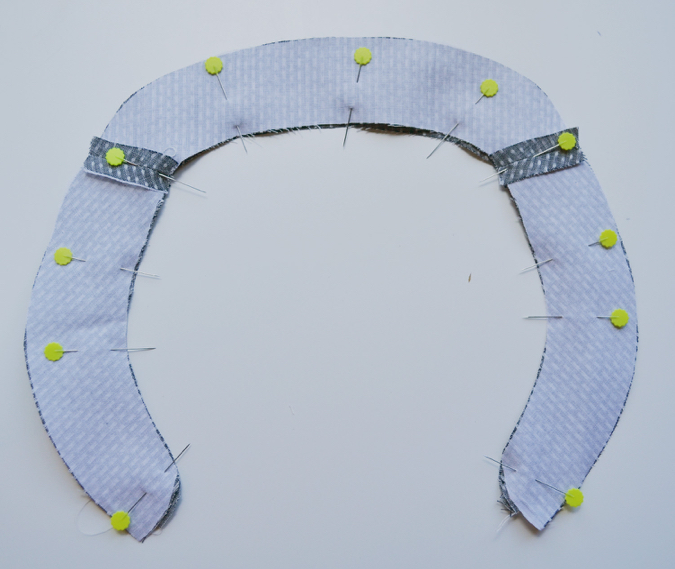
Lay the neckband and neckband facing right sides together and pin. Be sure to align the center fronts and shoulder seams first, and then continue pinning between them. The neckband facing will have a tendency to stretch because it isn’t interfaced, so err on the side of too many pins here.
Sew the neckband and neckband facing right sides together along the inner edge. Begin sewing at the fold of the facing.
Trim your seam allowances to about 1/8″.
Open up the neckbands to reveal the seam allowance. Press it toward the facing (it’ll naturally go that way because of the stiffness of the interfacing).
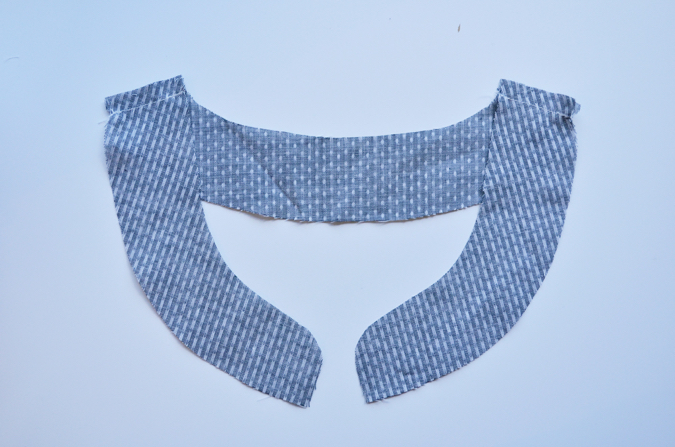
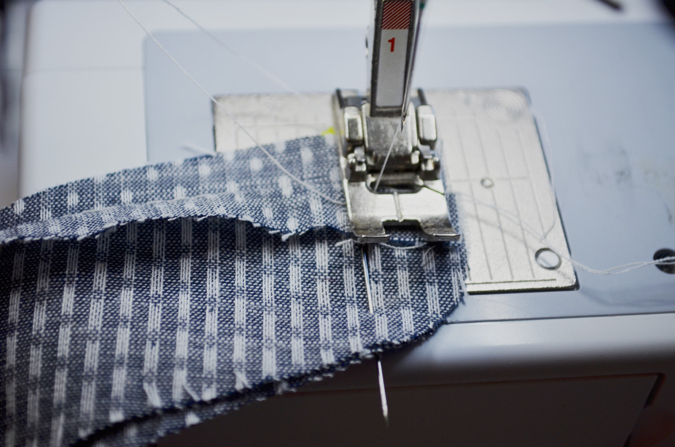
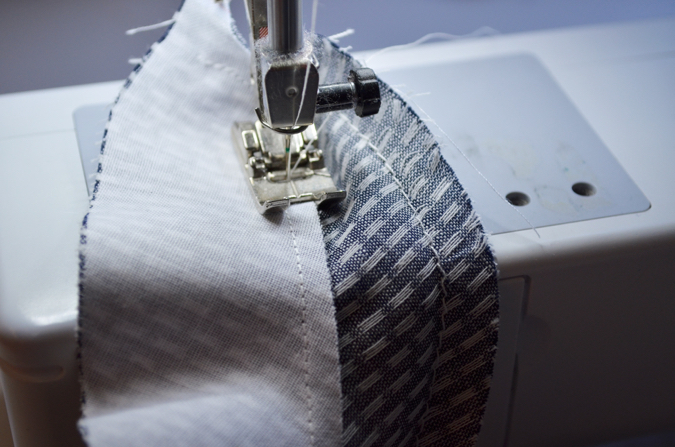
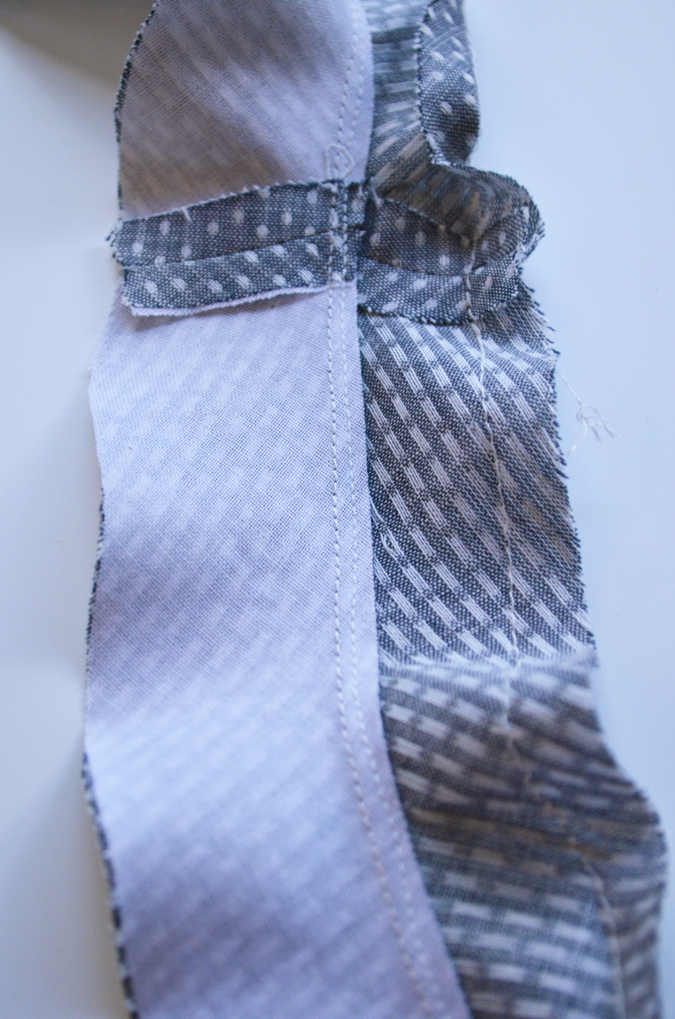
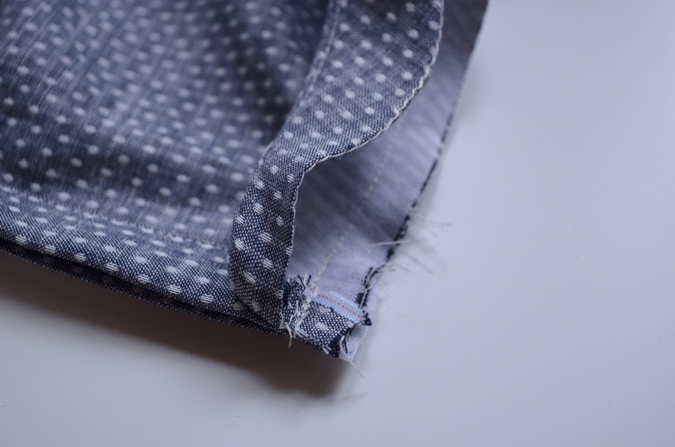
Now you’re going to understitch the neckband. Understitching is a technique that will make your faced pieces lay nicely on any garment and just add that extra level of professionalism. It’s only one extra seam and it’s worth the effort! To understitch the neckbands, sew the seam allowances to the neckband facing. This seam will show on the inside of the garment, so be sure to maintain an even distance from the first seam line . You won’t be able to sew all the way into the corners of the neckband, so just sew as closely as possible and then lock your stitches on either side.
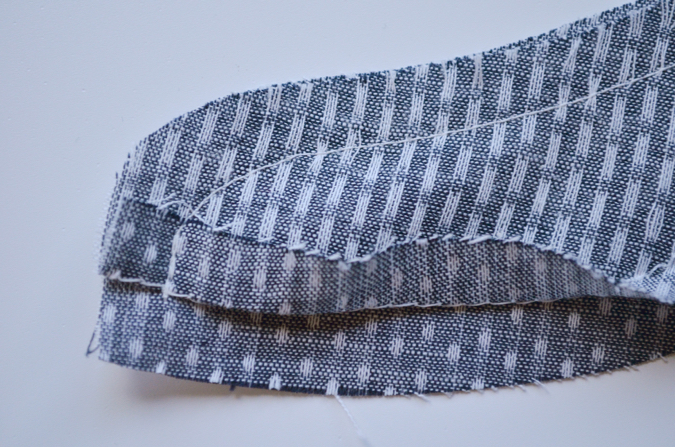
See that double line of stitches down the middle? The left one is the original seam, the right one is the understitching.
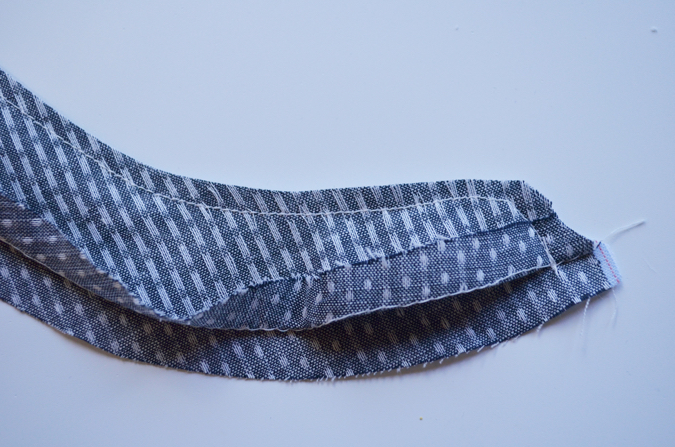
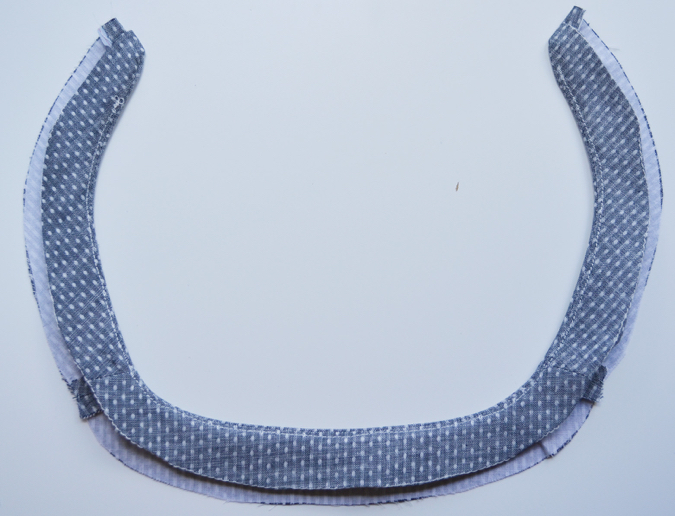
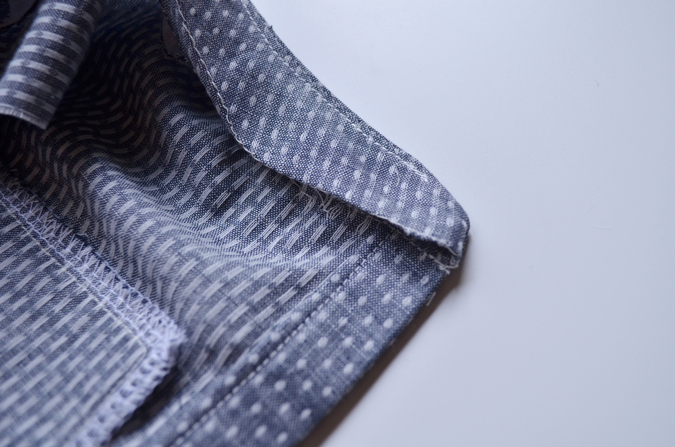
After understitching, your neckband will be easy to turn right sides out. You can see my understitching in this picture. Notice how it stops short of the corners. Press the neckbands really well.
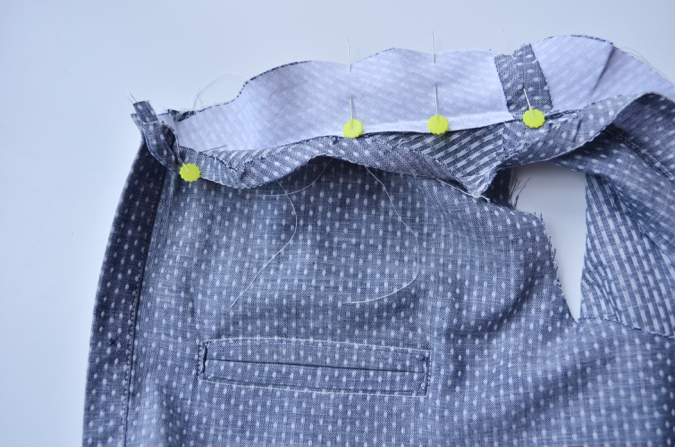
Now you’re ready to attach the neckband to your shirt! Start by opening up the neckband and aligning the center front of the neckband with the center front of the shirt. Make sure you leave the neckband facing free. Pin the neckband to the shirt. Next, align the shoulder seam of the neckband with the shoulder seam of the shirt and pin. Again, make sure you don’t catch the neckband facing in the pin. Continue pinning the neckband to the shirt up until the point where the gathers begin. Do this all around the neckline.
After everything else is pinned, gather the shirt by pulling on the bobbin threads until the shirt neckline aligns with the neckband. Arrange the gathers evenly and then pin them in place.
Once everything is pinned, begin sewing the neckband to the shirt at the center front. Make sure the neckband facing isn’t caught in your seam. As you sew over the gathered sections, use your left hand to pull the shirt taut and adjust the gathers so they remain even and don’t form a pleat.
Sew all around the neckline until you reach the opposite center front. Make sure your stitch line comes right up to the fold of the neckband facing without catching it. Depending on the weight of your fabric, you can clip the center front corners. This fabric was very thin, so I left them in place. The seam allowances here can actually help your neckband sit up properly.
Flip the neckband facing to the wrong side of the shirt, making sure the seam allowances are enclosed and your pressed edge is turned under along the seam you made as a guide.
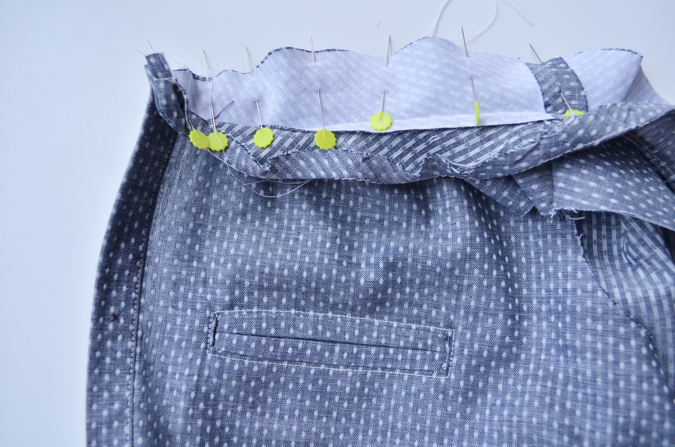
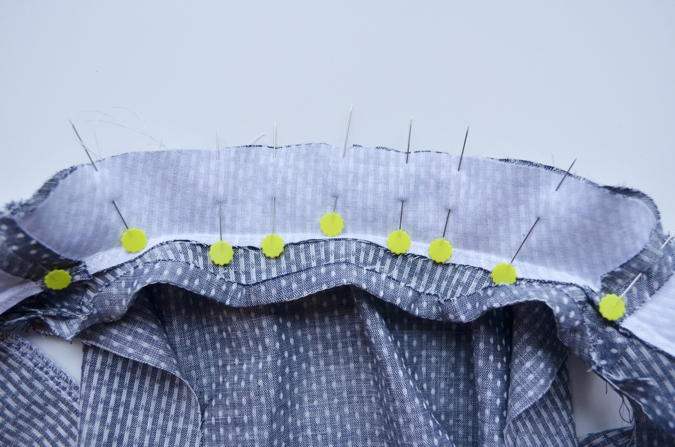
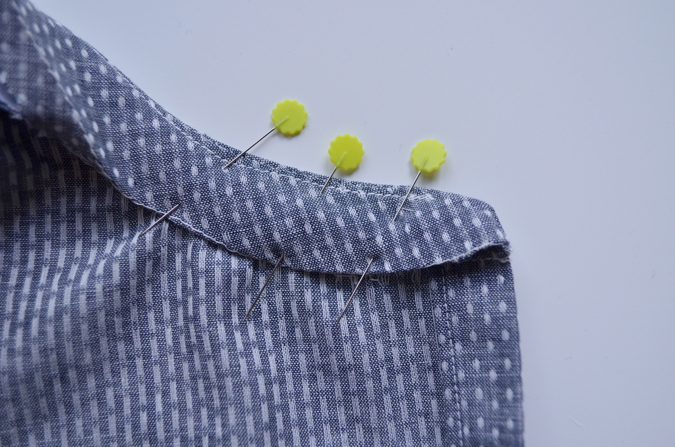
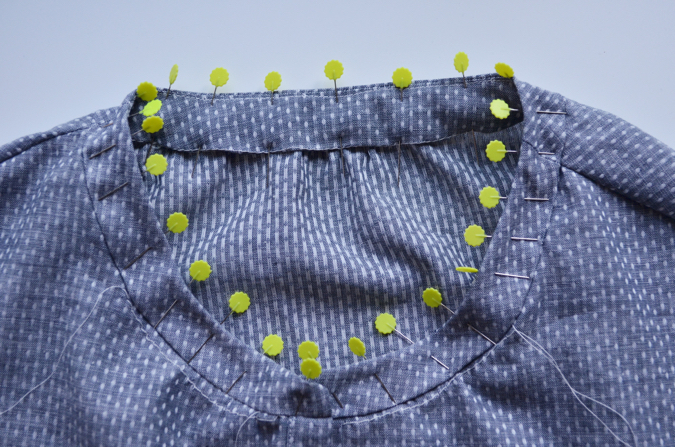
Begin pinning around the neckband, keeping everything aligned and turned under as you go. I’m not a big pinner, but I pinned at least every inch around the neckband and found it worth the extra effort. When I used fewer pins, I missed the neckband facing while sewing, or it was very uneven. Pinning like crazy guaranteed a perfect result.
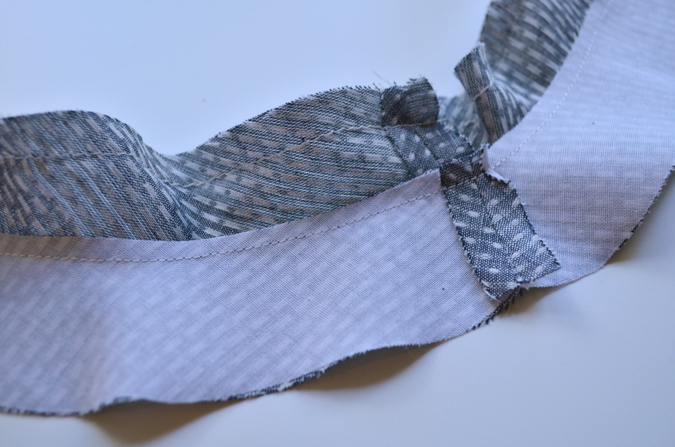
Did I mention pin like crazy? Side note: If you want to add a tag to your shirt, insert it between the neckband and neckband facing in this step and pin it in place. When you sew in the next step, it’ll be caught in the seam.
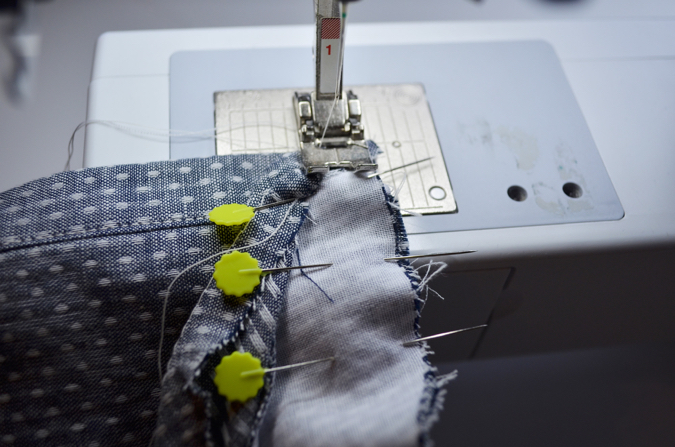
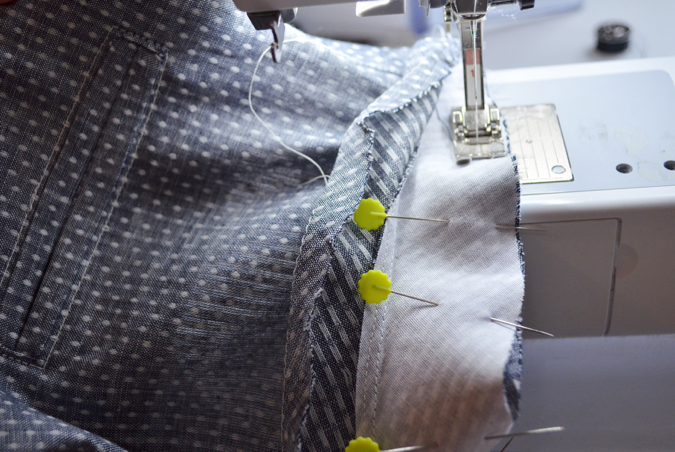
Edge stitch around the neckband’s lower edge, catching the neckband facing on the inside. A crazy amount of pins should guarantee that the neckband facing is totally caught in your seam, but I also find it helpful to keep one hand on the inside of the garment as I sew just to make sure. When you’re finished sewing, press the neckband and the gathers on the shirt really well. Remove your visible gathering stitch.
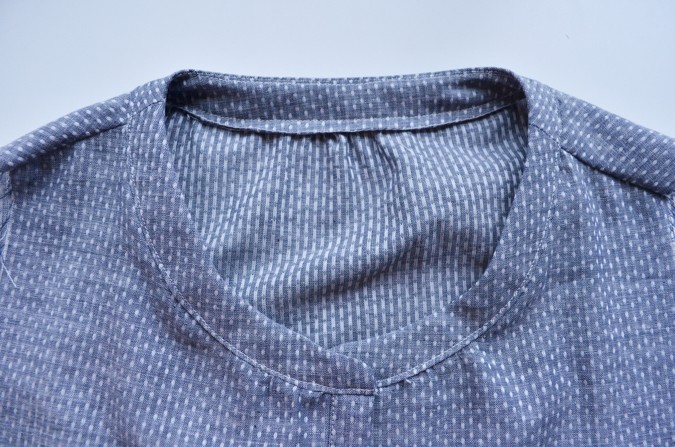
And that’s it! A beautifully finished neckband! Come back tomorrow for our last day where we’ll finish the arms and hem!

This does look promising. I’ll keep coming back for more.