Please join me in welcoming Lindsey from A Closet Handmade! This lady is not only a prolific sewist but she makes the best pattern hacks too! Today she’s sharing her City Park Tee turned cardigan tutorial! You could also use this tutorial with the Camden Raglan or Morrison Tee for juniors!
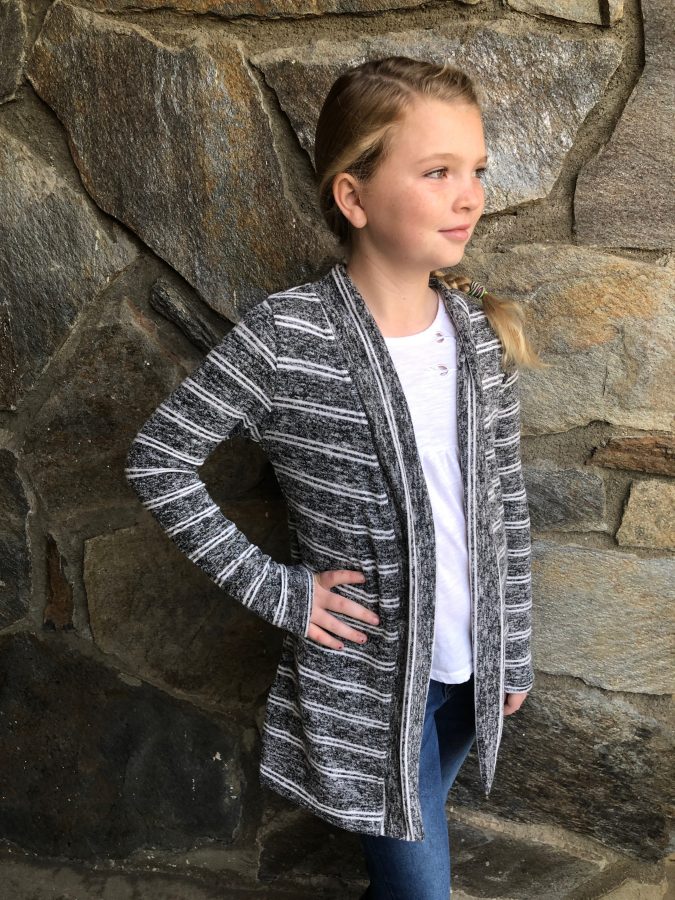
Hello there. Recently I requested a girls cardigan patterns when Adrianna from Hey June Handmade rescued me by pointing out I could use this hack and use the City Park Tee pattern. I love to use Hey June Patterns as I find the fit to be great across all sizes, girls to women. They are dependable and great for lots of hacks.
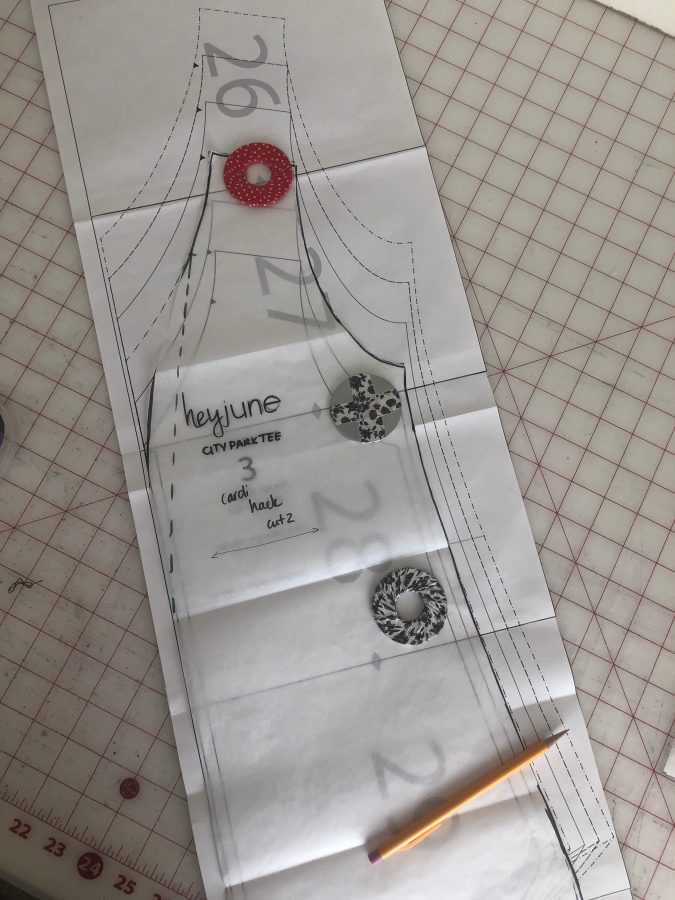
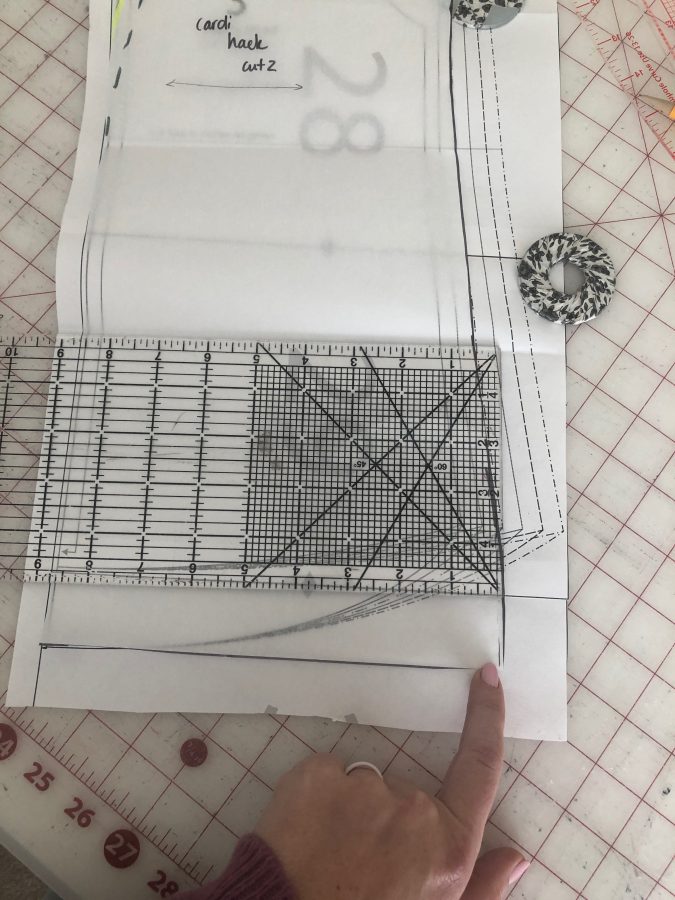
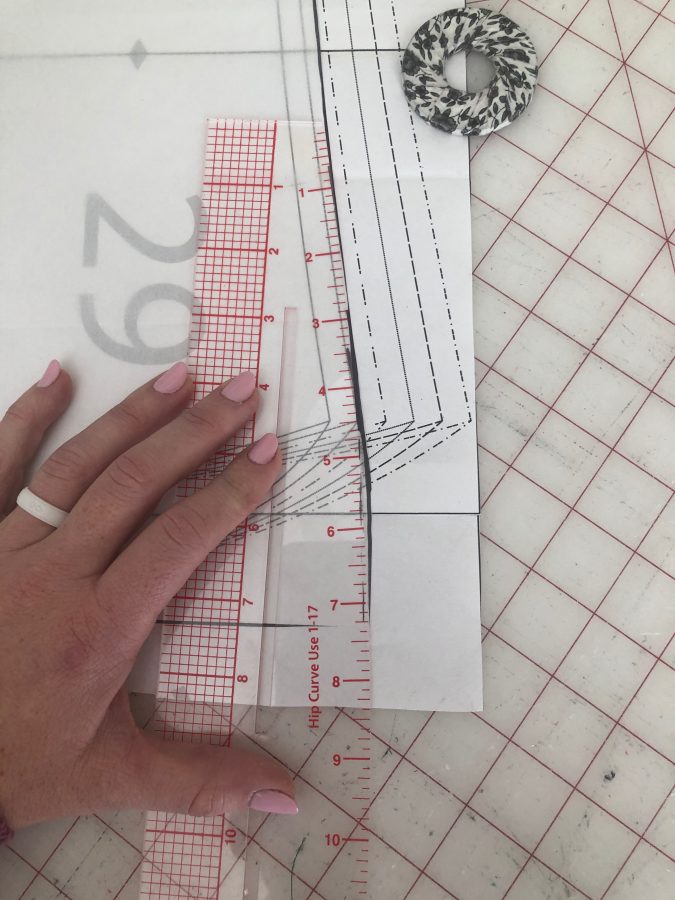
You will want to look at the size chart and determine the size as you normally would. For my girl I choose a size 10. You will use the sleeve pieces as is and the back will only need slight adjustment. You can utilize either the v neck or crew neck front but I preferred the v neck. Since I’m team trace I traced off the front and then played with new cut line as you can see below.
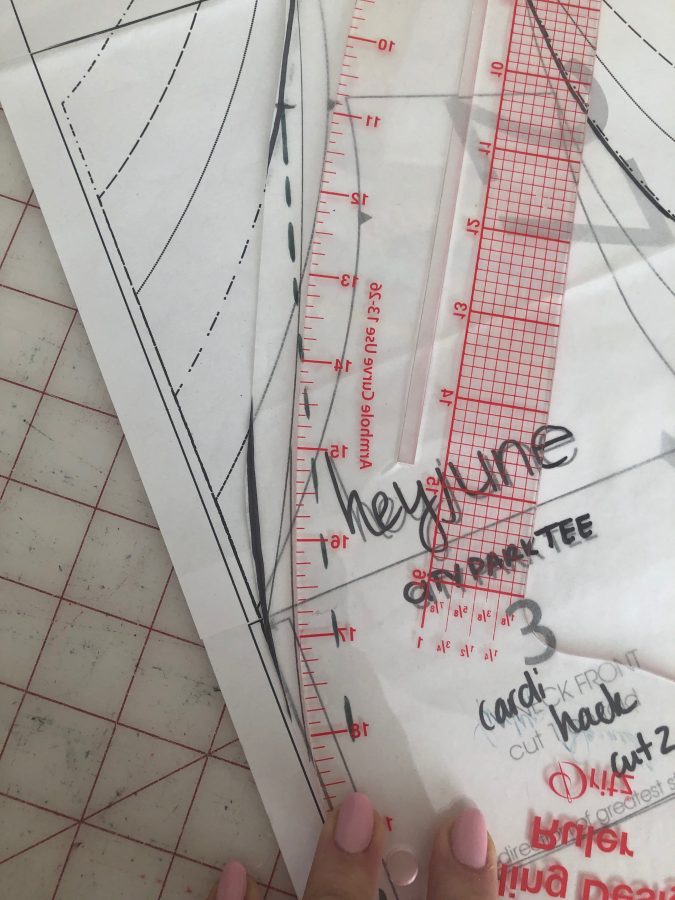
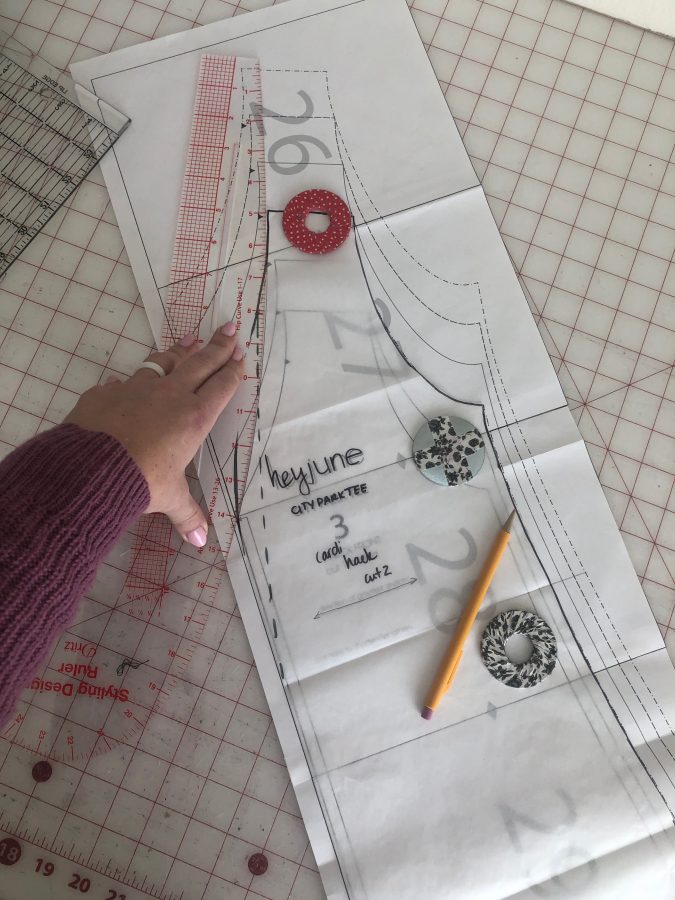
I used my design ruler to create a new line coming off the v neckline, and then slid the design ruler to blend it into the straight cut line (was previously the fold line). I have highlighted the line I ended up choosing. You do not need a design ruler for this, you can definitely free hand it and get a great result. For a little girl, there are less curves in the front bodice so you’ll want to make sure the angle is a little straighter than you would for an adult women (the bust can lift up a seam that’s a bit more curved). You get it. The only other modification I made to the front pattern piece was to lengthen it to the longest point on the curved hem and bring this line out straight to the side seam. I then used my hip curve to round it ever so slightly. The amount that you curve your side seam is up to you, I like mine pretty straight on a long cardigan. The back pattern piece also needs to be lengthened and the side seam made identical to the front.
Assembly is pretty straight forward. Sew shoulders right sides together. I did this on my serger and used clear elastic for increased stability. Once my shoulders were serged I attached the sleeves and finally sewed up the body and down the arms. At this point I took the cardigan back to the cutting table and measured the bottom hem (see below- ignore my slipper) . In the adult hack you’d do this in 3 pieces, for this the girls version I’ve cut it as one piece, mine was 5” x 33”. This was cut with the greatest stretch as was the body of the cardigan. This is important as you’d want to bottom hem to have good stretch for movement. I attached this with my serger after folding it in half the long way. I left the folded end unfinished. I will be attaching a band from the hem to the back neck. For this I measured from the hem to center back and cut two 5” strip that length (plus .5” for seam allowance at the back of neck and hem, if you were using a sewing machine rather than a serger you want to increase the amount to about an inch for a ⅜ seam allowance or 1 ¼ for ⅝ seam allowances. I finished one end by folding right sides together and serging it. Then I turned it right side out and attached it from the bottom until I reached 2” from the center back. I repeated this process on the other side. Then joined the side. When doing this open the fold and sew them them flat. When you fold them together and attach them you will have a clean finish. I should also note for this version I cut the neck band the opposite direct of the main body as I wanted a vertical stripe, you could do it either way if the fabric has the appropriate stretch.
(As mentioned at the top of this post I utilized Adrianna’s tutorial. I’d highly suggest you check that out too – the illustrations make it so clear.)
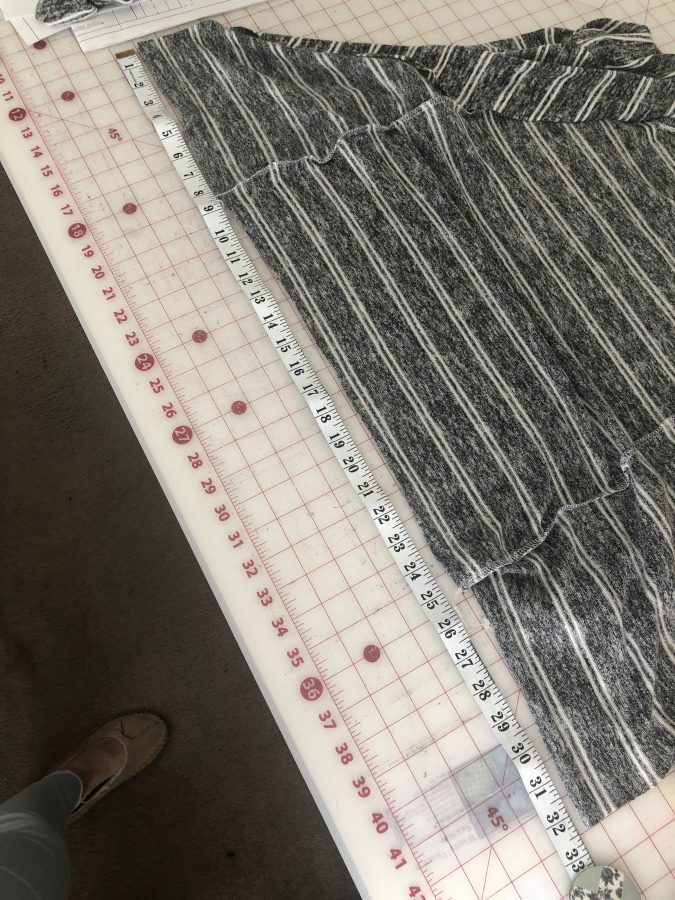
At this point it should have a finished hem from the bottom band and a finished front seam from the band you just attached. On this cardigan I opted to finish the seams from the bands with my coverstitch. I think the result is a very clean finish.
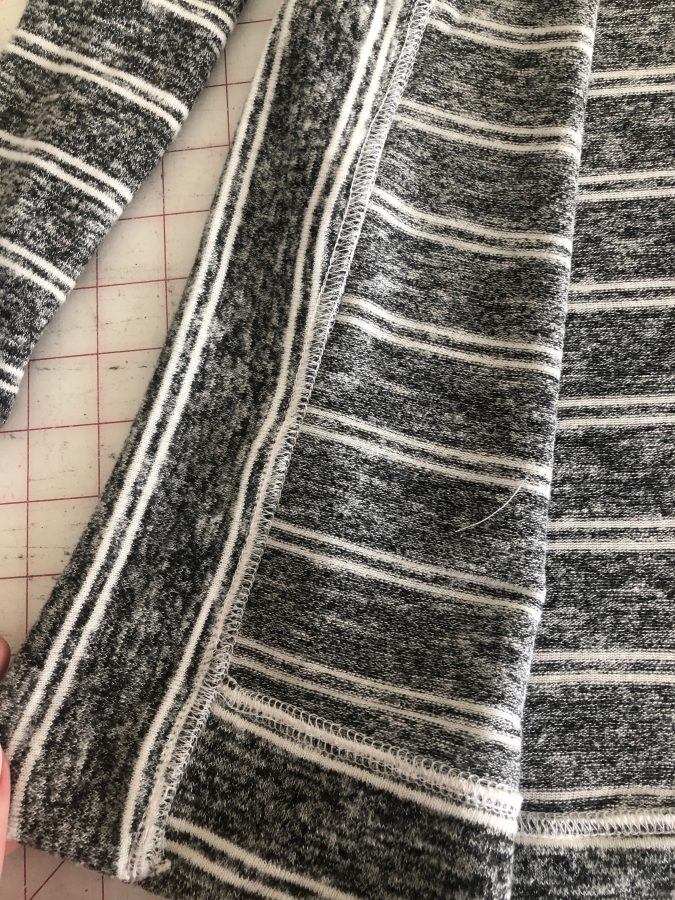
Lastly, the hem of the sleeves needs to be finished. Since I cut the sleeve as the pattern was written I was able to follow the pattern directions and finish them that way. If I had wanted, it would have been easy to remove some length from the sleeve and add a cuff. I have done this on subsequent cardigans, even make a long cuff with a thumb hole.
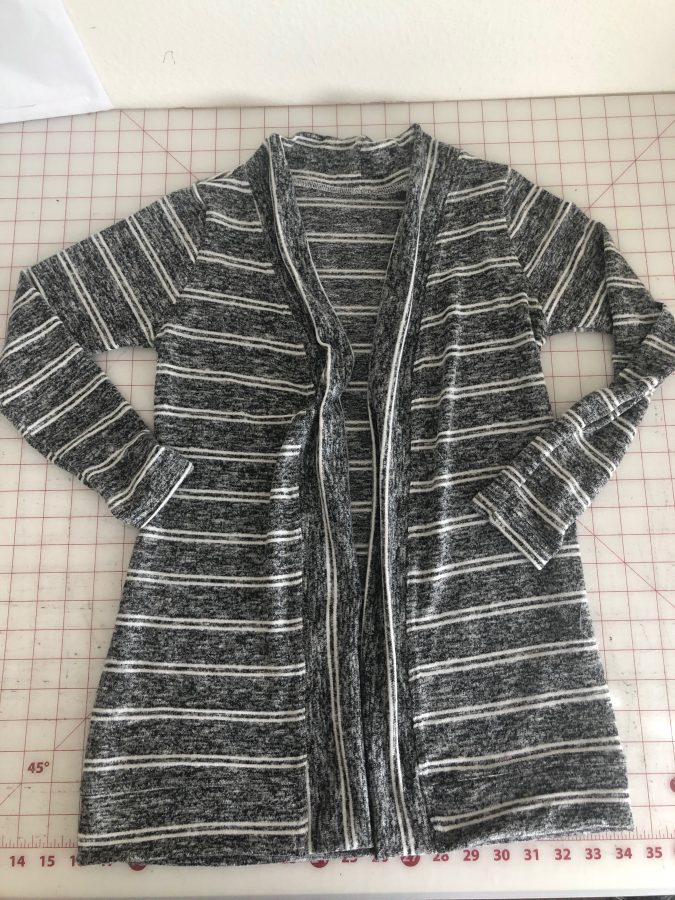
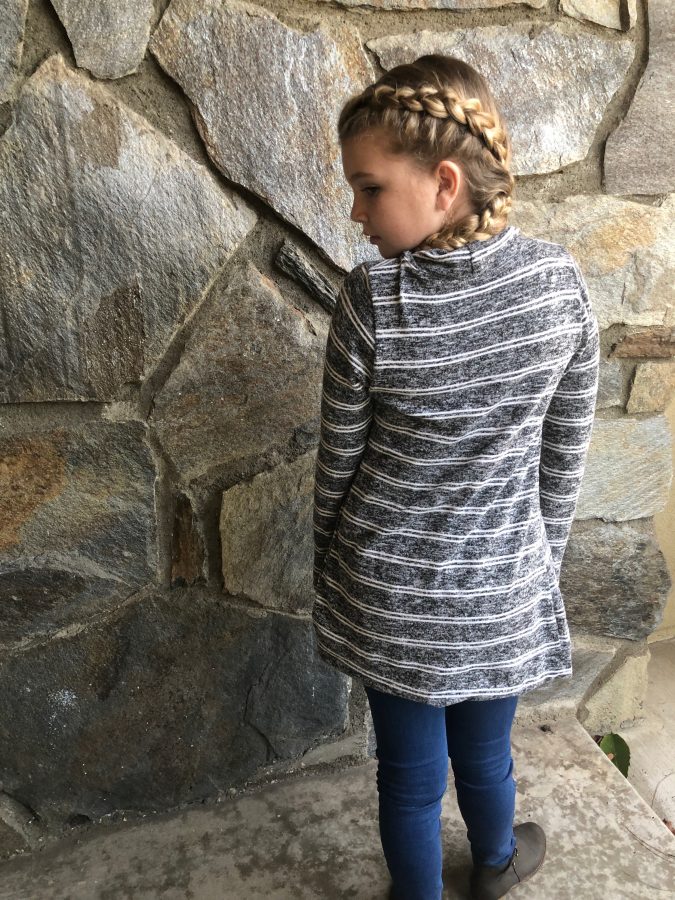
Thank you so much for sharing this super useful tutorial, Lindsey! As we move into spring, my kids definitely need some light weight layers, and there’s nothing I love more than a pattern hack!

This is fabulous! My girls will love this!!