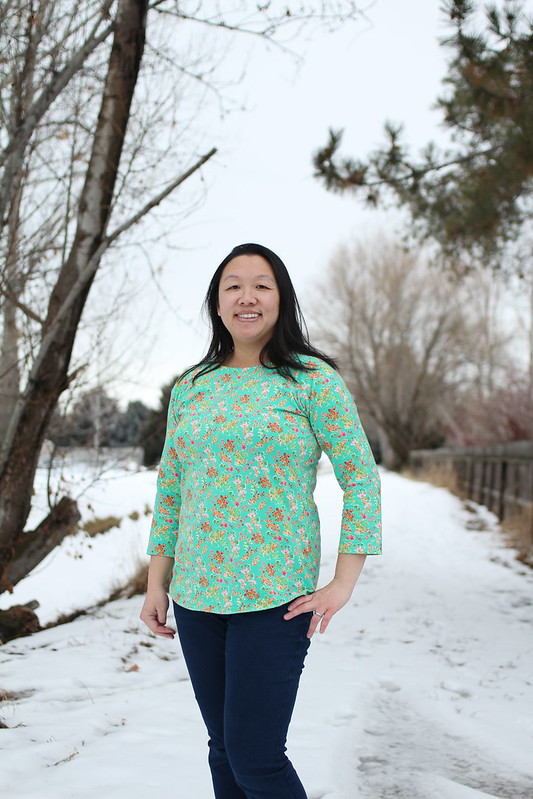
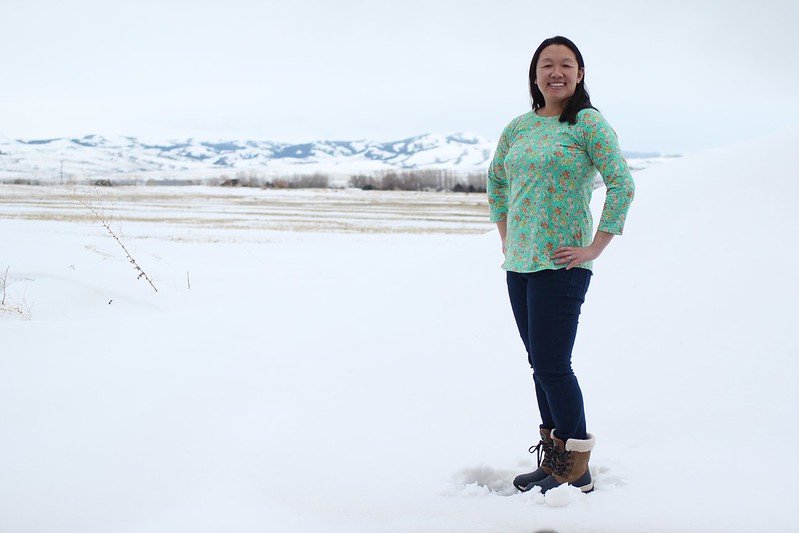
Today I’m welcoming Emily back with her tutorial to add a faced yoke neckline to the Lane Raglan! I love how this elevates a simple knit basic to a top that could be work appropriate or great for an evening out!
Hi! I’m delighted to be here today to share a fancier version of the Lane Raglan. This top is inspired by a blouse from Banana Republic that I picked up at a garage sale. I loved the wide yoke with the raglan design and how tidy the neck was finished. Unfortunately the blouse never really fit me; it was a little too short in some places and a little too snug in other places and the fabric was pilly. However, this is one of the best parts of sewing! – being able to make clothes that flatter our unique bodies! (I used cotton lycra for both of these tops! And my bryce cargos+ sandbridge skirt jeans are holding up well!) For this top (that I’ve called the Lanora (lane+aurora) in my head), I used the Lane Raglan and the facings from the Aurora Tee.


Prepare the pattern pieces
Trace the seam allowances (1/4 inch) on the Lane Raglan front bodice, back bodice, sleeves necklines and the top of the sides (where sleeves are sewn together). Trace the seam allowances (1/4 inch) on the facings from the Aurora Tee where the shoulder seams are joined. (I should’ve traced on the wrong side of the sleeves and back for this picture. Sorry!) Overlap the Lane Raglan and Aurora Tee pieces at the seam allowances you just drew. I used a little bit of clear tape to keep them from shifting around.
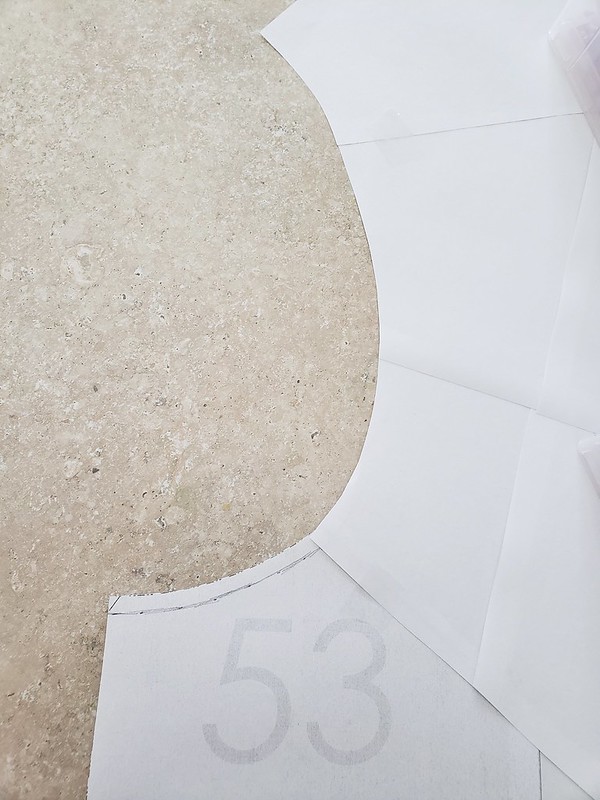
Place the Aurora Tee facings on top of the Lane Raglan with the center fronts and center backs lined up. You might notice my back pieces are off by less than a millimeter. Just line them up the best as possible, with the center front being the priority. I taped the facings down with a few tiny pieces of clear tape again. Trace the edge of the facing onto the Lane Raglan pieces.
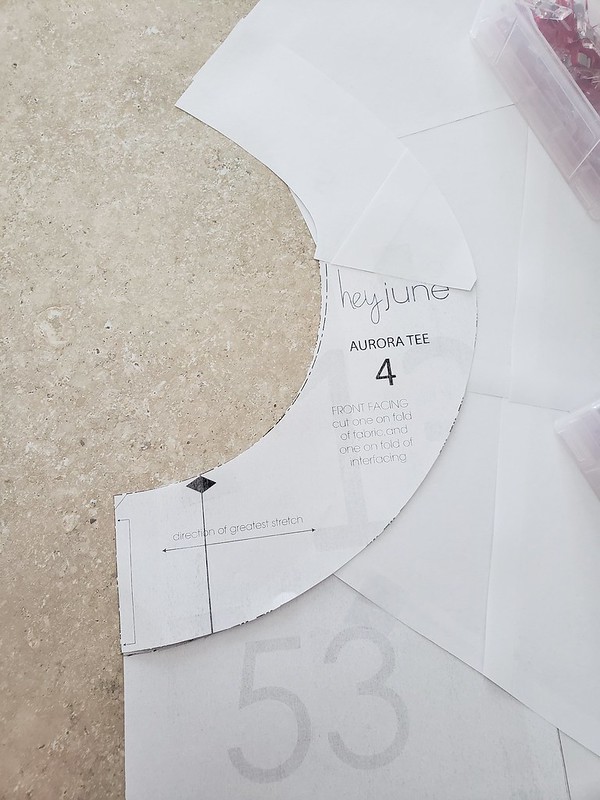
Carefully remove the facing. Your pattern pieces should now look like this.
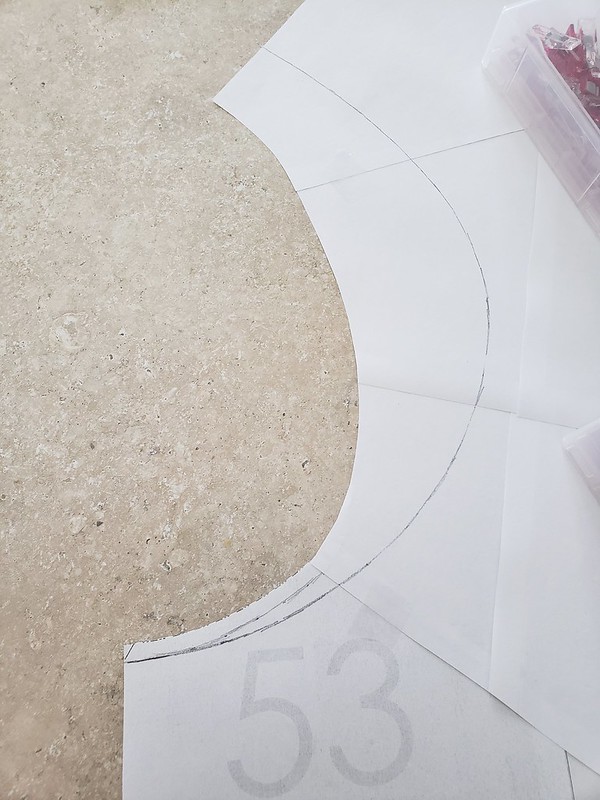
Now we need to add seam allowances back in to both the Lane Raglan and Aurora Tee pieces. I chose to use a 1/4 inch seam allowance to maintain consistency with the patterns. Do not cut the line on the Lane that we just traced!! Add in your seam allowance above the line we just traced (closer to the neck than the bodice) and then cut your pattern pieces at the newest line you drew. I found that I didn’t actually need to trim near the center front bodice at all and it tapered out from there. (somehow this photo got deleted from my phone 🙁 ) Add seam allowance at the bottom of the facing pieces. I like to trace mine onto scrap paper. Again, I used a 1/4 inch seam allowance (if you pick a different seam allowance, make sure you use the same one for your bodices/sleeves and facings).
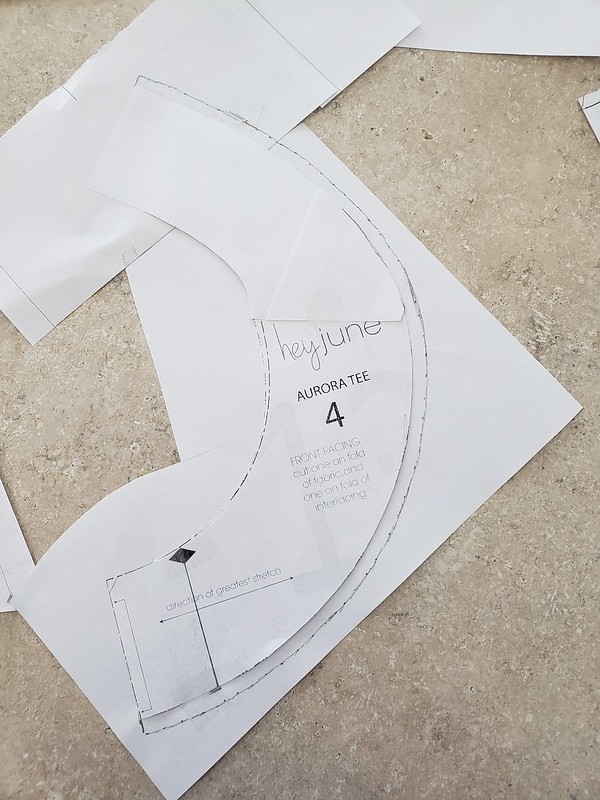
Separate the facings. Here you can see that my scrap papers didn’t overlap under the facing pieces but it’s simple enough to put them back where they belong.
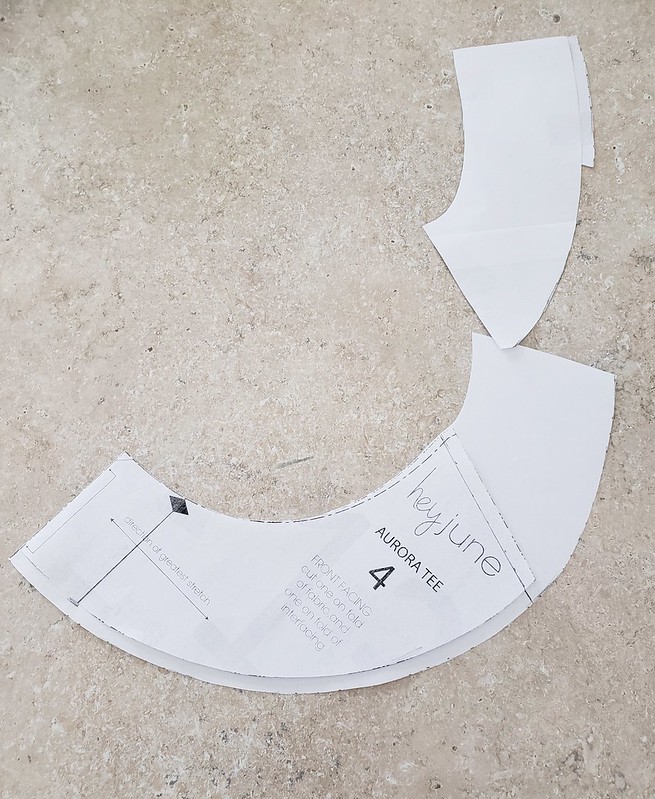
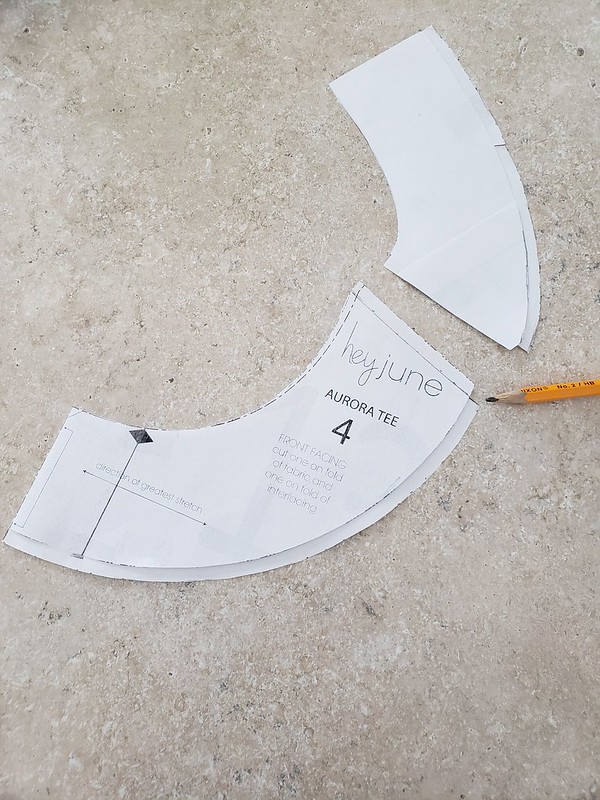
You can also draw in where the pencil is pointing (the seam allowance where the shoulders seams are) or you can fill it in when cutting your pattern pieces like I did. 😉
Cut and interface the fabric
Using your new pattern pieces, cut one front bodice, one back bodice, and two mirrored sleeves from the Lane Raglan. Cut TWO front facings and TWO back facings from your modified Aurora Tee facing pieces. Interface one front facing and one back facing with KNIT INTERFACING. (*note- I do not love interfacing because it makes my iron sticky but I have significantly better success when I use interfacing versus when I don’t. It’s a little inconvenient but makes the finished product so much cleaner/tidier/neater/easier to sew. You should not skip this step!) This will be the front/main/part that shows on your top. Clean your iron if needed. (optional- you can trim the bottom of the non interfaced facings by about 1/8 inch now or you can trim later. It’s much easier for me to trim later).
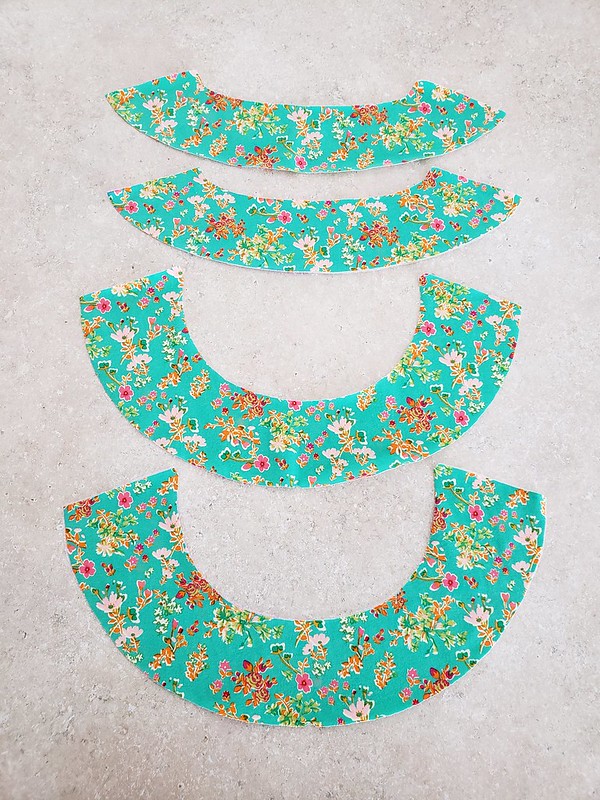
I also found it helpful to add a notch to the center of the front and back facings on both the top of the fold line and the bottom of the fold line. The center front of the front and back bodices already have notches. 🙂 You may consider marking your front (or back) of your sleeves as they look very similar after our modifications.
Time to sew!
Sew your front and back bodices to their sleeves, right sides together. Press your seams.
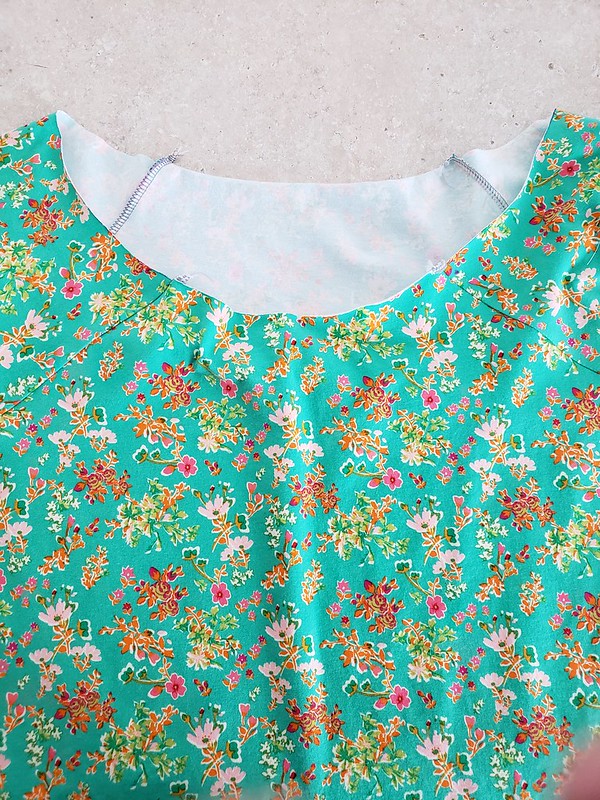
Sew your front and back facings together, right sides together. (Make sure to sew your interfaced pieces together!). I like to use a narrow zigzag stitch so I can press my seams open but a serger works well too.
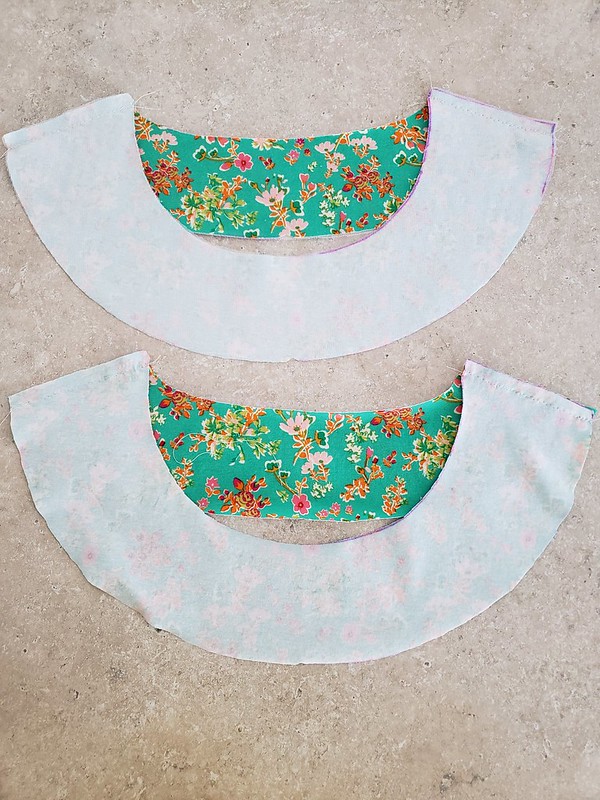
Right sides together, use your regular sewing machine to sew your interfaced facings and the noninterfaced facings together at the neck opening, matching shoulder seams and notches. I used a narrow zigzag again.
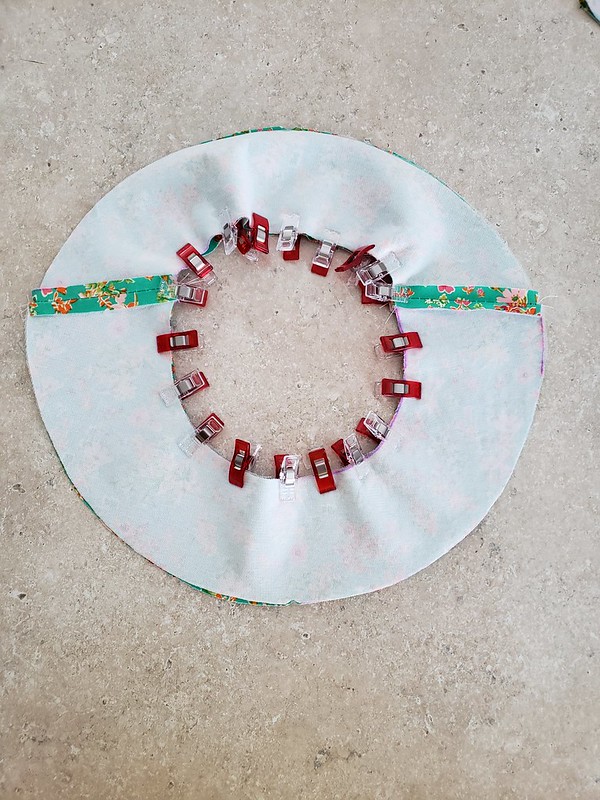
Trim about half of the fabric between the new seam and the raw edge.
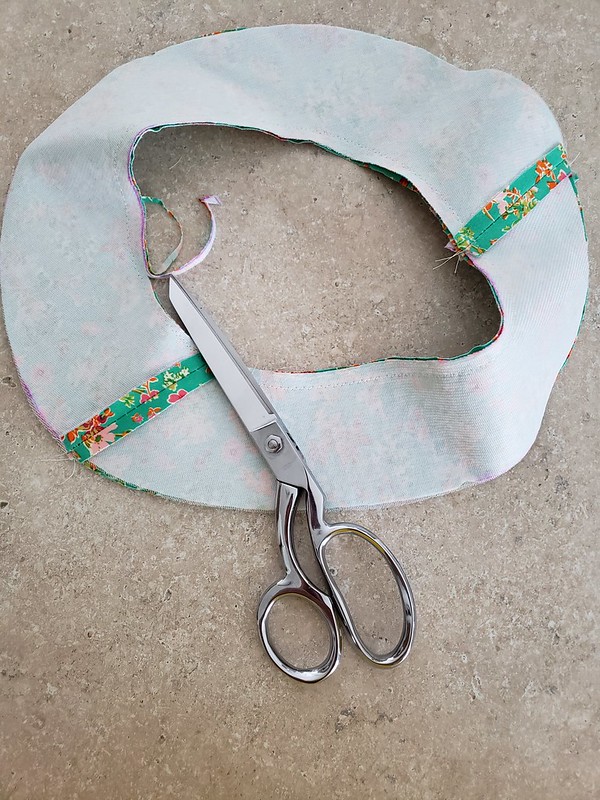
Open up your pieces and press all of the fabric towards the non interfaced pieces. Understitch. I used a wider zigzag stitch. You will only be stitching onto the non interfaced facings!
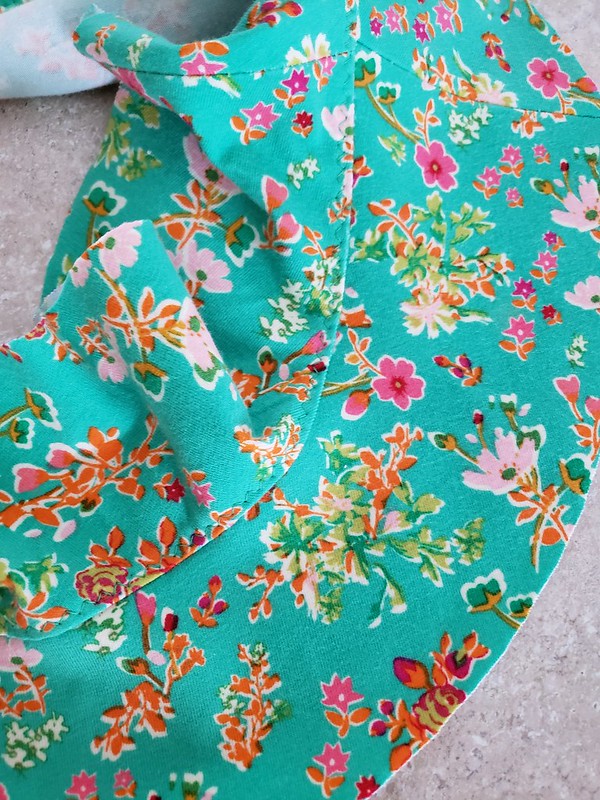
This is what it looks like from the wrong side/inside.
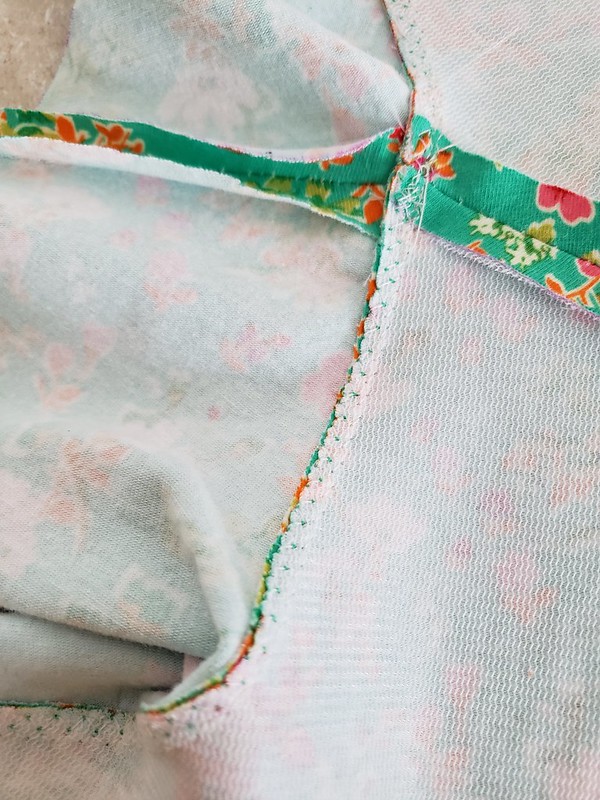
With your facings now wrong sides together (right sides out), press the neckline carefully, very slightly rolling the non interfaced piece away from the interfaced facings (so it doesn’t show from the outside when worn). Smooth out the non interfaced facings. If you trimmed your non interfaced facings in the preparation stage your raw edges should line up. If you didn’t (I didn’t!), you will find that your non interfaced facings extend a little past your interfaced facings because of the understitching and rolling the stitching away from the interfaced facings. Do not align raw edges unless you want bubbles/ripples. Carefully smooth out the non interfaced pieces and baste close to the edge of the interfaced facings with a narrowish zigzag stitch.
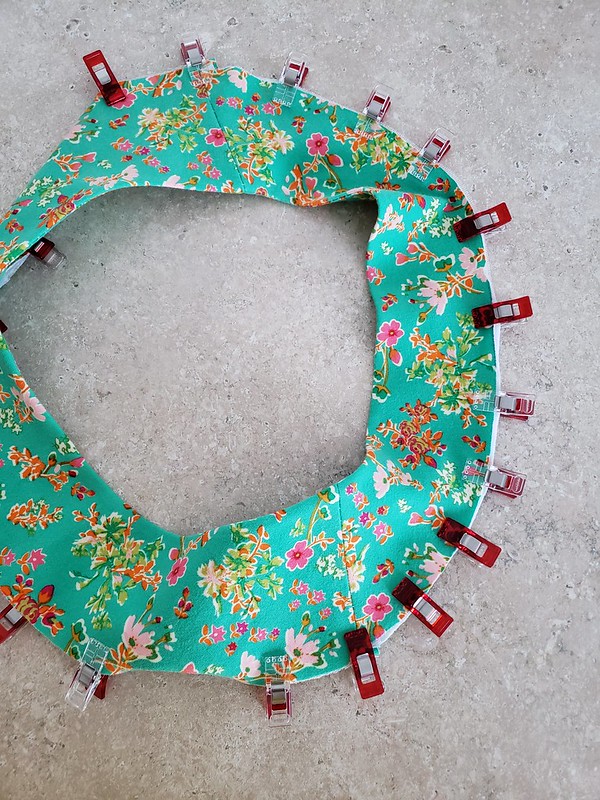
All basted and you can see the little bit of overhang. Trim the tiny excess.
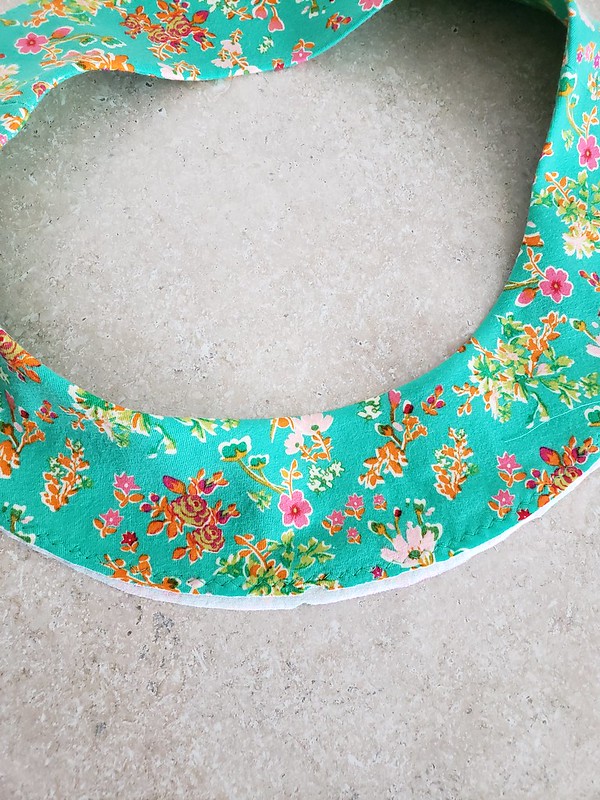
Right sides together, baste your facings to your shirt, lining up notches. Be sure you’re sewing the front facing to the front of the shirt. Check for any gathers/puckers and rebaste if necessary. When you’re happy with the seam, serge the facings and shirt together.
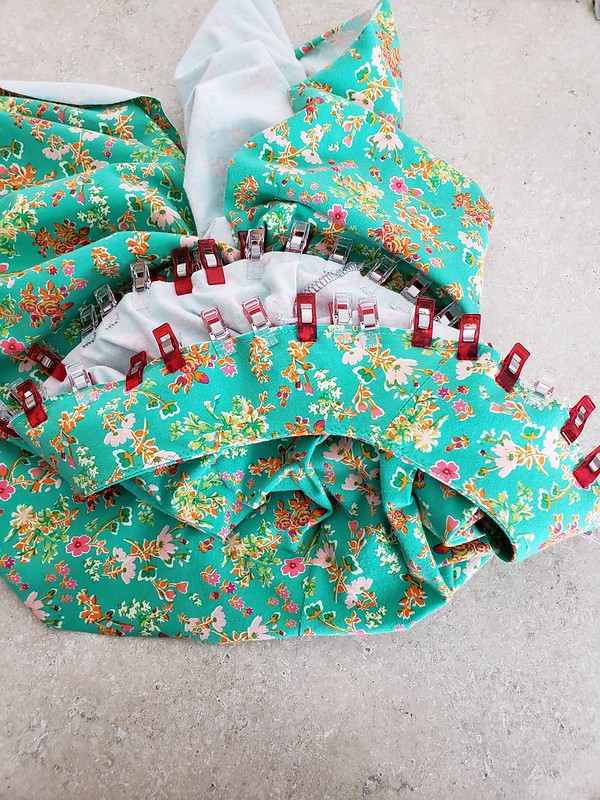
Turn right side out and press with a lot of steam.
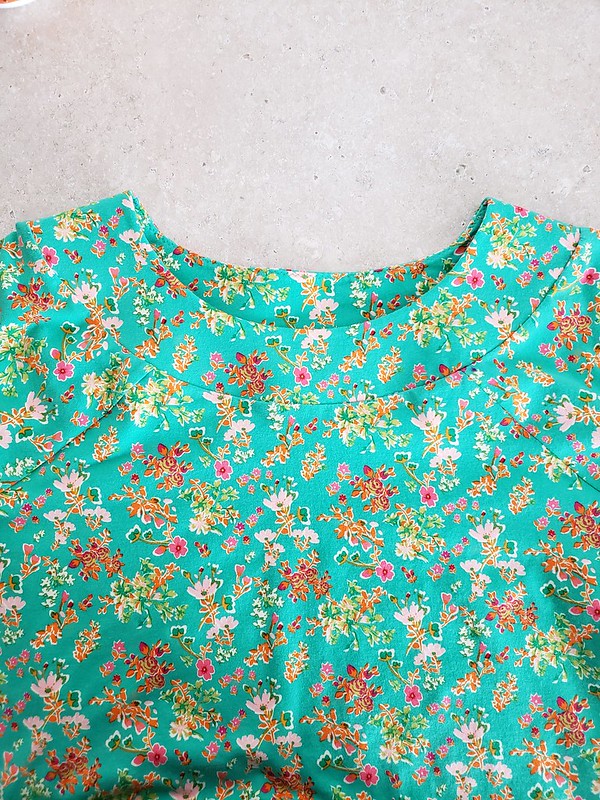
Here is the nice tidy inside!!!
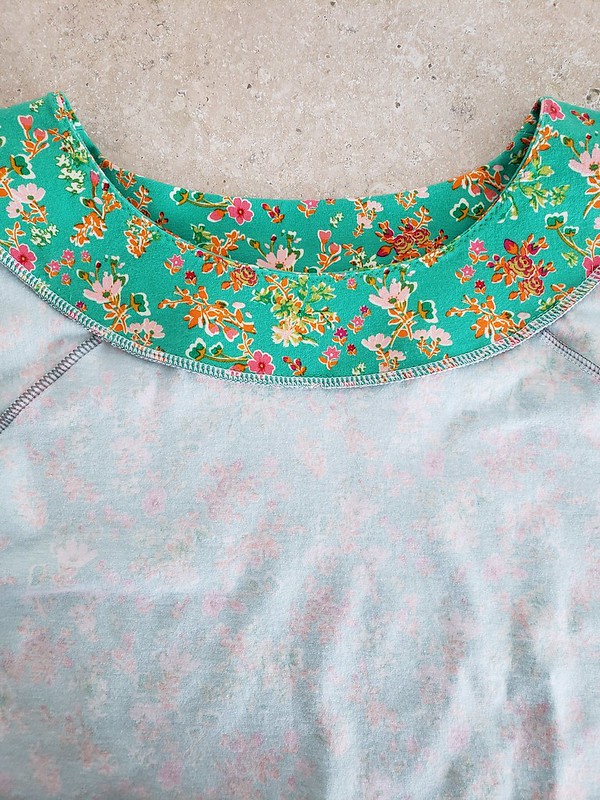
Enjoy your new blouse! (Green floral top pics by Lisbon except for the one with the trees in the background. Yellow top pics by Ansley)


(I have no idea what I’m doing in this picture)







Thanks for having me, Adrianna!
Thank you so much for this amazing tutorial, Emily! I love all your gorgeous pics too!

I really like this variation Emily. Well done.
To stop my iron getting sticky from interfacing I have some Teflon pressing sheets. I put one on the ironing board, fabric and interfacing next and another sheet on top. Any goo comes off easily.
A disposable alternative is to use baking paper from the supermarket. I use “Glad Bake and Cooking Paper” which is on a roll 30cm wide and 25metres long. I live in Australia. When it gets sticky, throw it away and tear off a new piece.
What a wonderful idea! Thanks for sharing, Cheryl!?