Happy March everyone! This is a very special month in terms of HJ team bloggers because we have two Emilys and they are both sharing a hack for the Bryce Cargo Pants!! How fun! Up today is Emily from Replicate Then Deviate, with her tutorial for mashing up the Bryces with the Sandbridge skirt to make a fantastic pair of jeans! I cannot even get over how amazing these are. Take it away, Emily!
~~~~~~~~~~~
Hello Hey Juners!
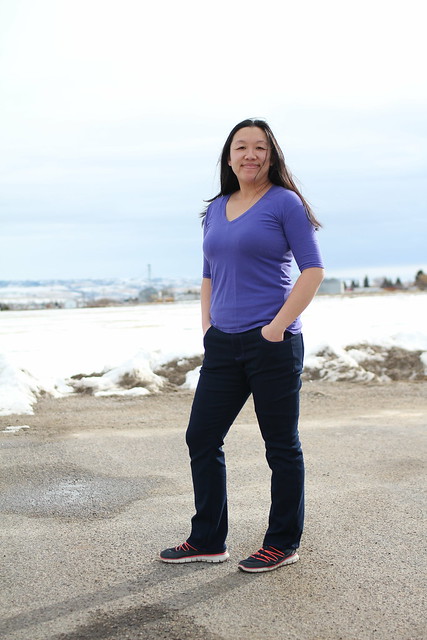
I am thrilled to be here today! And I am super excited to share my Brycebridge Jeans! They are a combo of the Sandbridge Skirt and the Bryce Cargos with a few modifications. I debated calling them the Natural Bridge Jeans but the alliteration of “Brycebridge” stuck in my head and I mentally started referring to them by that name so it stuck.
After sewing my grey sateen pair (a simpler version of the Bryce cargos without the cargo pockets and with the knee dart removed for fanciness) I couldn’t stop thinking about sewing a pair in dark stretch denim. I had leftover fabric (from Joann– but obviously a different color) from these jeans so I got to work!
PATTERN MASHING
I consulted the finished pattern size chart of the Sandbridge Skirt since the Sandbridge Skirt is drafted for nonstretch wovens and the Bryce Cargos are drafted for stretch wovens. I needed to print the size 8 of the Sandbridge Skirt. I found a slightly different length in the fly area and split the difference and drew in the curve. It was closer to the length of the fly in the Sandbridge Skirt though. I used the pocket outline of the Sandbridge Skirt, the coin pocket, the back pockets, the back yokes, and the waistbands. I did add a little bit of height to the waistband pieces (on the top and bottom of the pieces) for a little more coverage and because the Sandbridge Skirt sits a little lower on the waist than the Bryce Cargos. For my practice pair I also reduced the size of the pockets by 1/4 inch on each side because when I wear my Sandbridge Skirt I feel like the pockets are borderline large on me. I added a little more width through the front and back leg of the Bryce Cargos because my other pairs were still a little snug in the calves.
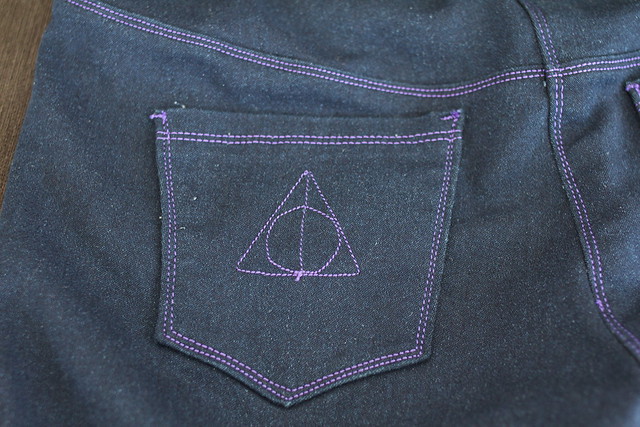
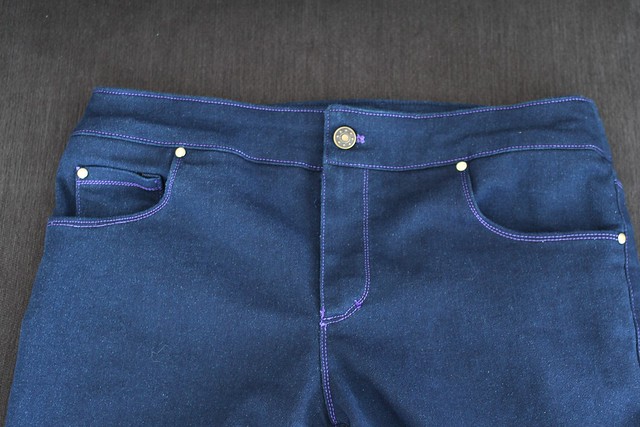
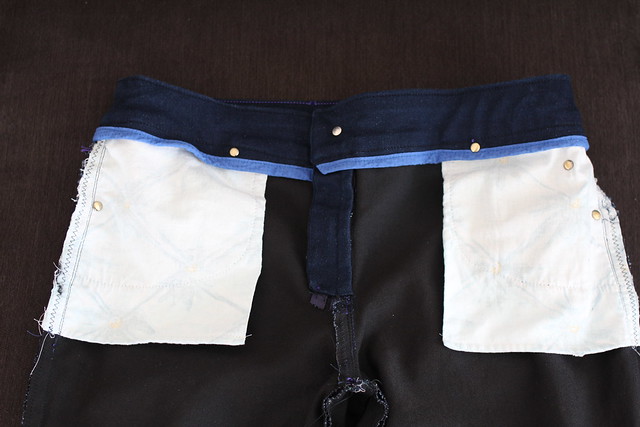
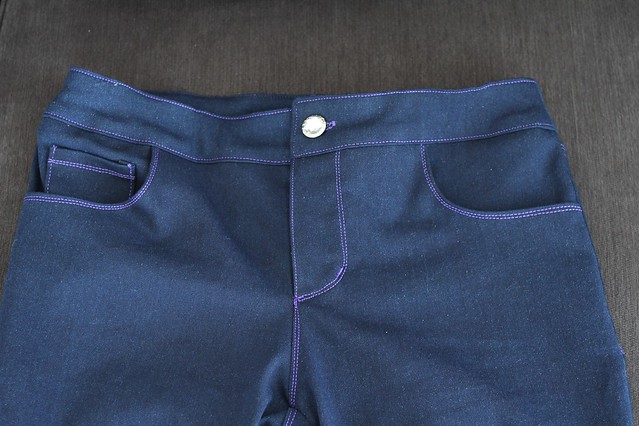
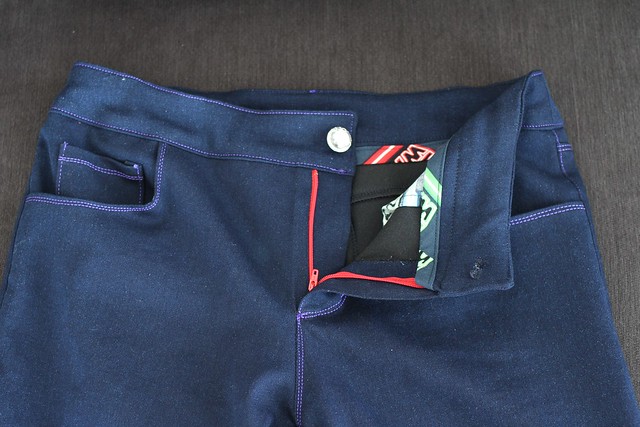
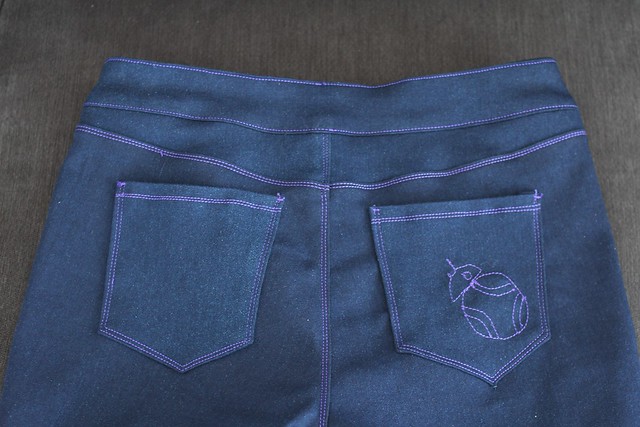
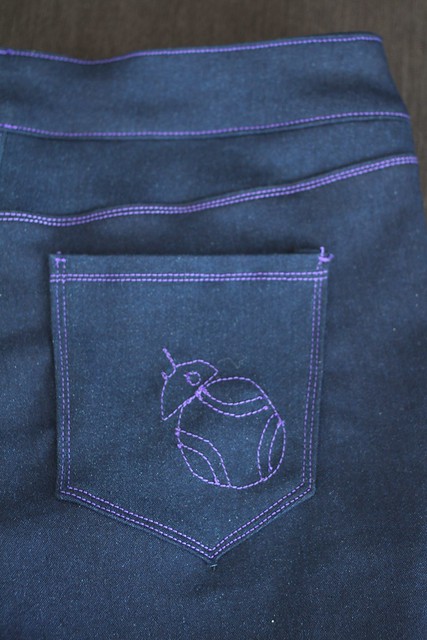
Here are a few detail pics of my practice pair. They are completely wearable but I noticed I wanted a shorter yoke than the Sandbridge Skirt had. This is no fault of the patterns since the back yokes were drafted for a skirt. 😉 I also wanted more width through the lower leg so I added about 3/8 inch on each side. I tried rivets (from joann with the installation tool from hobby lobby) and didn’t love installing them. I think they look nice when finished but I would like to use nicer rivets on another pair.
PATTERN ALTERATIONS
(note- I started with my Bryce Cargos pattern that already had a reduced back dart and eliminated knee darts and scooped crotch and slightly wider width through the lower back legs and slimmed hips)
-back yokes
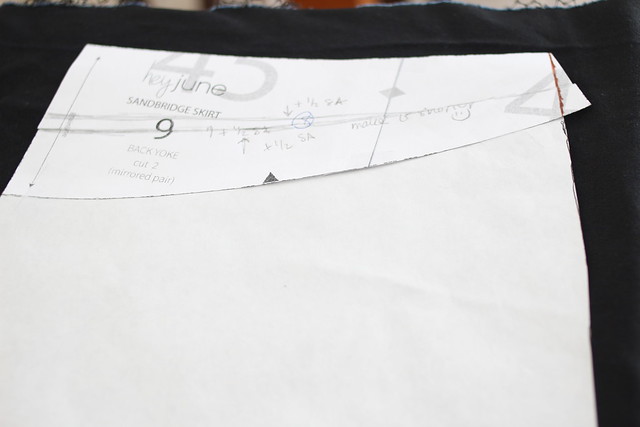
I taped the back darts together at the stitching line and placed the back yoke piece on top. You’ll see that I trimmed little bit off the edge of the back yoke, tapering to no trimming at the top of the yoke. (I cut to the right of the brown line). This is due partly to not reducing the hips of the Sandbridge Skirt pattern and my altered dart and pattern mashing… I think.
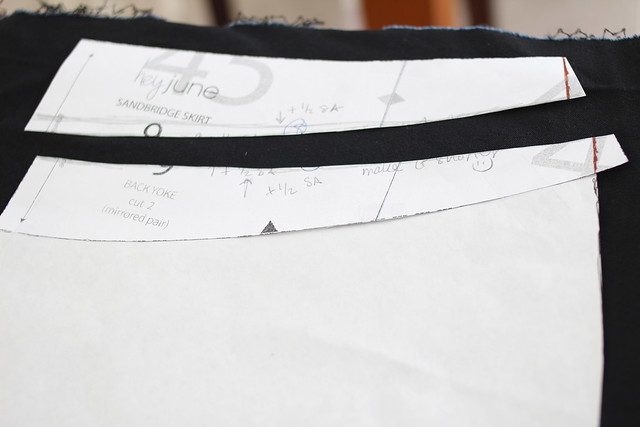
I drew a line where I wanted to shorten the yoke after looking at some rtw jeans. I cut along the sketched line and wrote a note to myself to add in the half inch seam allowance when I cut the pattern pieces.
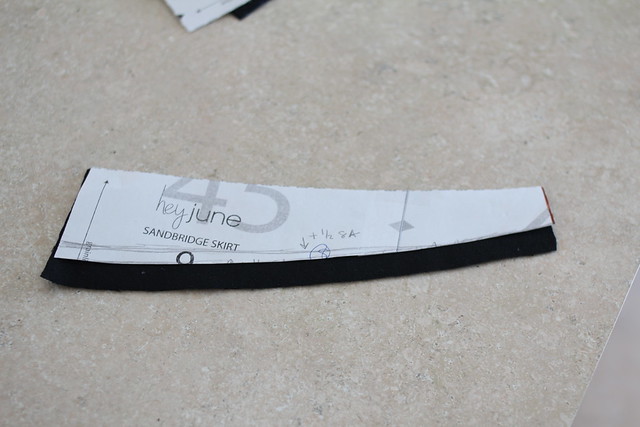
(back yokes with seam allowance)
-waistbands
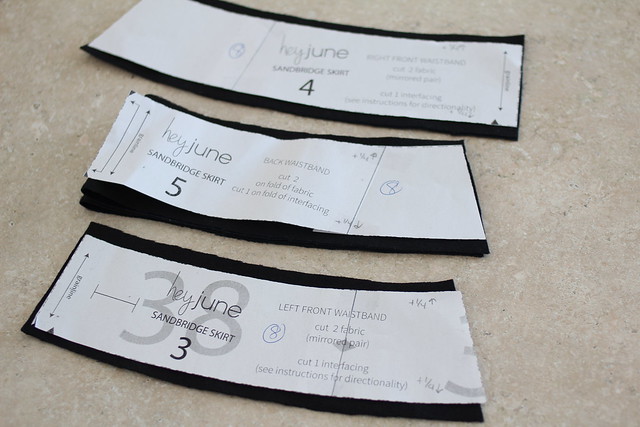
I added approximately 1/4 inch to the top and bottom of the waistbands and interfacing.
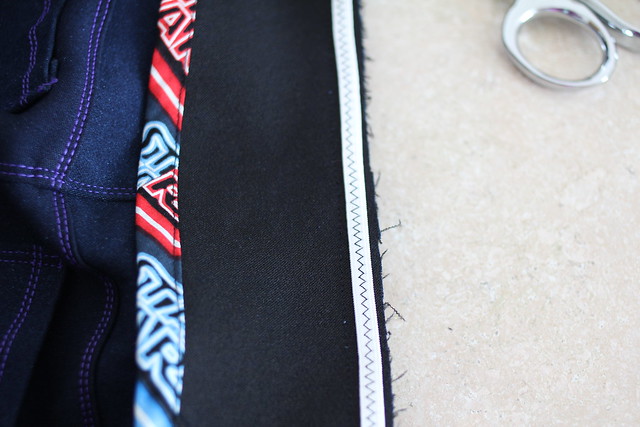
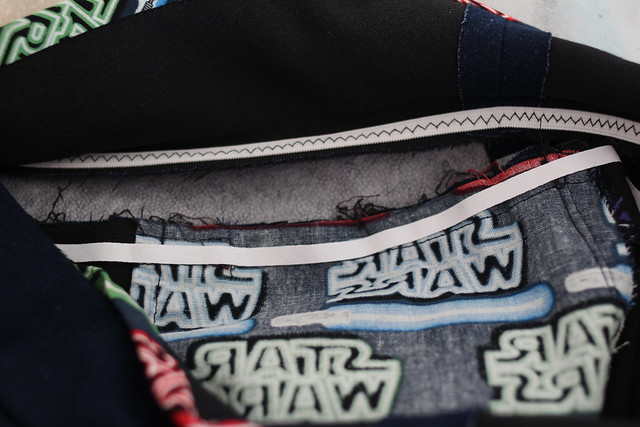
I chose to baste 1/4 inch elastic in the waistbands along the top edge after sewing the waistband to the waistband facing for a little stability. I noticed my practice pair was a little loose at the end of the day. I did use thin interfacing but the whole jean relaxes throughout the day.
I didn’t trim the elastic at all when turning the waistband facing. I did trim the corners and rezigzagged the edge of the elastic so it wouldn’t shift. (I had cut off the backstitching when I trimmed the corners). (the bottom white line is wonder tape).
Also added about 1/2 inch to the fly shield of the Sandbridge Skirt to account for the different fly depth. (no pic)
These do still relax during the day and I didn’t take the weight of my phone into account. (hopefully my new phone will be less heavy- my real one fell in the bath a few weeks ago so I’m using mine from like five years ago).
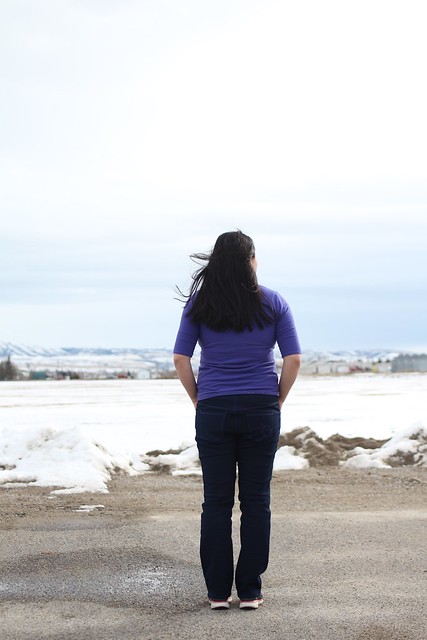
You will also notice I didn’t add belt loops. I don’t wear belts and I’m a little fluffier in the middle. I suppose I could add some later and/or eat less junk.
ABBREVIATED ORDER OF CONSTRUCTION
1. Finish the raw edges according to the Bryce Cargos step 1. I also found it helpful to finish the outer edges of the pants and the center back yoke edges.
2. Coin pockets and hip pockets according to the Sandbridge Skirt steps 16-26.5 with the french seaming of the bottom pocket in the Bryce Cargos.
3. Install zipper. Sandbridge Skirt steps 1-15 (except only sewing the front crotch curve together instead of the whole front of the skirt)
4. Sew back yokes and back pockets. Sandbridge Skirt steps 27-36 (except only sewing the back crotch curve together instead of the whole back skirt).
5. Sew front and back legs together. Similar topstitching and pressing as Sandbridge Skirt steps 37-39. NOTE- I sewed from the crotch curve down one leg. Then I sewed from the crotch curve down the other. My fabric was a little shifty so I didn’t want it to shift through the inner leg unevenly. I also made sure to stretch between the crotch and back knee according to the Bryce Cargos instructions.
6. Waistband and button. Sandbridge Skirt steps 40-58.
7. Belt loops and rivets if desired.
ABOUT THIS SPECIFIC PAIR
I found I really needed to use my walking foot when sewing my stretch denim and woven cotton pockets. This was very helpful when sewing the pocket facings and even when sewing the side seams. I also found my machine preferred if my interfaced pieces were closest to the presser foot rather than down on the feed dogs.
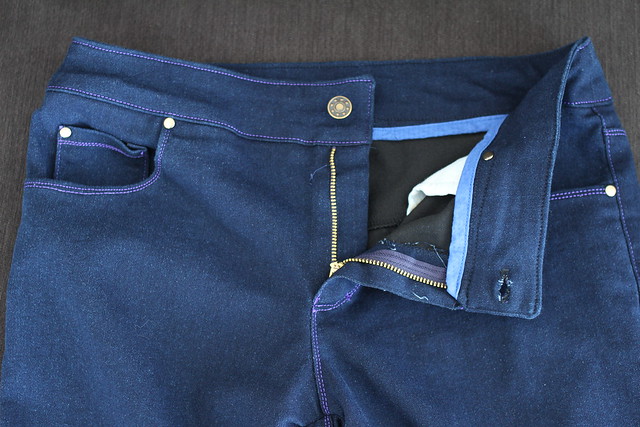
I used a four inch zipper because I could not save the zipper stops on my practice pair and the zipper likes to slide down without the stops. I do think it could be moved in a little further from center because sometimes you can see it when I’m wearing it but again fluffy.
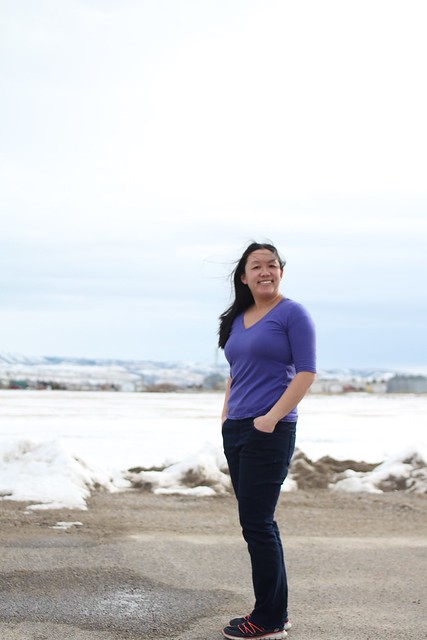
I AM SO HAPPY WITH THESE THOUGH!!!!! (also wearing an old union st tee. I’m sorry it’s not your color Adrianna).
My three year old picked the sparkly button. Side note- the tack that came with it was the wrong size. It slid in but definitely didn’t hold. I used the tack from the other jean buttons. I’m hoping to order some that are better.
I started adding a dot of fabric glue where the waistband facing trim meets the edge to make sure it’s secure. I use a copious amount of wonder tape to keep my facing where I want it when topstitching and sometimes the wonder tape gives me the illusion that I fully caught the bias section. I briefly considered this “cheating” then decided I was just using my resources wisely.
(aff link if you’re so inclined)
Thanks for having me!
~~~~~~~~~~~
Wow, thank you SO much for that amazing tutorial, Emily! I absolutely love these jeans, especially that rad back pocket stitching. Personalizing is the best part of making our own clothes, don’t you think? I hope you’ll tag me (@heyjunehandmade) and Emily (@replicatethendeviate) if you use her tutorial to make your own pair!


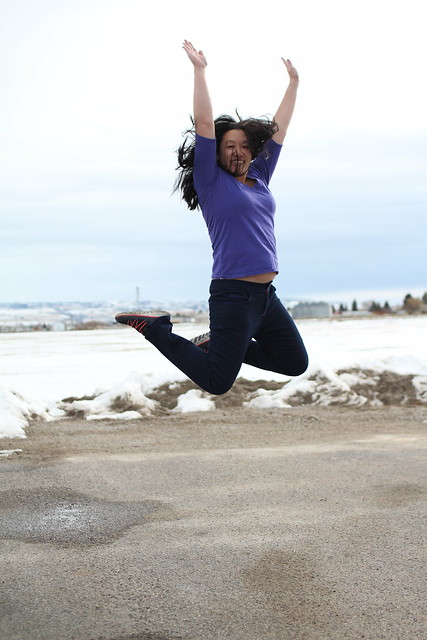
Thanks for having me! I love my jeans!
Here for the purple topstitching!!!! ???
But seriously, Emily, I love both the muslin and the final.
ALL ABOUT THAT PURPLE! Also, Emily is a genius (no, I won’t make the obvious pun) – now I need to get the Sandbridge pattern so I can blatantly imitate her brilliance. Now to figure out what I will embroidery-doodle on my own back pockets 😉 Thanks so much for the great tutorial!
Wow, great job Emily!