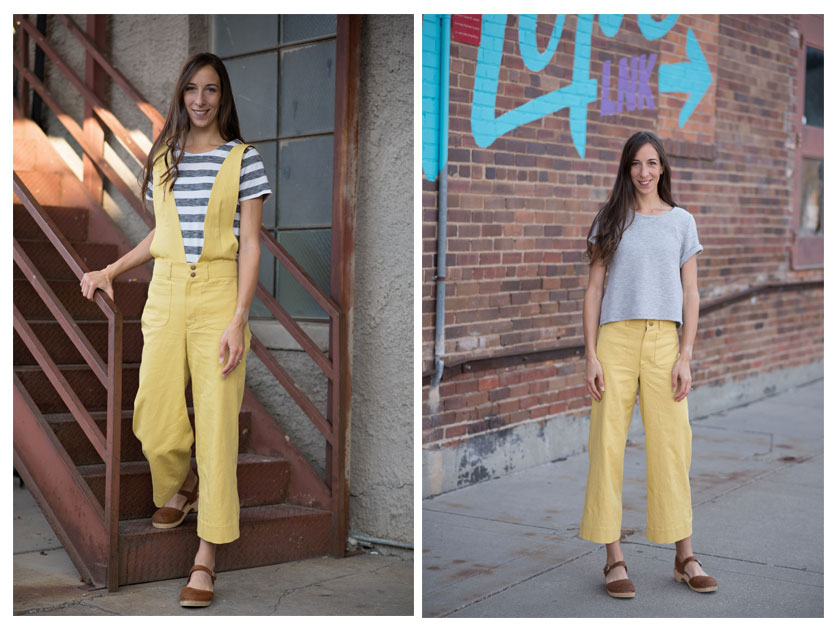
Michelle is here today with another fantastic tutorial! If you haven’t checked them out before, be sure to see her gusset for the Sloan Leggings (with free pattern piece) and her tutorial for flatlocking on a regular serger. Today she’s sharing two methods for making the straps on the Kendrick Overalls removable! I love this idea because the Kendrick makes a great pair of wide leg trousers or a pencil skirt when you leave off the straps, and now you can have it both ways! I love to wear the overall version with fitted, cropped tees, but I’m so excited about just removing the straps so I can pair my Kendricks with a chunky oversized sweater too!
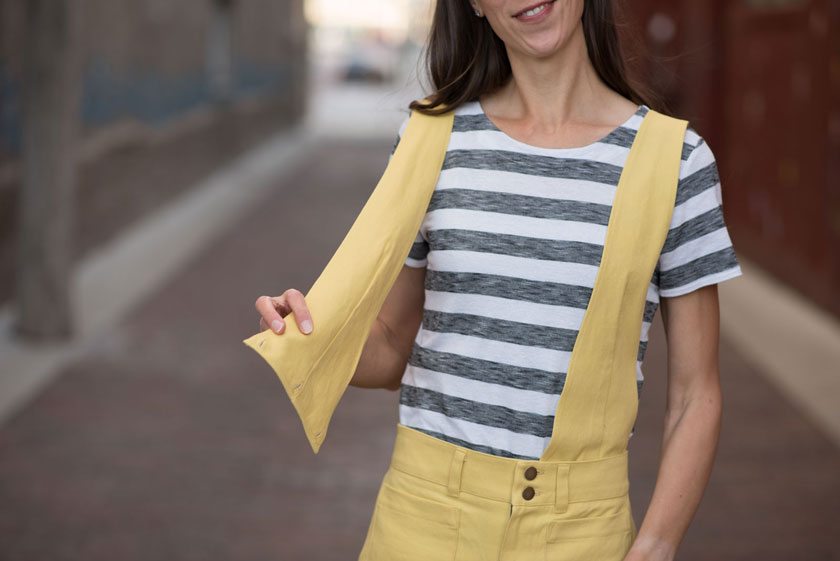
Hey there, It’s Michelle again from SewJourners. I have a really fun hack for you that will help you get more wears out of your Kendrick Overalls. If you know me you know I’m always trying to find ways to get more garments out of one make. (Case in point: Kelly Anorak, Joy Jacket, York Pinafore) So, inspired by Mia from SewNorth and her Jenny Overalls, I made my Kendrick Overalls with removable straps.
Now my decision to modify these didn’t happen until the very last steps of construction when I realized how easy it was going to be, so I didn’t modify any pattern pieces. Consequently my interfacing is visible from the wrong side and my straps are 1″ shorter than intended. I am not affected by either, so I’m going to show you how I did it since it is by far the easiest way. But I’m also going to show you how you can plan ahead for a bit cleaner finish.
You will need:
- (12) 1/2″ buttons – The thinner the better
- Additional interfacing
- You may also need to make adjustments to the back strap pattern piece depending on the method you chose so don’t cut that one just yet 😉
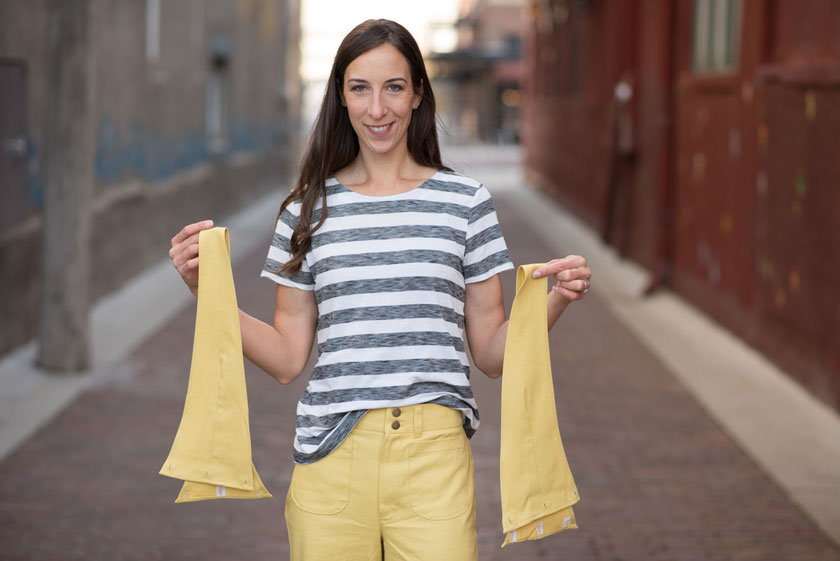
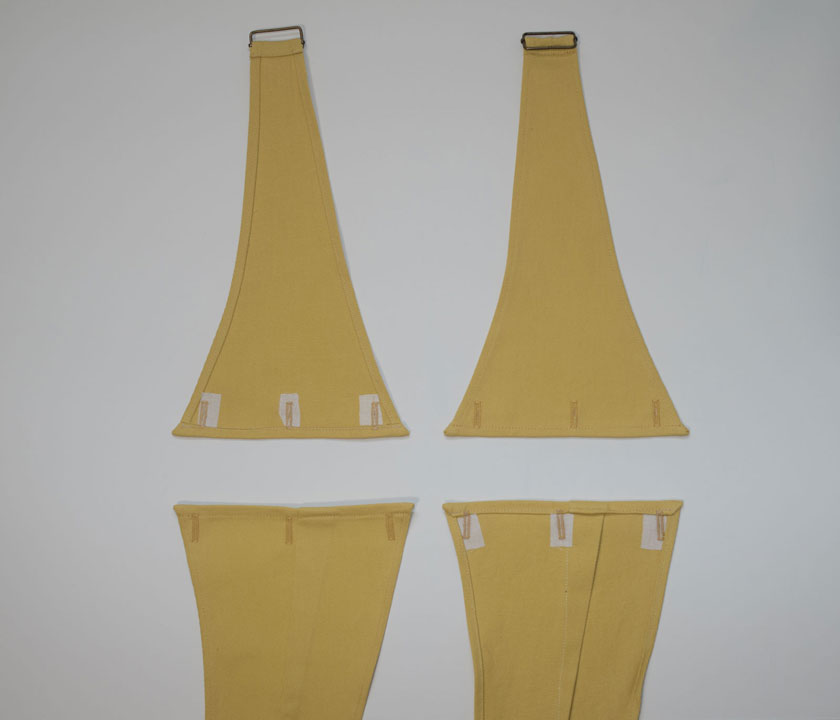
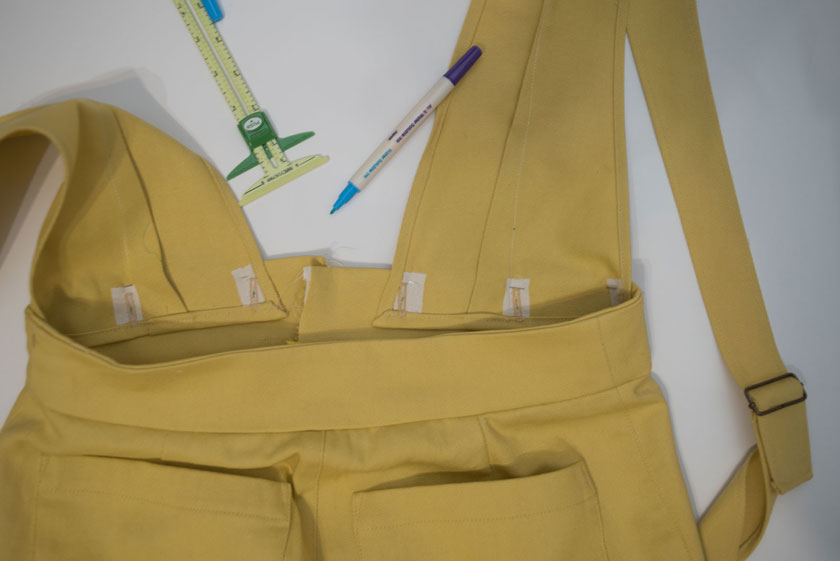
Easy way: Right after step 101, hem the bottom of the four strap pieces, and put three button holes on each one. The button holes are placed at the very bottom on the far right, far left and dead center. Remember to interface on the wrong side before sewing the holes.
Well that was easy! If you did it this way go ahead and skip down to the waistband part.
Clean Finish:
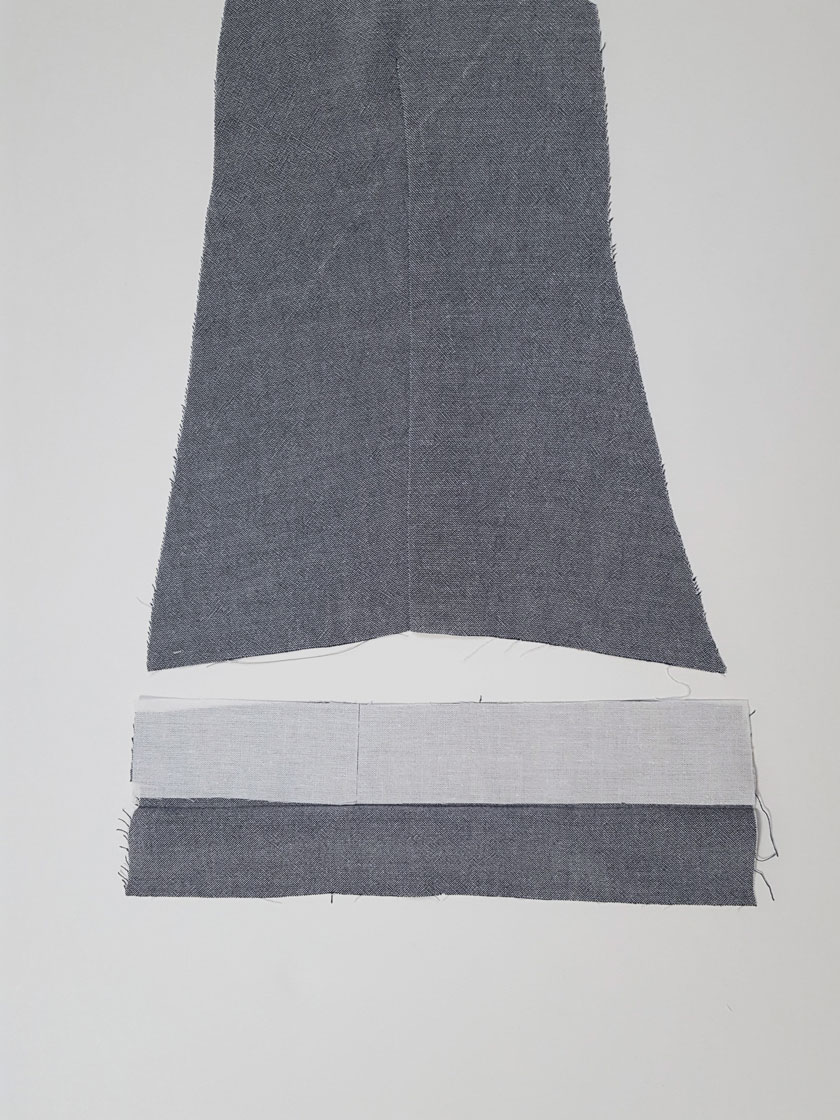
Front Straps: We are going to add interfaced tabs to the bottom of the front straps so we don’t lose any length and are able to enclose the interfacing. Sew the darts as described in step 99. Measure the width of the bottom raw edge of the strap after the darts are in but before the sides are hemmed. You will need to cut 2 strips of fabric that width and 3″ long for the tabs. Interface half of each tab along the bottom.
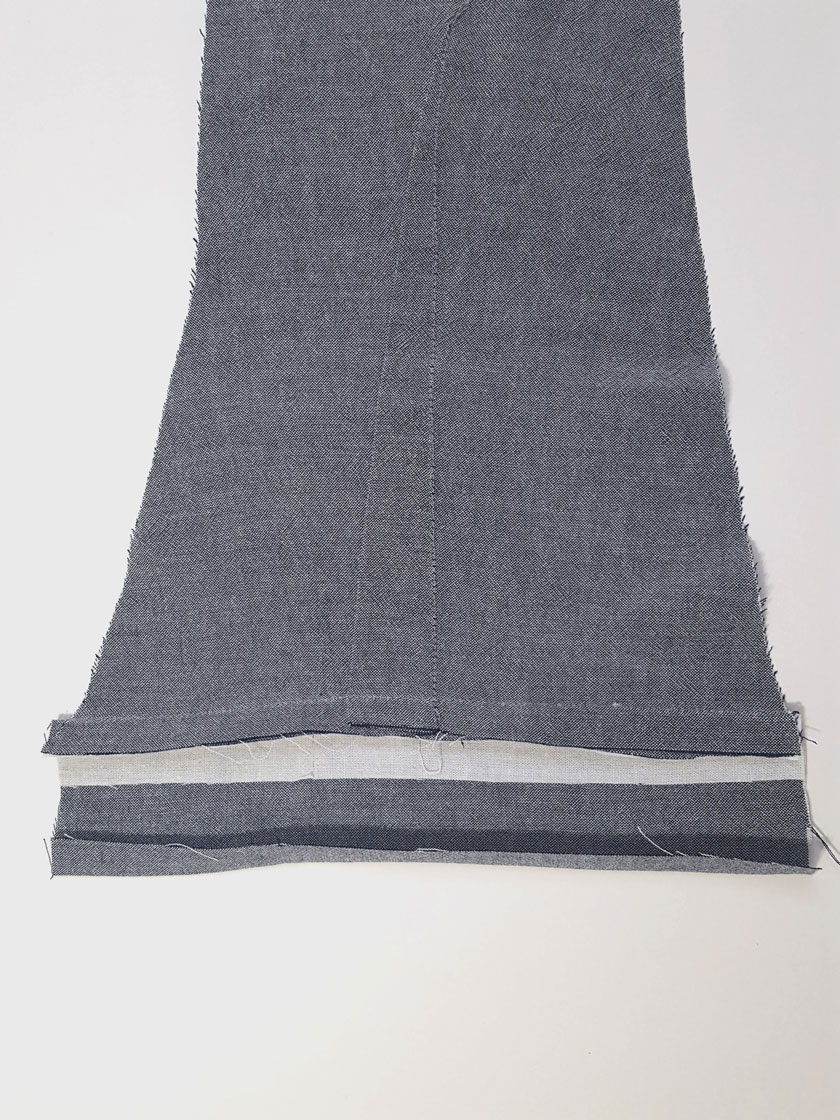
Press the non-interfaced side of the tab to the wrong side 3/8″. Sew the interfaced side of the tab to the bottom raw edge of the strap right sides together at the 1/2″ seam allowance.
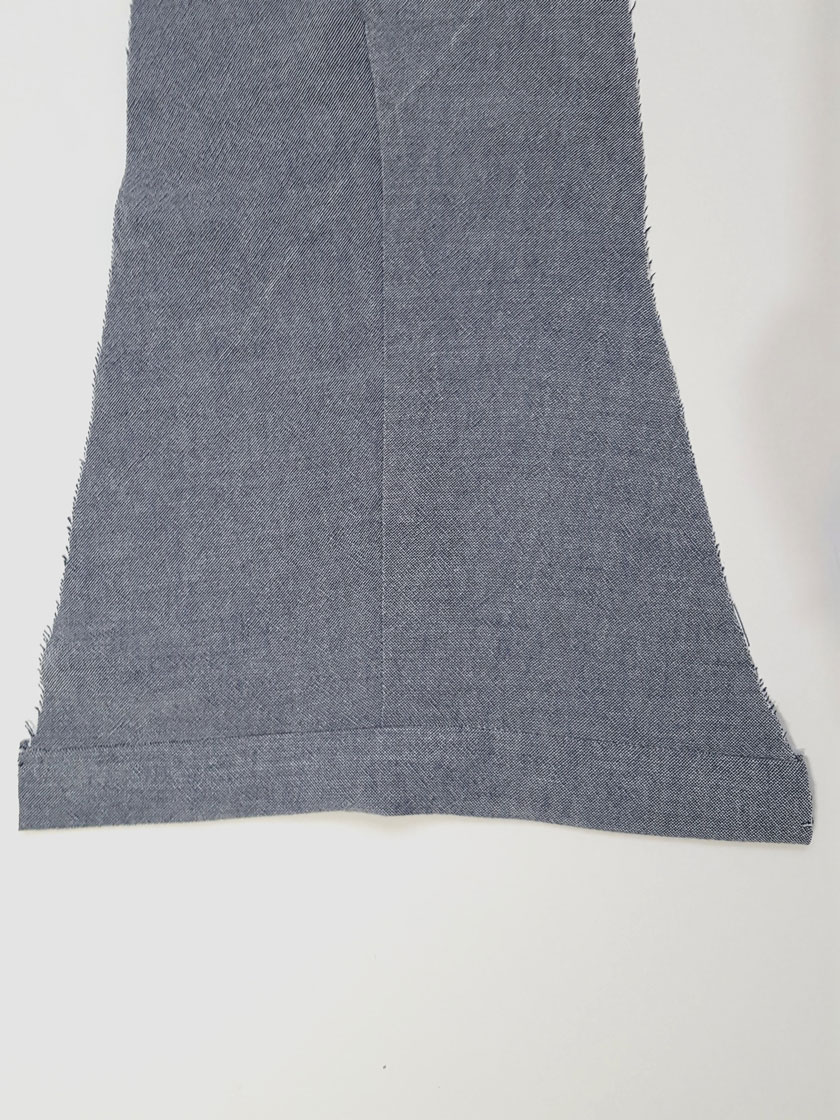
Fold the tab up over the seam allowance using the edge of the interfacing as a fold guide. The pressed edge of the non-interfaced side should just cover up the seam. Stitch in the ditch from the right side catching the pressed edge underneath.
Then finish step 99 by hemming the sides.
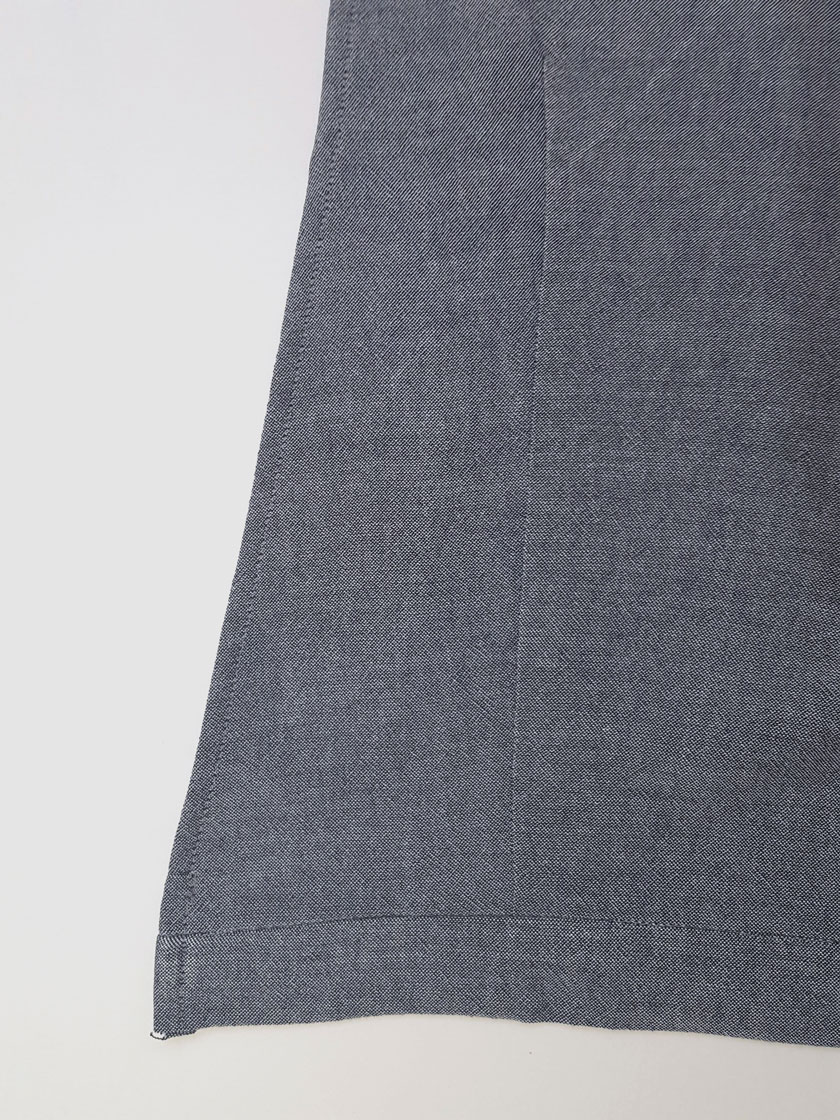
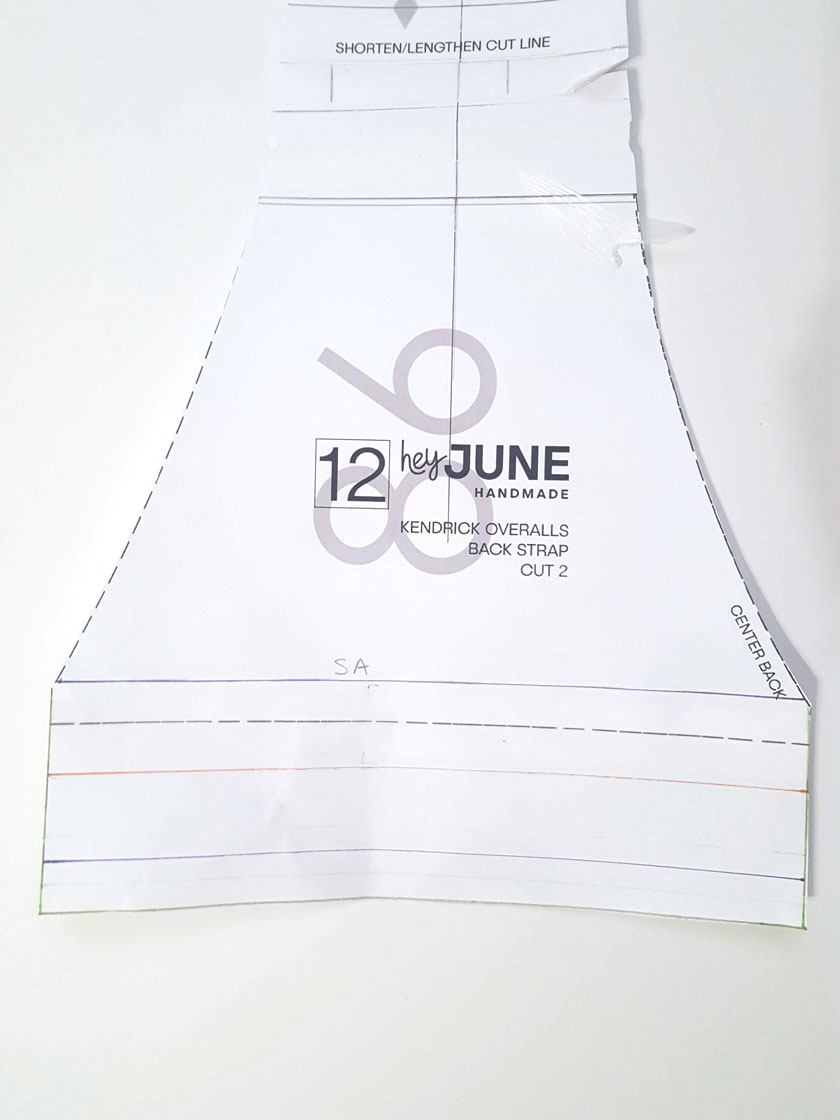
Back Straps: We added a tab to the front straps because they have the dart. You can do the back straps the same way as the front but you don’t have to. It would be easier to simply add 2″ of length to the bottom of the back strap pattern piece and then draw the following lines or mark notches. I drew lines to help explain it. I have a purple line 1/2″ above the original bottom edge to represent the seam allowance. Then I have an orange line 1″ below that. Finally I have another purple line 3/8″ from the bottom edge. (So there is 1 1/8″ in between the orange line and the lower purple line) Same as with the front straps we are going to interface the 1″ section between the top purple and orange lines. Press the bottom edge of the strap to the wrong side 3/8″ (along that lower purple line). Fold up again to the wrong side using the edge of the interfacing as a fold guide. From the right side sew across where I have that top purple line or the top edge of the interfacing, catching the pressed edge on the back. Hem the straps per the instructions.
Now put three button holes on each strap. The button holes are placed at the very bottom on the far right, far left and dead center. (See image from the easy method)
Waistband:
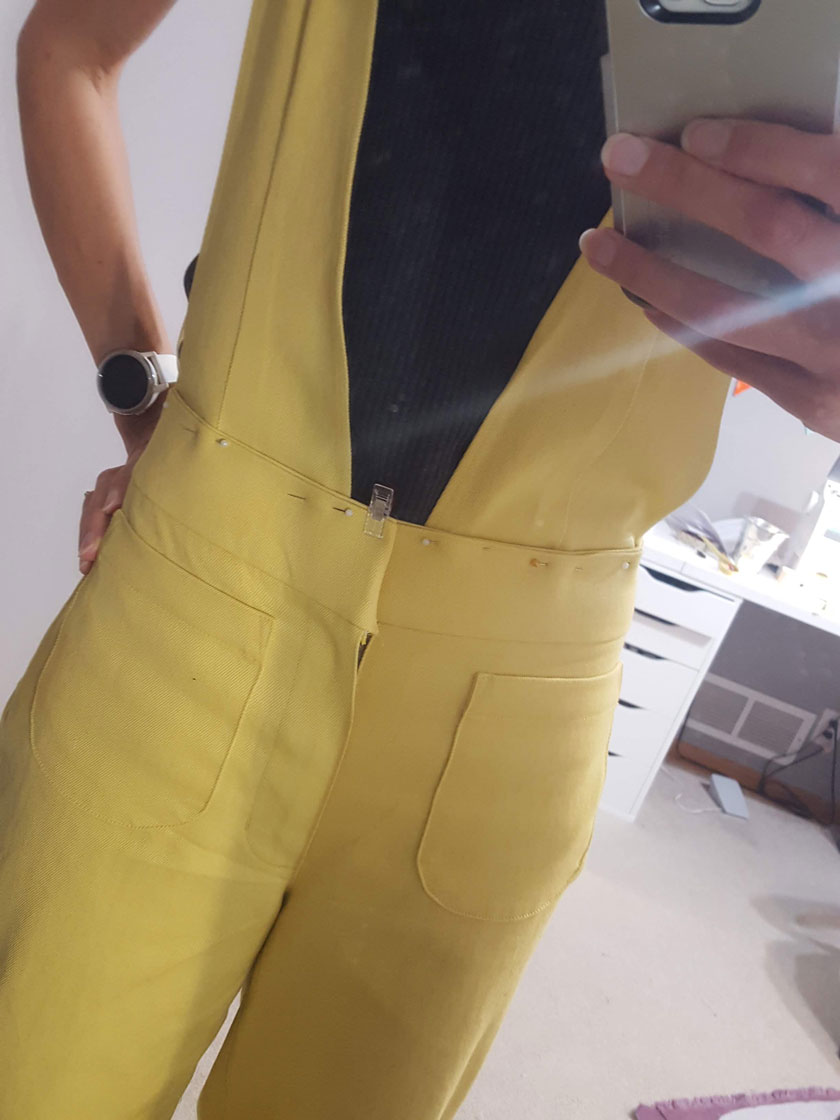
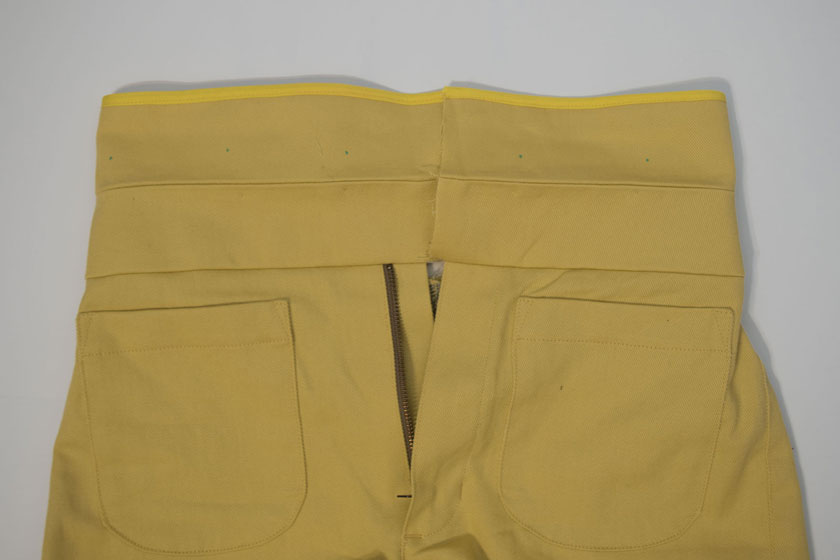
Interface the waistband facing, or at least the center of it. Skip steps 102-103 and do steps 104-105 without the straps sandwiched in. Prior to step 106 flip the waistband facing to the inside of the pants and try on your pants. Pin the straps where they belong. If you did the clean finish, the bottom seam should be just short of flush with the top of the waistband. If you did it the easy way make sure the top of the button holes are just under the top of the waistband.
With the straps still pinned on, remove the pants and mark through the center of the button holes to establish where the buttons will go.
Flip the waistband facing back up and sew the buttons to the right side of the facing where you marked. Continue on with step 106.
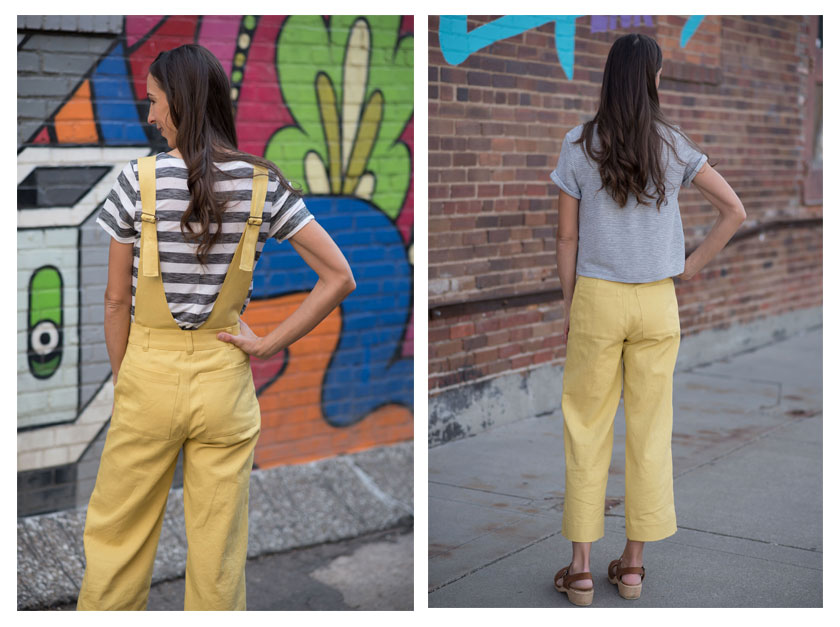
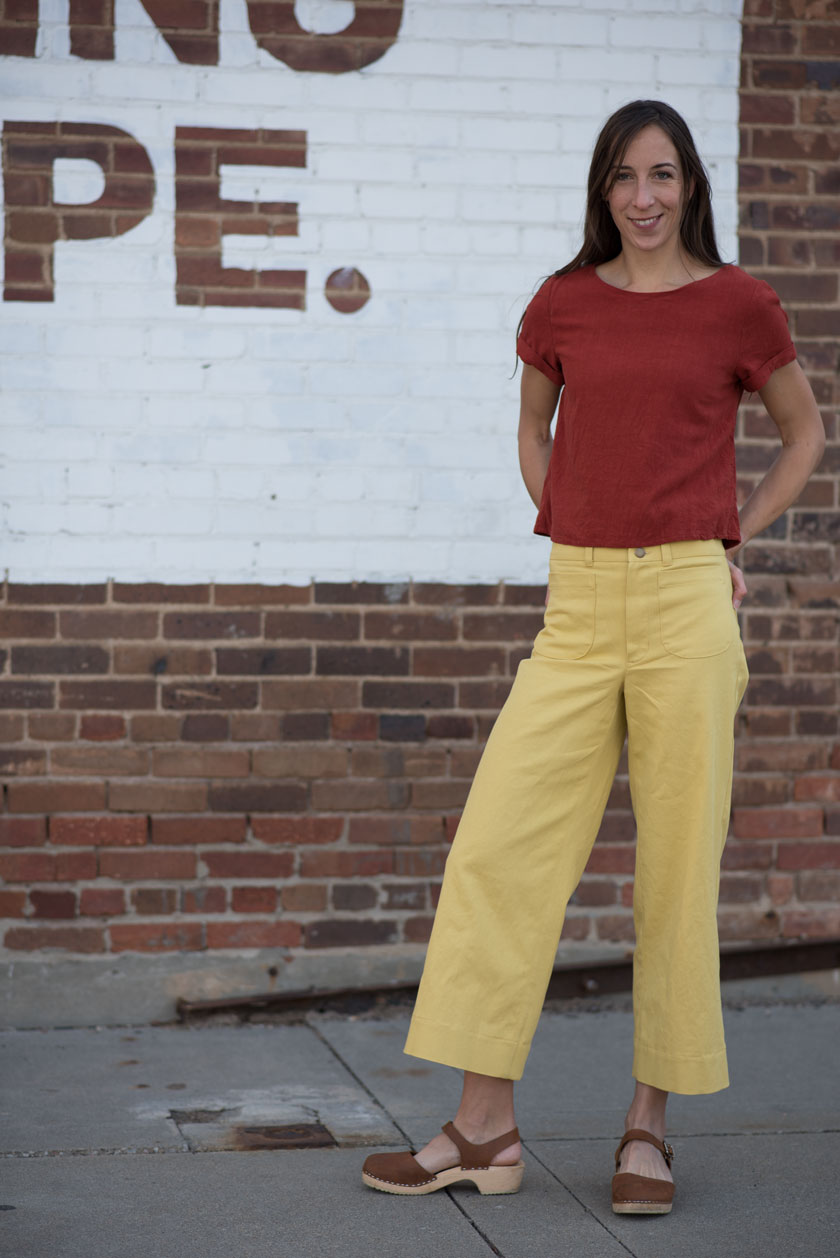
Now you have a pair of wide leg trousers and a pair of overalls! See this post for additional ways to style the trousers along with outfit and fabric details.
Thanks Adrianna for having me again!
Anything to get more wear out of a garment and reduce decision-making, am I right? Thank you so much for this helpful and detailed tutorial, Michelle!


What a great idea! Love the different options!