Happy Monday! I have another amazing guest poster for you today! Mondays aren’t seeming so bad lately, are they?
Michelle from SewJourners is sharing a tutorial AND a free pattern piece to add a gusset to the Sloan Leggings! Let’s all give her a big round of applause because this one has been a long time coming! Thank you so much for taking the time to put this together for us Michelle!
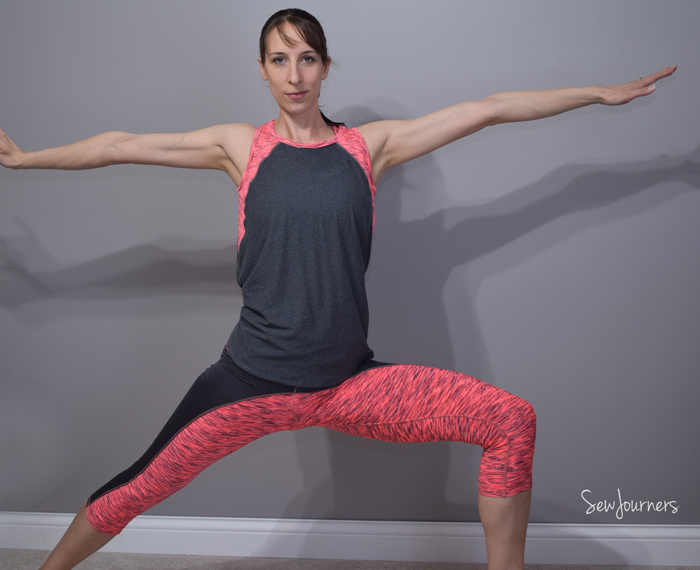
On a cold fall day I was sitting in a small deli eating a nice hot sandwich and talking pants patterns with Adrianna. It was just like getting together with an old friend because Adrianna is just the nicest. I was 7 months pregnant at the time and super anxious to start sewing non-maternity pants. I didn’t have the Sloans Leggings at the time but she was talking about how there are different pattern pieces for the petite, regular and tall sizes because the drafting is different for all of them. That sold me. Then the waistband on these leggings instilled my loyalty to them as my go to leggings. So if you don’t have the pattern yet, you can should remedy that by going right here. These are legit. And now if you want to add a gusset to them you can do that too with this tutorial and free template.
First of all, why would you want a gusset? A gusset strengthens the crotch of pants by redistributing the stress on a seam so there are no longer 4 seams coming together right at a point that sustains a lot of movement. This is especially important when using leggings as activewear. I use mine for yoga and cycling, so I put a lot of stress on the seams. Gussets also provide freedom of movement while maintaining the tight fit of the garment.
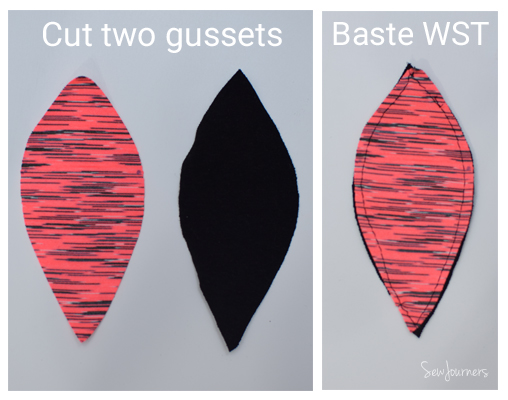
So lets get started. You don’t have to alter the leggings pattern pieces in any way. Cut two gussets using the template provided here:
I used a more breathable fabric for the inside layer. Baste them wrong sides together a scant 1/4″ from the edge. We will now treat them as one piece.
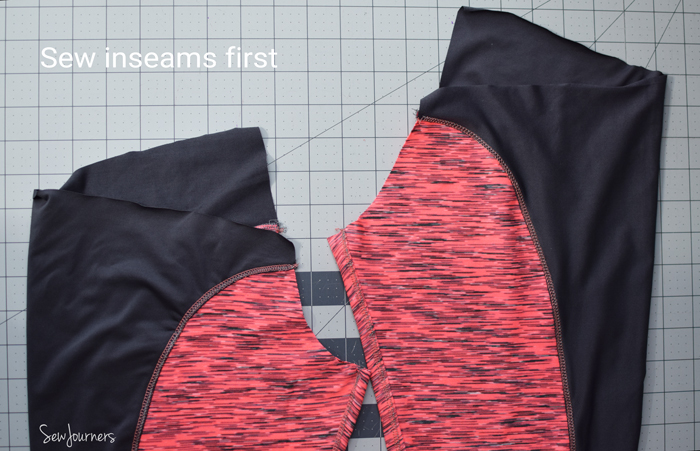
We are going to alter the order of the first two steps in the pattern tutorial. Instead of sewing the crotch first we are going to sew the inseams. So take each leg and sew the inseam RST. If you are doing any cover-stitch detailing add that to the inseams now.
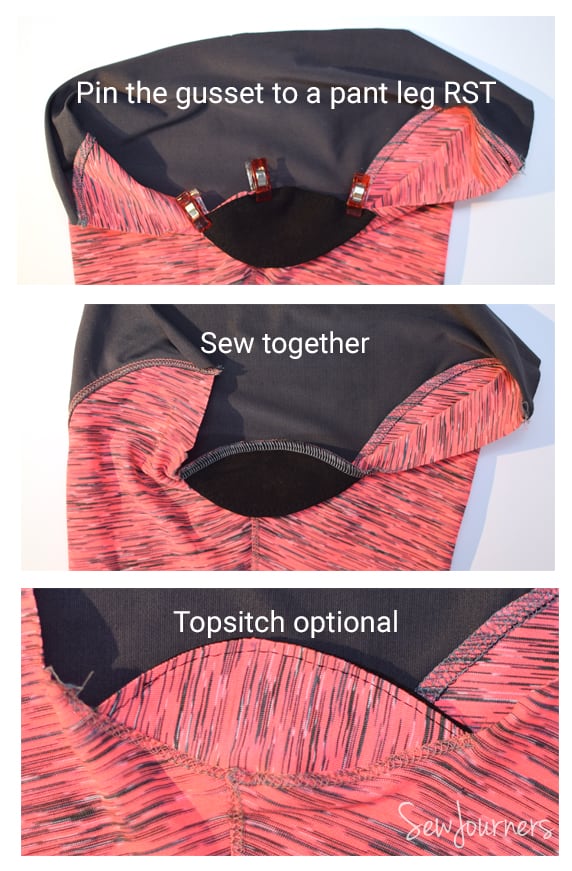
Pin the gusset to one pant leg RST lining up the notch with the inseam. Make sure the shorter end marked front faces the front of the pant leg. Sew together, and if you are finishing the seams with a cover-stitch do that as well.
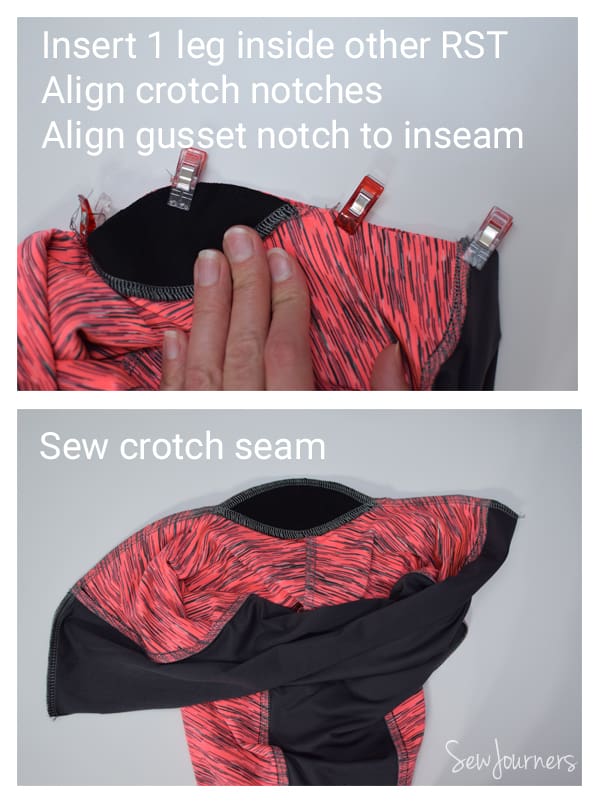
Turn the leg without the gusset inside out and keep the leg with the gusset turned right side out. Feed the gusseted leg through the opening of the one without so that they are right sides together. Match up the other notch on the gusset with the other leg inseam and match up the notches on the crotch from the original pattern. You will then sew the crotch seam in one fell sweep, going around the raw gusseted edge this time. In this picture I don’t have the point of the gusset pinned down so you can see how you are going to straighten the seam right there where the gusset and leg meet. They will be flush with the raw edge of the other pant leg.
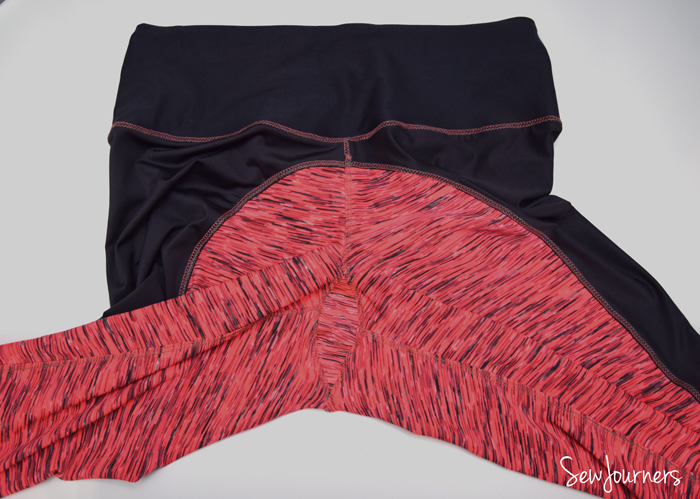
Turn pants right side out and if you are cover-stitching do that now, then finish the pants per the pattern tutorial.
And now that you are finished go get moving!

I love this but I was wondering, do you need to shorten or alter the crotch area at all or do you just fit this in?
Thanks!
Yep, you just fit it in during regular sewing! It provides a little more room for stretching.
Awesome! Thanks! ?
Love this! Where did you find the two fabrics that you used?
Thank you! I found this by accident and am thrilled. I sew tennis wear and need the gusset to keep down the chafing. Can’t wait to try this
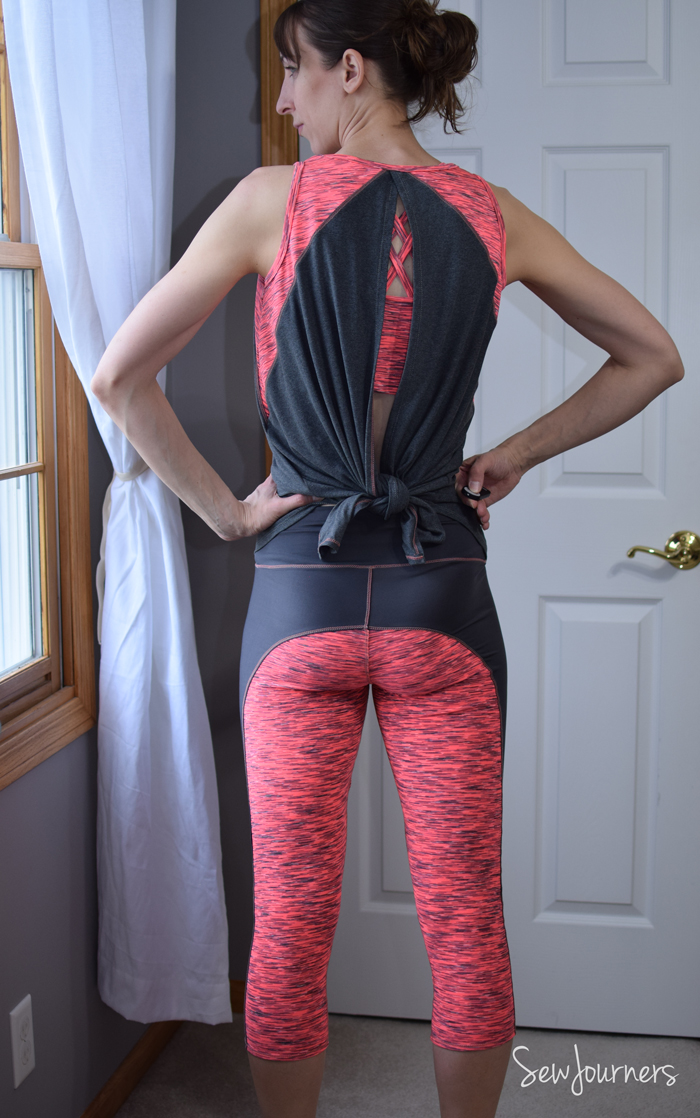
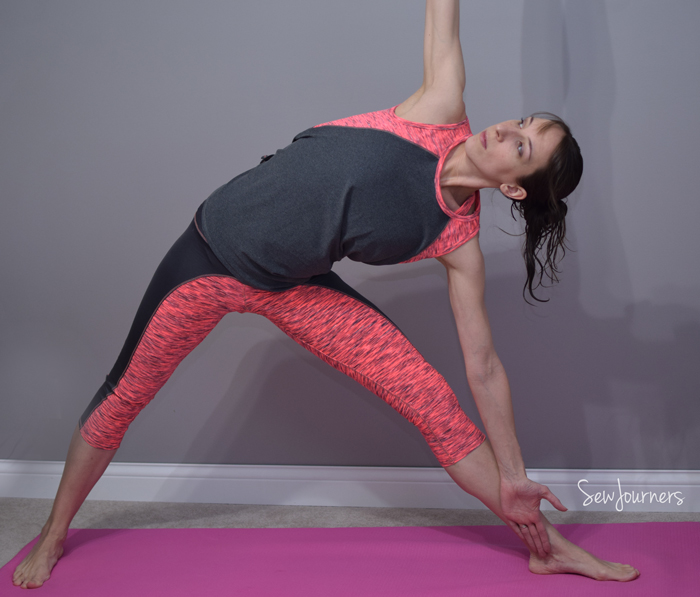
What pattern is the shirt you have on? Thank you
She just did a modified Santa Fe top by cutting the back into 2 pieces with a slight crossover at the top.
I’m really glad I read the comment on the leggings pattern page, referring to this gusset tutorial. Thank you! The pictures on the website page are not linking/showing up unfortunately… I thought you may like to know. Cheers!
Thank you so much for letting us know, Allison! Should be all fixed now!
Thank you for the helpful info, I put you in my favorites!