I don’t think I have the vocabulary to properly express my love and admiration for the garment that Loni is sharing today. This shirt is not only on trend and beautiful, but expertly made as well! I am so impressed with this gorgeous top and I’m so excited that I get to share it with all of you today!
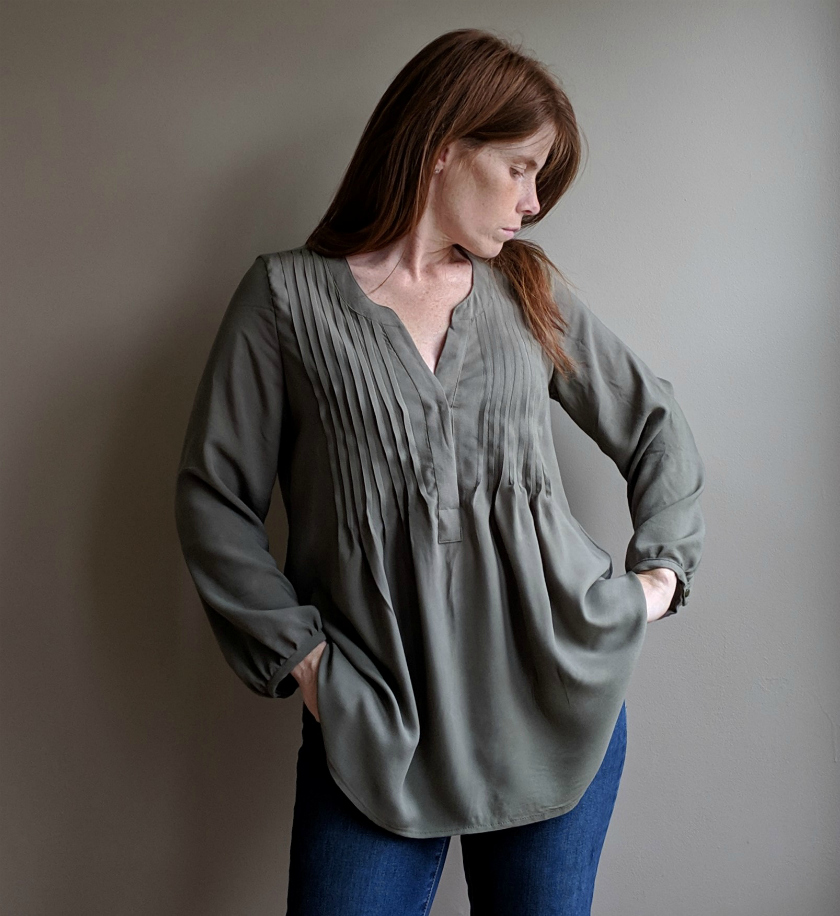
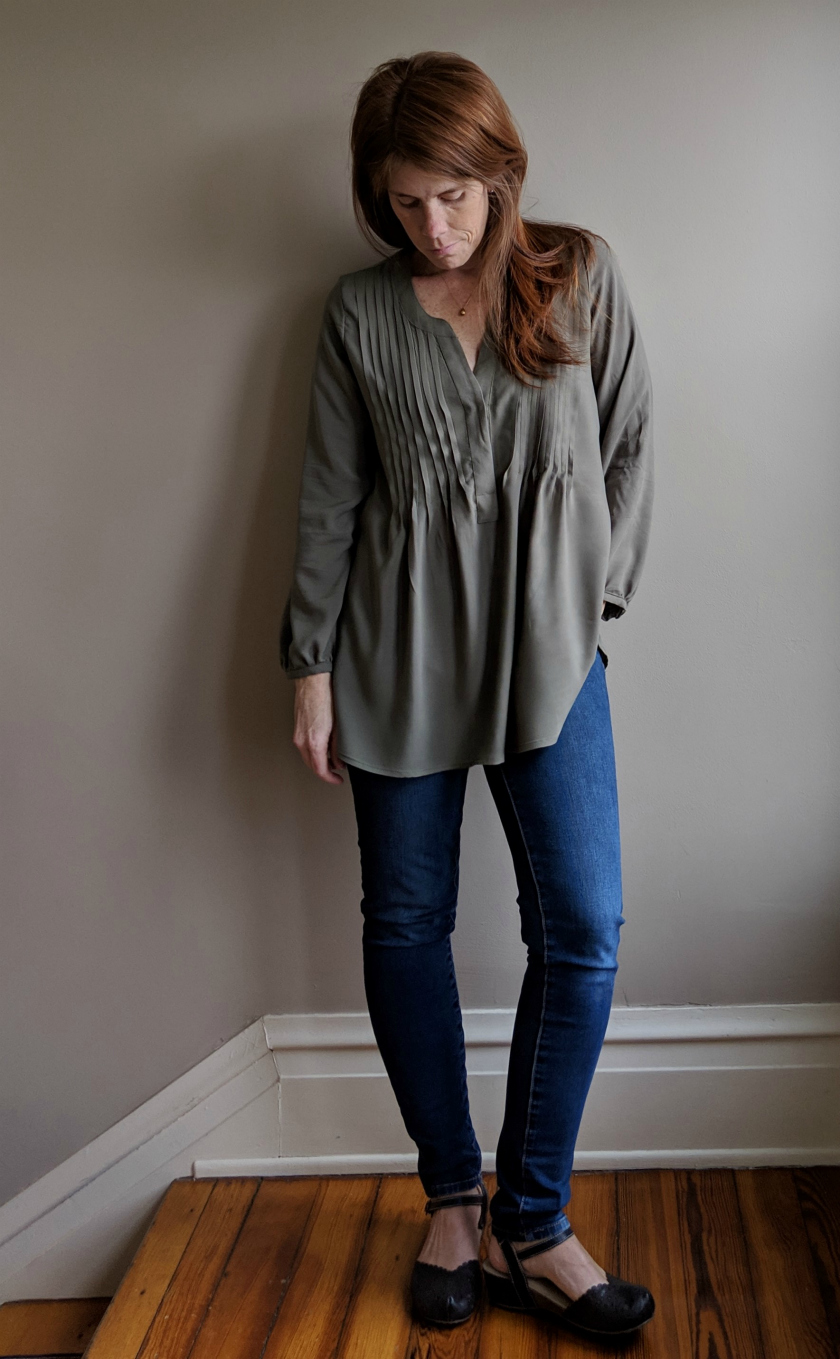
Hey, Sewing Friends! Loni of HavinSewMuchFun here. I’m thrilled to be contributing my first post to the Hey June blog today. I’ve got a possibly-a-bit-labor-intensive, but oh-so-very-worth-it hack of the Cheyenne Tunic to share with you.
Do you surf the big label clothing sites for inspiration for your sewing? I do from time to time, mostly because Pinterest is a dysfunctional rabbit hole I dare not traverse. At any rate, Madewell, J Crew, Everlane, and Anthropologie are the first places I look.
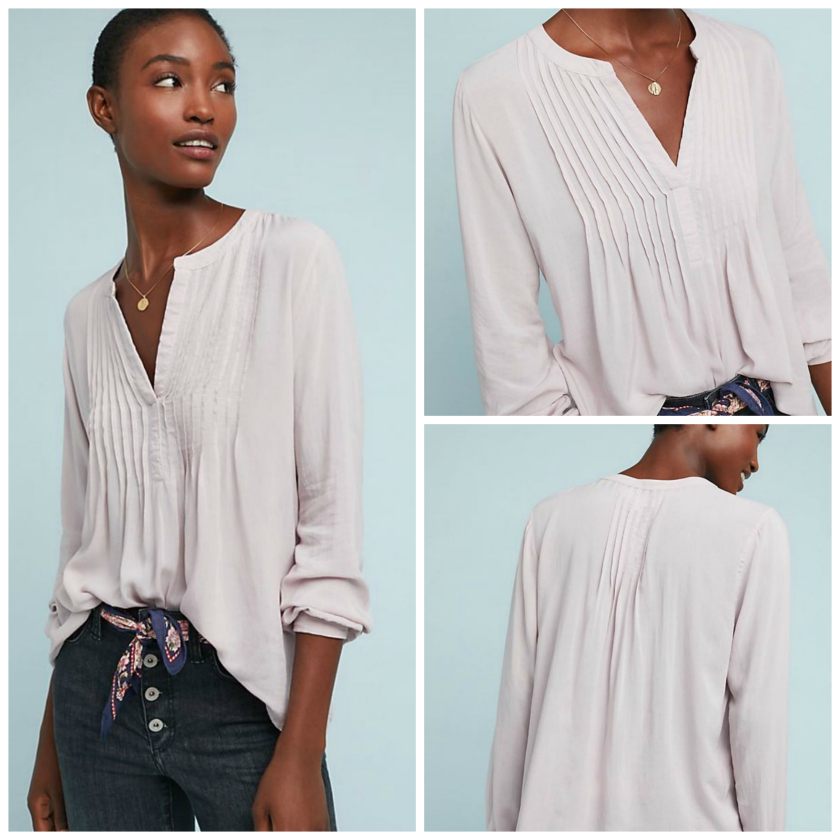
I recently came across this Verona blouse from Anthropologie and was instantly smitten.
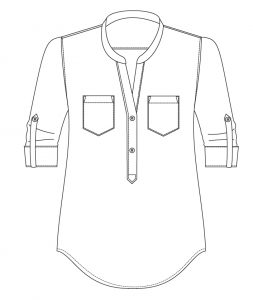
The style lines are very close to Cheyenne’s view B and with a few tweaks, one can certainly recreate the look for much less than $108.
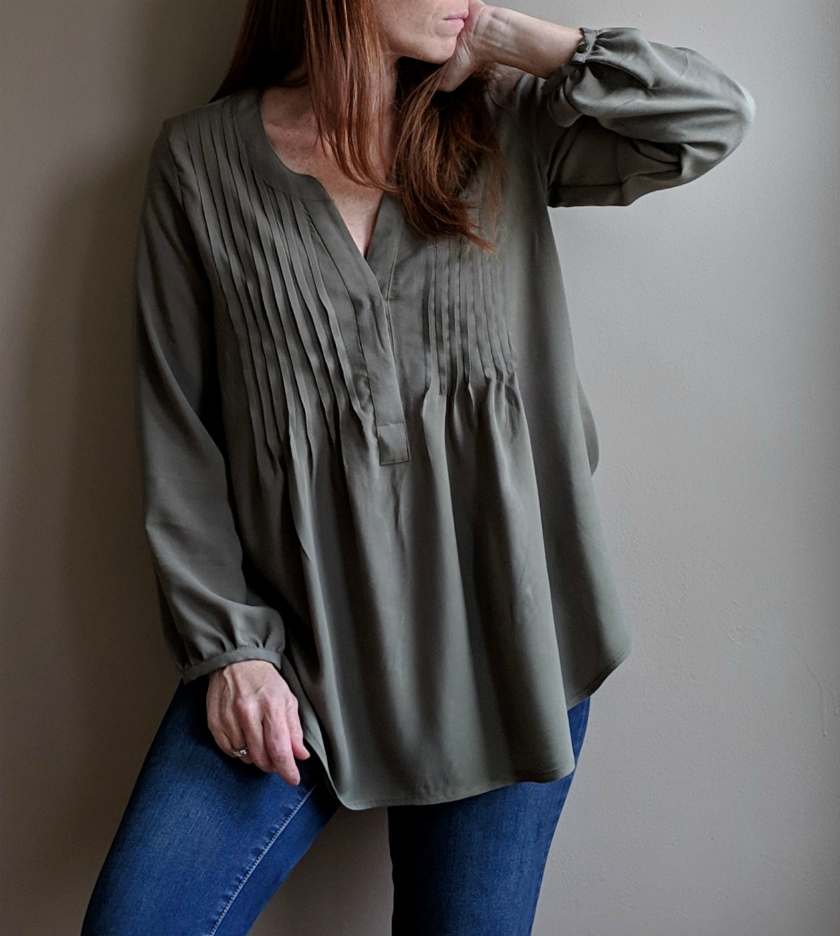
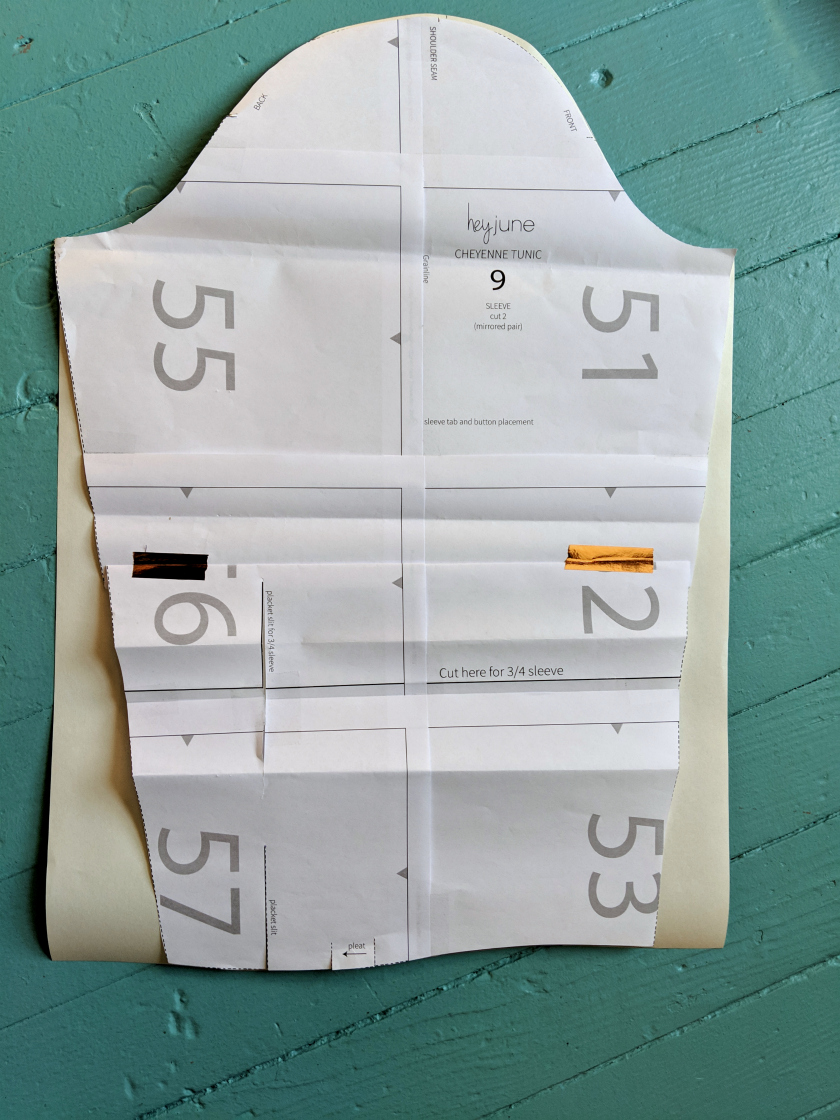
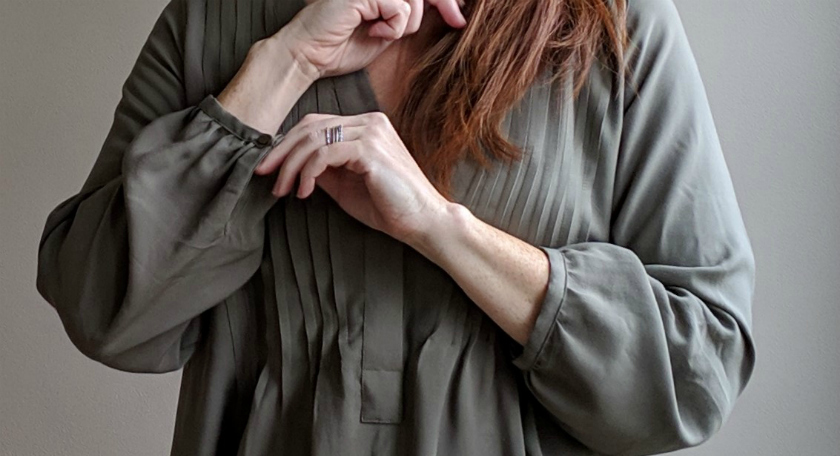
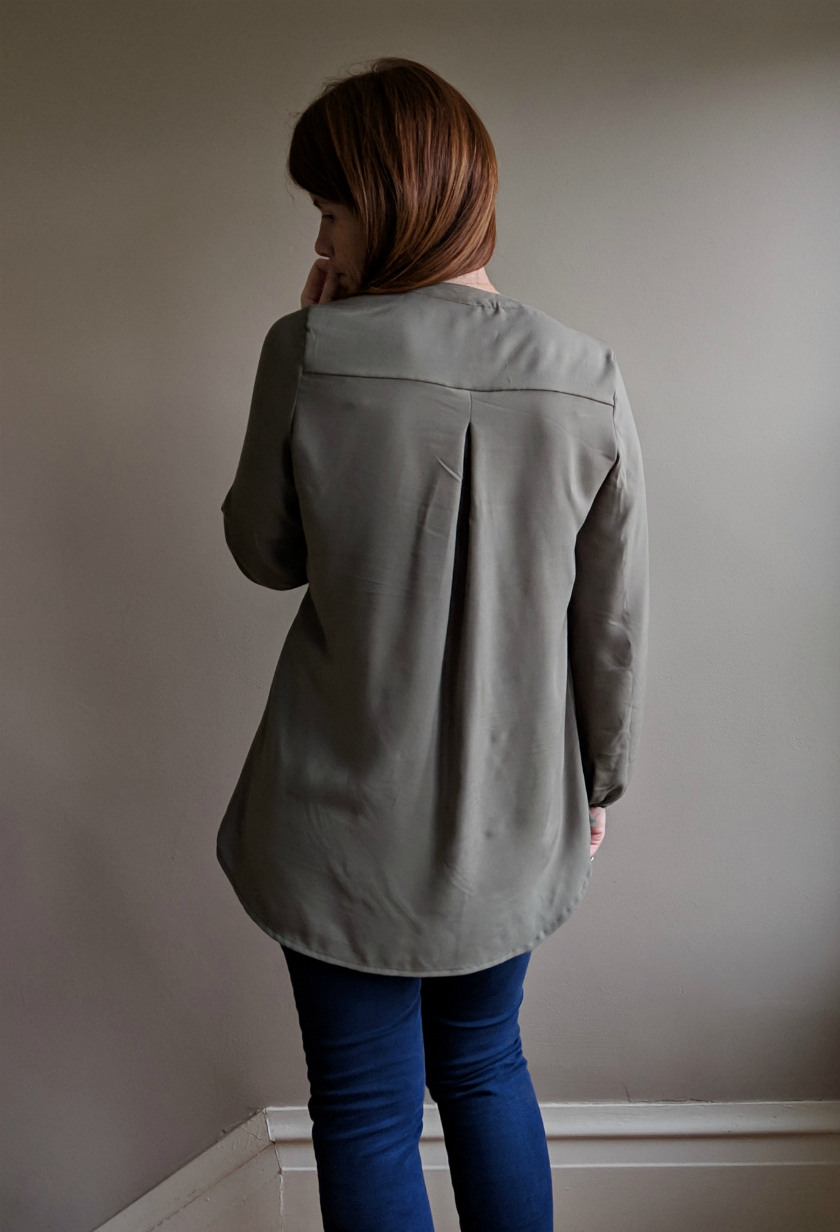
Since Cheyenne is one of my tried and true favorites, I was able to jump right to modifying her without making a muslin. (The only fit change I’ve made to a straight S is to shorten the sleeves.) The simplest drafting change is to the sleeves. I widened the entire sleeve body straight down from the armscye and used the simple sleeve binding from the 3/4 length sleeve.
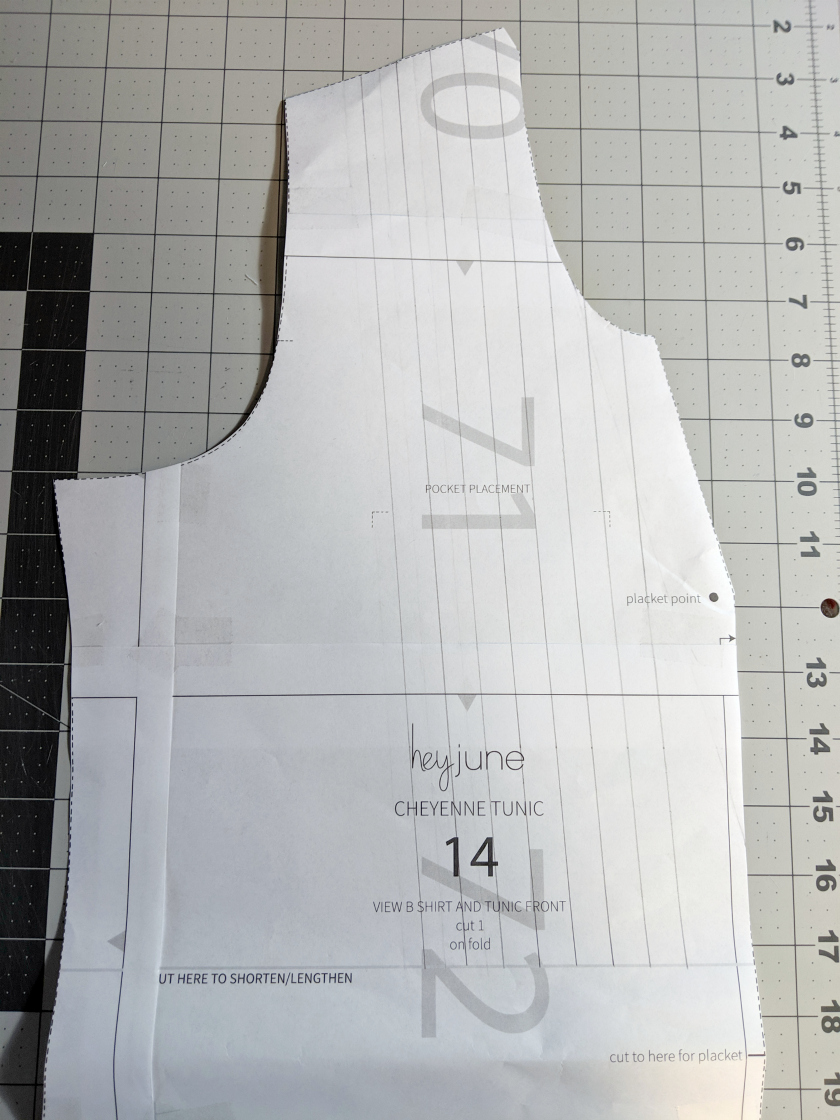
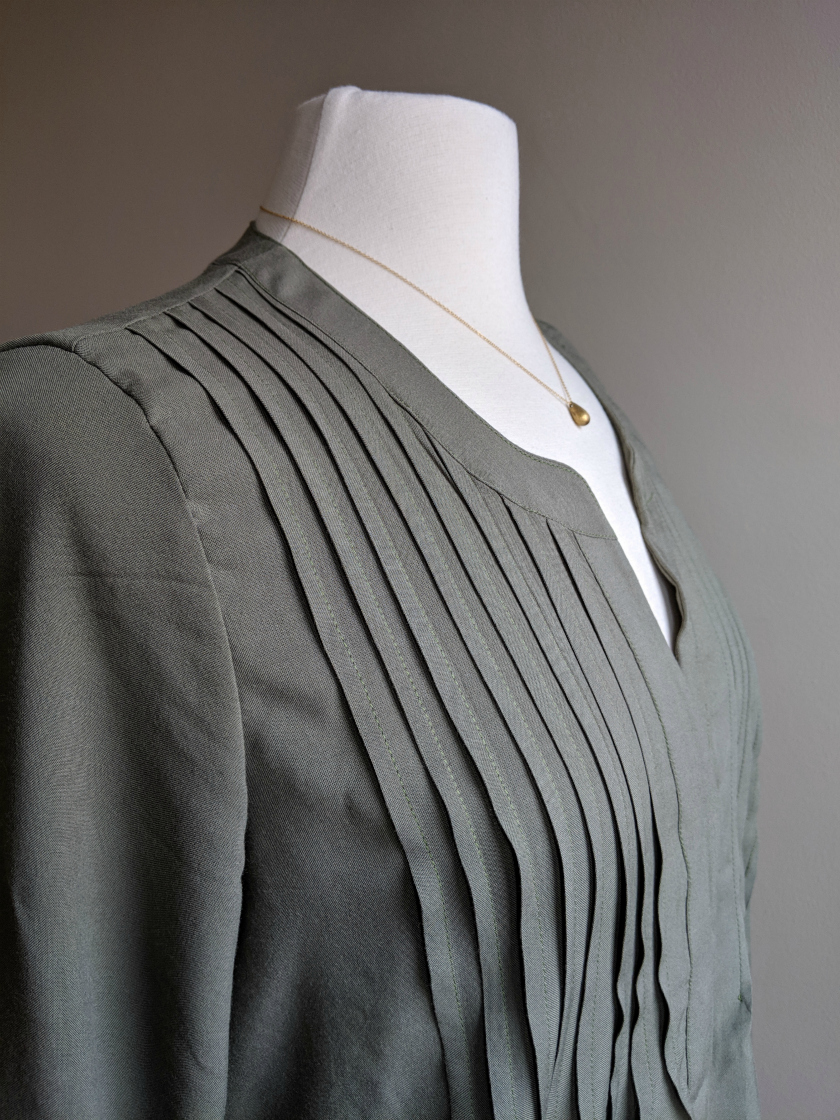
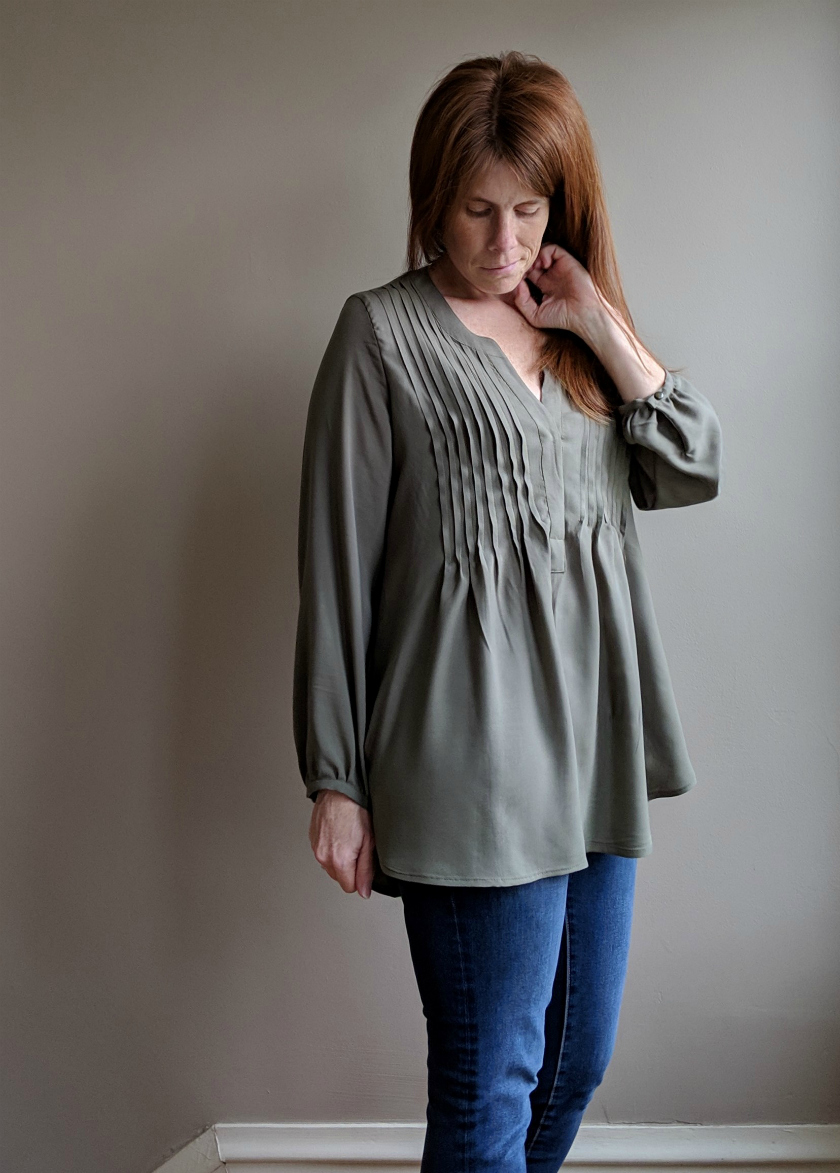
The pleats are also straightforward (see what I did there?), but there’s loads of them. Eight on each side of the front; that’s 16 pleats! Hold on to your hat; it’s a slash and spread bonanza. On the front bodice, draw a line from a point in the middle of the shoulder angled toward the center of the blouse. Add seven more lines parallel to this one, spaced 1/2 inch apart, distributed evenly along the neckline.
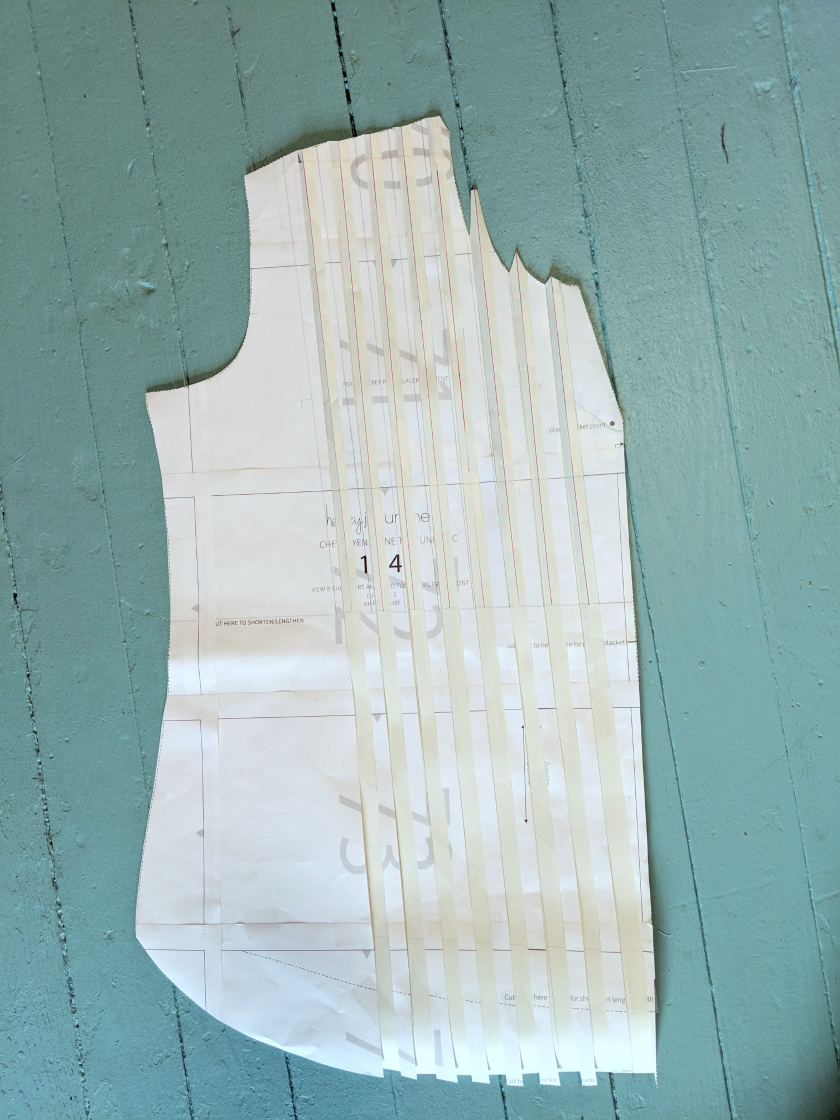
I was slightly stumped by this at first, but it seems the Verona blouse’s pleats are actually curved! I was not about to perform that sort of sewing witchcraft, so my pleats are straight. Keeping the pieces in order, cut completely through each of the lines. Then reconstruct the front pattern piece with a 1/2 inch spread between your cuts. (The lengthen shorten line is a good vertical landmark for orienting your pattern pieces.) I taped mine to craft paper because I don’t own any of that “tracing paper” I keep hearing about.
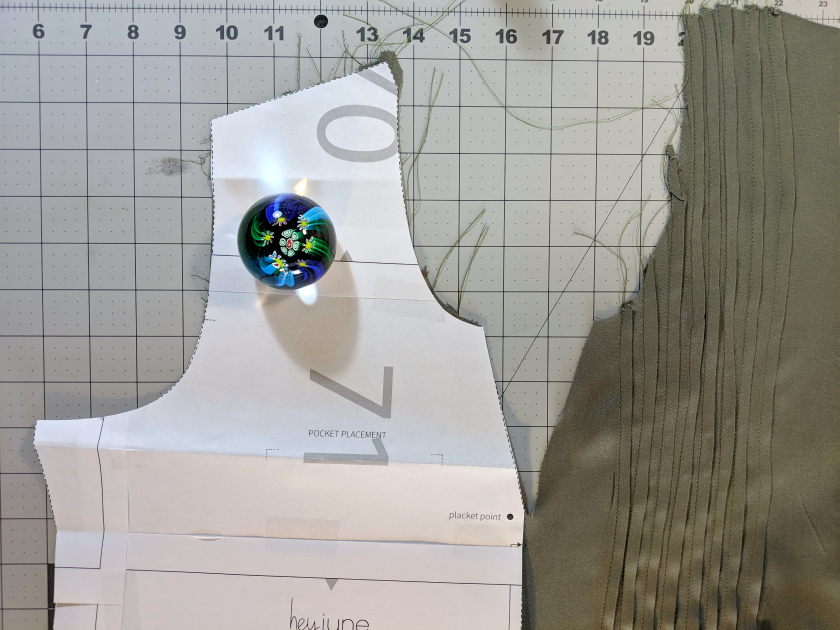
I added a line (red) down the center of each of the 1/2inch spreads to the level of the lengthen shorten line. This is the fold line for each of the pleats. When cutting, I transferred the markings for the end points of each pleat to the fabric. Folding the fabric, wrong sides together (WST), between the markings, I pressed each pleat line. Then simply stitched along my pressed lines with a ¼” seam allowance. Each of the stitched pleats get pressed towards the outside. Once the pleats are all sewn, you can compare your front to the original front pattern piece. Trim any fabric as necessary.
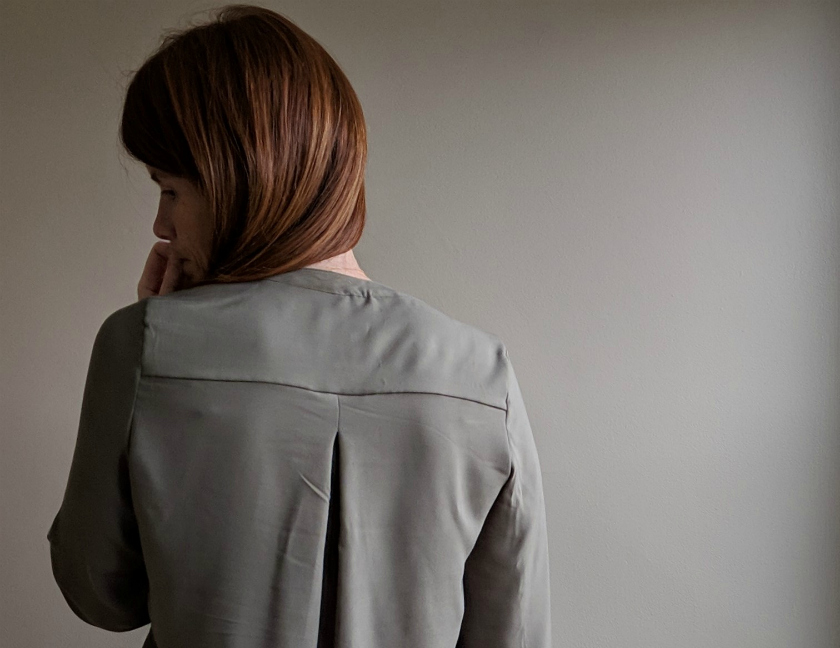
You could also easily add 6 pleats to the back bodice (after mashing it with the yoke) if you want to really go after the inspiration blouse. But after sewing 16 pleats, I didn’t have it in me. I did however, add 4 inches to the back bodice width, cutting it 2 inches away from the fold, and incorporating the added width into an inverted box pleat to match the unaltered yoke. In this way, the back has some added ease to complement the front of the blouse.
Construction of the blouse front and back follows the assembly instructions without change. Just take care when sewing the neckline that each of the pleats stays pressed in the right direction.
After closing the blouse and sleeve side seam, sew a basting stitch to the raw sleeve hem, leaving long thread tails. I created a simple narrow binding to finish the sleeve. My pattern pieces measured 11” x 2”. Press the binding in half, WST, along the long axis and press the long raw edges in again to meet the center press, creating a ½” double folded strip. Pin the right side of the strip to the wrong side of the sleeve edge leaving ½” overhang at both ends. Gather the sleeve hem evenly to match the binding length. Sew the binding to the sleeve with a ½ seam allowance then fold the short ends in and the rest of the binding to the right side and edge stitch in place. Add a button and hole. Boom. A gorgeous new sleeve style on a fancy new Cheyenne blouse!
Lastly, let’s talk about fabric selection. You’ll want to use a fabric that will take and hold a press and also has excellent drape. I used an olive green rayon challis purchased from Indiesew. It’s the closest thing in my stash to the viscose inspiration blouse. Lightweight wovens made of rayon, Tencel, or blends of such, like rayon chambray, and some voile will be good options.
Happy Cheyenne hacking!
Thank you so much for your effort to put together this amazing tutorial for us, Loni! I know it will be a timeless piece for everyone who makes it. I need about 3 in my wardrobe right now!

Oh this is so gorgeous! Good thing I haven’t cut my white tencel cheyenne yet!!
Wow!! That is amazingly gorgeous! I want one now!!! I have the same fabric but probably not quite enough.