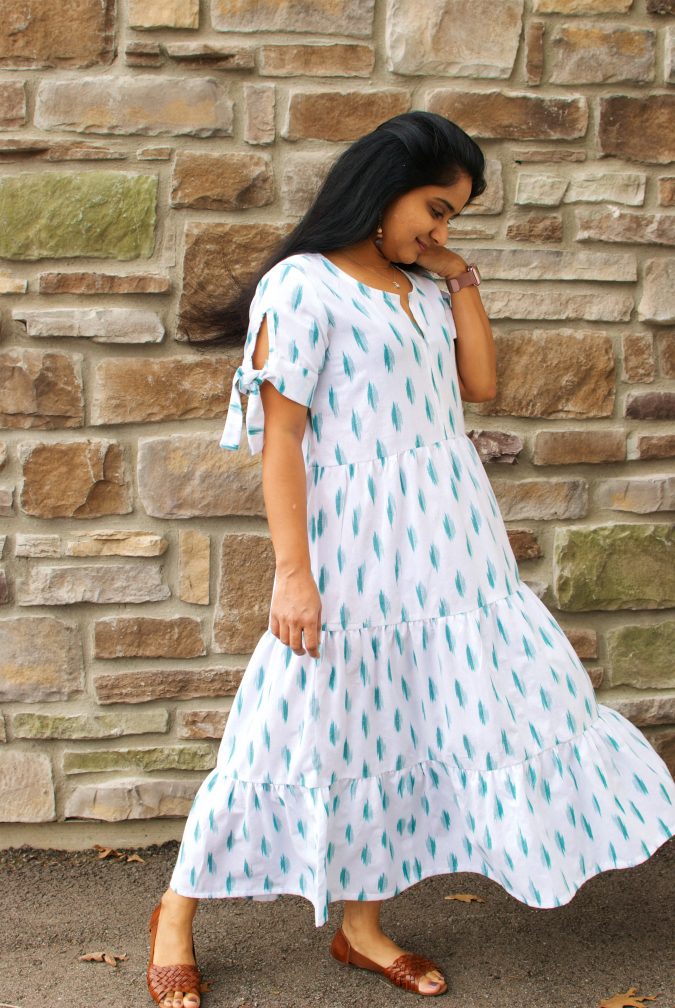
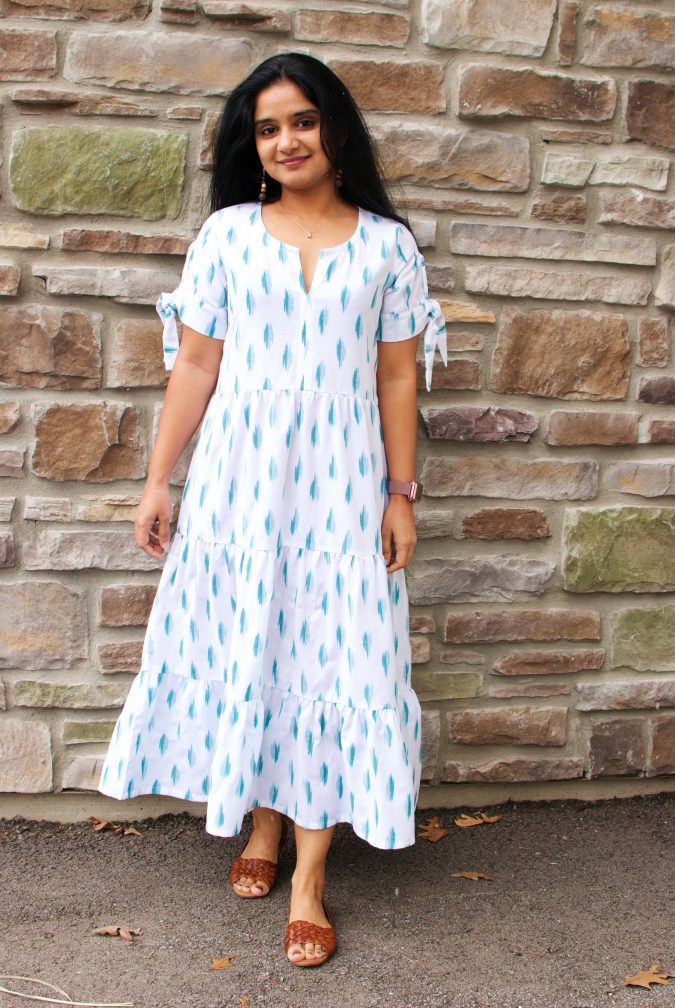
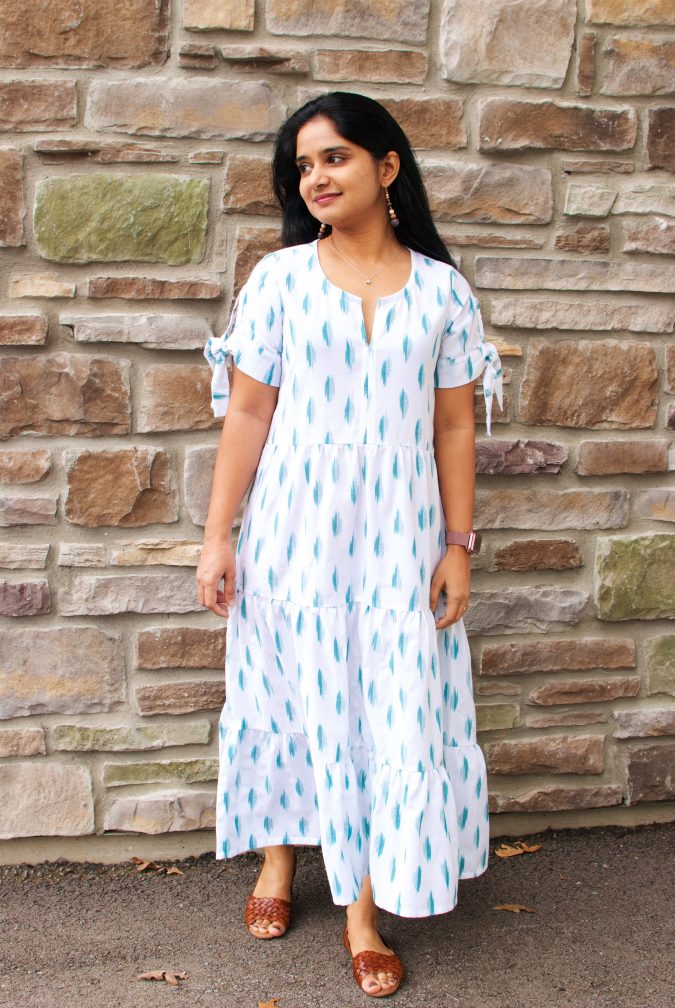
Please welcome Indu back to the blog with a really stunning dress and tutorial! I was so excited when she told me about her idea and then the magical interwebs produced an inspo pic almost right after. Maybe it’s targeted ads, maybe it’s magic! I’m so excited about this one because it makes the prettiest floatiest dress, perfect for vacations and dinners out and summer evenings, but I can also see it as a regular shirt length Lucerne with that gorgeous split neck! Can’t wait to copy you, Indu!
Hi Friends
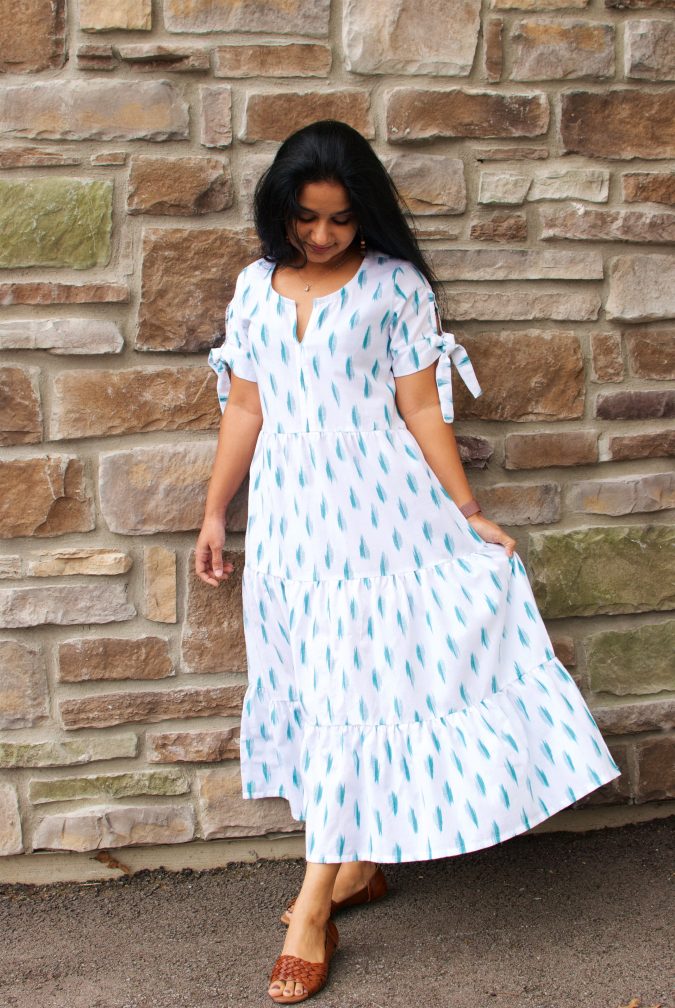
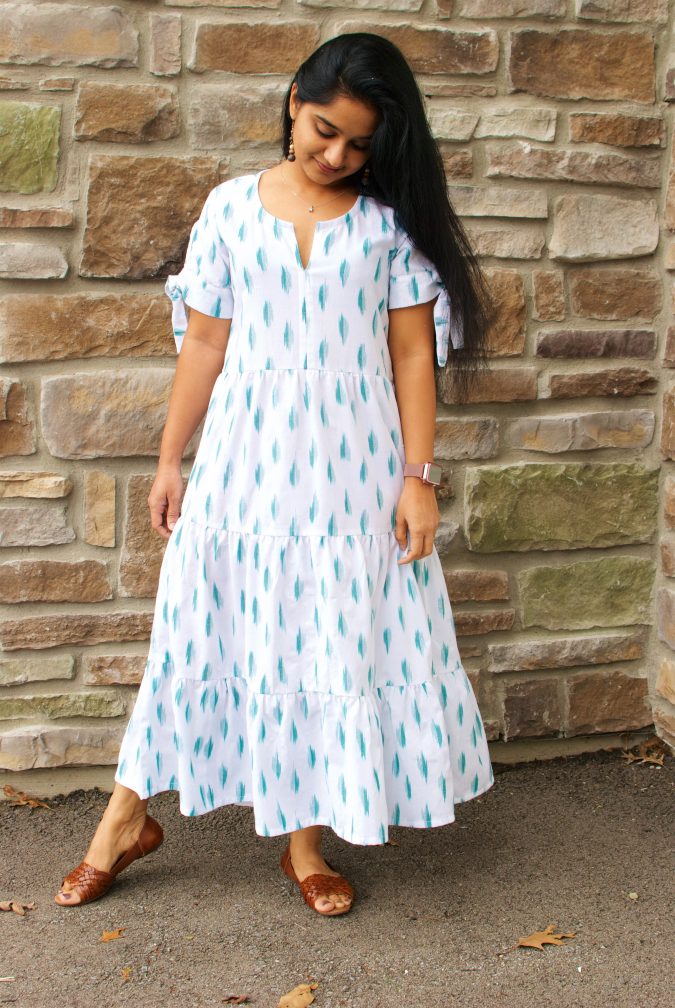
I am so happy to be back on the HJ blog with this tutorial for you. I made a tiered dress using the Lucerne Blouse as base but you can adapt this tutorial for any woven blouse pattern you like – the Phoenix blouse or the Key Largo Top would be excellent choices.
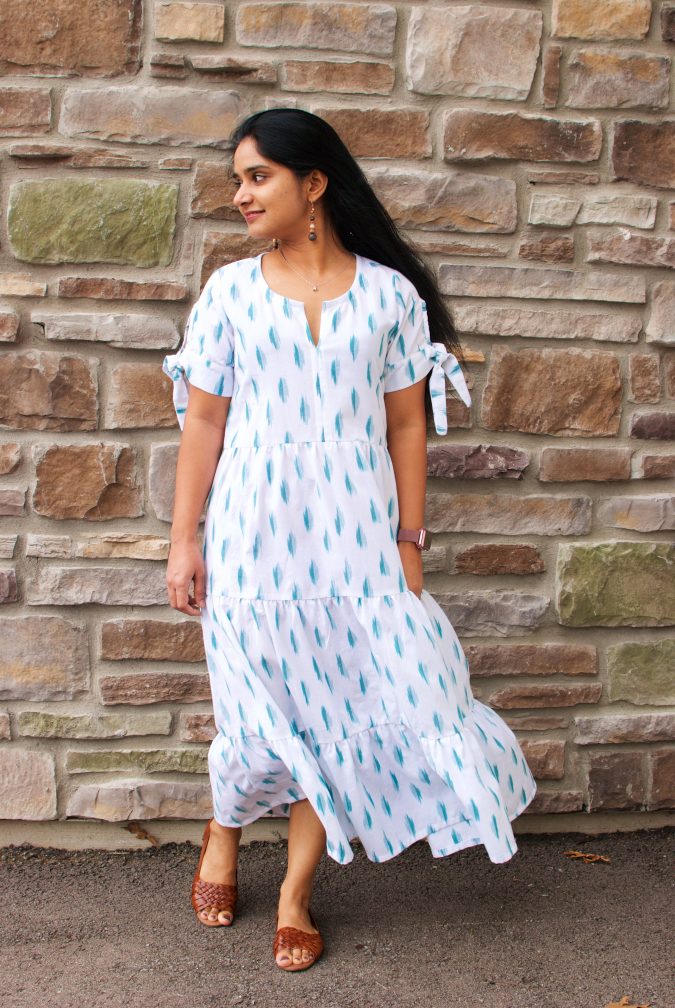
This is a very simple and straightforward sew and I hope you find these steps helpful.
Pattern modifications:
- Cut both the front and back bodice pattern at your natural waist. I chose to cut mine at about 8” (+½” seam allowance) on the side seam following adrianna’s tutorial on the Key Largo Dress. It might vary based on your own preference and body shape. Do not reduce the width at the waist, you will need it in order to be able to get in and out of the dress comfortably.
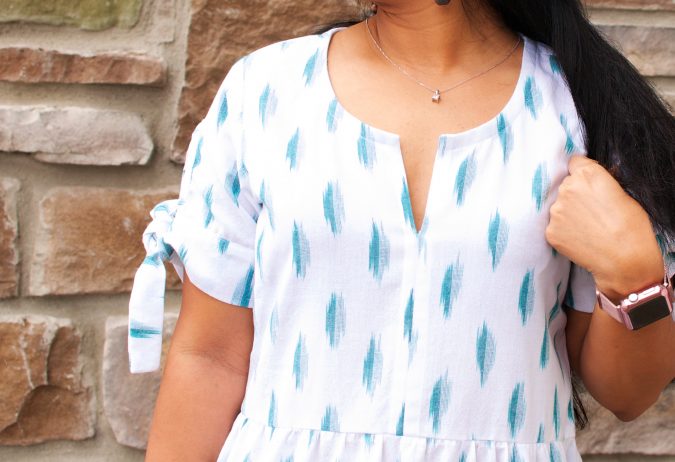
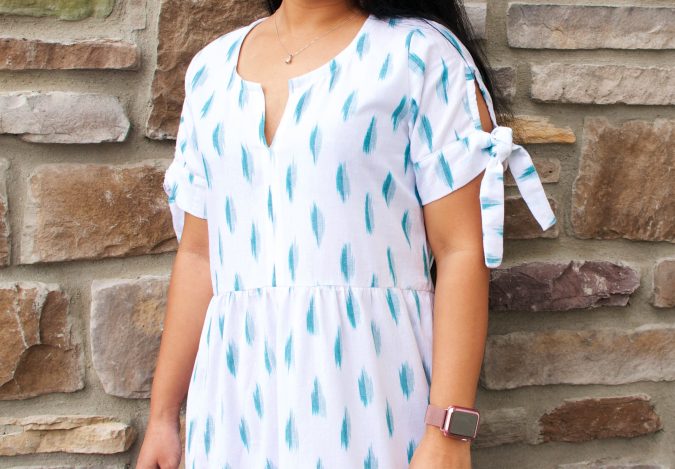
- Raise the neckline by 1” because you’ll be adding a slit to the front. You can skip this step if you want to but I think both the raised neckline and the front slit add a nice bit of detail to the front. You will also need a bias strip or tape about 20” length and 1.5” wide to finish the neckline.
- Add ⅝’’ seam allowance to the front bodice and instead of cutting on fold, cut 2 mirror images of the front bodice.
- Extend the sleeve ties by 3” on either side.
- And now for the skirt:
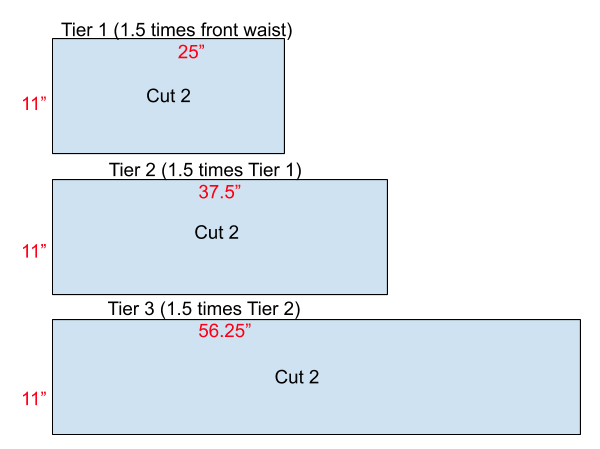
First measure how long you want the skirt to be by measuring from your natural waist to mid calf (or ankle if you’re aiming for maxi length) and divide that by 3 to get the length of each tier. In my case, I wanted the total skirt to be 30” long, so each tier is 11” (10” plus ½” seam allowance on top and on bottom)
For the width of each tier, first measure the width of the front bodice (twice the front pattern piece) at the waist. 1.5 times this width is the width of your rectangle. Cut two rectangles, and this will be tier 1.
Tier 2 is 1.5 times the width of tier 1 and tier 3 is 1.5 times the width of tier 2.
In the example below, my sample measurements are in red. Since you will be gathering the fabric, don’t stress too much over the accuracy of these widths (round up or down to the nearest inch).
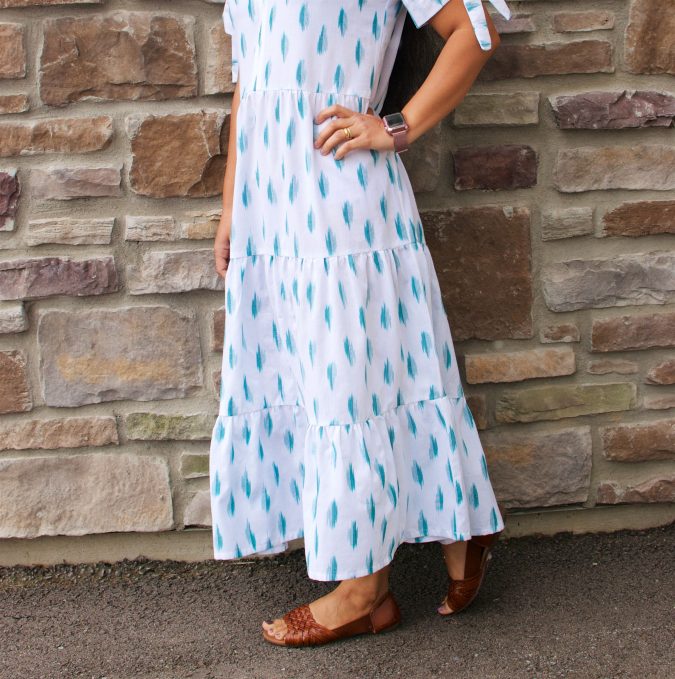
The fabrics recommended for the Lucerne blouse in the pattern will all work for this dress as well. The fabric I used here is a cotton ikat. It’s a lightweight cotton that is soft, drapes well and is a teeny bit see through.
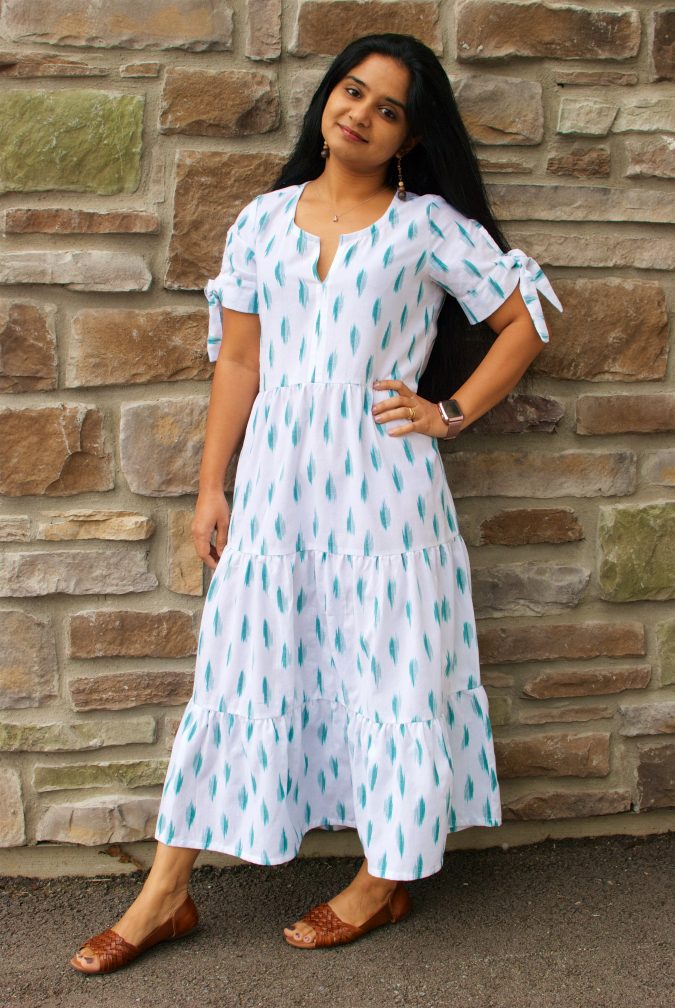
Now let’s get sewing, shall we?
Stay stitch the front and back neckline as indicated in the pattern.
Take your front pieces and mark a point about 3” (or however deep you want the slit to be) down the neckline. Start sewing at this point with a ⅝” seam allowance and sew all the way down. Don’t forget to backstitch. Press the seams open, even the unstitched portion above the marked point. Now on the wrong side, fold the raw edges under by ¼” and press well. Stitch on either side of the center seam at ⅜” catching the folded edge underneath.
Proceed to join the front and back at the shoulders as indicated in the pattern.
The neckline is finished with bias tape. Sew the bias tape right sides together to the neckline, leaving about ½” overhang on either side of the slit. Tuck that overhang in before turning the bias tape once (raw edge of the bias tape meets the seam line you just sewed) and fold again so the bias tape is completely on the inside of the neckline. Press well and top stitch at ⅜” all around the neckline.
The sleeves are constructed exactly as instructed in the pattern.
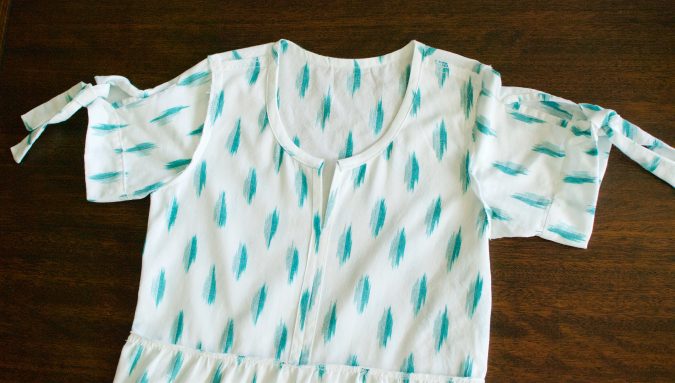
The inside of your neckline and slit will now look something like this.
And now for the construction of the skirt which is pretty straightforward.
Sew the short edges of the rectangles together on both ends and finish the edges with a serger or zig-zag stitch. Press towards the back. Repeat for tier 2 and tier 3 rectangles as well.
Mark or notch mid points, then sew gathering stitches at about ½” on the top edge for all three tiers. Gather and attach the three skirt tiers to each other with ½” seam allowance and finish these edges as well. Hem the bottom tier by folding under by ¼” twice and pressing well.
Finally attach the skirt to the bodice with ½” SA and finish this seam as well. Give the dress a good press and it’s ready 🙂
Thank you for this detailed and beautifully written tutorial, Indu! If any of you use this tutorial, please tag myself and Indu on social media so we can see!

Ooh this is so gorgeous!! Perfect fabric and pattern combo !
I love it I would love to make it ! I would only do the two tiers
Very cute ???❤️❤️❤️
Ack! I’m so excited! I love this dress. I saw this ready to wear dress that was made in a swiss dot fabric and the style is almost identical to yours. I have been looking in vain for a pattern to recreate this look, but now thanks to you I can! Only question is how would I go about figuring how much fabric I would need? Me and mathematics don’t get along. Any help you could give me would be so much appreciated!
I love love! But. Alas I’m no good with out a permafrost pattern : ( Is there a pdf or a hard copy available for purchase with this pattern?
Have a lovely day.
Katie S.
Hi Katie,
This is one of our many pattern hacks, so you would need the Key Largo pattern (or any blouse pattern you prefer!) and then you just add the skirt using the instructions provided. This one is easier than most since Indu included measurements for pattern pieces!