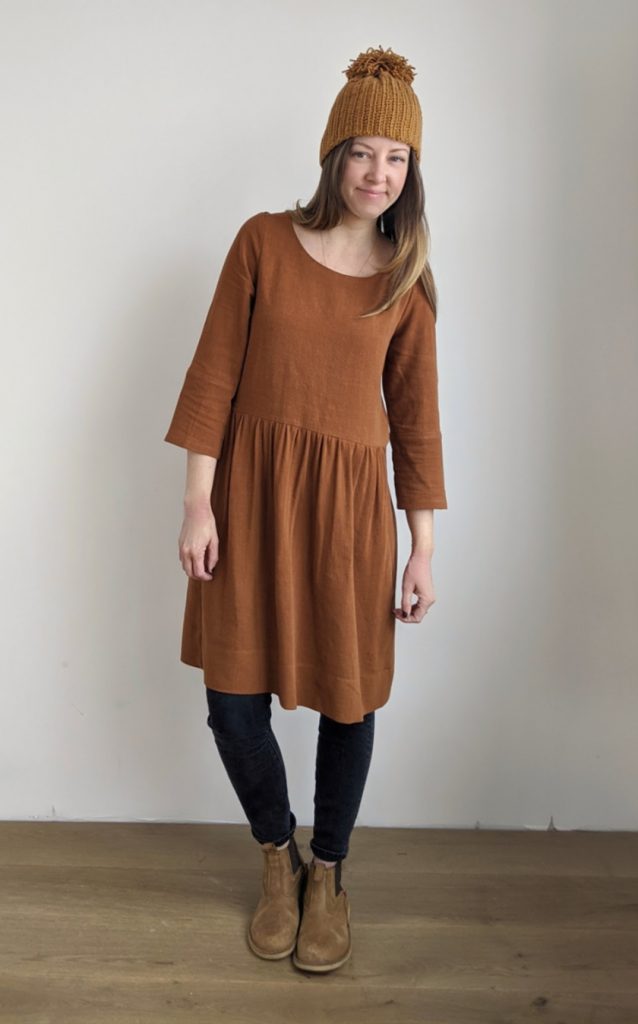
I’ve had this idea for some time now to add a rectangular skirt piece to the Key Largo Top and make it a dress. It ended up being slightly more complicated than that, as most things do, but I’m so happy with the results!
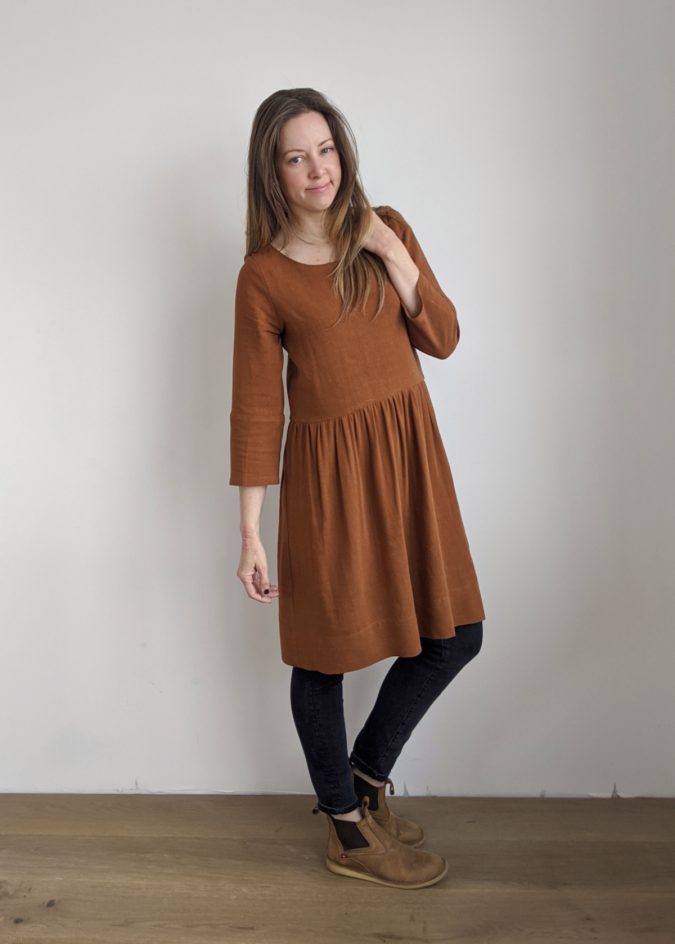
I used the Viscose Linen Noil in Copper from Hart’s Fabric, and I’ve also purchased the exact same fabric from Blackbird Fabrics and Cottoneer Fabrics in the past. I just love this substrate and color I guess! I’m giving you the name and some online shops instead of a direct link in case it sells out. It’s a popular fabric so in that case you can just google it. I used 3 yards to make this but ended up reducing the width of the final dress so much after sewing that it’s possible I could’ve used 2.5. I made a size 4.
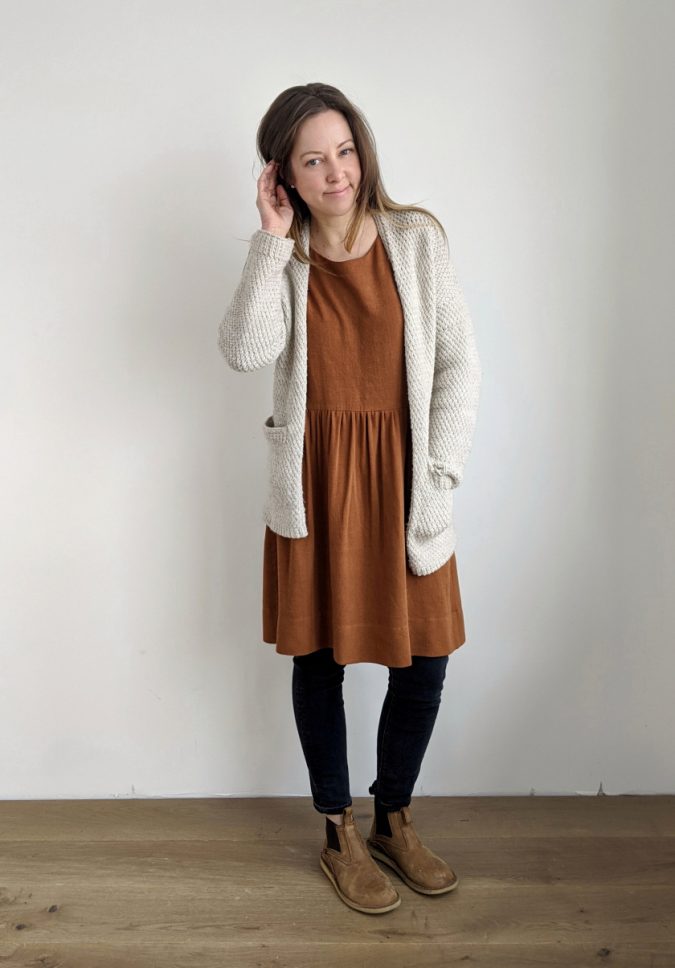
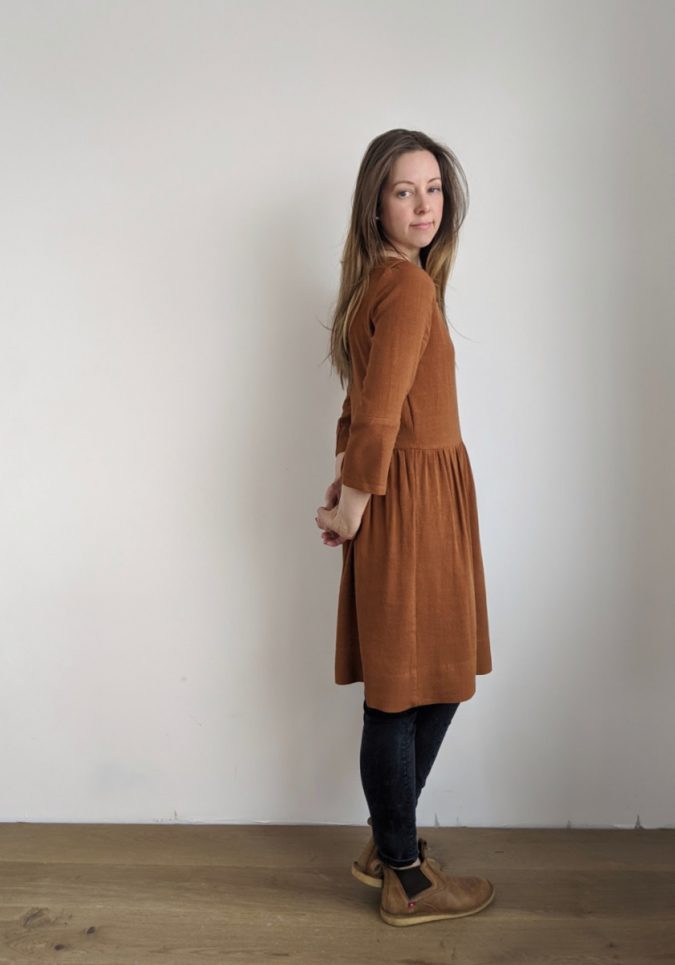
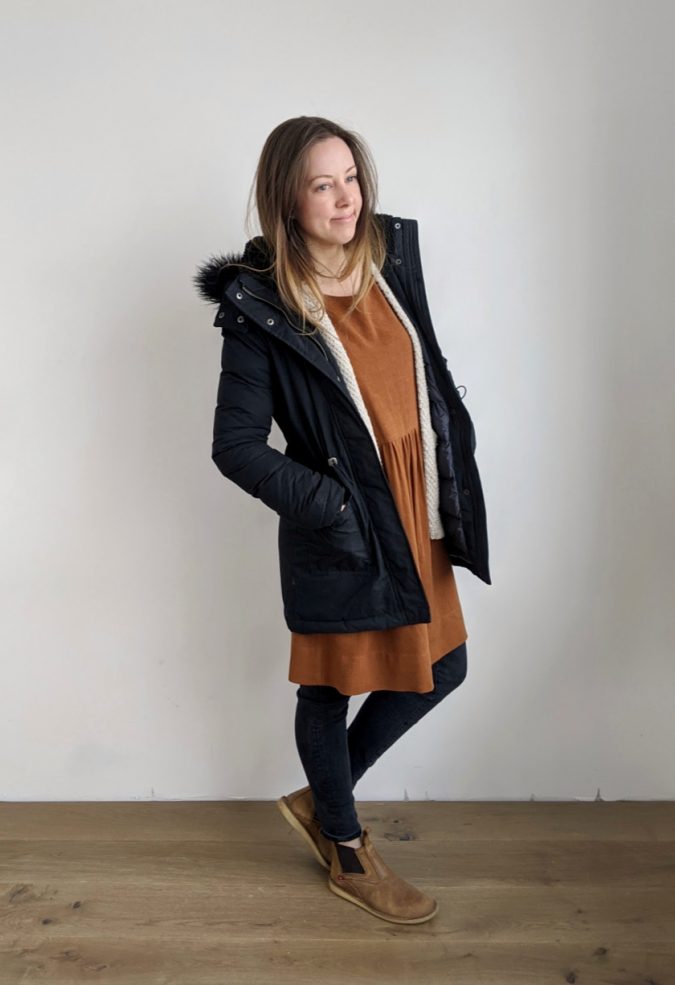
I ADORE this dress paired with some skinny jeans and my Kapsel Cardigan, knitted for me by my mom. Without the layering and styling this dress can easily turn into something you would wear to cross the Atlantic on the Mayflower, so just keep that in mind if you are vaguely horrified during your first try-on 🙂
Choose a Size
As always, my best advice is to muslin the bodice so you’ll have an accurate idea of how the dress will fit. However, I feel fairly confident saying that you can size down the Key Largo for this bodice. If you normally need a FBA or if you’re on the verge, you’ll definitely need to perform that alteration to a sized down bodice. I did not size this one down but I ended up reducing the width through the top of the side seams and into the sleeves, so it would’ve been easier to just size down in the first place.
Pattern Alterations
My first alterations to the pattern were from the video tutorial I did to make the Key Largo into more of a boat neck top with a neckline facing. I have it saved to my Instagram stories here. This is not necessary for the dress, but at the very least I recommend raising the neckline by about an inch since the skirt will pull it down, especially if you use a heavy fabric like this rayon linen.
The next alteration is to the bodice front and back. IMPORTANT: as noted in the Key Largo instructions, the center front has a seam, so it has a seam allowance. If you want to eliminate that seam and cut on the fold, you need to remove the seam allowance first. To do this, simply cut 1/2″ from the center front of the pattern.
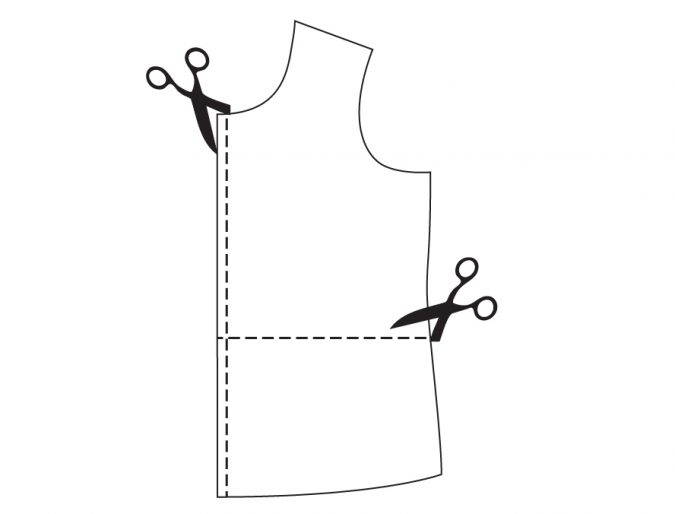
You’ll then need to decide where you want your waist seam to sit. I wanted more of a dropped waist, so I cut mine at about 8″ down the side seam, not at the natural waist (where the shorten/lengthen line sits). This seam is pretty arbitrary depending on your height, body proportions, and desired fit. If you cut it just under the bust, this would be very maternity friendly! Just remember that the higher the waistline, the more juvenile a dress can look (hence the “babydoll” dresses from the 90s), so keep that in mind. You will need to measure and repeat this cut at the same point on the side seam of the back piece.
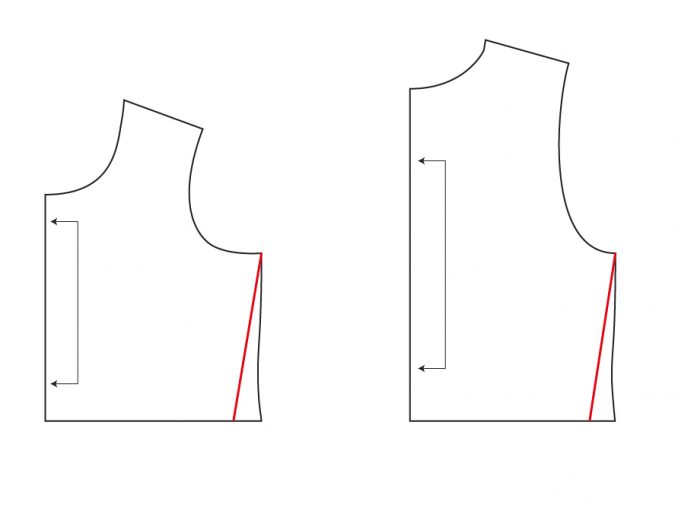
At this point, I angled the side seams in 1.5″ at the waistline. This will depend on how much room you have after sizing down, if applicable. The purpose of this alteration is to give the dress a small amount of shaping so it doesn’t look like a sack when you’re wearing it. But this is not designed to make it a fitted dress. To do that, you would need to add bust and waist darts and a button or zip closure. So keep in mind that the total waist measurement still needs to slide easily over your head, shoulders, and bust. Again, this is where a muslin really becomes necessary. I recommend only angling the side seam in a small amount to start and then you can adjust from there.
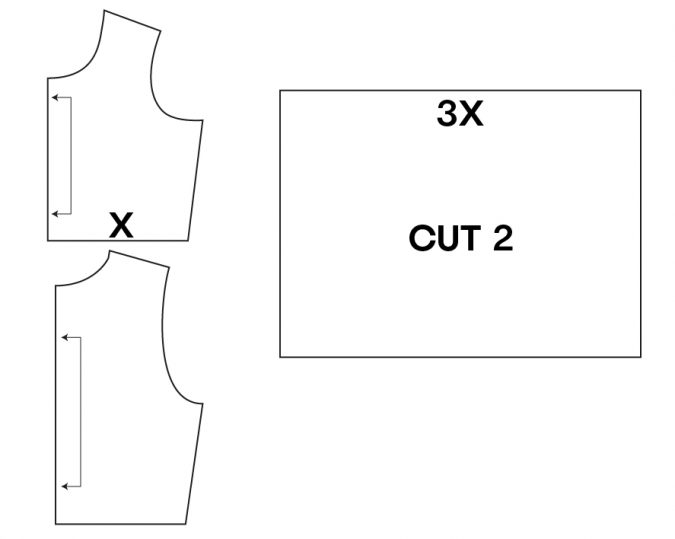
After you have your front and back bodices finalized, measure the waistline of the front pattern piece. That number will represent X. Draft your skirt pattern at a width of 3X and your desired length. This will yield a final skirt to bodice ratio of 1.5:1, which is a nice amount of gathering for an adult garment. Any bigger and you run into dirndl territory. The length will be dependent on the height you chose for your waist seam and of course your overall height and desired length. I personally recommend making this dress sit above the knee because it is already very loose and wide, and proportions look best when they are balanced. So a wider garment looks better with a shorter hemline and vice versa. For reference, my skirt pattern was about 24″ and then I did a 3″ hem. I recommend going longer than you anticipate you’ll need because you can always trim the bottom, and because the skirt is square, you can also give it a nice deep hem for added detail and weight. Cut 2 of this skirt pattern from your fabric.
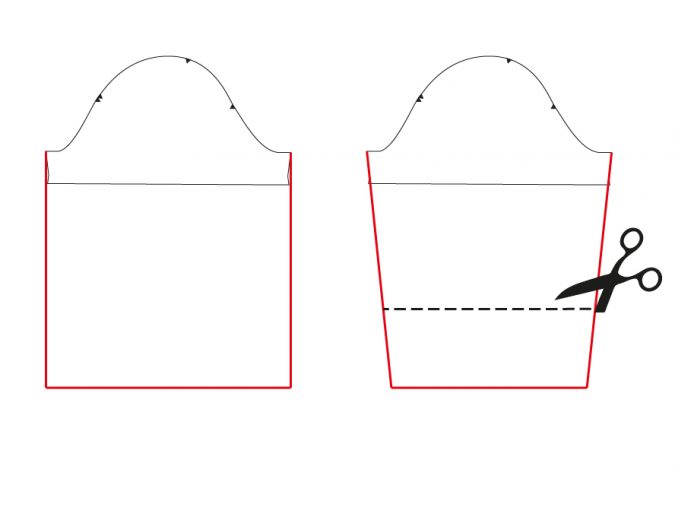
The sleeve pattern is also quite arbitrary, but I’ll tell you what I did in case you want to copy. I drew the sleeve pattern straight down from the underarm points at a length of 19.5″. I usually have to add 2″ to my sleeves, so to get the length that you see in my pics, you may find that you only need 17.5″, but obviously this depends completely on your body. It’s better to cut it longer than necessary though. Once you’re happy with the length, angle the hem in on each side by 1.5″ and cut. I ended up adding a seam in my sleeves because I didn’t have enough fabric, but if you want to do this intentionally, you can decide where you want to add the seam and slice the sleeve into two pieces. Make sure to add seam allowances on each side of this cut. This would be a fun place to colorblock too! For reference, the lower portion of my sleeve is about 6″.
And that’s it for alterations! After this, you can sew it together as written in the directions. The skirt needs to be gathered to fit the waistline of the bodice before sewing on. I like to divide the skirt and bodice into 8 sections on the front and 8 on the back (I do this simply by folding in half several times and putting a pin at each spot). Because the skirt is fairly wide, you will save yourself a bunch of time only having to evenly distribute the gathers between pins for 2 – 3″ at a time. Then hem your skirt to the desired length and you’re finished!
Pockets
Some will notice that I didn’t mention pockets and this dress is pretty much primed for them. If desired, you can of course add your desired pocket in your desired location. Inseam would be a great idea, though I’d recommend making sure the top of the pocket extends up to the waistline to hold it in place. Patch pockets would also be really cute! I don’t prefer pockets in my dresses so I didn’t add any.
I’m so pleasantly surprised by how much I love this dress! I will probably always wear it as it is styled here – with a long line cardigan, jeans or leggings, and boots. I love that it works perfectly for winter though in this heavier fabric. In fact, right after finishing it, I threw on my winter jacket and my snow boots to go out on a snowy 20º day! But I think it would also be really cute year round with sandals or loafers.
If you use this tutorial, be sure to tag me so I can see! Happy sewing 🙂

Why don’t I wear dresses? You’re adorable.