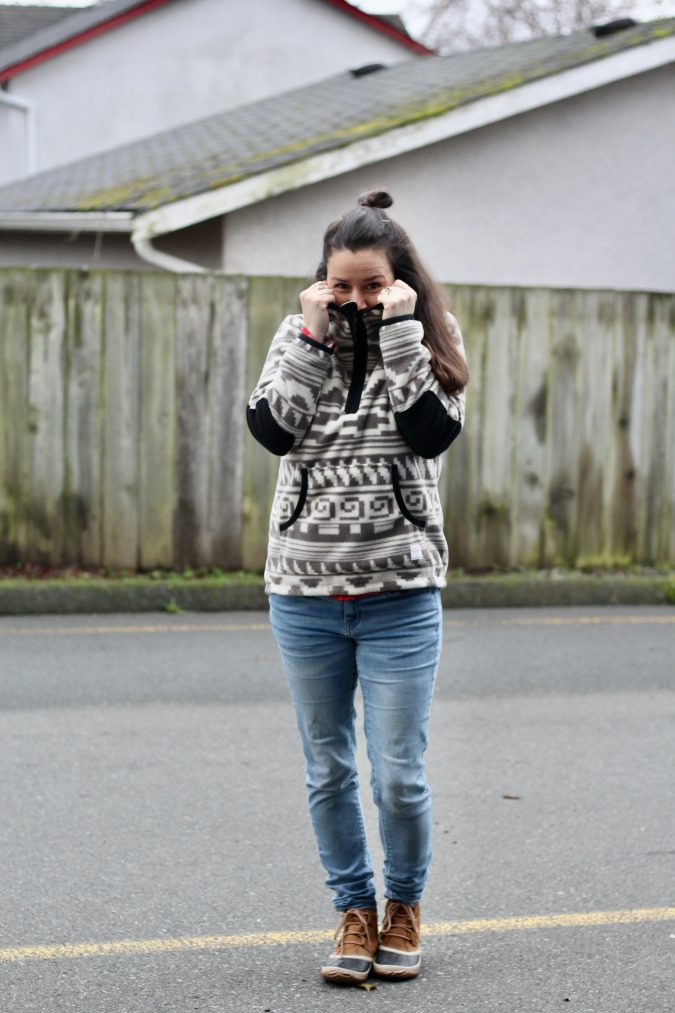
Please welcome Mandy back to the blog with a, to be perfectly honest, mind blowing tutorial! She basically created a new pattern for you guys! I’m so excited to share, not only because of her amazing work but because this is one of my favorite garments to wear. I think the use of fold over elastic really mimics that storebought look and I couldn’t be more here for it!
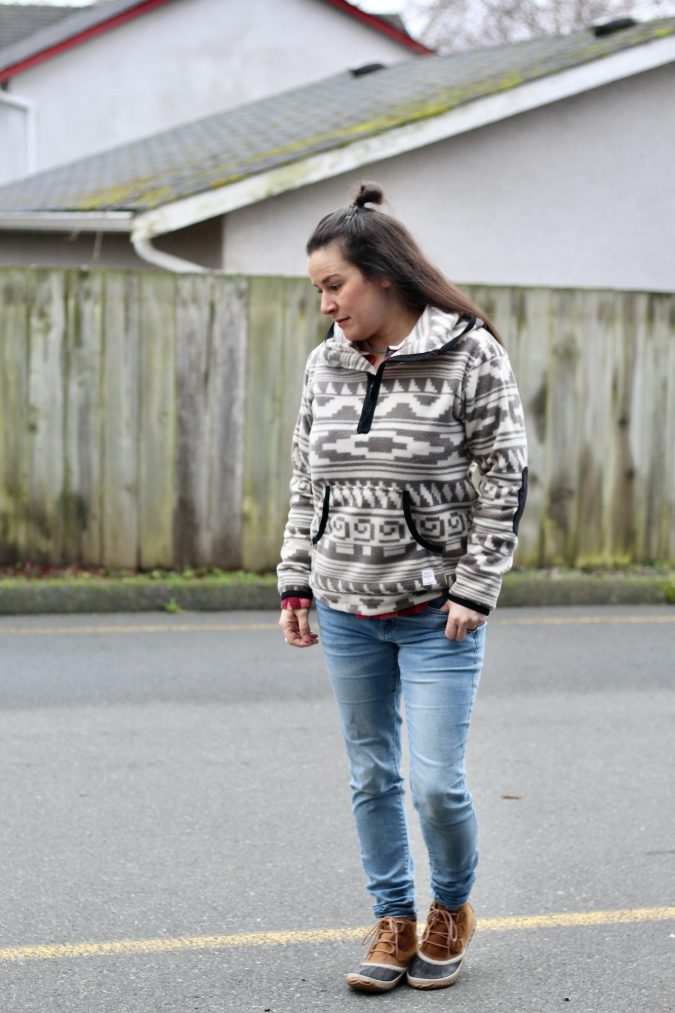
The story of this Halifax Half-Zip Scuba Hood hack really starts with a North Face fleece pullover my friend was wearing one day, and which I immediately coveted. I really felt like it was something I could make myself, or at least a reasonable facsimile thereof, and from that point on, I couldn’t stop thinking about how to install that zipper. I proceeded to closely inspect my friend’s fleece, and then went into a store and looked at more of them in different styles, and finally did a trial run. The rest is history! Here are my notes, and pictures and some illustrations, so if you’re interested in doing the same hack, you’ll have a little help.
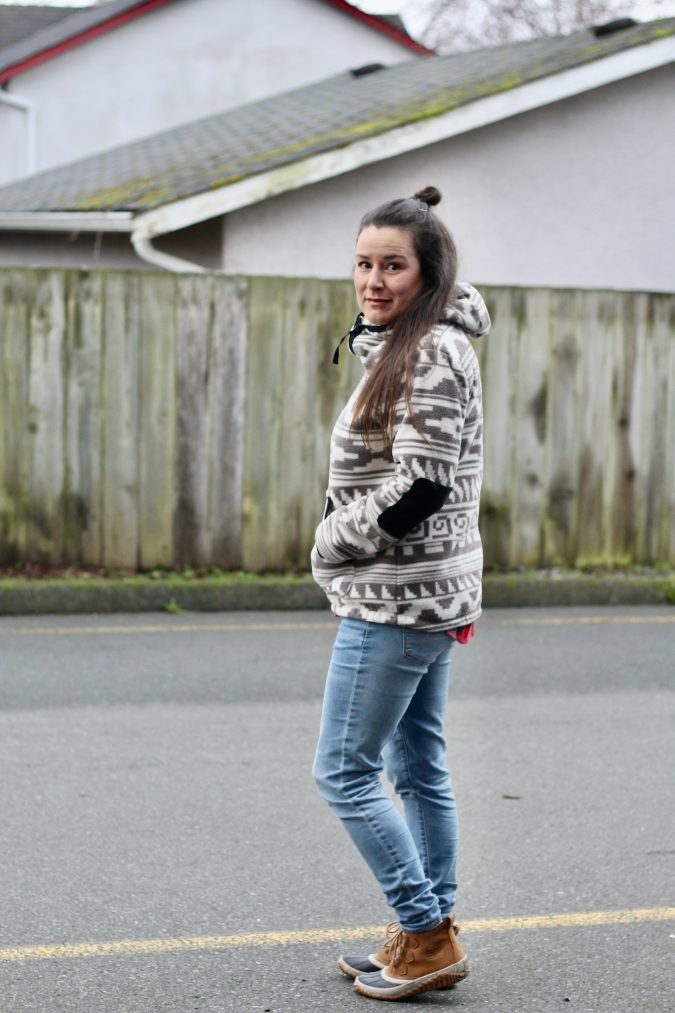
I went with a Medium, because I wanted more ease and layering options. I do think that I could have even done a Large for a little more of an oversized look, but I’m still really happy enough with the way this turned out. Decide how long you’d like your body, and whether you need to add a little bit to length as this hack doesn’t have a bottom band. I added about 1.5” in length, and then I made a very subtle hi-low hem, just eyeballing and trimming. You’ll want to do the same for the arm length as they won’t have a wrist band either.
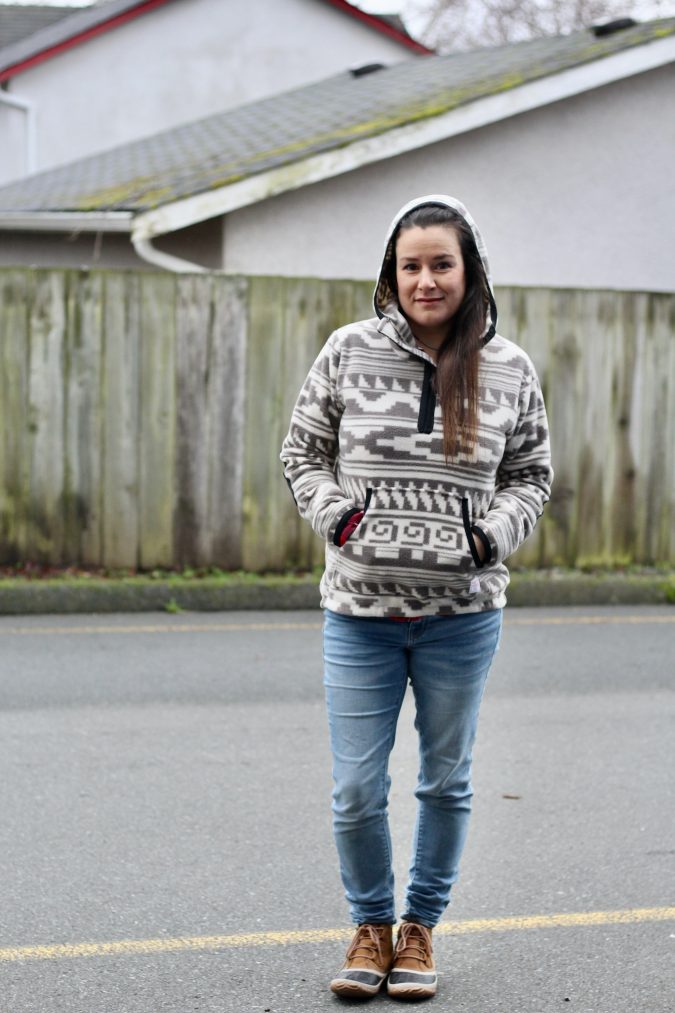
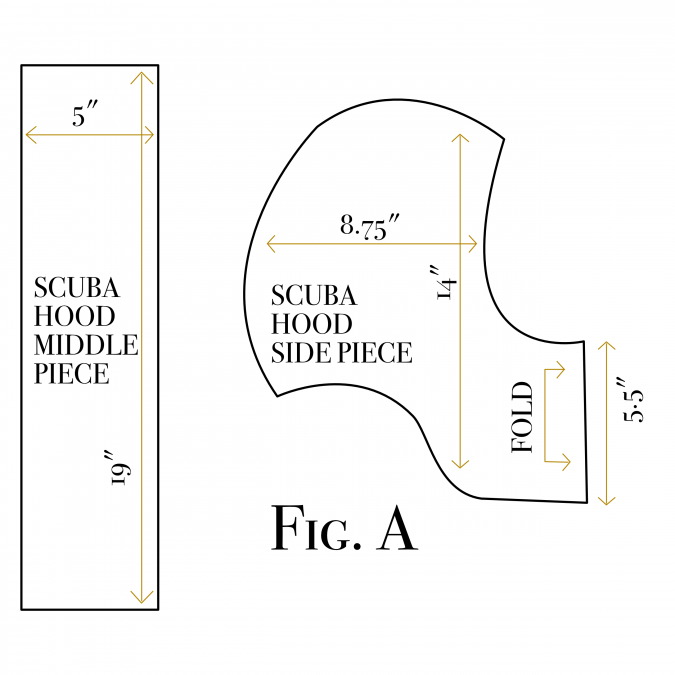
Create a ‘scuba hood’ (this is a hood which has 3 pieces and a raised neck at the front). I did this by measuring RTW hoodies I had with this style, as well as my friend’s fleece, and doing a few muslins to get the right ratio. It took a few tries before I had the right sizing for the feel and aesthetic I wanted. Be sure to cut your side pieces on the fold so that it is ONE piece, with the fold being the front where the zipper will go eventually.
Sew the front and back of the Halifax together. Sew the scuba hood together, and attach at Halifax neck line. I had to lower the Halifax front neckline a bit (about an inch or so) in order to attach my scuba hood properly.
Now you need to make the zipper shield! Take a piece of main fabric, and a piece of contrast fabric. I just used a black athletic scrap so it would match my black FOE. Cut to about 12” x 2”. Sew right sides together, in an L, along one short and one long side with a 0.5” seam allowance. Clip the corner, turn right sides out, press, and sew a top stitch around the sides you sewed. You can serge the raw edges at this point if you’d like – or you can bind them with FOE, or bias tape. I kind of wish I’d used bias as this would have been cleaner (and it’s how North Face does theirs), but alas, I did not not.
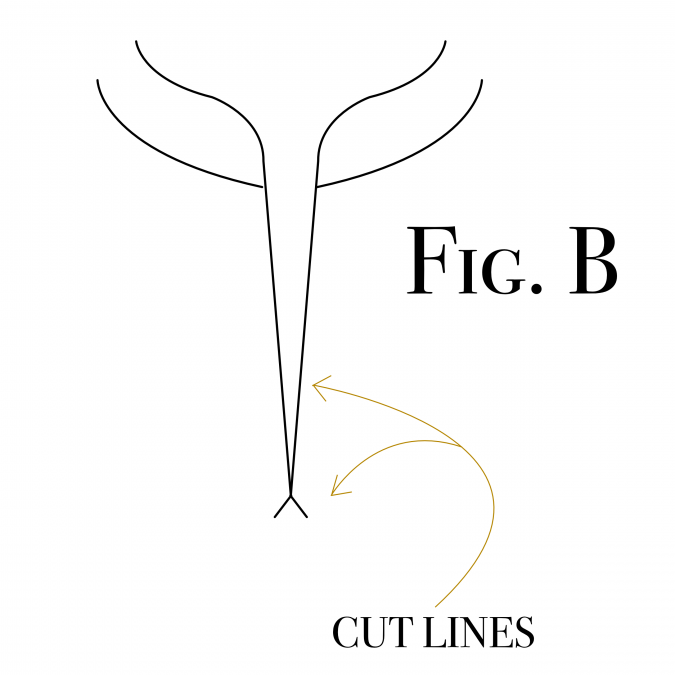
Measure and mark from the top front of the hood neck, down onto the Halifax front body piece to the length you want for your zipper/shield combo, minus 0.75”. Mark two diagonal lines at the bottom (see Fig. B). Mine measured 0.5” inches.
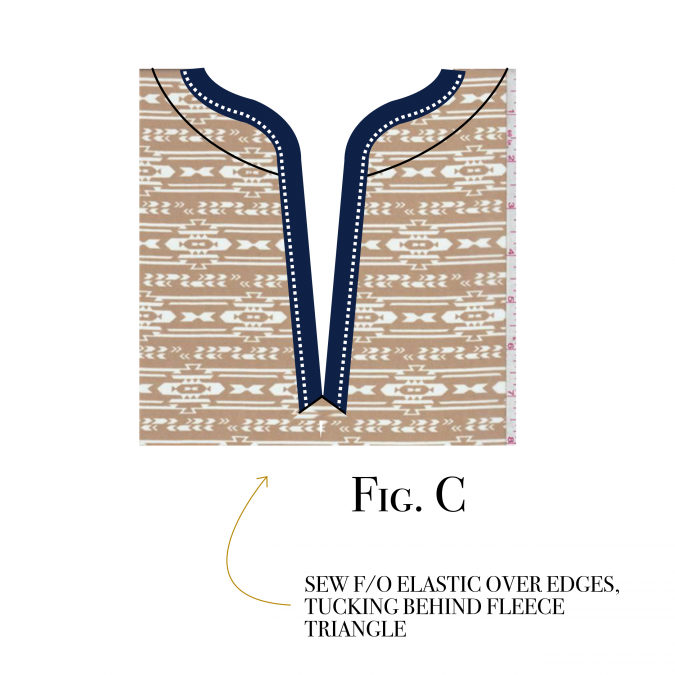
This is the beginning of the tricky parts. We’re going to cover the fabric edge on both sides of the zipper cut line, up and around the hood. What I recommend doing is cutting two pieces of Fold-Over Elastic (FOE) and sewing each piece, on each side of the zipper cut first. Be sure to sew while tucking the ends BEHIND the little triangle at the bottom. (Fig. C)
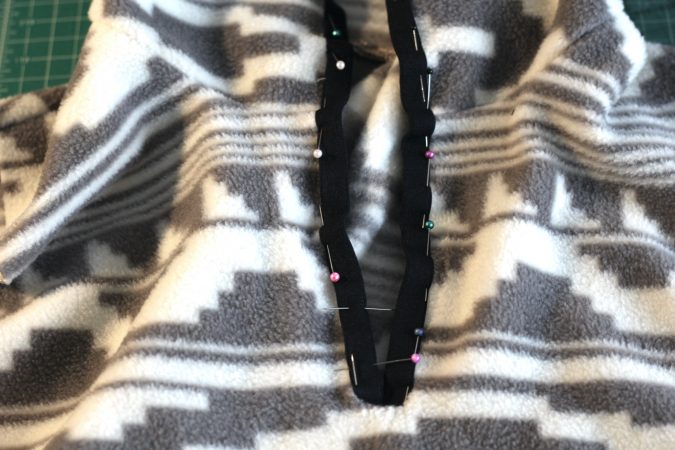
Fold the FOE around the raw edge, and sew with a straight stitch up and around the rounded corner, then stop (for each side). Now measure the remaining hood edge that needs covered. Take 80% of this number (just like you’d do for a neckband), and divide it by two (for the two sides of the FOE). Making sure to add a little for seam allowance, cut each side of the FOE to this measurement, then sew those ends together. Now you can fold and sew (with a straight stitch) the FOE onto the edge of the hood, starting at one end and going right to the other. You just need to pull the FOE a little as you sew, so that it will stretch to fit the hood. This creates a subtly shaped hood! (* I learned this the hard way – I tried sewing it around as-is, without cutting it slightly smaller, and it made a larger, floppier hood. Not what I wanted.)
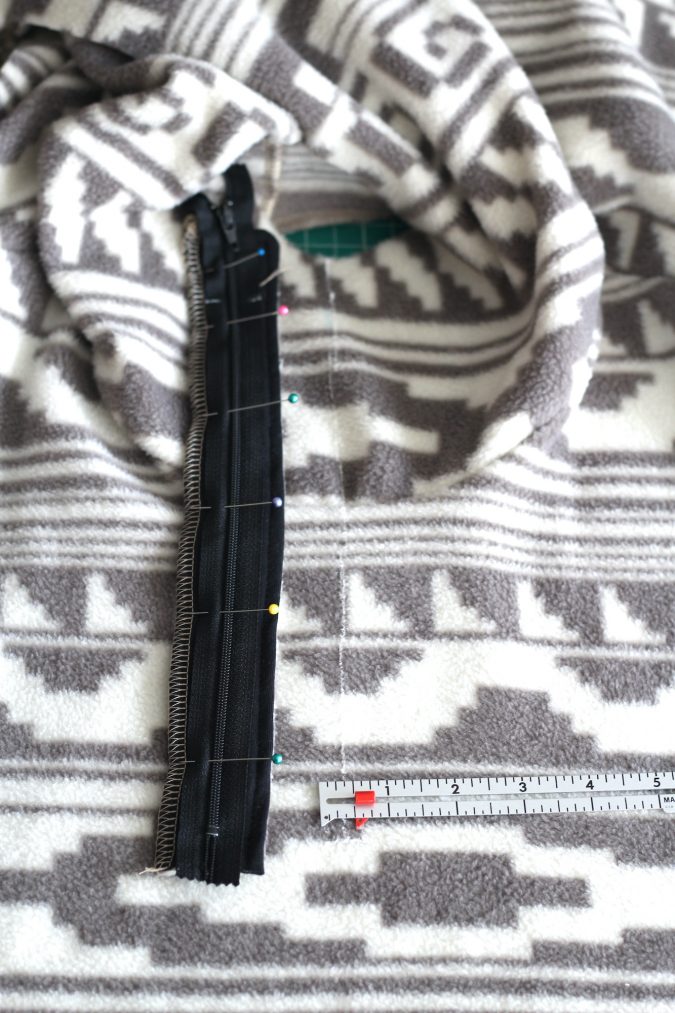
Place zipper right side up on zipper shield, slightly to the left of the raw seam on the contrasting side. Stitch zipper directly onto zipper shield.
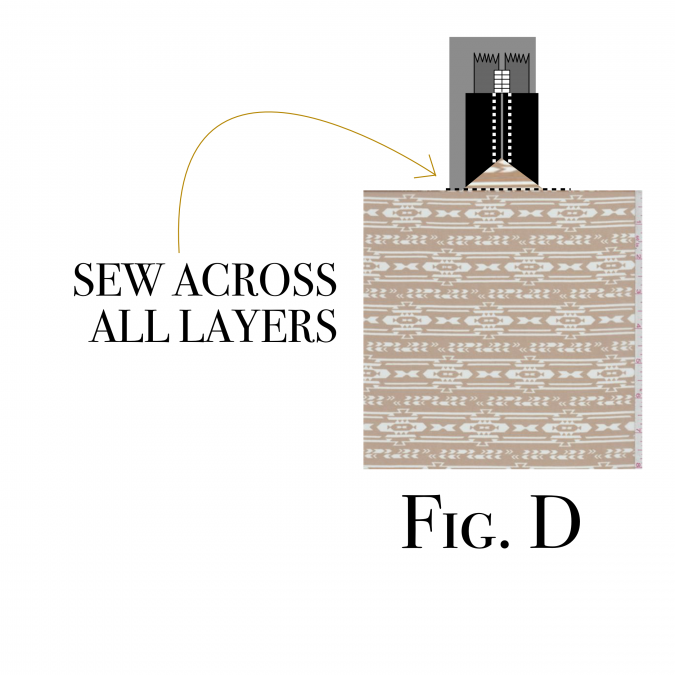
To attach the zipper/shield piece to the sweater, you’ll need to sew the bottom of it, to the little triangle bit. This is really hard to describe so I took some pictures and did some drawings that I hope show what I mean (Fig. D). Just make sure you’ve sandwiched everything nicely, and that the FOE sits evenly when you view it from the front. I used as many pins as I could to make sure this all worked well, and used a zipper foot to do the little seam.
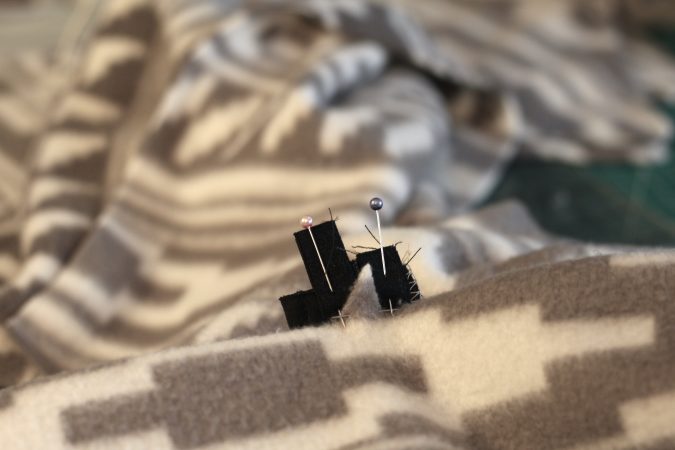
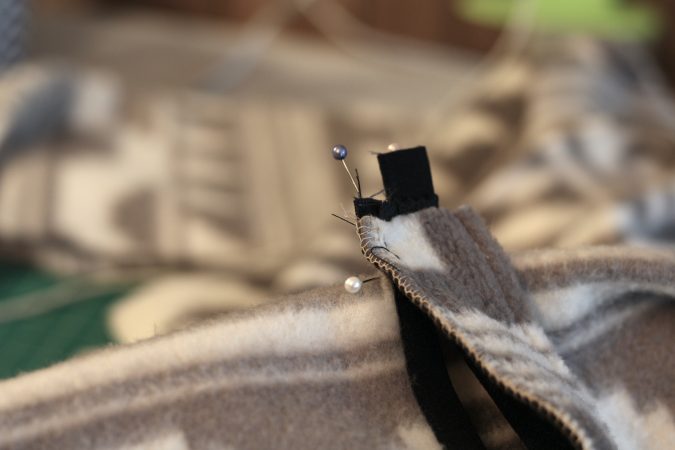
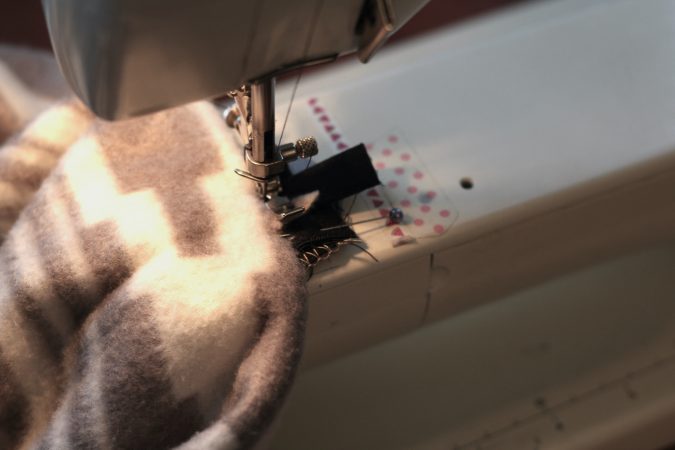
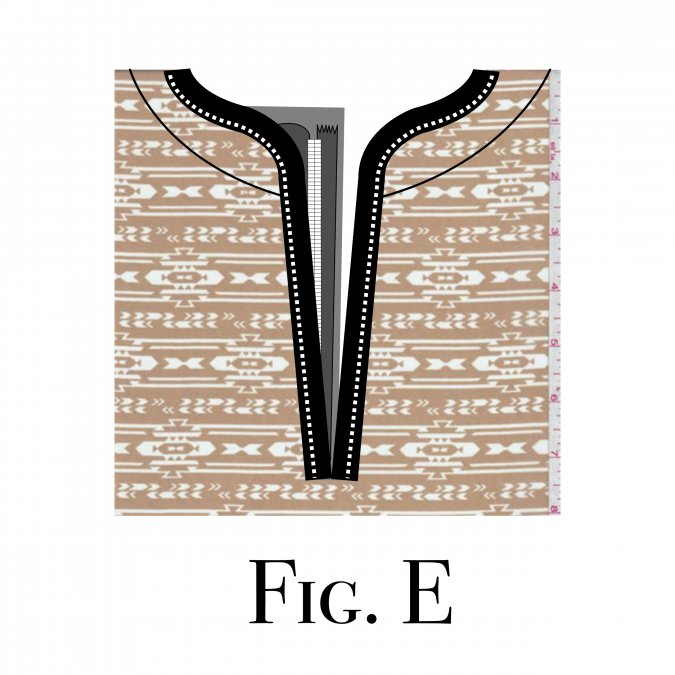
Sewing the zipper/shield piece into place is a little finicky – take your time. Flip the zipper/shield up from where you stitched it onto the triangle bit. Pin the zipper in so that the zipper tape lines up with the seams where you’ve already stitched the FOE on (Fig. E). You’re going to follow these existing seams as perfectly as you can, to sew the zipper in. I found that it was easier to sew the left side (as viewed, NOT as worn) first, then open the zipper and sew the right side. You’ll have to tuck the ends of the right side of the zipper over so that they’re neat. At the very end, you may want to do a hidden top stitch over the very bottom of the zipper/FOE at the front, to keep all those layers in place.
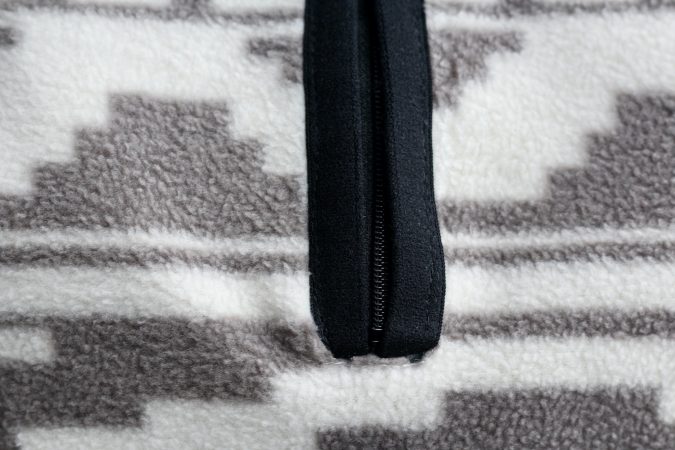
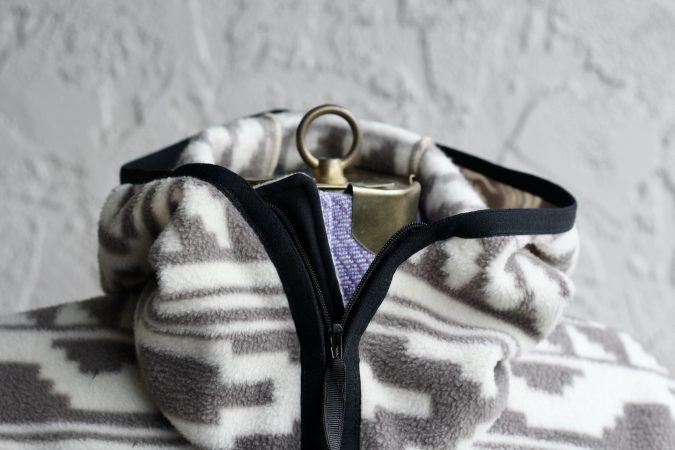
Ok! That’s the hard part done! Next I serged the top, sides and bottom of the Halifax kangaroo pocket. Then I folded & zig-zag sewed FOE around the raw edge of the pocket openings, then stitched it to the front. If you’d like elbow patches, sew those onto your sleeves now (remember to make sure they’re placed towards the back so that they’ll be in the spot when wearing. Serge your sleeves on and serge the side seams all up.
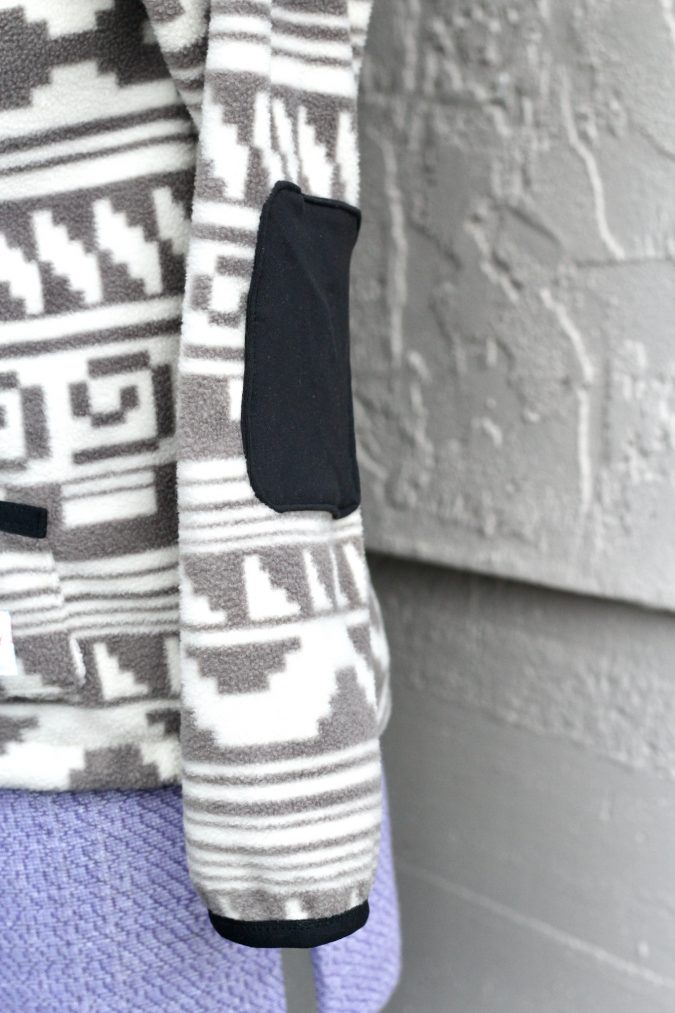
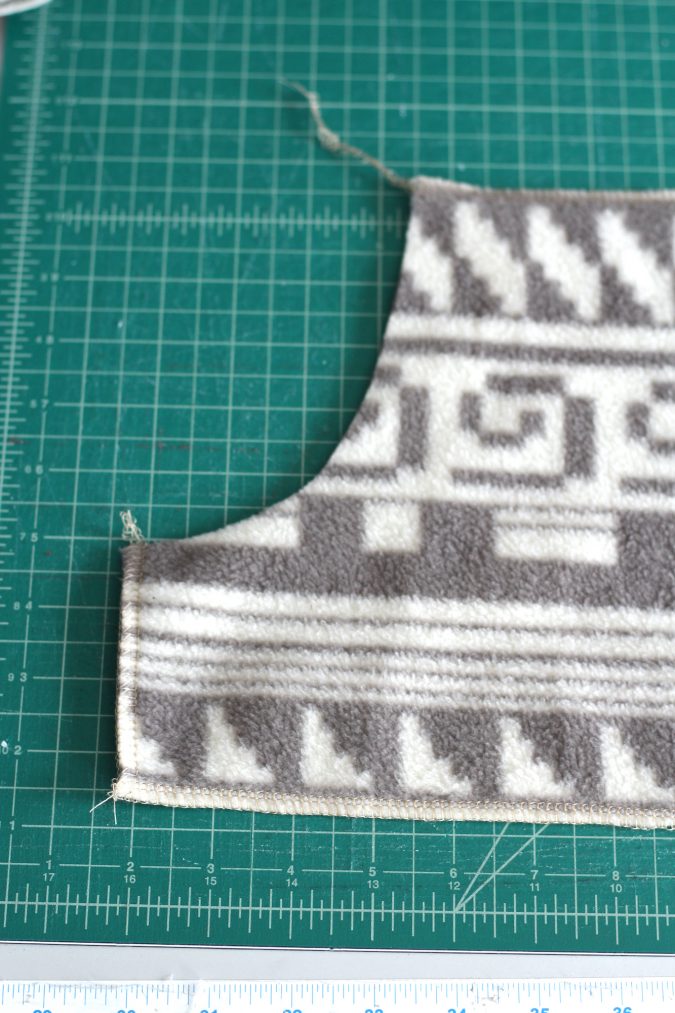
I cut FOE slightly smaller than the wrist openings, then sewed them on using a zigzag, stretching slightly.
For the bottom, I cut FOE to about 1.5” smaller than the bottom hem width. I sewed the FOE into a loop, then placed it on top (NOT FOLDED!) of the right side of the fabric, stitching it onto the body with a zigzag and stretching slightly. Then, I flipped it to the inside of the body, and zigzag topstitched it into place (again, NOT folded)! This makes a nice neat hem, will creating a nice shape and keeping it close to your body when you wear it, like a bottom band would.
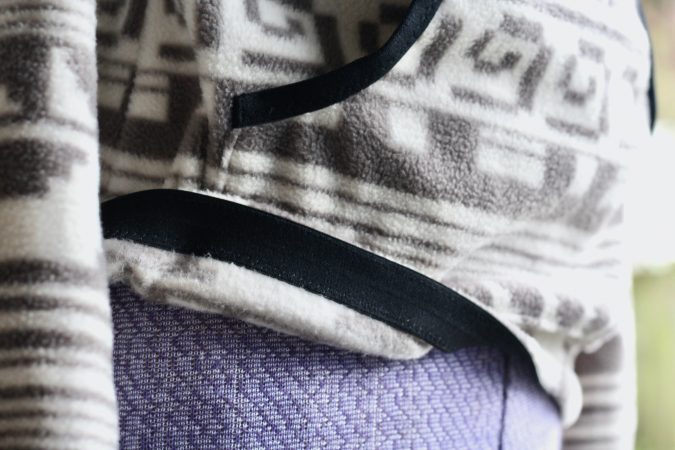
If only I’d had the foresight to better centre my fabric pattern on the front. Sigh.
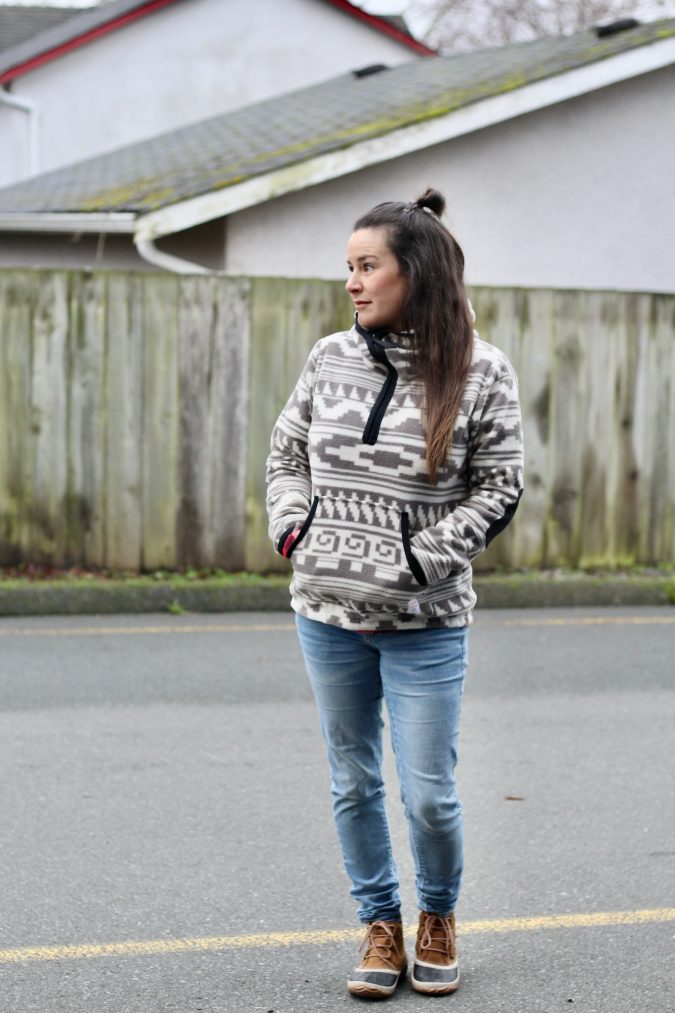
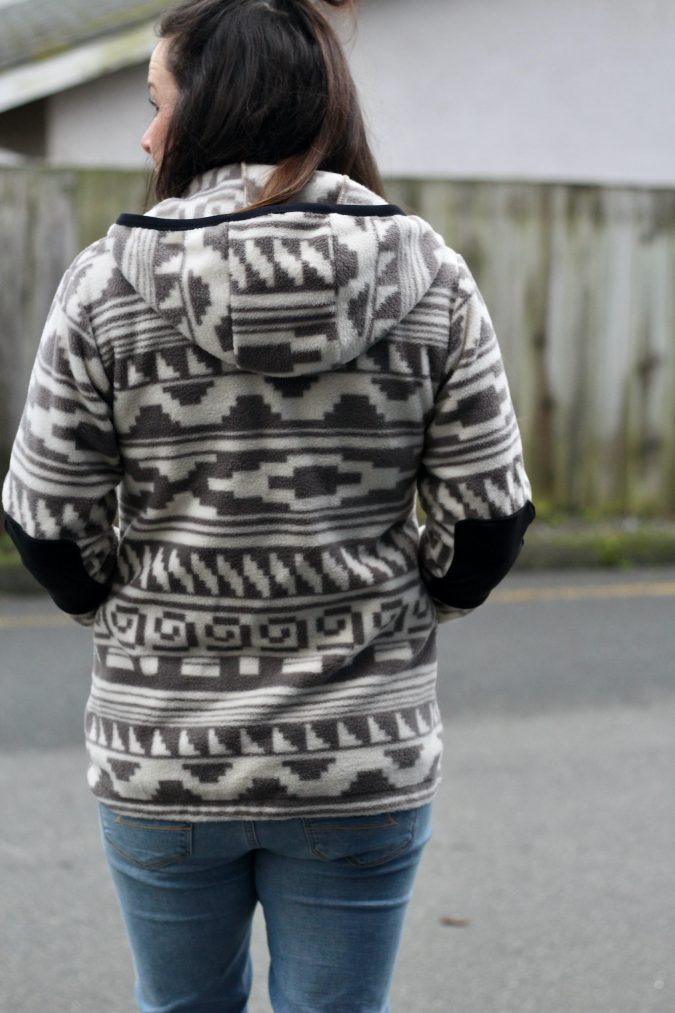


Ok, this is just beyond extra. I am amazed by the skill in this community! Thank you for your fabulous tutorial, great illustrations, and cute inspiration, Mandy!

This seriously has to be THE best Halifax hack I’ve ever seen!!!
This is an amazing pattern! Can’t wait to make it! Thank you so much!
I can’t wait to see your new patterns! You have great pattern making skills!