
Please welcome Cristy back to the blog with a gorgeous yet simple hack to make the Sheridan Sweater sleeves even more dramatic! I love this mod for a fancy sweater!

Back in early December, I knew I needed a new red top. My one cardigan just wasn’t enough for all of the holiday school parties, concerts, church events and even family get-togethers. I wore that one piece of red clothing OUT and knew I needed something else to add to my festive wardrobe. But did I really need a new top??? Did I really want to make one??? Then the Sheridan Sweater was launched and my questions were answered.

All of my internal fighting against wanting “another” knit top disappeared. After seeing the Sheridan launch, my mind switched and I bought the pattern right away. Of course, I need a new red top! It WILL work through the holiday season, AND into the Lunar New Year AND be useful for Valentine’s Day school parties! Why wouldn’t I need the Sheridan Sweater in my life?!?
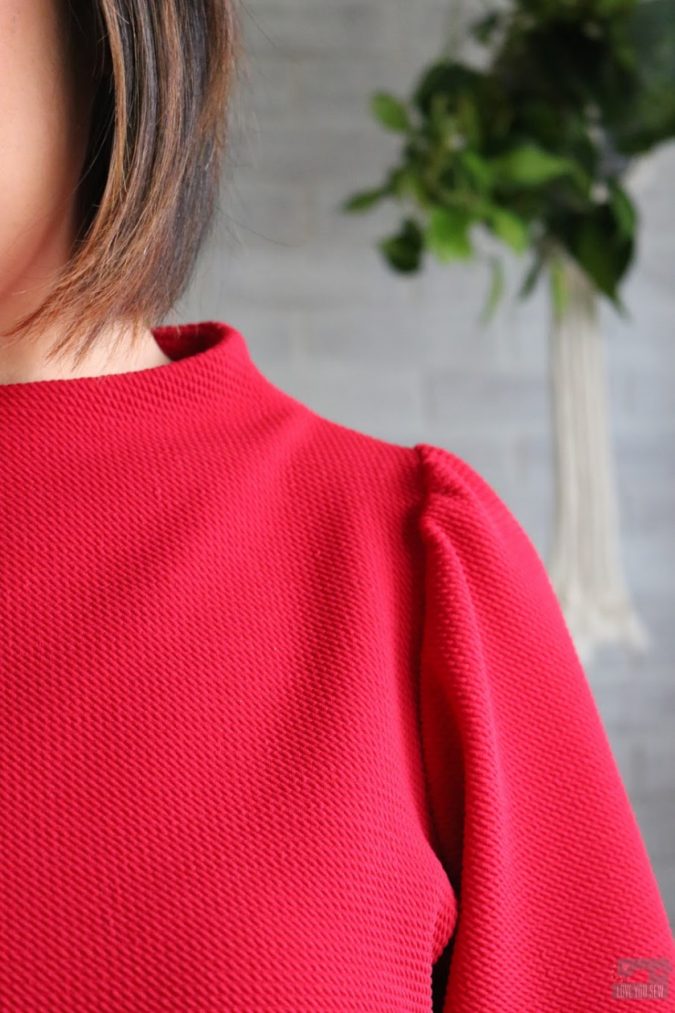
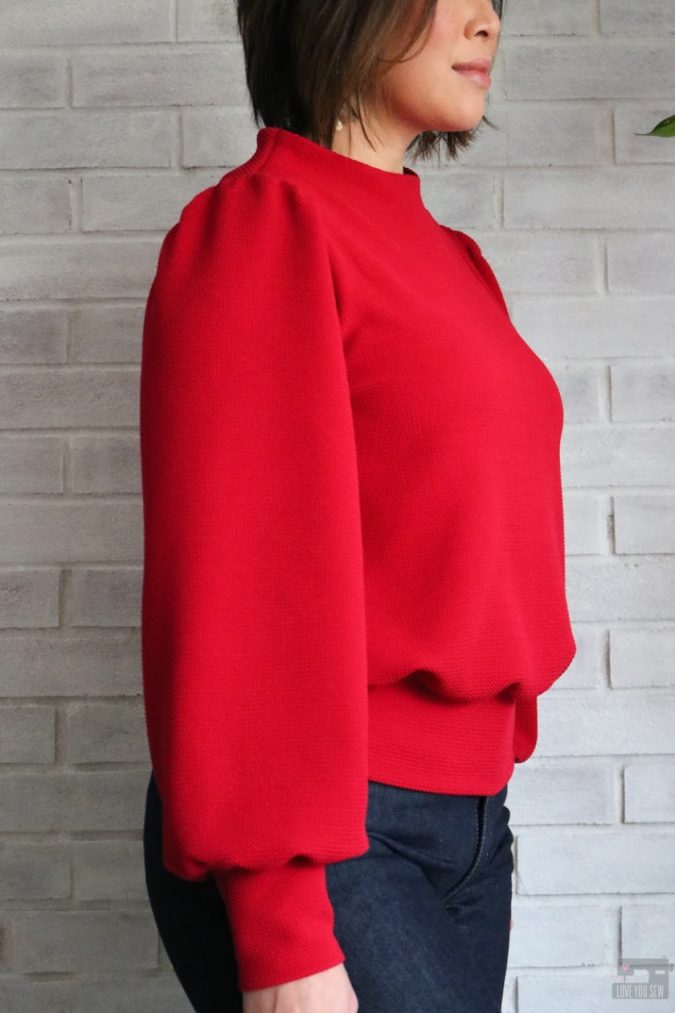
Adrianna did a fantastic job designing the different views and I LOVE the seamless funnel neck, which I haven’t seen in any other indie pattern. The Sheridan Sweater also has the big statement sleeves which is on trend and I knew both of these features would really stand out in red. But since this was going to be my all-winter holiday top, I wanted to bring it up juuuuust an extra notch.

I found this beautiful textured waffle knit from Telio fabrics and I figured if I was going red, I wanted to make the sleeves stand out even more. So….I hacked the sleeves to be more voluminous in the sleeve head for All. Of. The. Drama. Below is my quick and definitely non-technical way to achieve that extra shoulder poof.
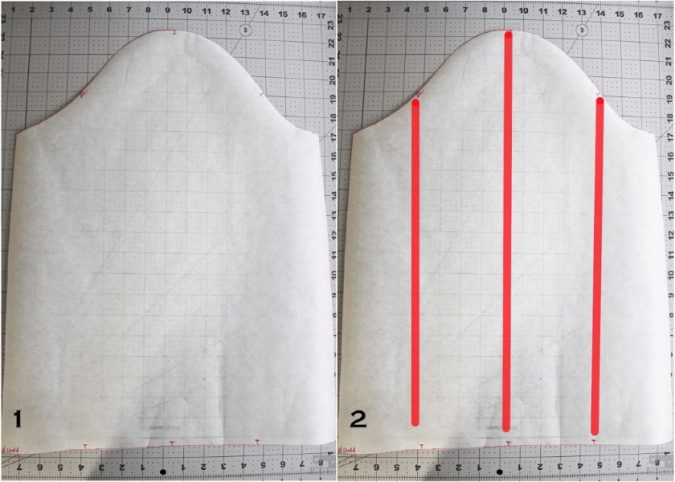
- Take the sleeve pattern and make a copy. (I traced the pattern onto some Swedish tracing paper I had on hand.)
- Divide the sleeve into approximately 4 equal sections by width. With the nice notch markings already drafted, I used these as guide when splitting the sleeve.
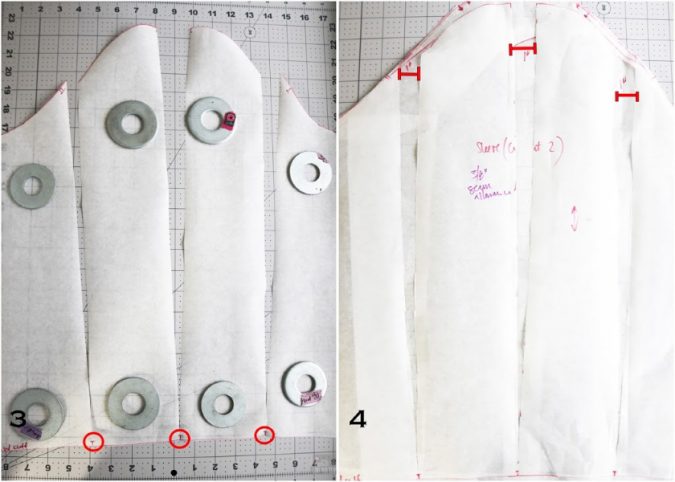
3. Cut the pattern to separate these sections all the way down to the cuff, but NOT cutting through. All of the sections should be hinged and able to move.
4. To start, I added 1” in between each section. To do this, I placed scrap paper underneath the pattern, and hinged each section out by 1” at the sleeve cap. Then I taped the pattern onto the scrap. Repeat 2 more times between the sections. If you would like more volume, you can increase the hinge widths.
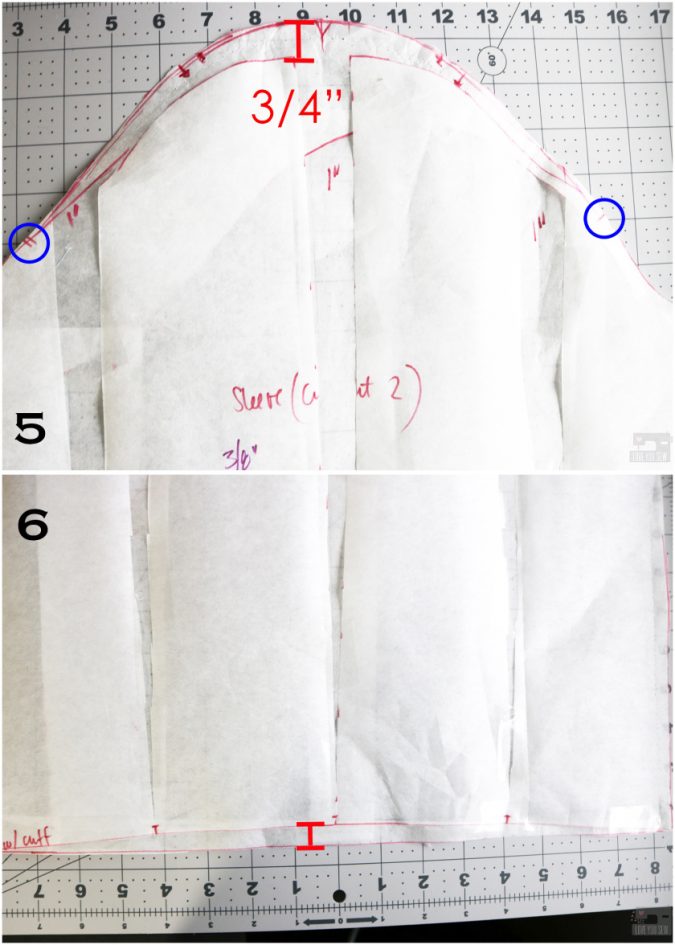
5. To get the extra volume at the top of the cap, I added 3/4” to the top and blended the line back to the notched parts of the cap, all while following its shaping. Again, if you want a little more puff in the sleeve cap, feel free to add a little more to length to the top.
6. At the cuff line, true up the pattern so it is straight again.
At this point, I cut out the pattern and did make a muslin, but only had quilt cotton on hand. It gave me an idea of the extra volume and shape added to the sleeve. I did have to consider the extra weight and stretch with the knit fabric. But it was still good enough for me and I went ahead to cut into the main fabric.
To insert the sleeve, I made gathers between the sleeve notches not exactly knowing how it would all look. But I ended up marking 3” on either side of the shoulder seam and pushed all the gathers in between those markings. I basted the sleeve into place and was very happy with the result! With that, I finished sewing the sweater and have never been more pleased!
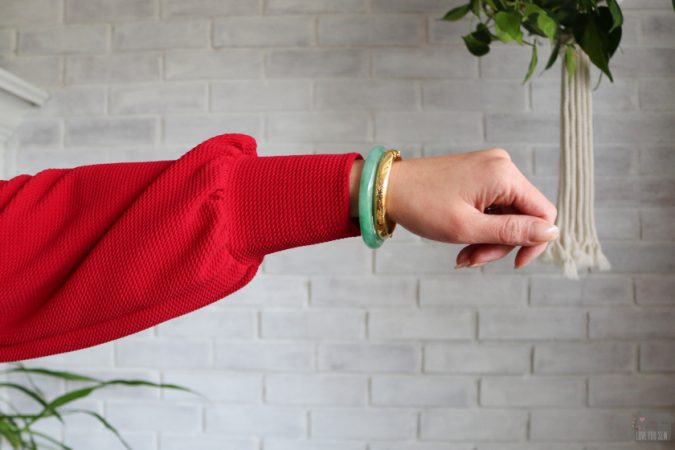
This hack turned out exactly like what I wanted and just love how “extra” the sleeves are. The extra gathers and volume in the sleeve cap really balance out the overall ease in the sleeve and I love the extra long cuff to show it all off. This top is pretty fancy and ready for every occasion now. It’s still comfy in a stretch knit, but also so incredibly unique and special!
Stunning sweater, thank you Cristy!