
Hi guys! My friend and one of the most prolific sewists I know is here to share a cute and easy tutorial to make any hem into a crossover style! Please join me in welcoming Brittney Laidlaw!
~~~~~~~~~~~
Hi everyone! I’m Brittney, I sew for myself and my five children and share my makes on my blog and IG.
There was an inspiration photo recently posted in the Raspberry Creek Fabrics Facebook group and as soon as I saw it, I knew it could easily be replicated with the Lane Raglan. I made it first for my older girl, she just loved it, so I decided to make another one for my twins. There are so many ways to make this your own – make it with a regular neckband, add a hood, a cowl, thumbhole cuffs, regular cuffs, or no cuffs. You can use the Lane, Camden, Union St., City Park, Aurora, Morrison, Halifax, or Hatteras! So many possible combinations. I have made it in a drapey french terry and now this french terry with spandex, both nice for different reasons. Keep in mind, when it comes to the neckband/hood you could be sewing many layers together, so choose fabric accordingly.

This does have two fronts, so I figured it would be the perfect transition piece to add to our fall wardrobes.
Don’t forget if you’re using a t-shirt pattern and you want it to be a slouchy or oversized fit, size up and/or use a fabric with nice drape.
1. Start by tracing the full front. Position your ruler at an angle, still intersecting the original bottom point in the pattern. The more you angle, the more dramatic it will be, too much and you will need to wear an shirt underneath.
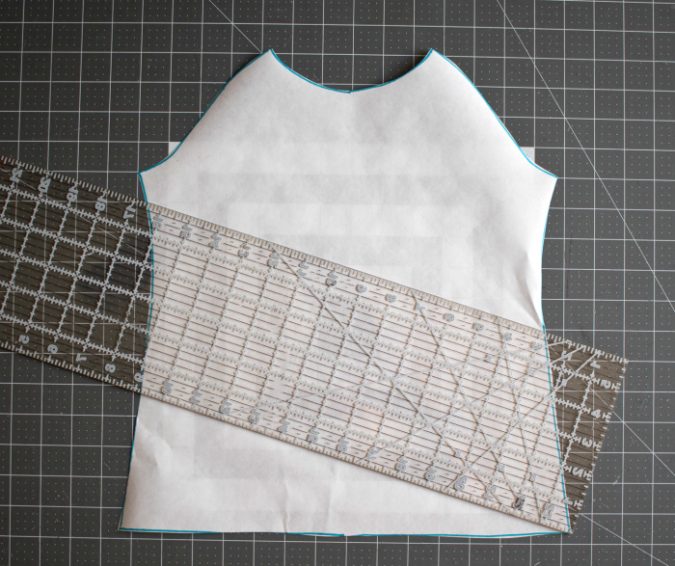
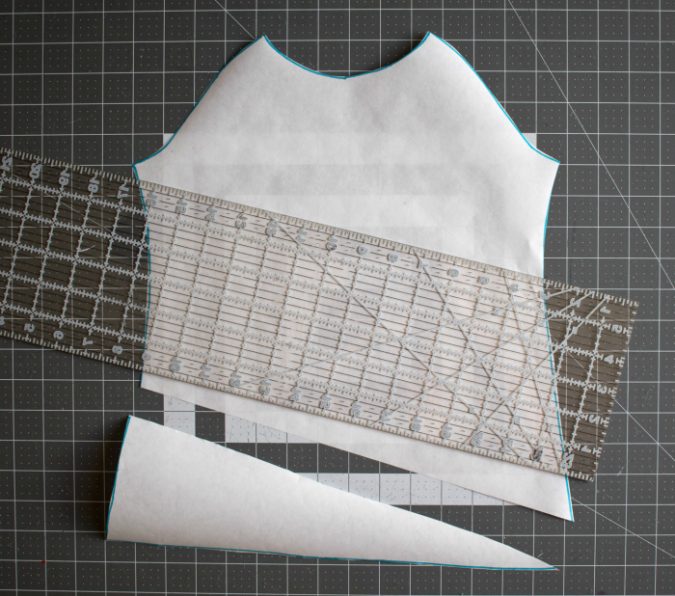
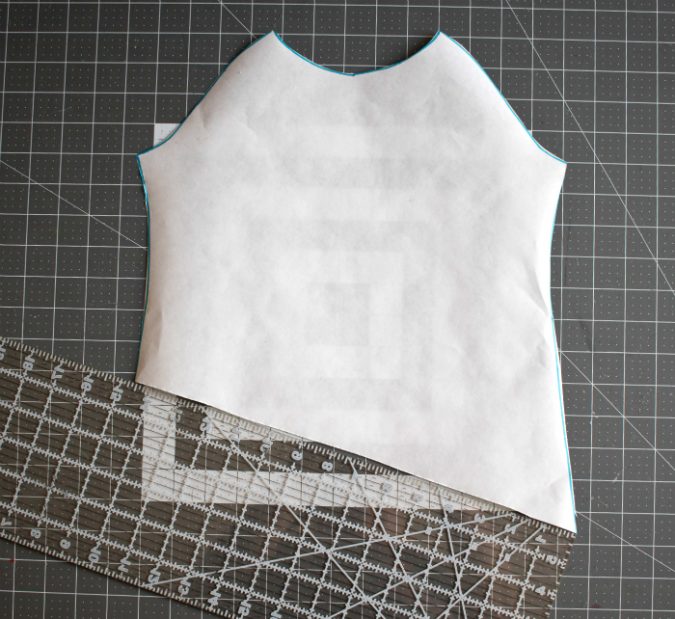
2. Cut the angle and discard the smaller piece. Cut two mirror images from your fabric. 
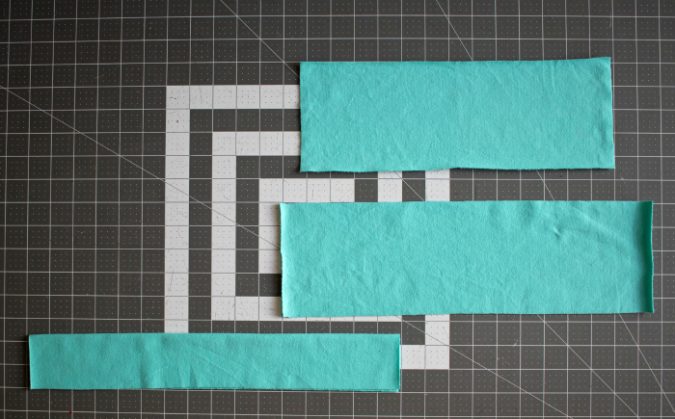
3. Measure the angle and cut two front bands. Since the Lane and Camden already have a waistband piece, I kept the width of the band the same and added an inch or so to the angle measurement. For example, on this size 6 Camden, I cut my front waistband 4 3/4″ by 15″. 
4. Fold all waistband pieces in half with wrong sides together, press.
5. Pin the front waistband piece to the front shirt right sides together, overlapping slightly if you left some wiggle room in step 3. Repeat for the opposite front and back shirt. Remember for the back shirt and waistband to pin in the middle of the shirt and waistband and stretch slightly to fit. 
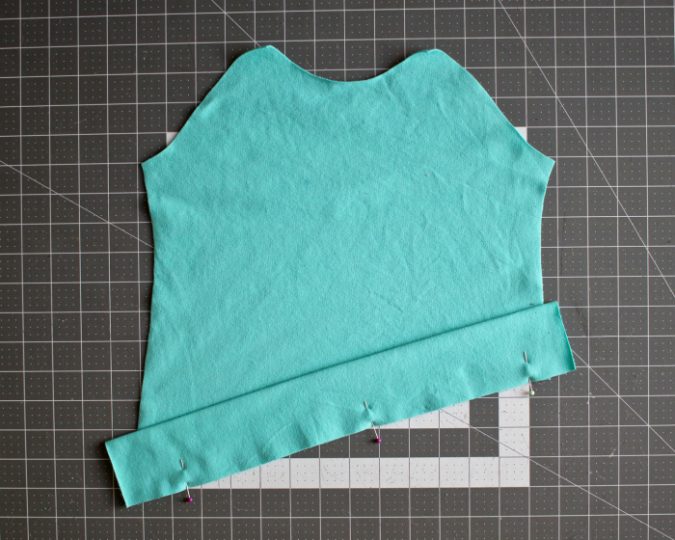
6. Press the seam towards the shirt.
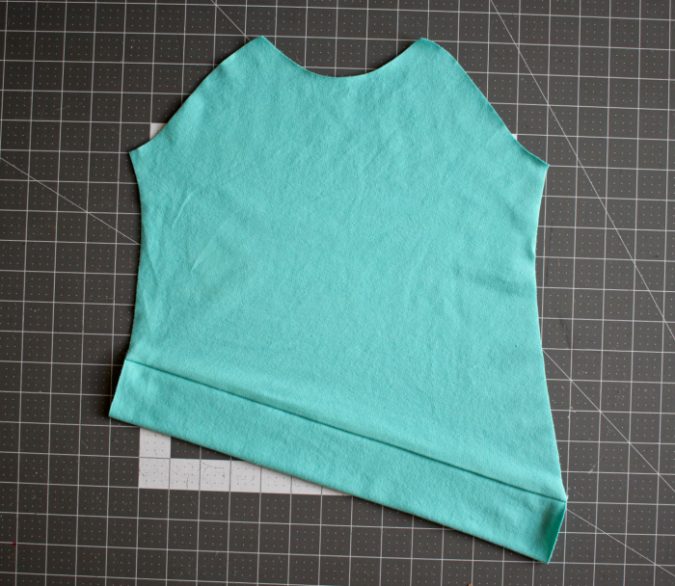
7. Pin or baste both fronts together, from here on out they will be treated as one piece. Sew the shirt as written, depending on the pattern you’re using, until the side seams.

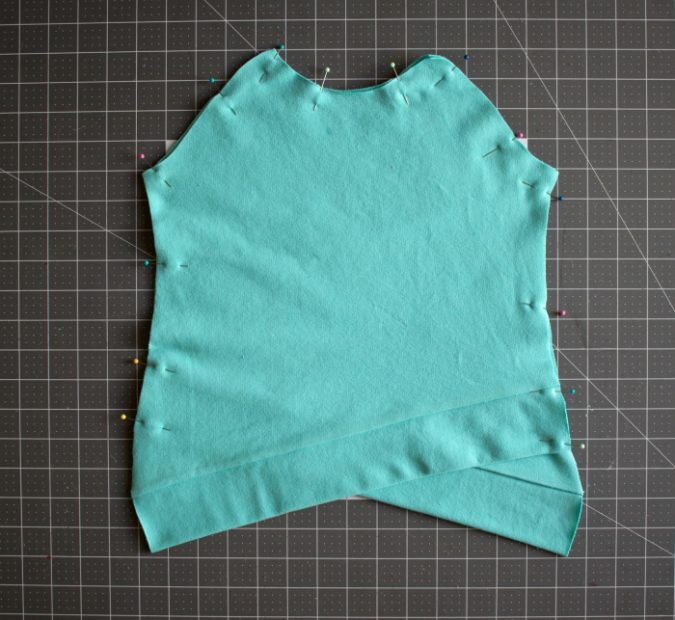
8. Pin the side seams right sides together, making sure to line up the front and back waistband and underarm. Sew and repeat for the other side.
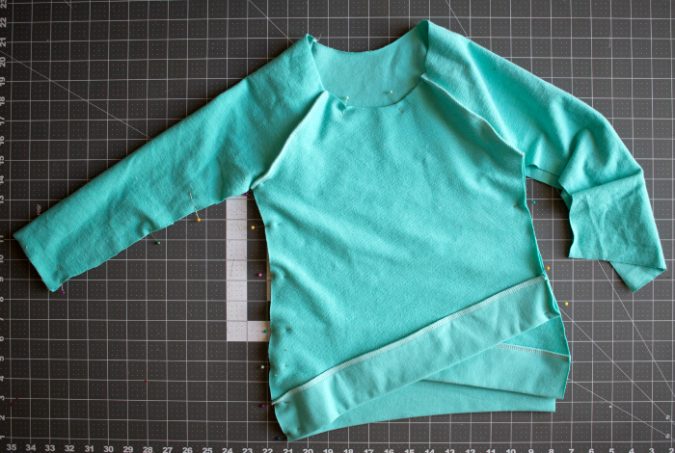
9. Turn the shirt right side out and press all your seams very well.
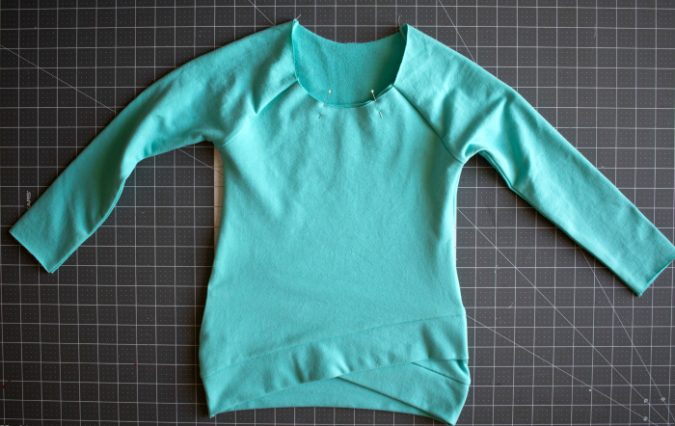
10. Continue according to the pattern and your options you chose.

Make sure to give it all a good press when you’re done and add a photo or two to the Hey June Facebook group!
~~~~~~~~~~~
Thank you so much for this awesome tutorial, Brittney! I can’t wait to add a few of these to my daughters’ wardrobes this fall!

Ooooh this could lend itself to a nursing jack really well too and have the added benefit of eliminating the extra bulk at the neck.
Hack! Not jack! Jeez Shayna, read before hitting post!
Totally! If you’re looking for cold weather nursing wear, the Tallinn has a crossover front as well, but it opens all the way up since it’s not secured at the side seams!