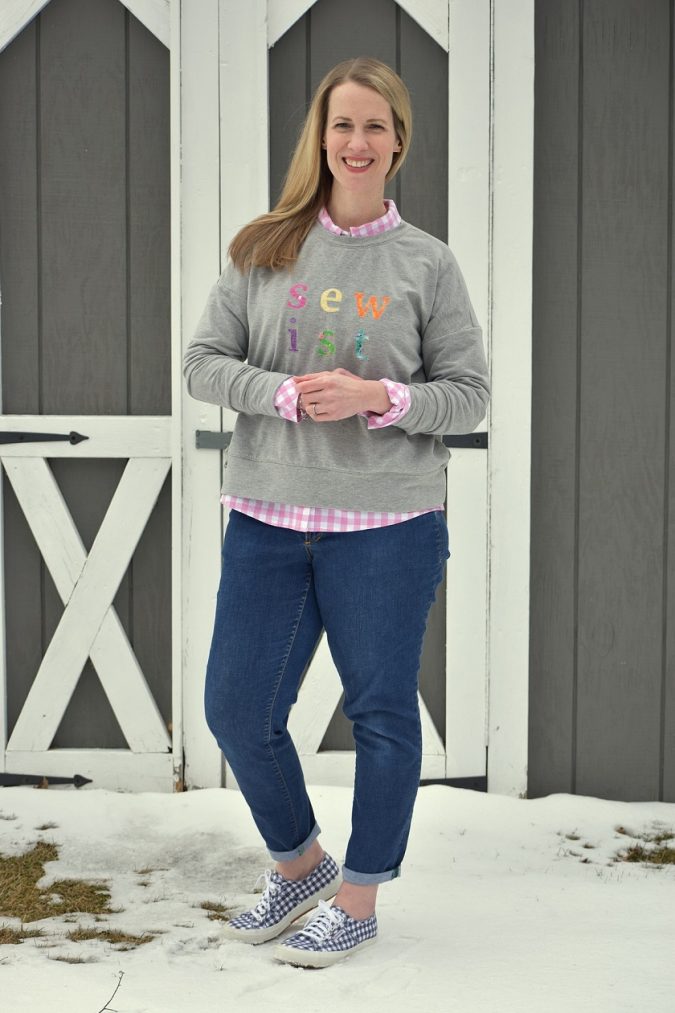
Teri is back with another great tutorial for us today! She altered the Brunswick to have a crew neck, making it perfect for spring layering! There’s also a bonus appliqué tutorial so you can add your favorite word to the front!
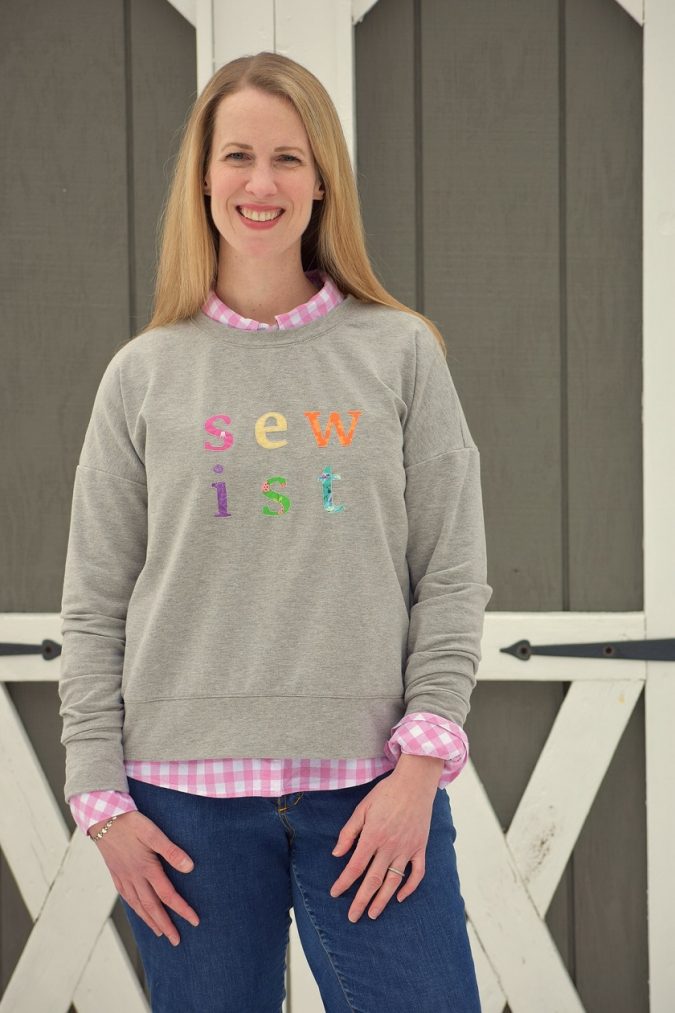
I’m so happy to be back with a very fun version of the Brunswick Pullover! Last time I was here I modified the Trevi top to look like I top I saw on Boden’s website and today I’m here with a Boden inspired sweatshirt. I’ve obviously got a thing for creating my own versions of Boden clothing– and Adrianna’s patterns have worked perfectly so far!
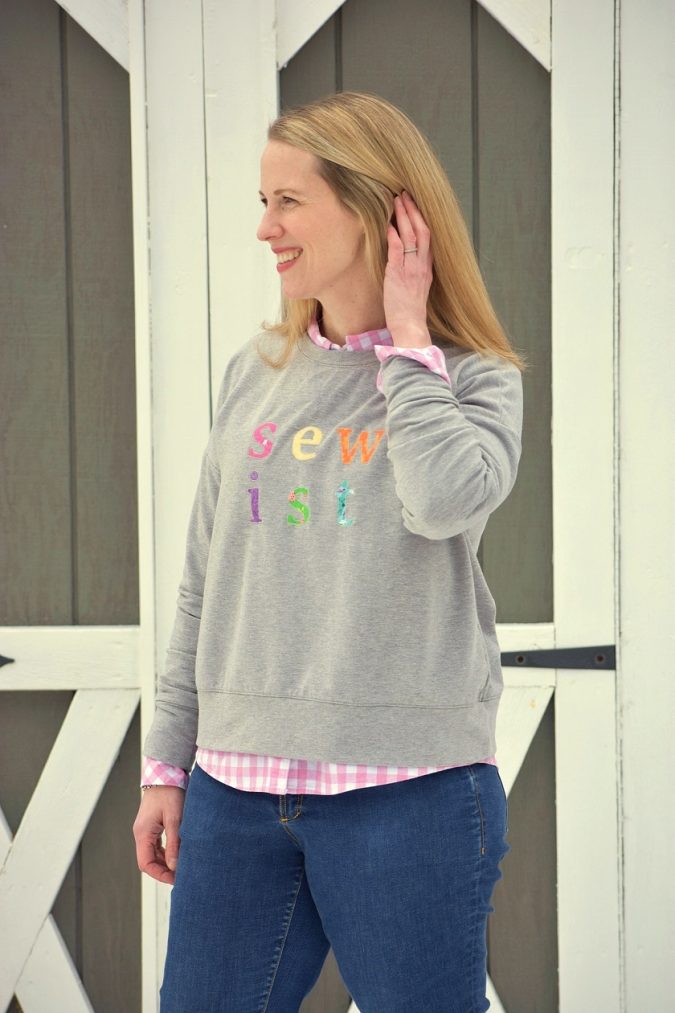
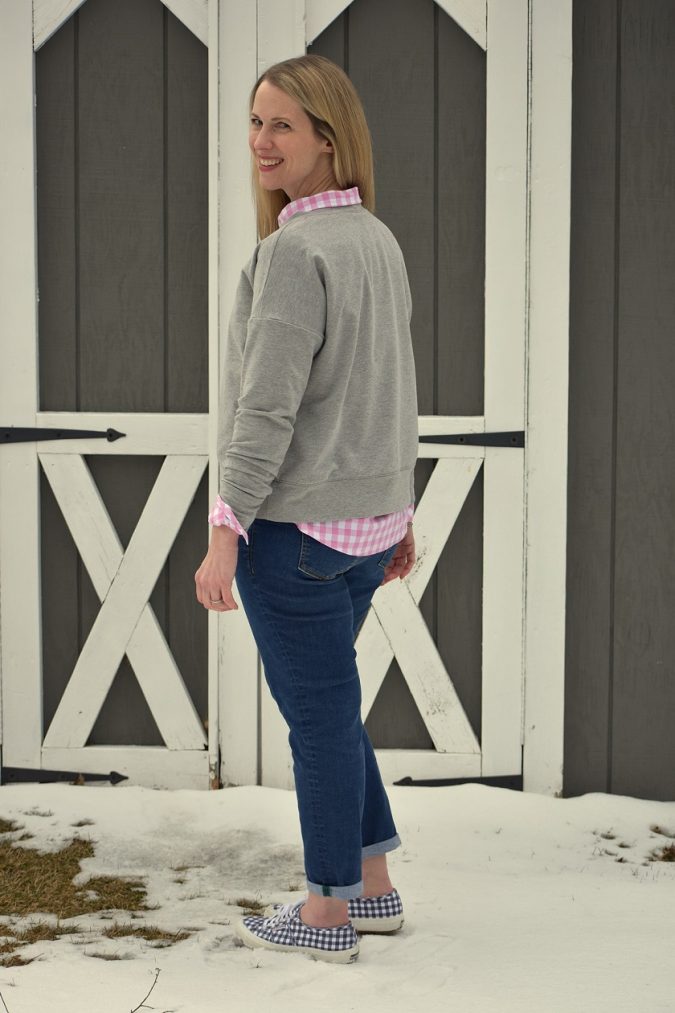
I live in the suburbs of Chicago and this winter has been really long and cold. I’ve been wearing my warm Brunswick pullovers so much and I really love the oversized, boxy shape. I decided to use the Brunswick as the base for my sweatshirt, with a few modifications. (The Halifax Hoodie or my simple Tallinn modification would also work really well for this if you want something a bit less boxy.)
The Brunswick is designed for stable knits without a lot of stretch. The fabric I used is a cotton/spandex french terry so I followed the instructions in the pattern for using a stretchier fabric. I sized down and tapered the sleeves from about the elbow to the wrist.
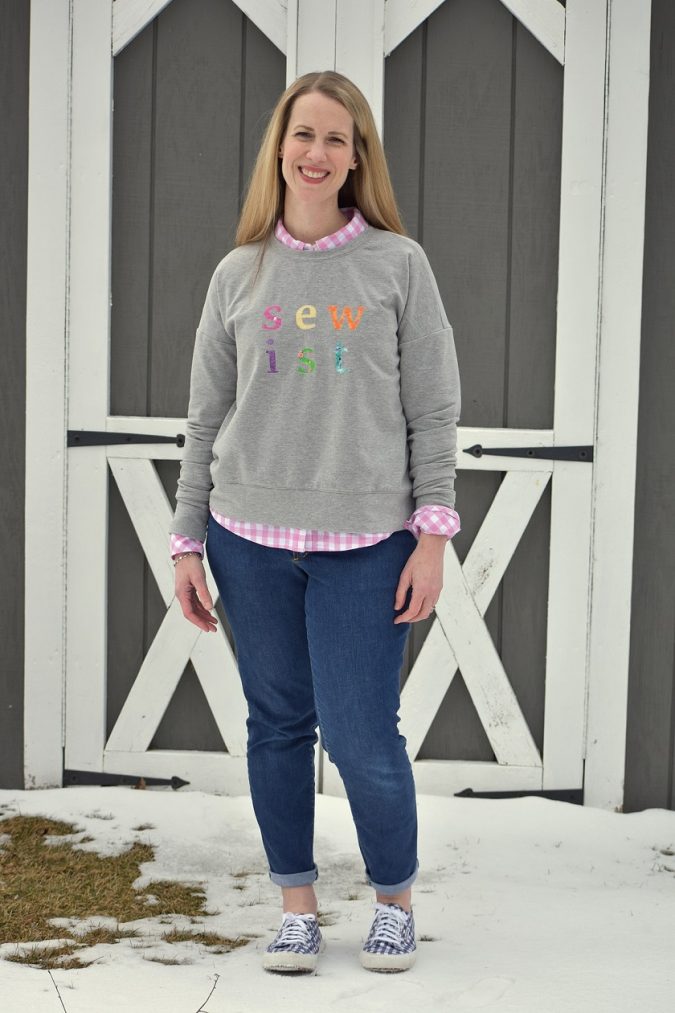
I cut my sweatshirt on the lines for the cropped length, but in the back I eliminated the slightly lower hemline. This was as simple as drawing a straight line perpendicular to the fold line from the bottom of the side seam to the center back.
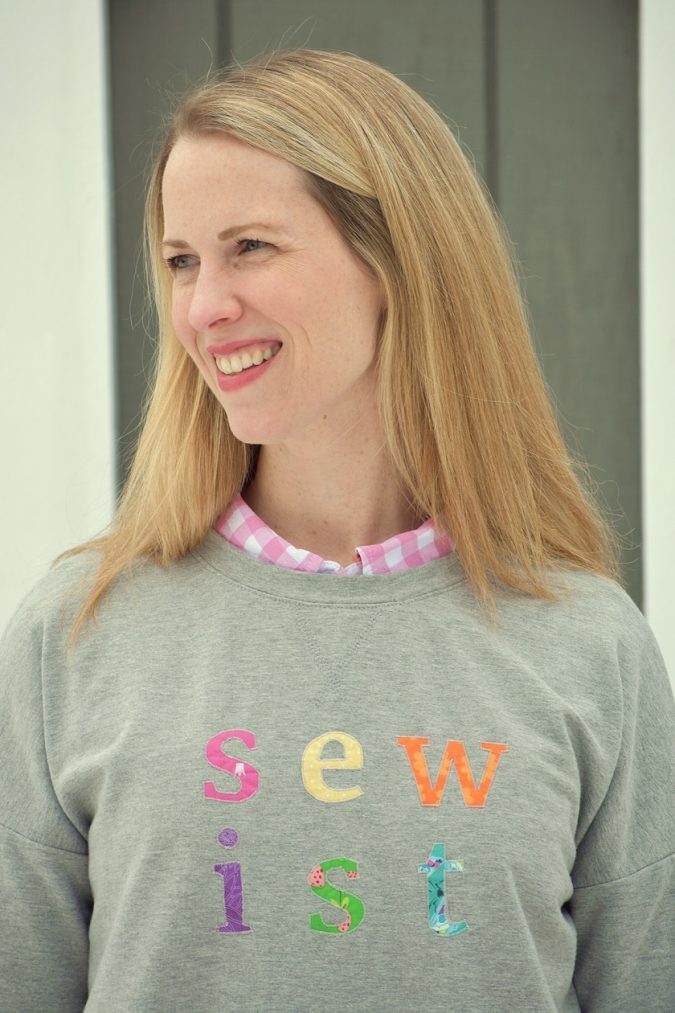
I also modified the neckline to be a crewneck. For this I used the Halifax Hoodie view B pattern as a guide. I matched up the center fronts and the shoulder seams of the two patterns and raised the neckline to match the curve of the Tallinn neckline. I decided I wanted the neckline to be a little bit higher so I raised the center front by 3/4″ and brought in the side seam by 1/4″. I blended the curve between those two points to get a nice shape.
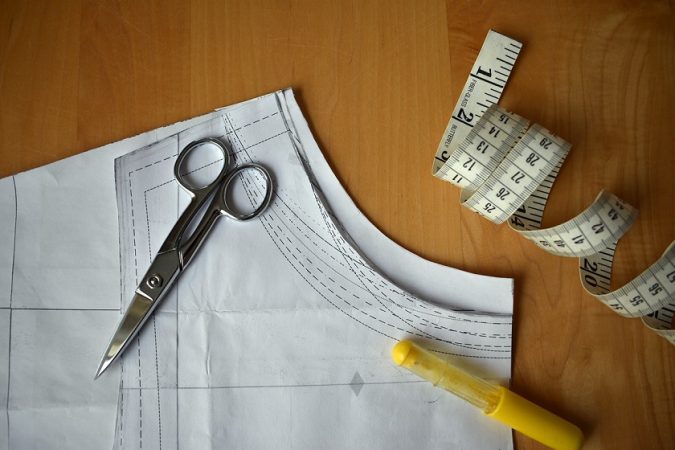
I also used the Halifax neckline to help shape the back neckline. I brought the shoulder seam in 1/4″ to match the front but otherwise cut it according to the pattern.
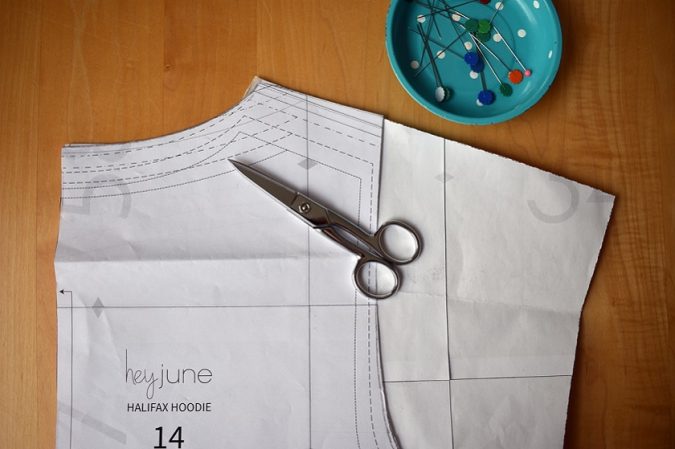
I cut my neckband at 2.5″ wide and about 90% of the length of the neckline. I recommend basting on your neckband first to make sure the length is right– it’s always easier to make changes when you’ve basted it on. Unpicking neckbands isn’t that much fun– I say that from lots of experience!
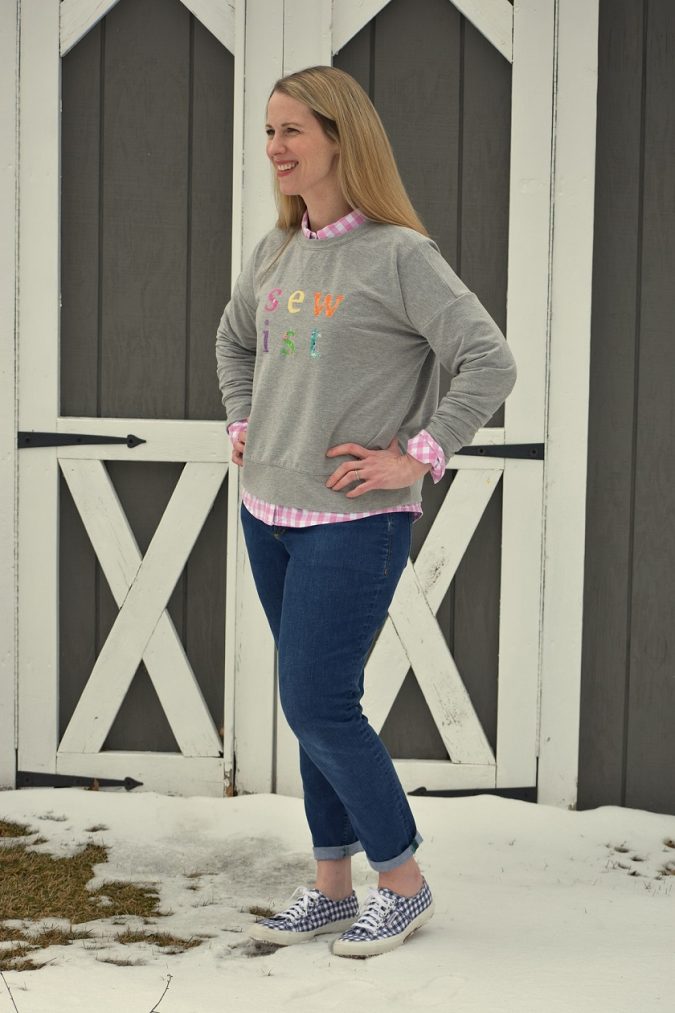
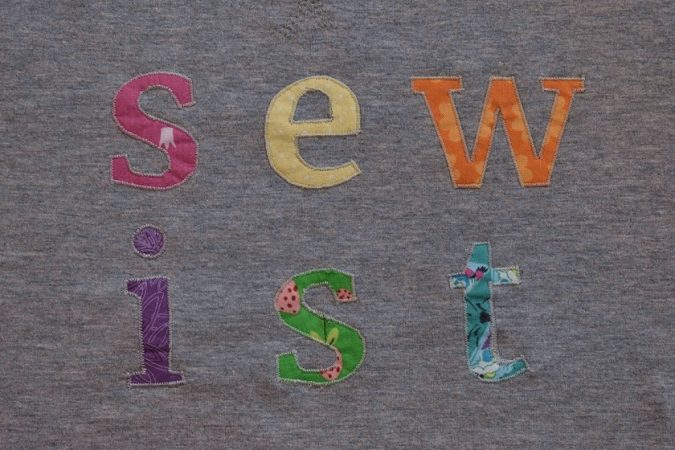
After those changes, I followed the instructions to sew up the Brunswick without any of the pockets or the split hem. Of course, I did add a few bells and whistles of my own… I loved the “wonderful” print on the front of my inspiration sweatshirt and I was trying to think of another word that I could add to my sweatshirt so it wasn’t a direct copy of the Boden sweatshirt. A few words came to mind: happiness, joyful, and then sewist.
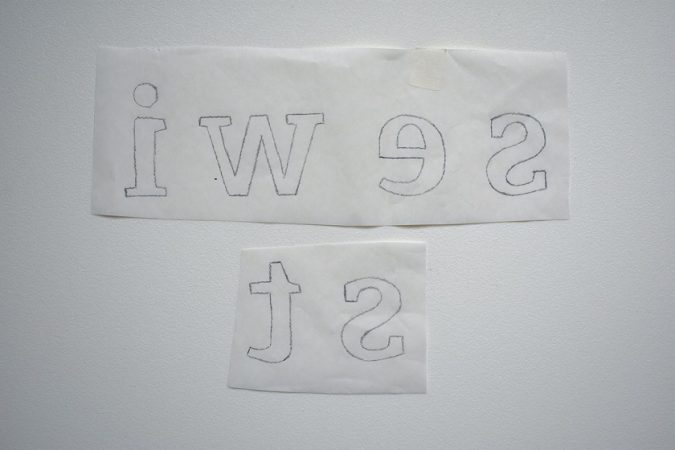
Once I thought of sewist I knew it was the winner. I don’t have a machine that cuts vinyl so I decided to add the word with some simple applique. This was my first time doing applique on a knit. I like to use a double fusible like Heat n Bond Lite when I do appliques. For these letters I went into Google Docs and found a font I liked (Merriweather) and printed out the word at 225%. The key thing to remember with a product like Heat n Bond Lite is that you need to trace your image or letters backwards since you’ll be fusing to the wrong side of your applique fabric. Here are my letters all traced out backwards.
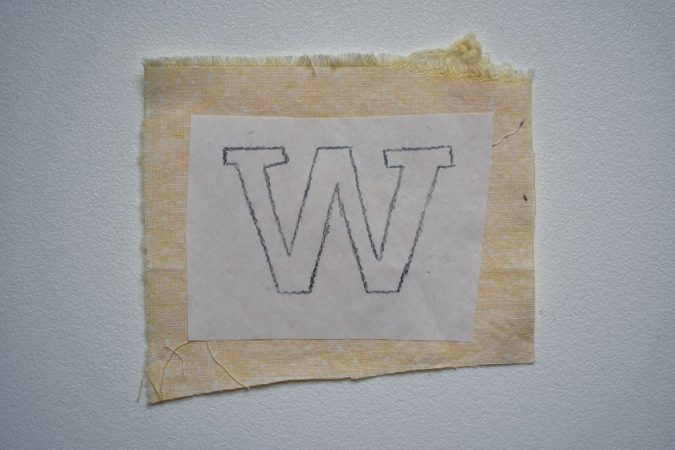
I used scraps of quilting cotton for my appliques. I cut around my traced letters and fused the paper to the wrong side of the fabric. After fusing, I cut around the traced lines to get my appliques. Then I peeled off the paper backing, decided on the placement on the front of my sweatshirt, and followed the manufacturer’s directions to fuse the letters to my fabric.
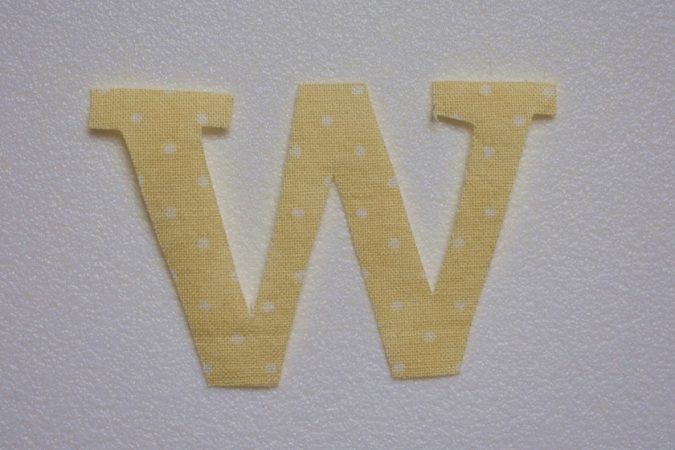
Once the letters were on my sweatshirt I backed the area with a tear away stabilizer that is typically used for machine embroidery. Since I was using stabilizer I was able to use my regular sewing machine foot instead of my walking foot. I used a narrow satin stitch to outline each letter. Backing that area with stabilizer helped and I didn’t get any rippling on my knit fabric.
This was one of those projects that was so fun to make that once I started I just couldn’t stop sewing. I am so happy with how it came out. It’s the ultimate comfortable sweatshirt for wearing over a t-shirt when I’m lounging or layered over my favorite gingham Cheyenne shirt for a little bit dressier look. Thanks for having me again, Adrianna!

Useful but there’s a typing error in the first paragraph unsure if your aware
This comment made my day, thank you so much for the laugh!