Please welcome Stephanie as she shares a great tutorial that you can use to add binding to any hoodie neckline! This works great on the Halifax and Hatteras, or any zip up hoodie that will show the neckline seam when worn unzipped. I love the extra detailing a binding adds, along with a nice clean finish! Those patterns also have instructions to cover the zipper tape, but I actually prefer to see the tape as I think it lends a nice retro casual look. Lots of construction options! (Please note that this method differs slightly from the way it is written in the pattern, so this is an alternative method, not a sew along.)
Hey, it’s Stephanie from The Petite Sewist and I’m really excited to share this neck binding tutorial for the Halifax Hoodie! The zipped hoodie is a must for anyone who feels like they are cold one minute and hot the next. The Halifax has been around the block and been made into hundreds of different versions (just check out #halifaxhoodie on Instagram). Today I’ll show you how I love to embellish this classic pattern!
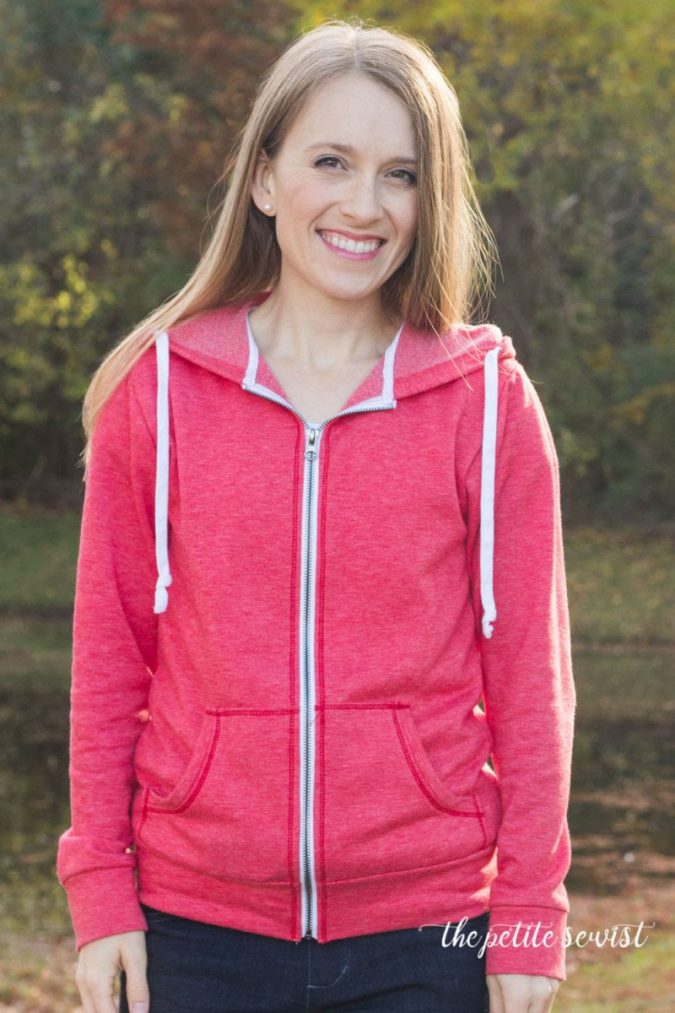
I’m a total sucker for RTW details, and hoodies are the perfect opportunity to use fun zippers, grommets and topstitching. For not a lot of extra effort, they pack quite the punch! I also love flat hoodie string, and of course this neck binding detail that I have on an American Eagle sweatshirt. I love this coral french terry so much, I wanted to do something really special for my first Halifax.
Neck Binding Tutorial
+ Construct your Halifax Hoodie as normal. When it’s time to put the zipper in, just make one small change: fold the top of the zipper towards the outside edge. Pin that baby into place! Make sure your fold starts OUTSIDE the neckline seam allowance, then stitch down the zipper as normal and repeat for the other side of zipper.

+Now, when you fold your zipper back to topstitch, the top of the zipper will be out of the way and you can topstitch as normal and attach the hood to the neckline. Trim the edge of the zipper.

+If you didn’t sew the neck seam with a serger, be sure to trim the seam down to 1/4″. When you make a binding, we want as little bulk as possible.

+Grab a piece of contrast knit fabric. It doesn’t have to stretch but make sure it’s lightweight (I used a white bamboo/spandex). Cut it into a long strip 1″ longer than than the neck seam and 3/4″ tall (about 2cm). If you’re a beginner, 1″ may be easier to manage than 3/4″. This is your neck binding.
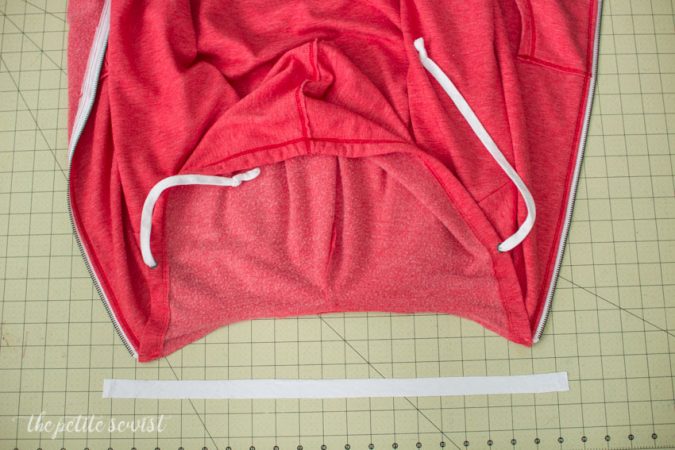
+ Tuck the edges under 3/8″ish (wrong sides together). Pin the neck binding right side down, pinning the long bottom edge to the neck seam. You can trim the excess down to 3/8″ if the tucked under part is too long.
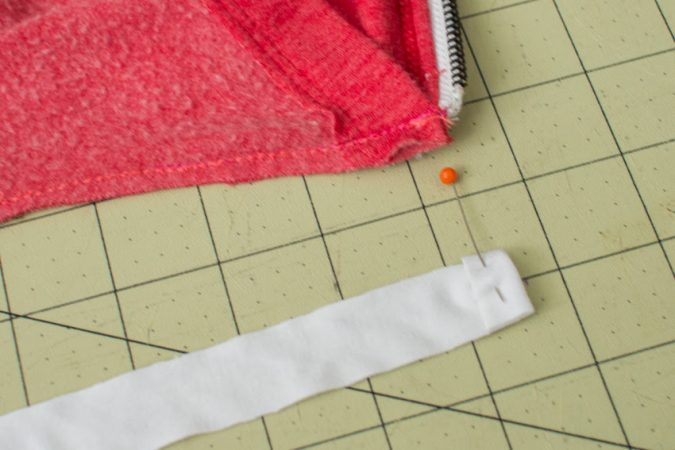
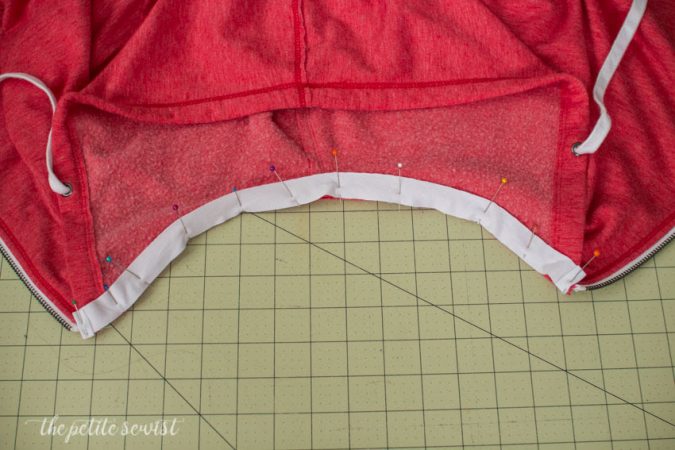
+ Stitch along the neckline just INSIDE the neck seam. I do it this way because I’m using a contrast thread and I don’t want it to show through the coral hoodie fabric on the right side.
+Fold the neck binding over and around to the other side of the neck seam so the seam is covered. I like to baste the binding in place before I stitch again.
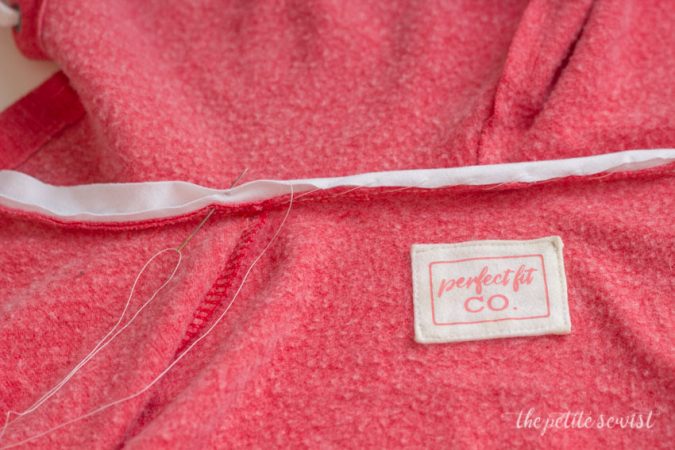
+Now fold the binding down flat and pin again. Take it to the sewing machine for topstitching. MAKE SURE your bobbin thread is the color of your hoodie and your top thread is the color of the neck binding. Topstitch along the edge of the binding starting just inside one side of the zipper, and ending just inside the other side of the zipper. (Do NOT stitch over the zipper.)
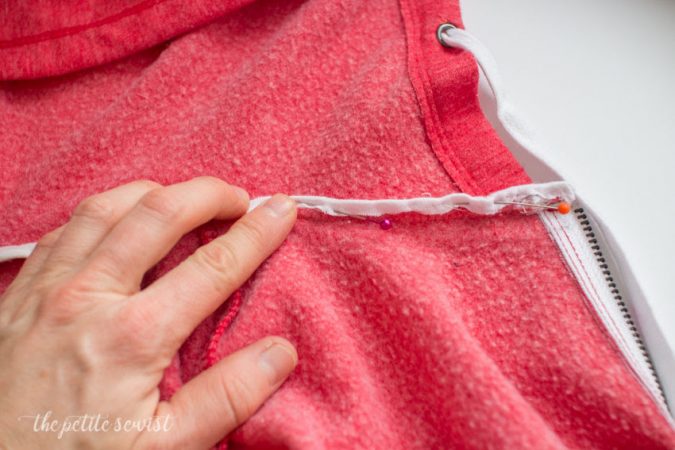
+If I could offer a word of advice…the stitching here isn’t bad as long as you use a sharp needle (try 90/14) and a longer stitch length (try 3 or 3.5mm). Go REALLY SLOW when you’re stitching over the zipper area.
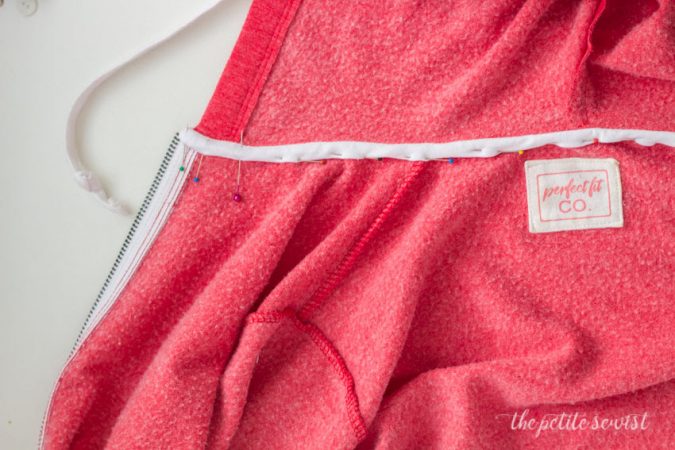
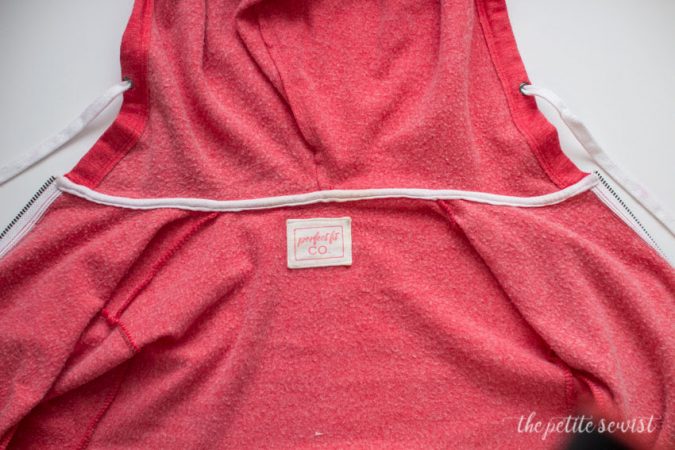
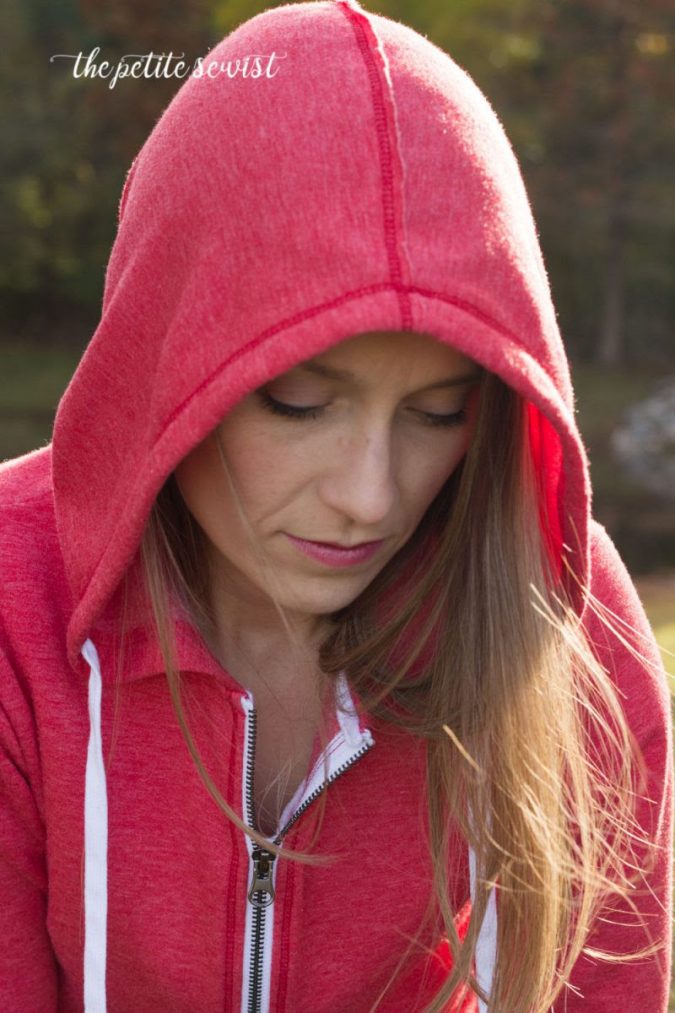
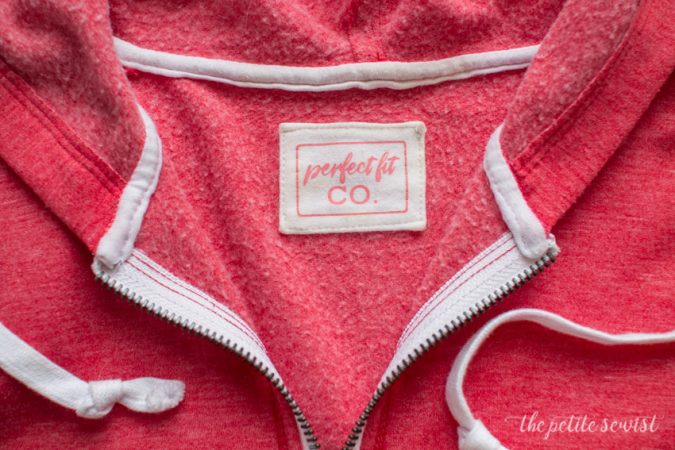
Doesn’t that look so nice and professional?
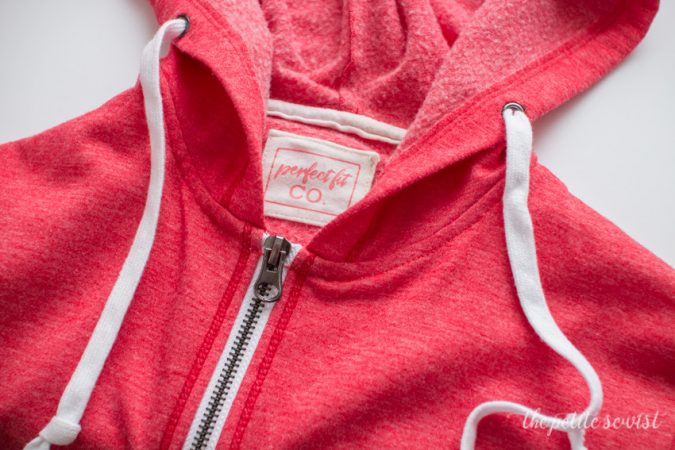
See how that red bobbin thread blends right in?
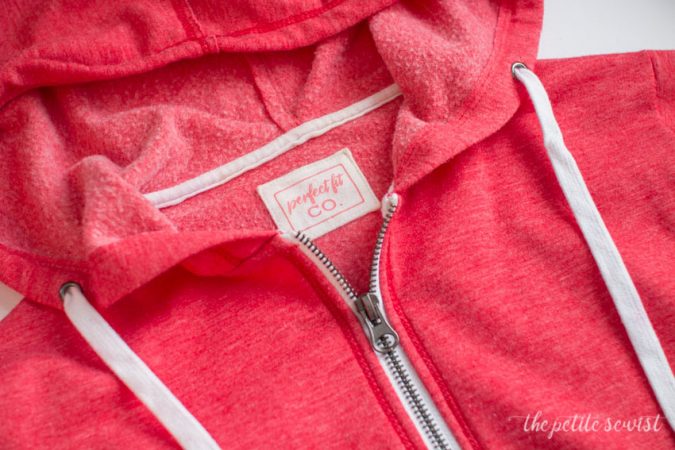
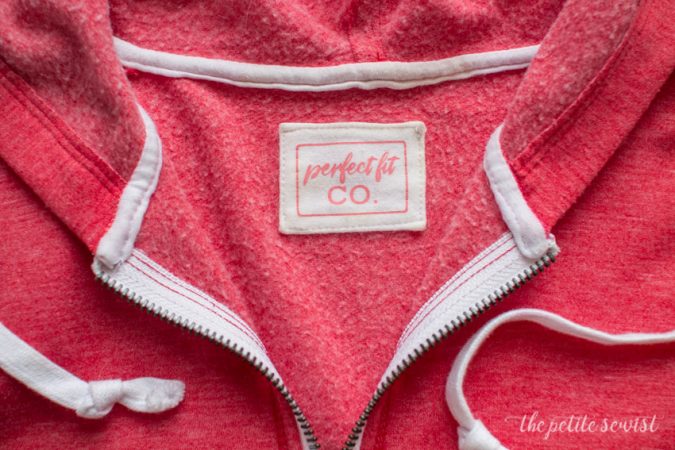
Ahh…look how nicely the top of that zipper looks! I also used a reverse coverstitch for topstitching through out my hoodie.The label I made with my Silhouette machine (and a scrap of cotton/lycra) is just the cherry on top to my favorite hoodie yet!
I also took in the hoodie in the waist and hips (slightly) for a slimmer silhouette. I adjusted the bottom band to compensate.
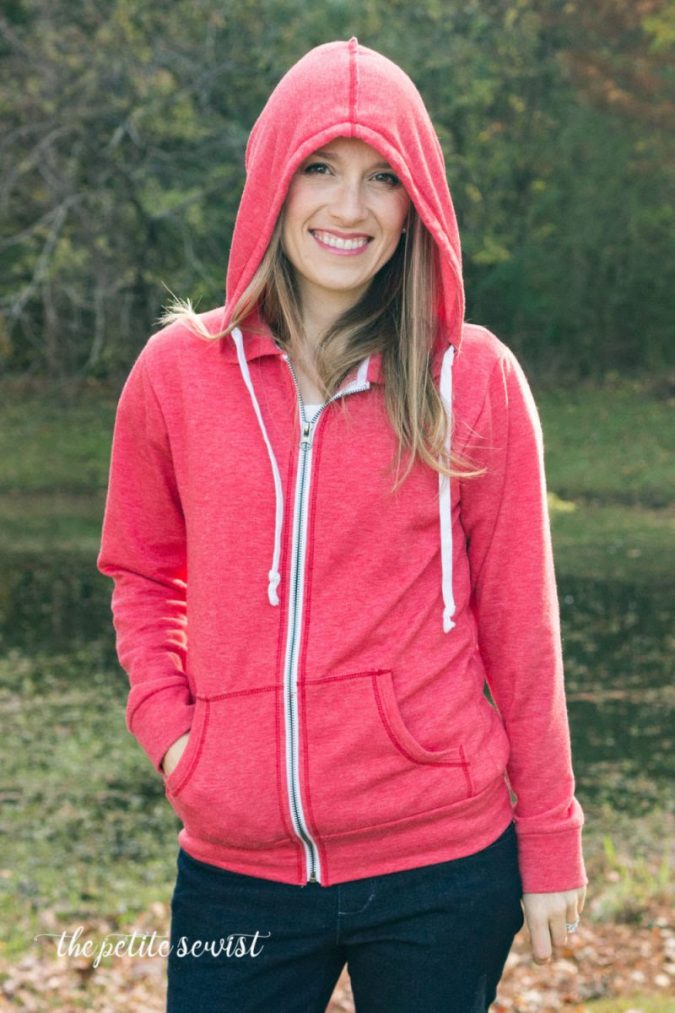
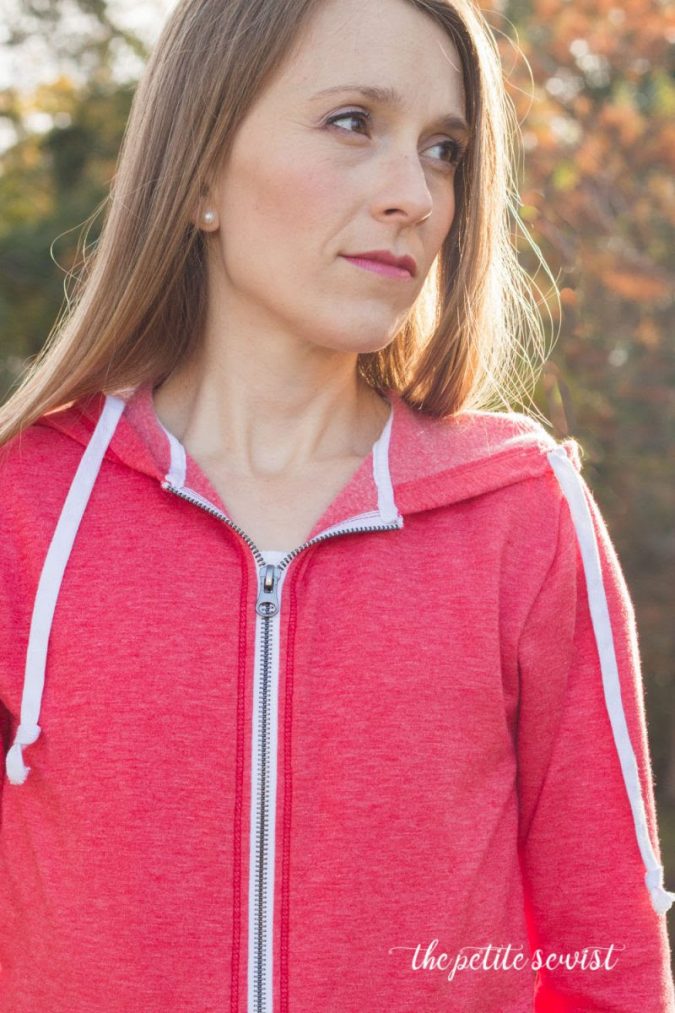
Adding these details might slow your project down a little, and that’s a good thing! Slow sewing is great therapy, and a nice way to unwind at the end of the day. Marie Kondo would definitely approve. This hoodie brings me joy!
Thank you so much for this amazing tutorial! This is a great visual for folks wanting a nice clean finish on their hoodies.

Ooh I love this detail and that color!