Hi Hey June enthusiasts! I am Tori from The Doing Things Blog, and I am so excited to be sharing my first guest post on the Hey June Blog! The very first Indie pattern I ever made was the Union St Tee, and now I own SO many more of Adrianna’s patterns. The fit, style, and versatility in all of them is amazing.
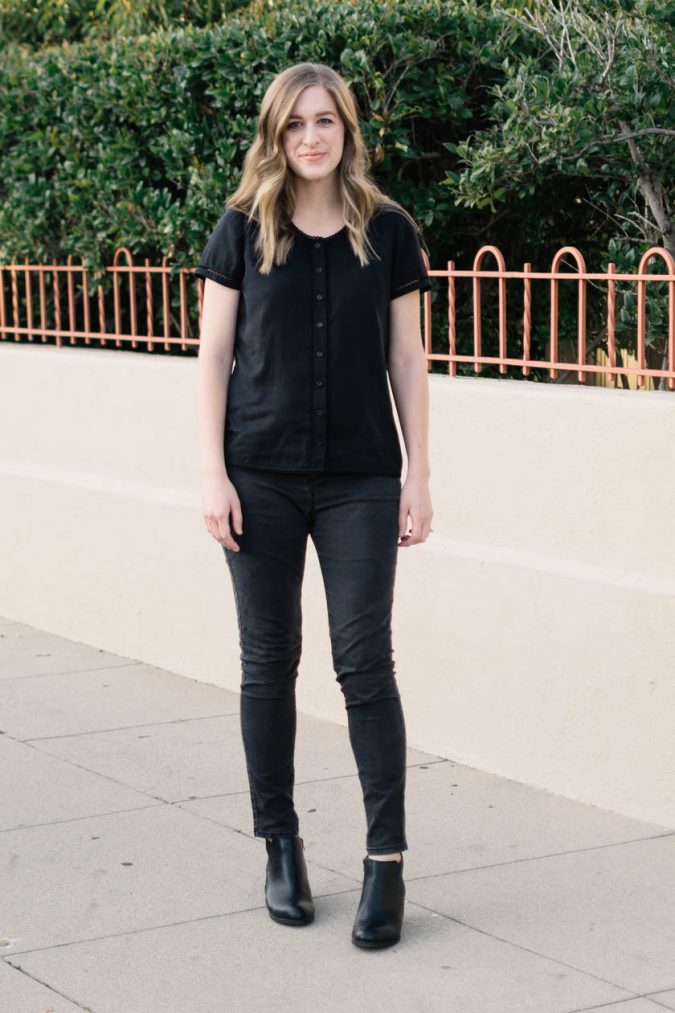
Ever since making my first Cheyenne Tunic last year, I have been hooked on making things with buttons. I love seeing button up blouses everywhere, and especially love the ones that add fun things like trim, tassels, or frills to make the garment more unique. I’ve had this inspiration photo (below on the right) from Take Aim on my Pinterest Board for years, and I knew I had to recreate it somehow.
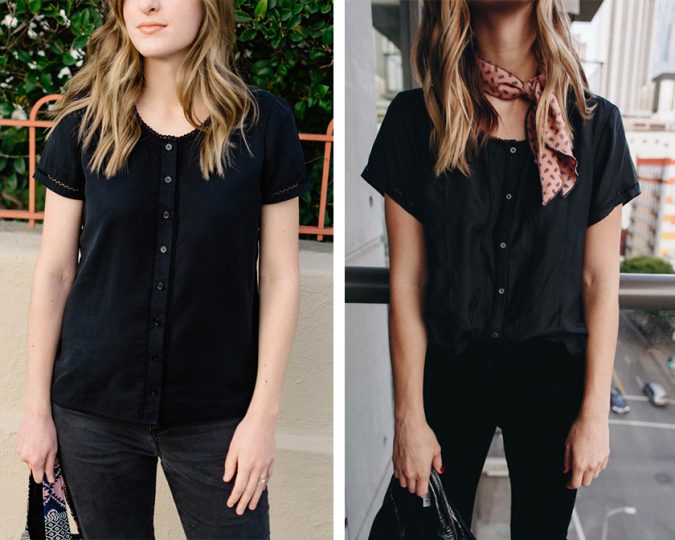
When I was brainstorming how to recreate it, I knew I wanted to use the Key Largo pattern because it’s my very favorite woven tee pattern. The neckline is the perfect comfortable scoop, the sleeves are just the way I like them, and the fit works really well for me. I wanted to use a nice fabric since the inspiration shirt is made out of rayon/silk. I decided to try the tencel twill from Blackbird Fabrics because I’d heard good things about it, and I had never sewn it before. I bought 2 meters to be on the safe side in case of mess ups, but I easily made it out of 1.5 meters.
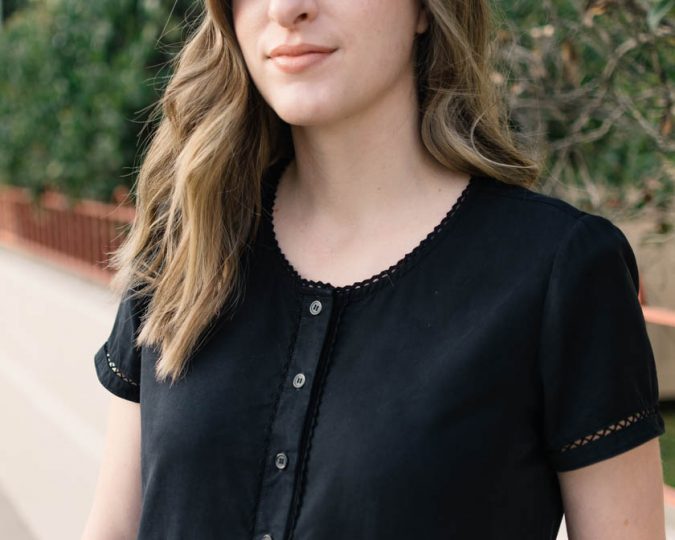
When I was thinking about ways to construct the front placket, I really wanted to just add enough fabric to the front center to fold it over to the front and sew it, but since the fabric isn’t the same on both sides, that wouldn’t have worked. And if I folded the fabric to the inside, I wouldn’t have been able to add the trim the way I wanted to.
The best way was to add a separate placket piece. If you are familiar with the Cheyenne Tunic, I decided to construct the placket the same way.
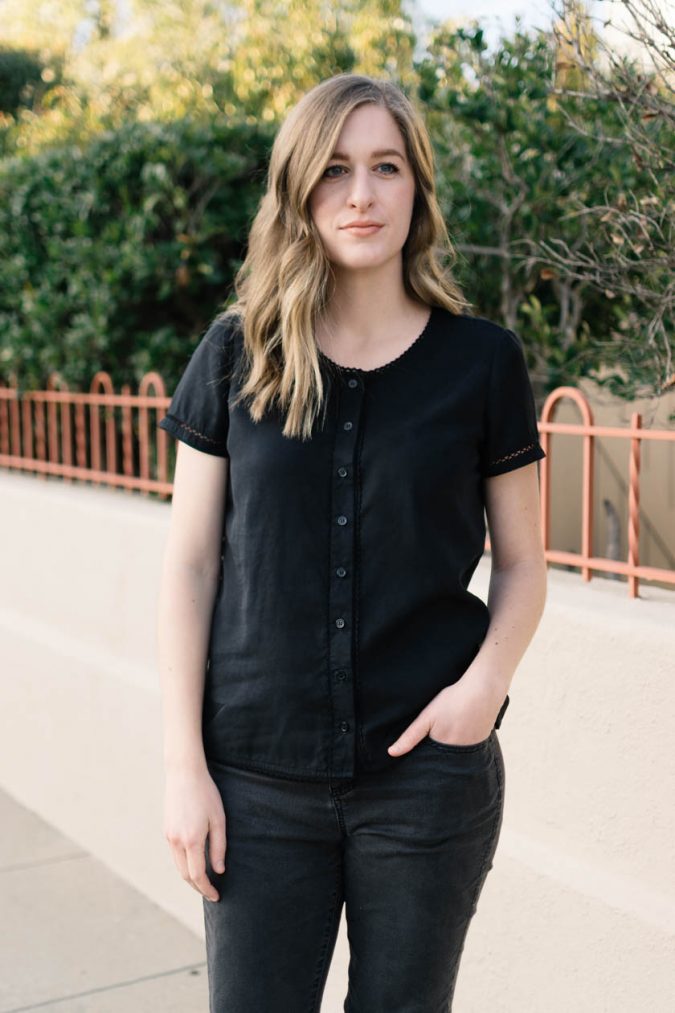
ADDING A PLACKET
The Key Largo usually has a front center seam, so when you are cutting out the paper pattern make sure to keep that ½” seam allowance (it will make up for the 1” that the placket will overlap in front) and extend the front center seam by an additional ⅜” for a new seam allowance. I cut my two front bodice pieces on the grain (as opposed on the bias like the pattern shows).
You will also need to cut two plackets. The placket length will be whatever the front length of your bodice is, and the width will be 1 ¾”. You will need two pieces of interfacing the same size as the placket. (Side note: I am 5’11 and I find the Key Largo to be pretty short on me, so I lengthened it by 2 ½ inches.)
Interface both plackets on the wrong side of the fabric, then on one long edge of each placket press ⅜” to the wrong side. Take one of your plackets and sew the unpressed long edge of the placket to the right bodice center front using a ⅜” seam allowance – the right side of the placket and wrong side of the bodice piece will be together.
Press the placket away from the bodice. Flip the bodice to the right side and press the seam allowance away from the bodice.
Press the placket to the right side of the bodice along the seam line (placket should be 1” wide), keeping the ⅜” pressed edge. (Tip: This is when I added trim to the edge of the placket. Wonder Tape is great for this step because it helps it lay flat and holds all of the fabric in place.) Edge stitch along the folded edge of the placket to the front bodice. Repeat these steps to add the other placket to the left bodice piece.
See pictures of this process in the Cheyenne Tunic Sew Along.
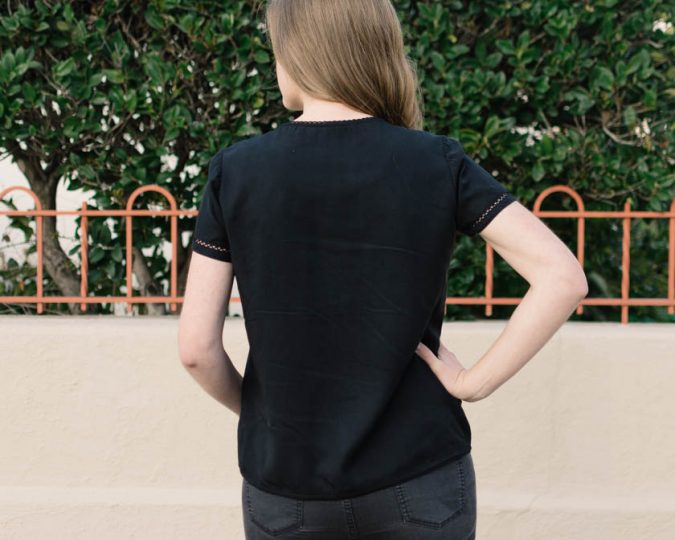
The Key Largo pattern has a bias binding piece to finish the neckline, which is how I finished mine. I also cut additional bias binding and used it to hem the bottom. I have a full blog post at The Doing Things Blog if you are interested in how I added trim to my sleeves, neckline, and hem.
After the plackets and hems were all finished, I added the button holes to the right and buttons to the left.
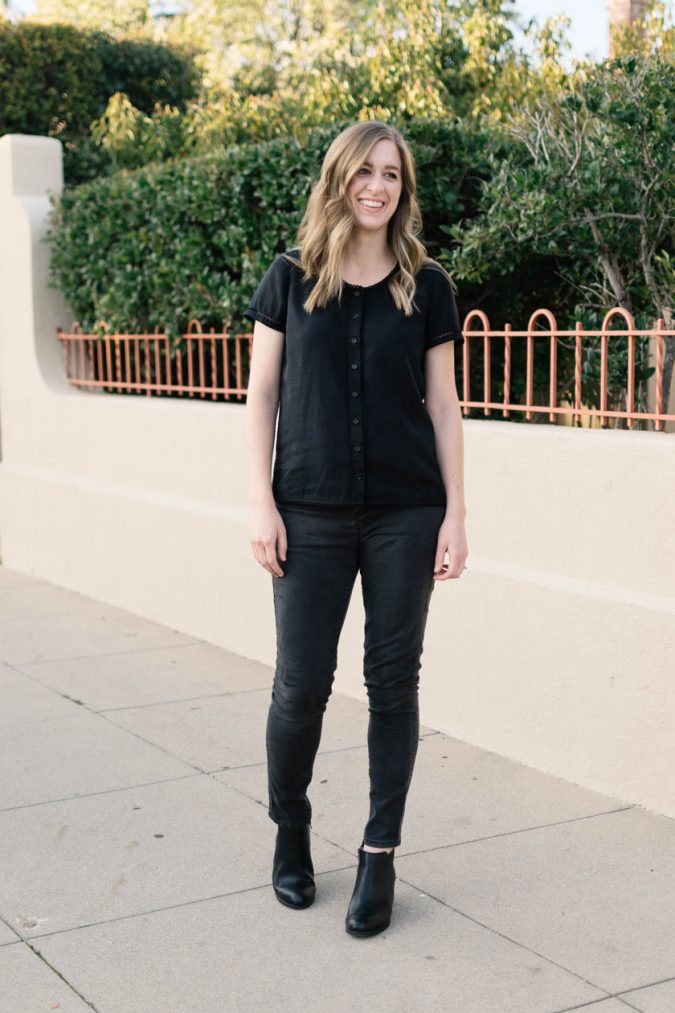
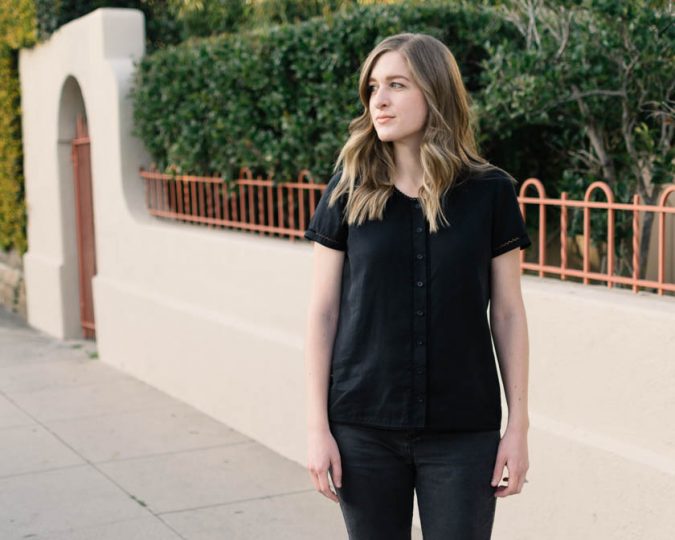
This shirt was a labor of love, but I LOVE how it turned out. I’ve wanted to make this shirt for a long time, and I’m so happy I just took the jump, got what I needed, and figured it out along the way! I think a button up Key Largo would look just as cute without the trim (and be WAY easier), so don’t keep that from stopping you.
Tag me on Instagram (@thedoingthingsblog) if you decide to make a button up Key Largo too!
Thank you so much for this excellent tutorial, Tori! I love how you incorporated that beautiful trim!
