Leslie is back with another gorgeous pattern hacking tutorial for us today! I really can’t help but think of her when I think of the Cheyenne because of all her gorgeous shirts and the garments she’s made by hacking the Cheyenne, like this pretty ruffle version and this western look! Today she’s turning the Cheyenne into the cutest shirt dress, and bonus – it’s even easier to sew than the original pattern!
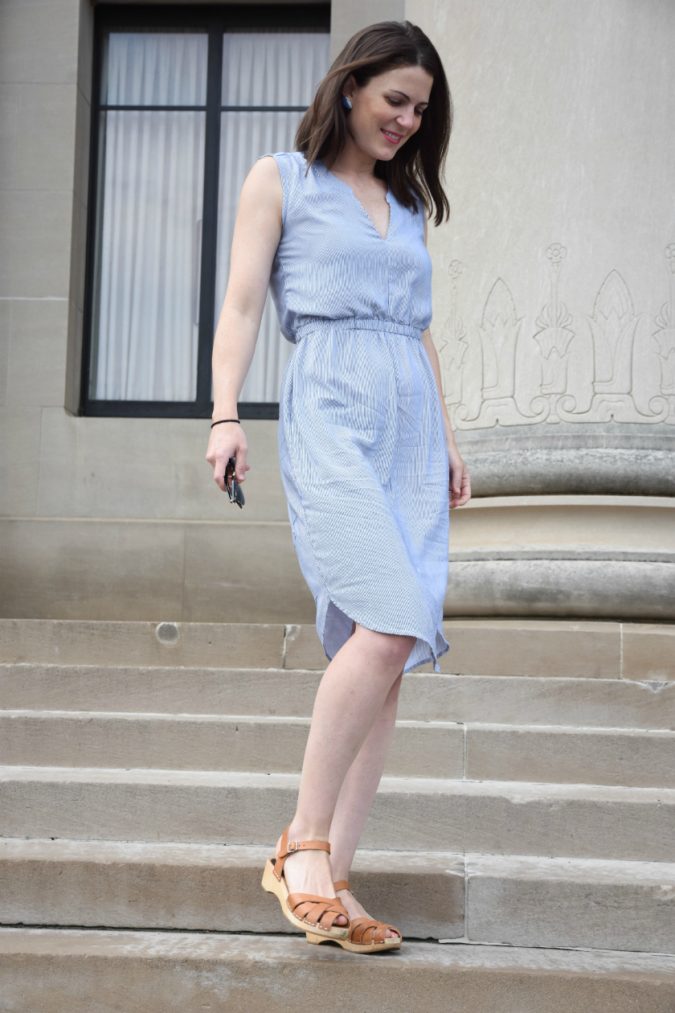
Of all the Cheyenne Tunics I’ve made, this was by far the most expedient. As it turns out, it REALLY helps to omit the sleeves and button plackets. I also didn’t add the pocket, but I think adding them would be a nice touch!
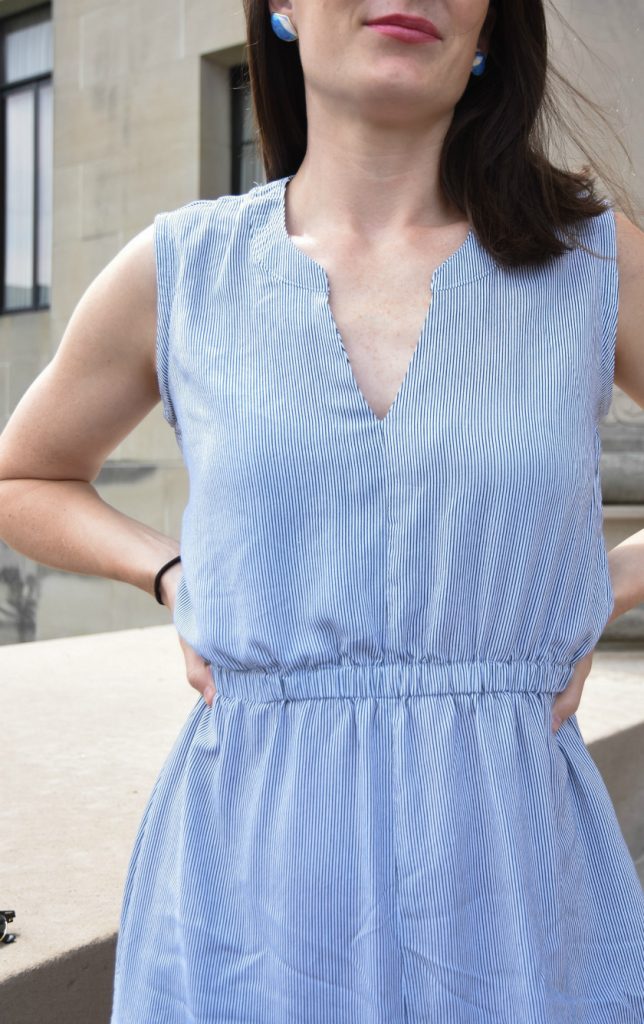
This hack is pretty simple and a great summer staple. As the cooler weather starts it would be easy to style with a jacket and boots, making the Cheyenne Tunic a veritable year-round pattern.
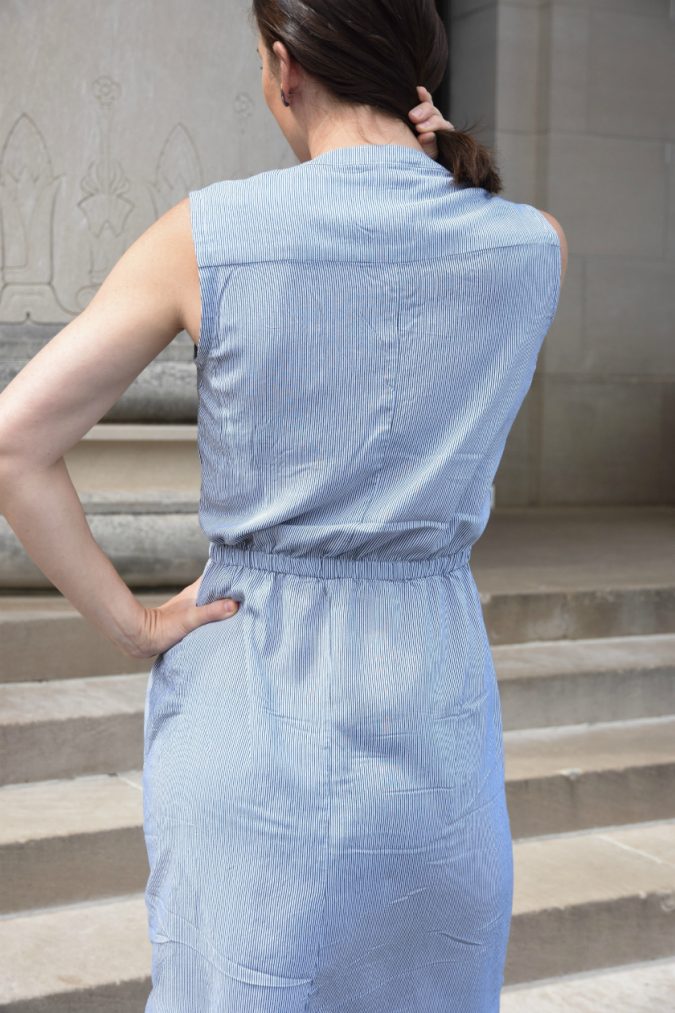
Just to clarify, this hack is for View B. I didn’t do a fabric consumption calc for this, but I’m making an educated guesstimate that it’s about ¼ yard less than what the pattern states. You’re omitting the sleeves and placket pieces, but adding facing pieces and length to the bodice. Let’s dig in, shall we?
Pattern Pieces needed:
- Front
- Yoke (view B)
- Back
- Collar Pieces (view B)
- Some extra fabric to make bias binding
Notions:
- ½” elastic
- Safety pin
- Bias Tape if not making your own
I am a medium in the Cheyenne Tunic and for this sleeveless dress I decided to size down to the Small. It is a pretty loose fit with 5” of ease through the bust and I preferred it to be a little more fitted. Also, in order for the armscye to lay flat, I decided to remove ½” from the arm curve and filled in the curve slightly as shown. This might not be necessary for you, but I needed to do it on my version. You can also reference the Sleeveless Cheyenne tutorial.

Cut the Front and Back bodice pieces at the Shorten/Lengthen line and add 1” seam allowance to waistline of both.
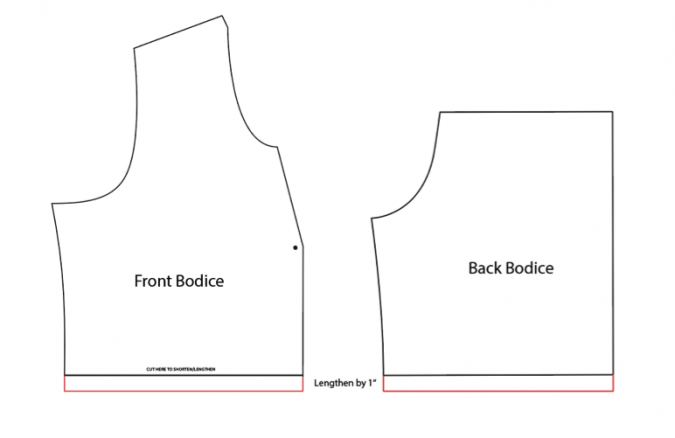
2. The bottom half of the Front and Back pieces will become the skirt. Add 1” to the waistline at the top. Add 15” to a second lengthen shorten line at the approximate location shown. This length can vary depending on preferences, just make sure you use the same distance on both the Front and Back.
3. Add ⅜” seam allowance to the center front of the Front bodice. Extend the center front of the neckline by ⅝”.
4. From the modified Front bodice piece, you will draft the Facing. I drafted a 2” wide facing piece (2-⅜” with seam allowance) that extended to the waistline of the bodice.
5. The collar shape will need to be changed a little bit to accommodate the new opening on the bodice. I shaved off ⅜” from the CF of the front collar piece as shown. The back collar piece does not need to change.
6. Finish the raw edges of the facing pieces as shown.
7. With right sides together, sew along center front of the facing pieces. Press seam open.
8. With right sides together, place the assembled facing on top of the bodice. Sew along the “V” shape, pivoting at the center front seam. Clip up to the stitching line at center front.
9. Flip the facing to the inside of the garment and press well.
10. Assemble the collar and collar facing as explained in the pattern.
11. Attach collar to the neckline as explained in the pattern.
12. Attach the yoke to the back bodice as explained in the pattern.
13. Attach the yoke to the front bodice at the shoulder seams as explained in the pattern.
14. Sew the side seams of the bodice. Remember that the pattern includes a ⅝” seam allowance to account for French seams. You can do the French seams or finish with a serger. Press towards the back.
15. Sew the side seams of the skirt using either French seams or an overlock stitch to finish seams.
16. With the wrong side of the skirt facing out, slide it onto the bodice with the right side out. Line up the side seams and pin. Sew around the circumference at a 1” seam allowance. Finish the raw edges with your serger or a zigzag stitch. Press the seam allowance towards the bodice.
17. To create the casing, stitch the seam allowance to the bodice. The stitch line should be right next to the serged/finished edge. Leave an opening of about 2” so that the elastic can be inserted.
18. The elastic length should be the length of your waist plus 1” for seam allowance. This is preference though, the elastic can be any length that is comfortable for you.
19. Using a safety pin, insert the elastic through the opening. Sew the elastic ends together by overlapping them by ½”. Use a zigzag stitch to connect the ends of the elastic. Close the 2” opening.
20. I used a binding to finish the armholes.
21. Hem the dress per the pattern’s instructions.
Give it a once over press and try on your new Cheyenne-Tunic-turned-summer-dress!
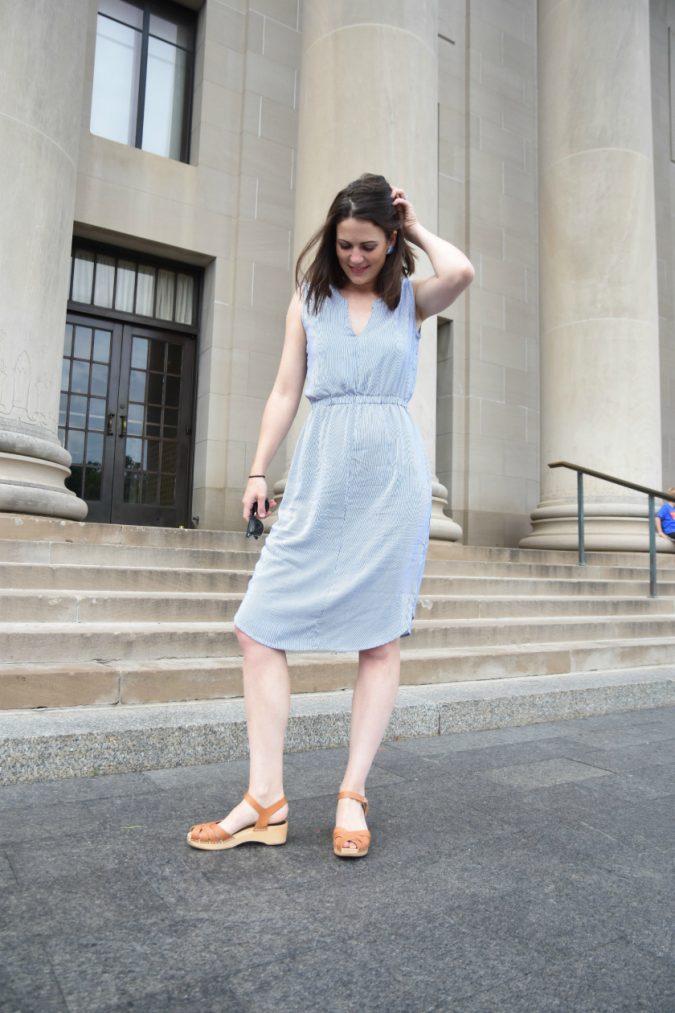
Thanks for hopping over to the HJ blog to read about this hack! I hope you enjoy it!
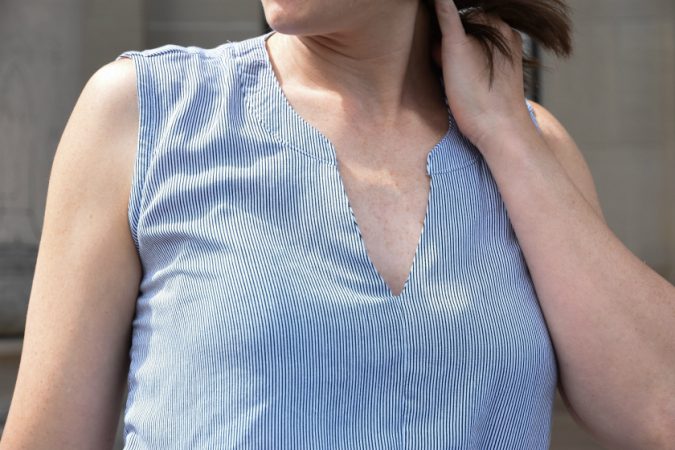
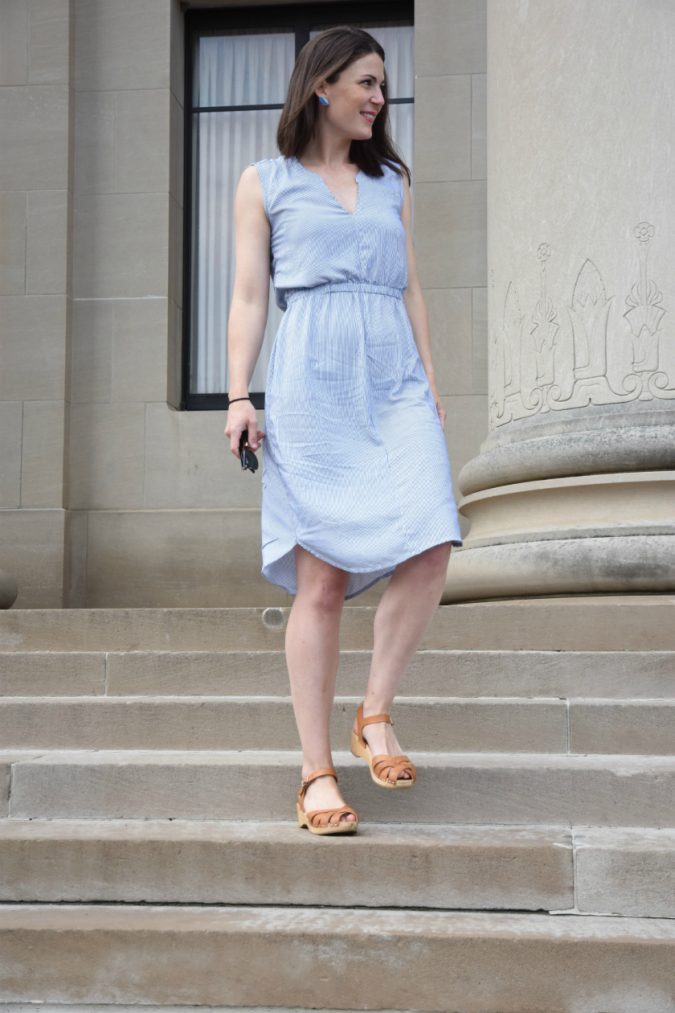
I just adore this and I know all our readers will too! Thank you so much for sharing the tutorial with us, Leslie!

Oh i love this so much! Beautiful look and excellent tutorial!!
This dress looks so cute and stylish! You are looking amazing with it. It would be so easy to create this by following your steps. I am so excited to try this. Thanks for the tutorial.