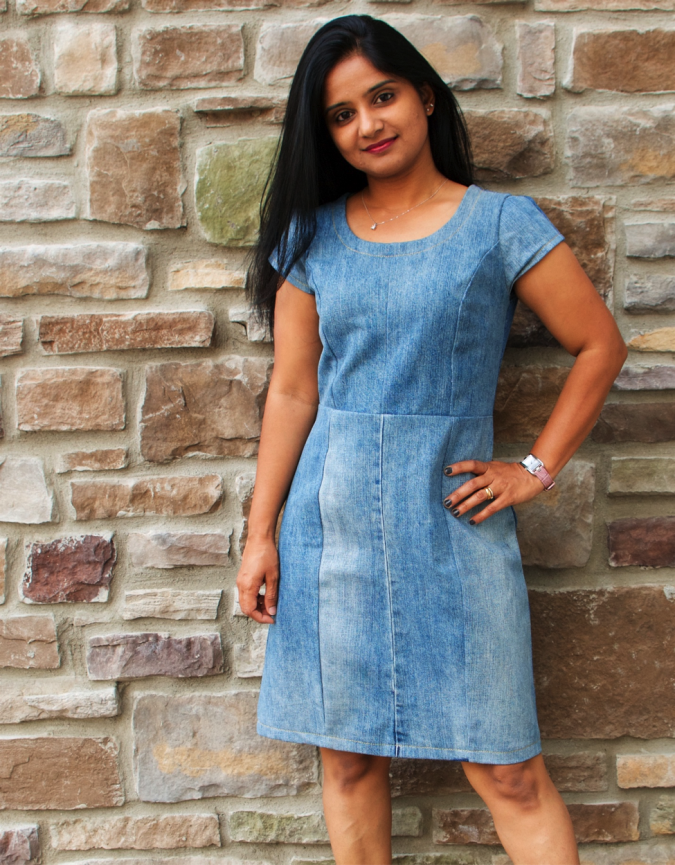
Indu is joining us again today to share a really beautiful upcycled denim Charleston Dress made from old jeans! What an ingenious idea!
Hi friends
I am so excited to bring this tutorial to you today! This has been in the making for a while and it was so much fun planning and plotting for this dress. This denim Charleston dress is made out of some really old and well distressed men’s jeans.
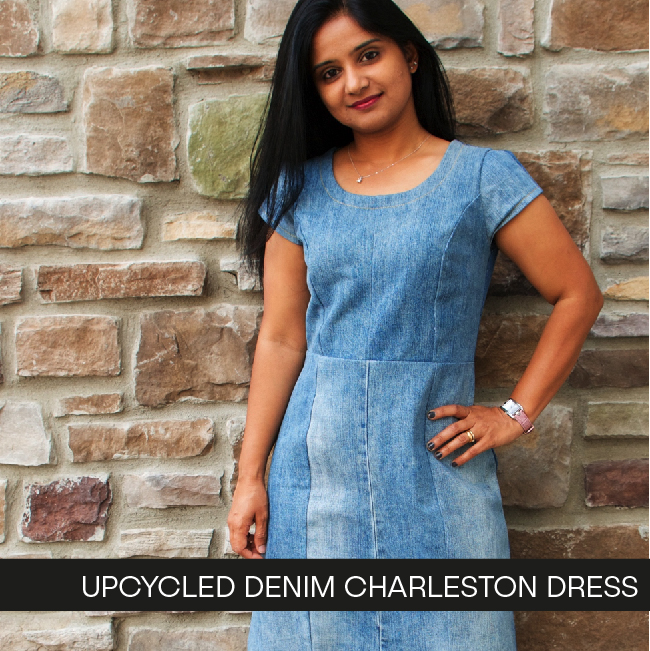
While this tutorial isn’t a hack per se, my hope is that it encourages you to see the potential behind this pattern. You already know how amazing the Charleston dress pattern is in terms of color blocking possibilities and its figure flattering silhouette. But what I want to show you today is what a perfect base it is for recycling/upcycling any type of fabric. Both the bodice and skirt are paneled, which means it is easy to cut those narrow panels out of other denim garments such as jeans, jackets or shorts or if you want, the pattern pieces can further be sliced to accommodate whatever garment you’re cutting your pieces out of. Additionally, the pattern also includes seam allowances and instructions to add a back zipper which is so amazing when you are using fabric with absolutely no stretch like I have.
Here just a few examples but all the ways in which you can color block this dress are endless!
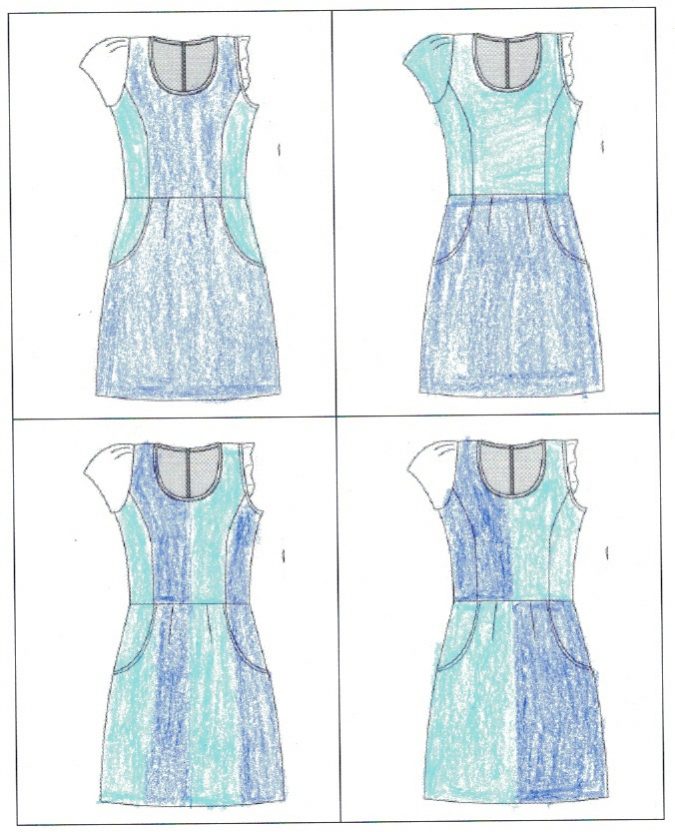
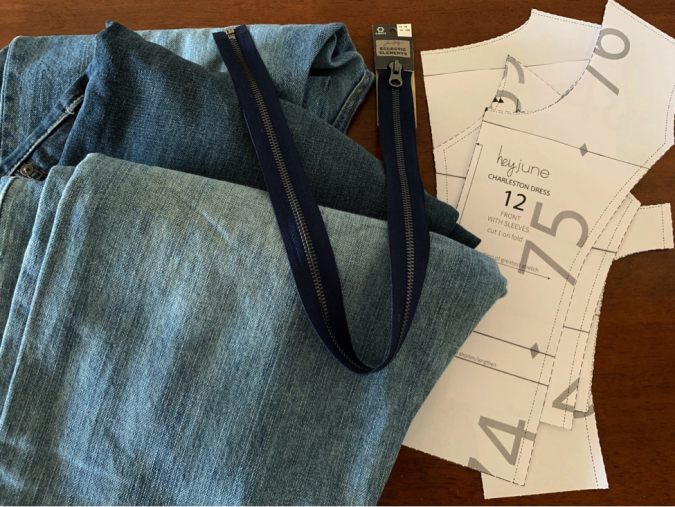
So if you’re ready to make your own upcycled denim Charleston dress, here’s what you will need:
- Charleston dress pattern
- 3 pairs of old/distressed jeans (I used 2 pairs of rigid denim jeans but I strongly recommend 3 so there’s more leeway in case of cutting errors or if you want to cut around heavily faded areas)
- 20” metal/jean zipper
- topstitching thread and needle
And now for the super easy tutorial:
- Measure yourself and pick one size (or 2 sizes) bigger than the size you fall into or add a ½” seam allowances to your existing size. My bust 32”, waist 26.5” and hips 36” put me in XS for bust and S for waist and hips. For this version, I printed out a size M.
- Make your usual fit modifications. Mine was shortening the bodice by 1”
- Add seam allowances to pattern pieces that say to cut on fold. (center front bodice, center front skirt, and sleeve). Add a grain line direction. (a straight line drawn perpendicular to the line indicating direction of greatest stretch). The grain line will help you align your pattern pieces to the grain of the fabric.
- Consider raising the neckline. I did not change the neckline for my version.
- I used the skirt for view B because it already has panels but I wanted the casual ease of view A so I overlapped the side skirt of view B over view A and redrew the side seam to add a little more ease. You don’t need to print view A for this, just redraw the sides of the side skirt making it more A-line.
- Create front and back facings for the neckline since you will not be using the neckband from the pattern. I made my facings about 1.5” wide.
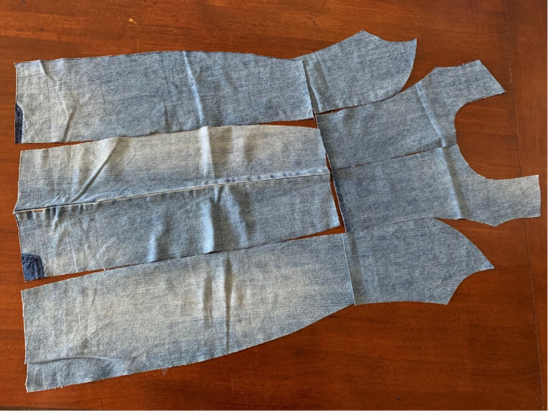
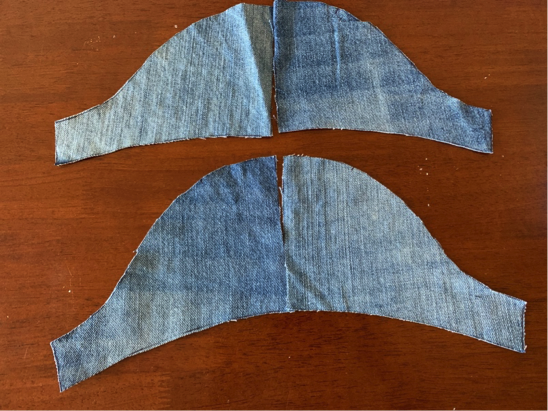
As you start cutting into your jeans, take some time to plan and think of all the ways that the existing topstitching can be incorporated into your pattern pieces.
At this point, I sewed everything together with a basting stitch to assess the fit. Because we sized up, the bust area might have some extra space that you can fix by taking in larger seam allowances where the front princess seams curve. This is not strictly necessary considering it’s a casual denim dress and not a fitted bodycon dress.
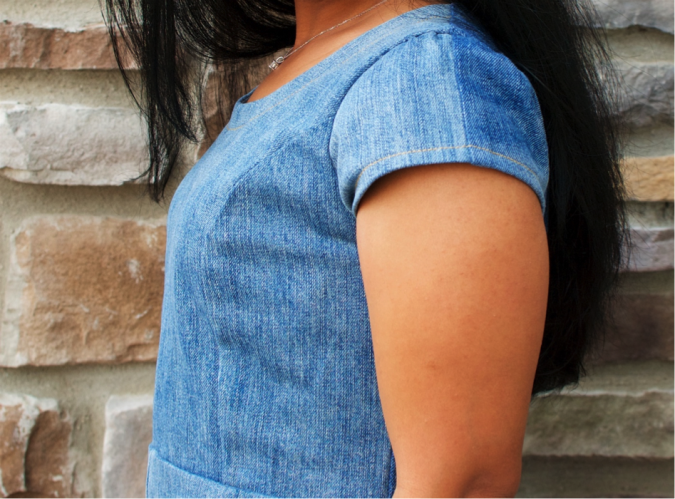
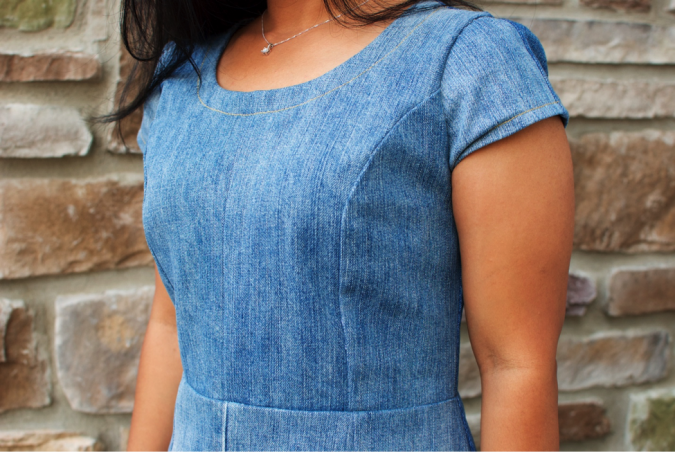
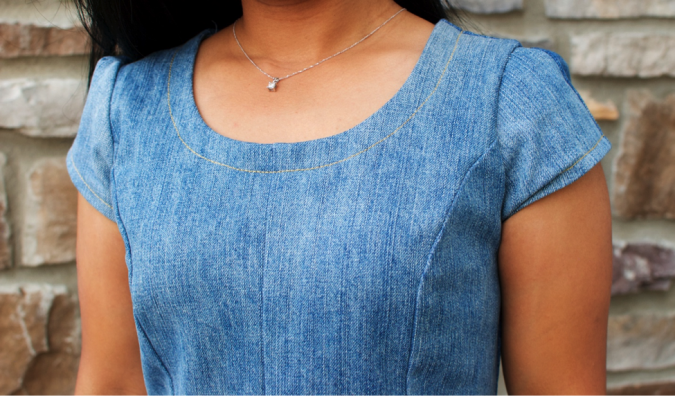
Once you’re happy with the fit, you can go ahead and sew up your denim Charleston dress following the instructions in the pattern. Another thing to consider is if you want to top stitch every seam line which would look fantastic on a dark denim dress. If you choose to topstitch, make sure you do it as you finish each seam. I chose to topstitch only the neckline and hems for mine.
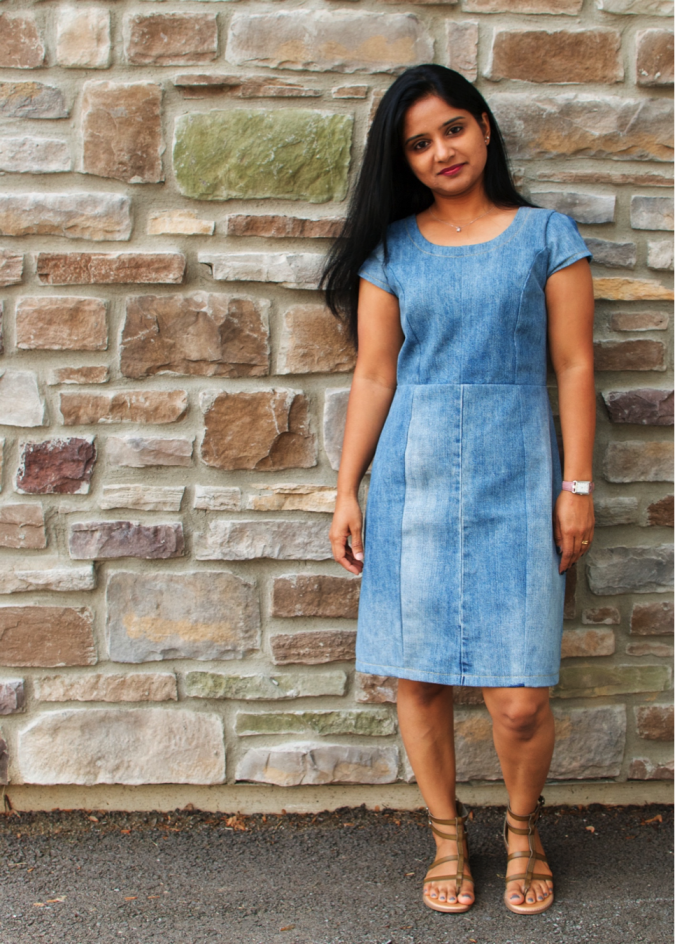
Follow the instructions for the zipper in the pattern aligning the zipper stop to the raw edges of the neckline. For finishing the neckline, first sew the front and back facings at the shoulder seams. Finish the outer edges of the facings with a zig-zag stitch or serger. Then attach the facings to the entire neckline right sides together going carefully over the portion where the zipper is attached. Turn the facings in completely, press well and topstitch 1” from the neckline. Also finish topstitching the sleeve and dress hem following the pattern hem allowances. Consider adding the nicely topstitched patch pockets from your original jeans onto your newly finished denim Charleston dress.
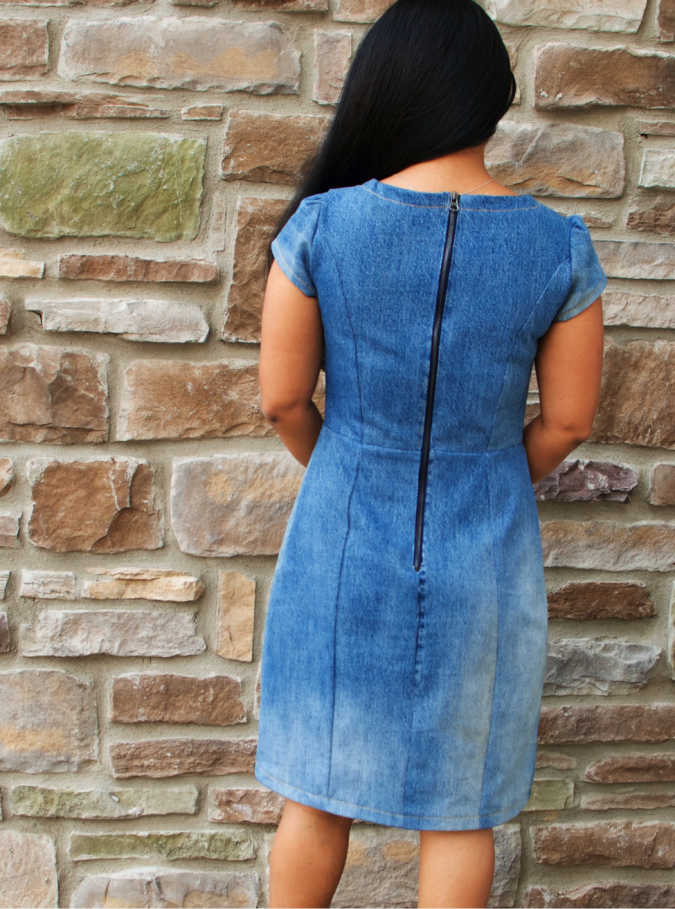
And that’s it! This dress was incredibly fun to plan and make and I truly truly enjoyed the process. I promise, it was not fussy to sew at all! I like the gradual fading of the two light wash denim jeans so much that I didn’t want to interrupt the subtle look with topstitching and pockets. But honestly, not having pockets in a denim dress is quite ridiculous. Every time I reach for my non-existent pockets, I wish I had at least added inseam pockets. Nevertheless, I have been wearing it a ton.
I am so glad for the new life my husband’s discarded jeans now have! And, I hope this post inspires you to look beyond the scope of conventional fabric and to think of all the possibilities of making the Charleston dress from upcycled fabric!
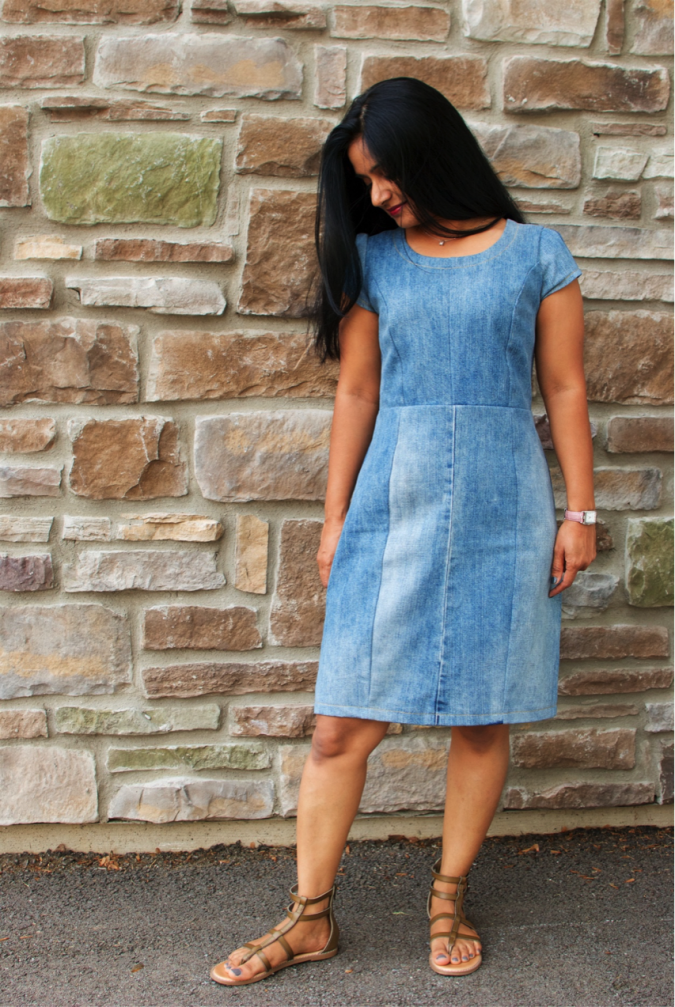
I can’t get over how amazing this dress is, Indu! It looks fabulous on you and it’s such a great way to use up any kind of scrap fabric! Thanks for the excellent tutorial!

Love your denim dress version. What a great idea to use up old jeans. I might have to give it a try. Thank you for the tutorial..
Very Cute! Love it.