
Hi lovely sewists! I have such a treat for you today. Patti from Simple.Blessed has written a tutorial for all of us to mash up the Santa Fe Top and Willamette Shirt! Pattern mash-ups are a little bit more involved than a small hack, but if you’re willing to flex a little sewing muscle you’ll end up with a pattern for this gorgeous top that you can use over and over. Plus her mash up celebrity name for it is hilarious to me (hint: you have to already be pronouncing Willamette correctly for it to work!) Take it away Patti!
~~~~~~~~~~~

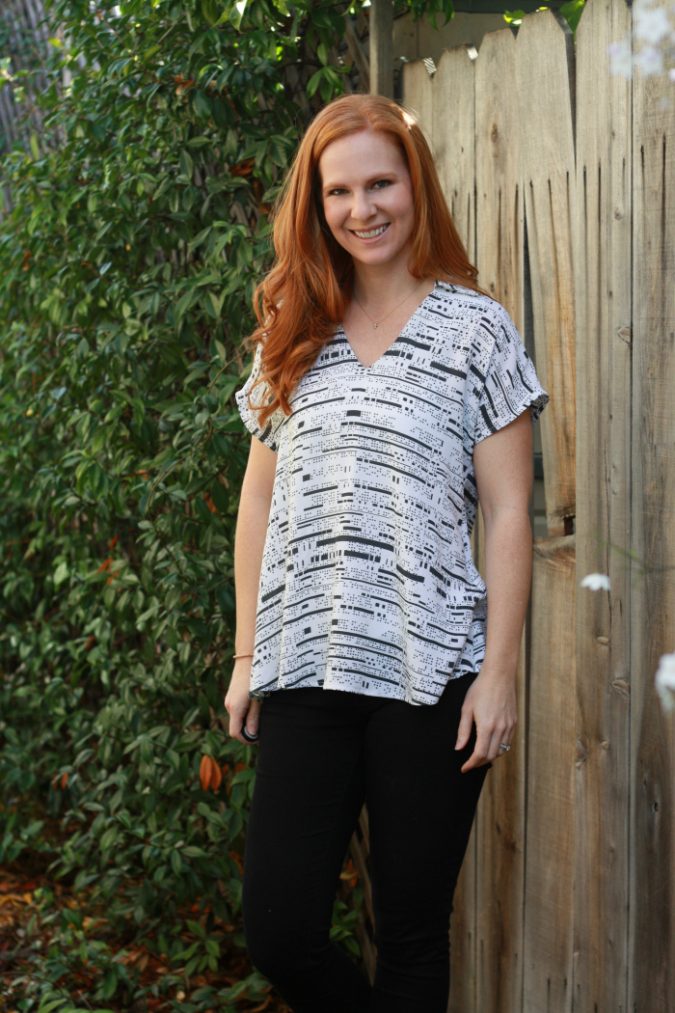
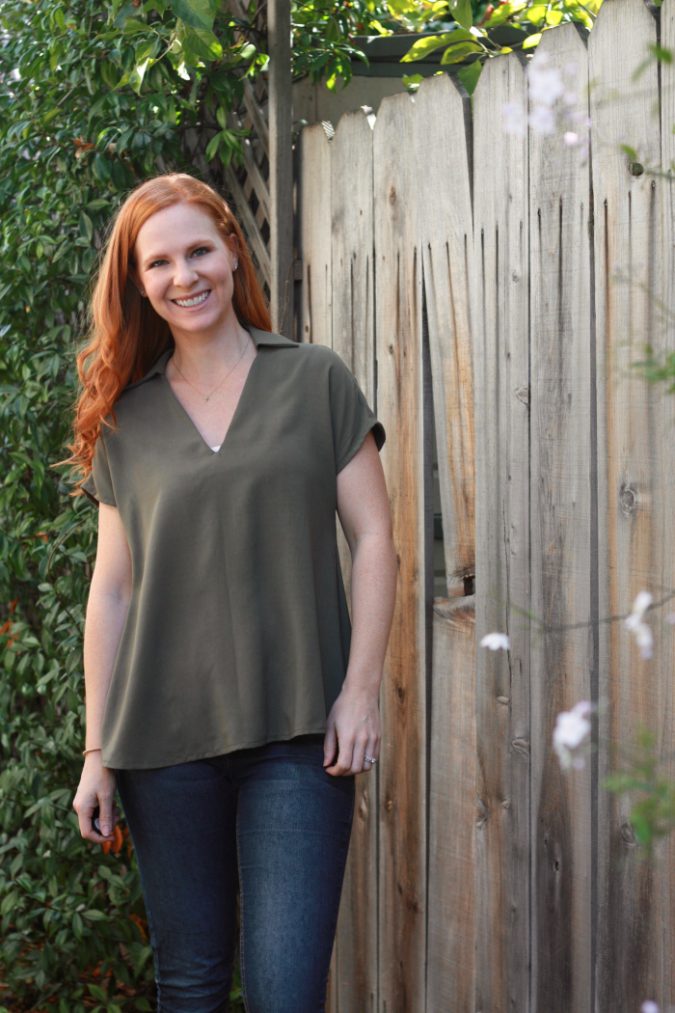
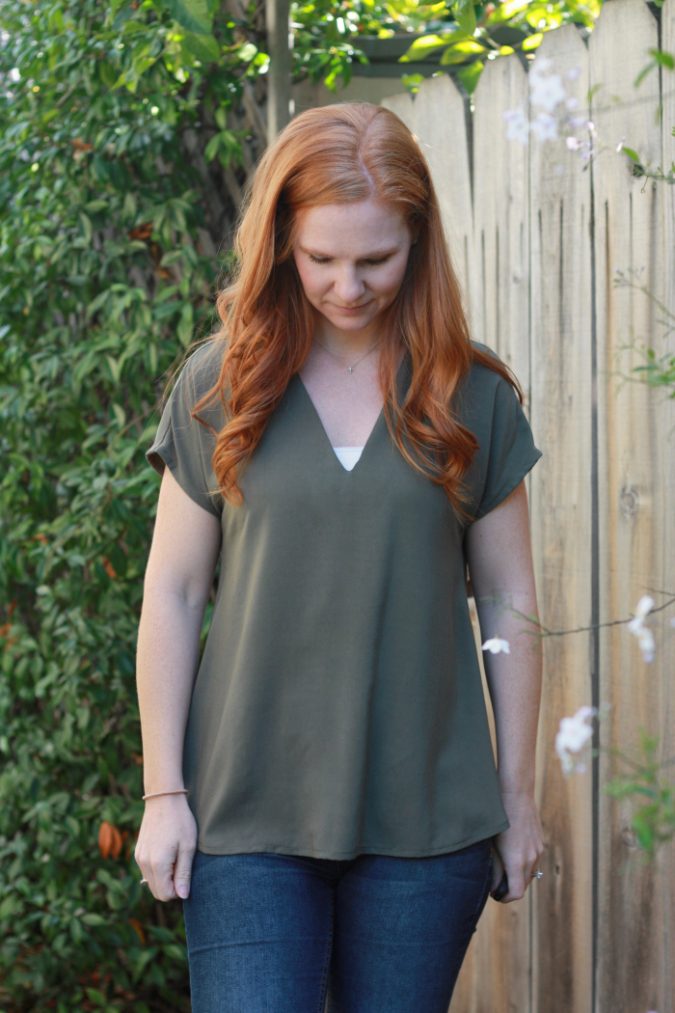
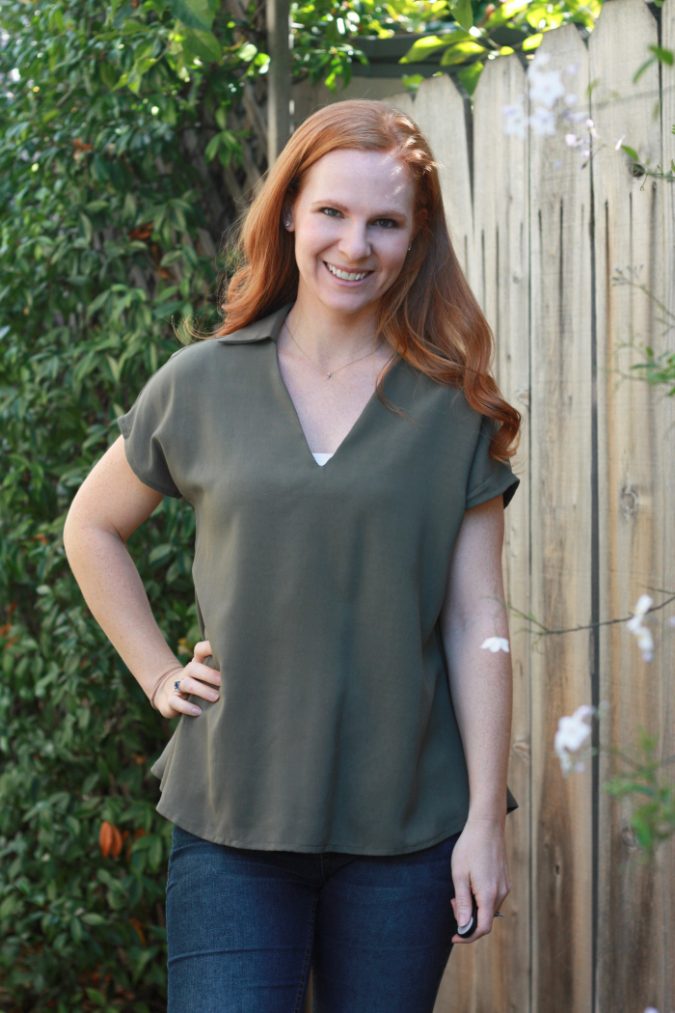
One of my favorite ways to get inspiration for new sewing projects is by browsing pictures of ready-to-wear clothes. While browsing on Instagram, I came across a shirt that was just screaming to be made from a mash up of two HJ patterns – the Willamette and the Santa Fe. The Willame-Fe! With a little hand-holding from Adrianna, I was able to make a version that I personally think is pretty darn cute. Here’s how you can do it, too. ?
Start by printing View A of the Willamette and View C of the Santa Fe. You will mostly be using the Willamette, but you will want to use the side angle of the Santa Fe.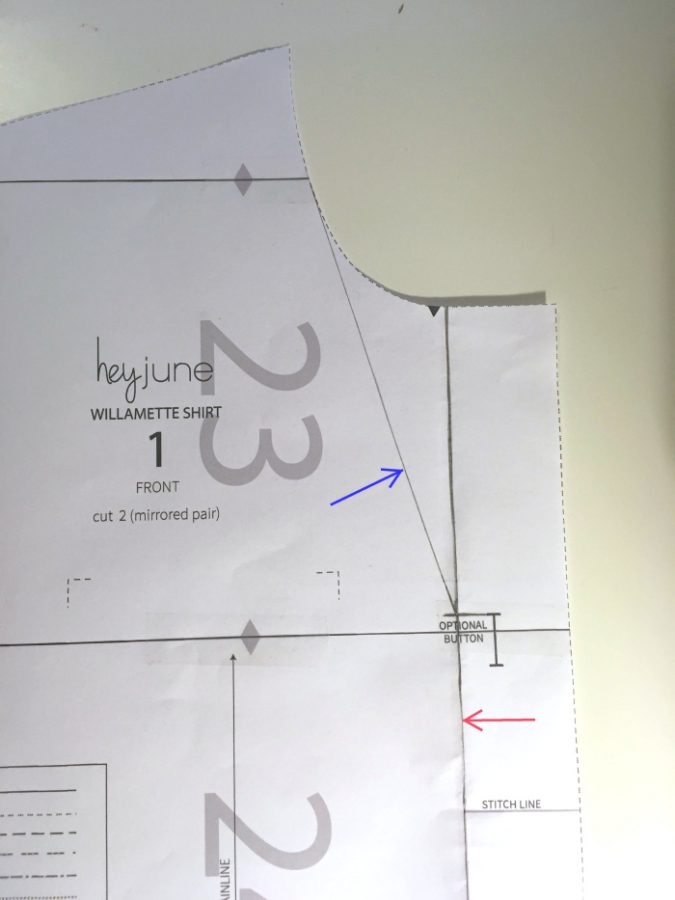
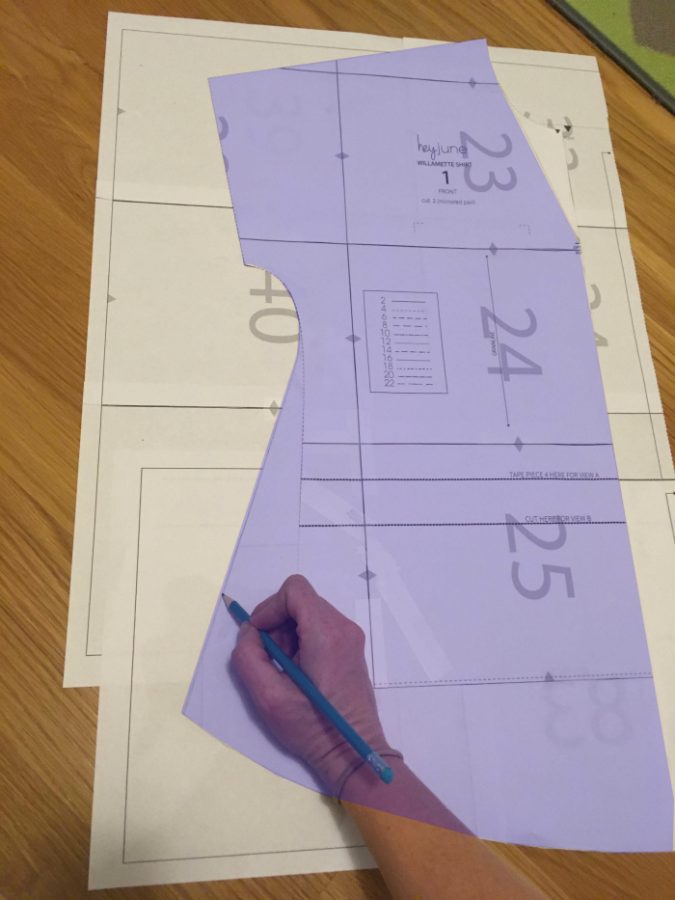
For this look, you want the front to be cut on the fold – draw a line extending the vertical stitch line up to the neckline to use as the fold line (the red arrow points to this line). To create the v-neck, draw a line from the top of the optional button mark up to the neckline like in the picture (the blue arrow points to this line).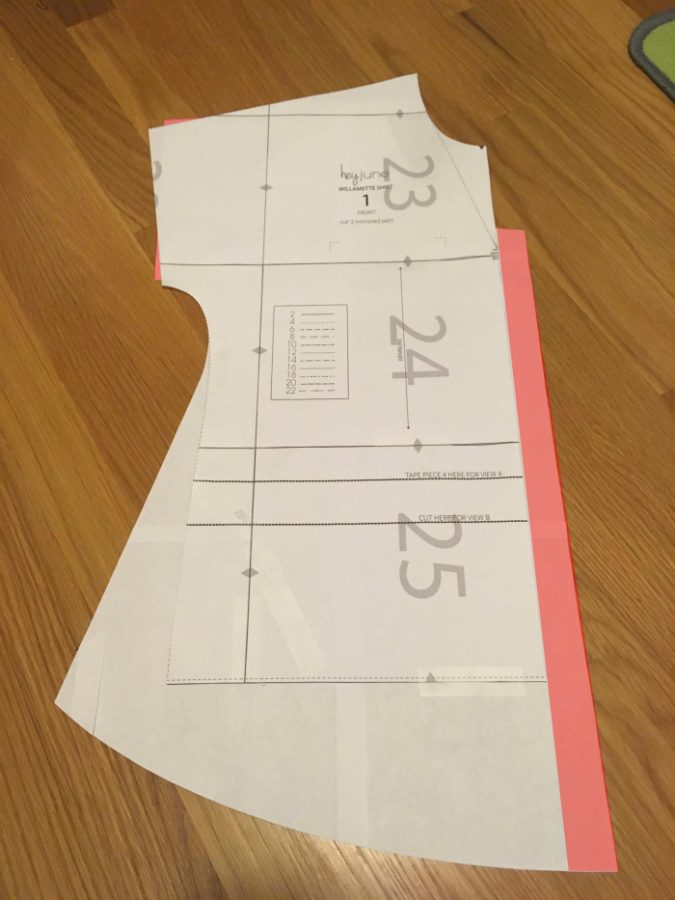
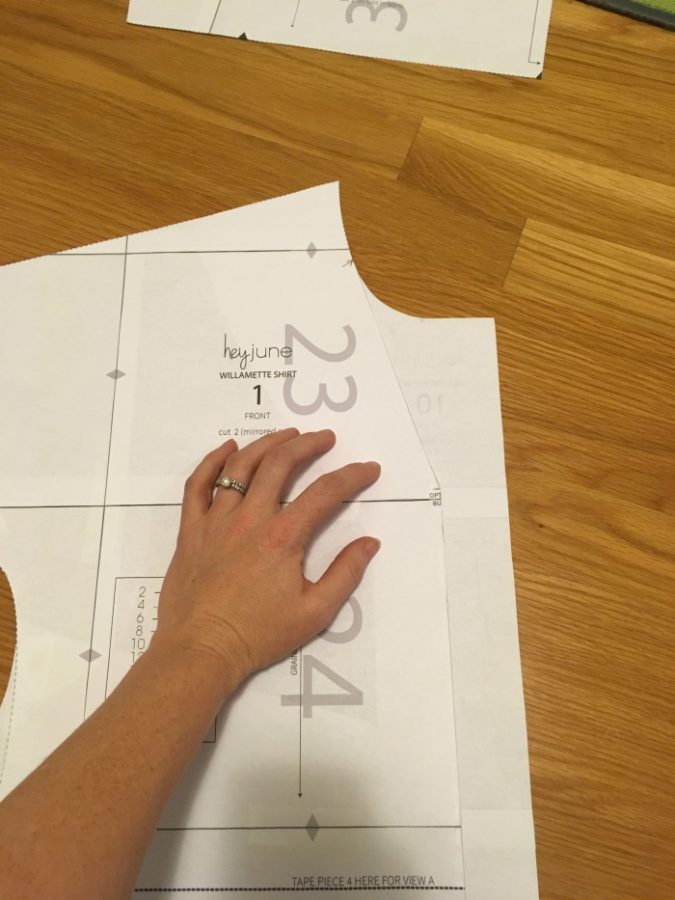
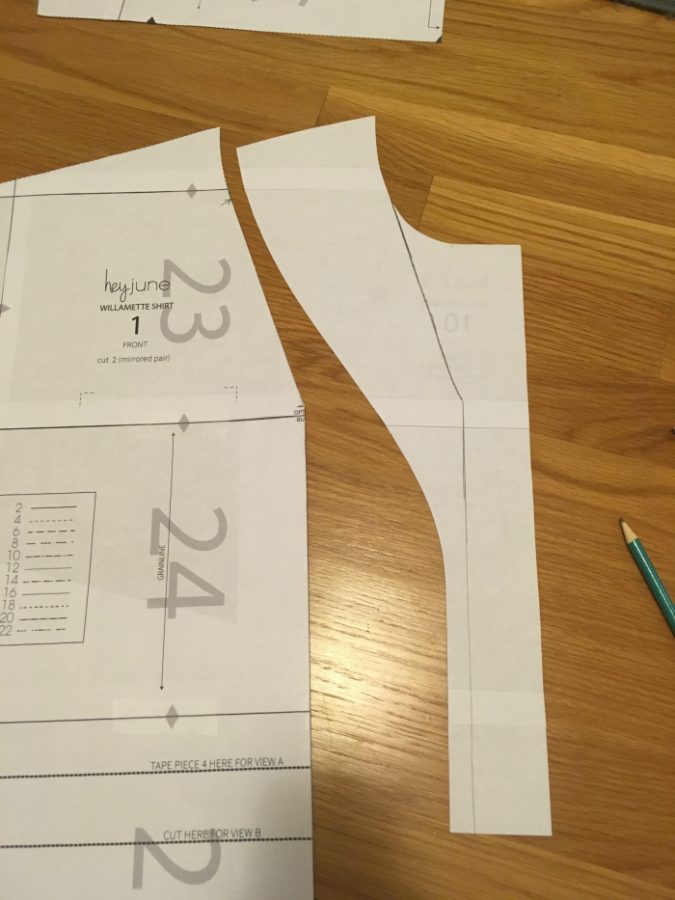
Put your Santa Fe pattern piece underneath and align the curves of the under arm area, keeping the center front of both pattern pieces parallel to each other. Remove the excess paper along the fold line and near the sleeve, which is shown in red on the picture.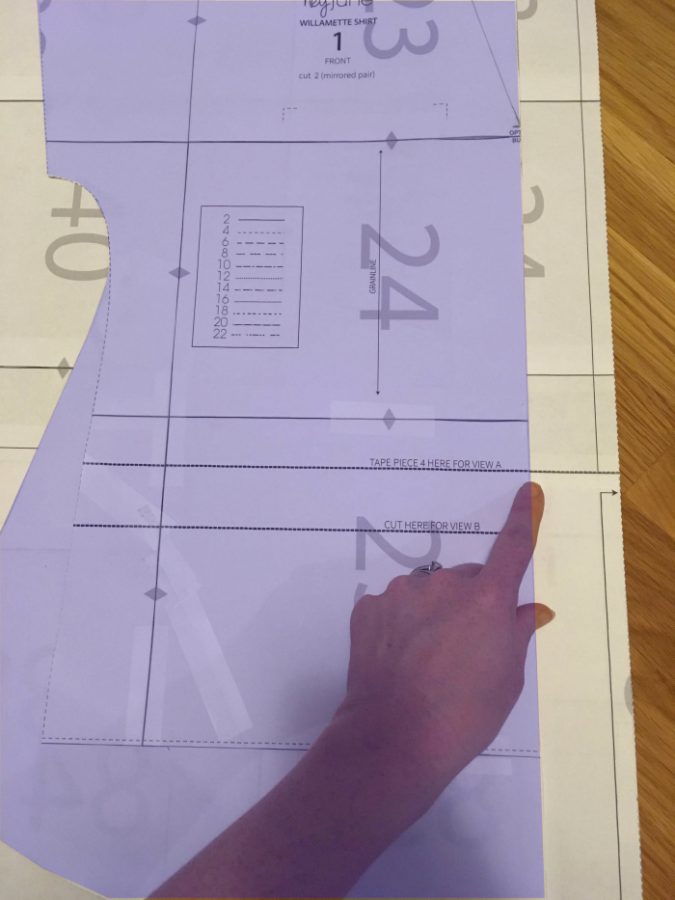
To create the same side angle on your back piece, line up your new front pattern piece on the back pattern piece of the Willamette, matching the “Tape piece here for view A” lines, and trace the side. The front pattern piece is shown in blue on these pictures for clarity.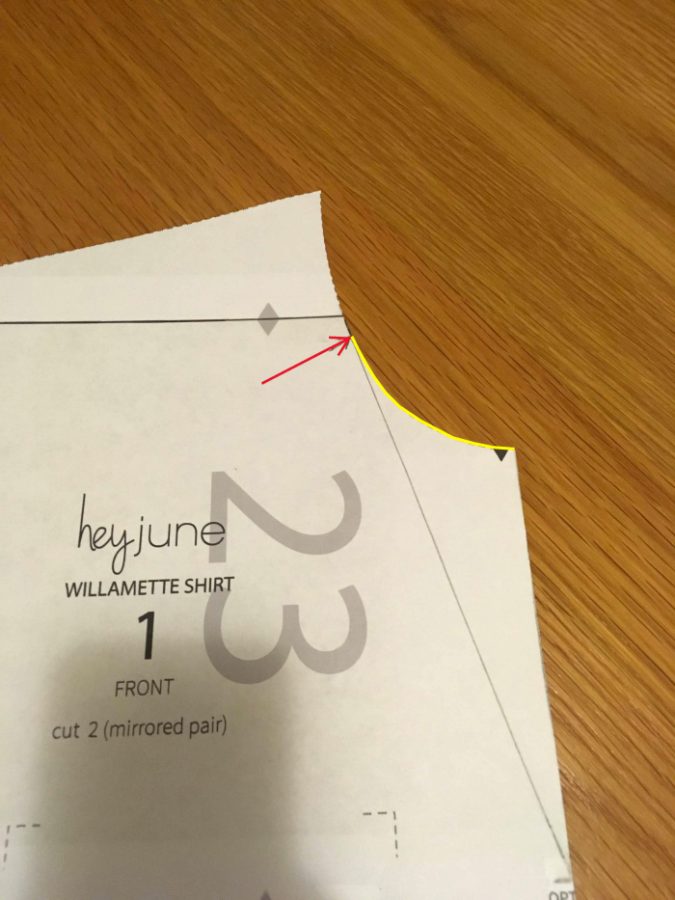
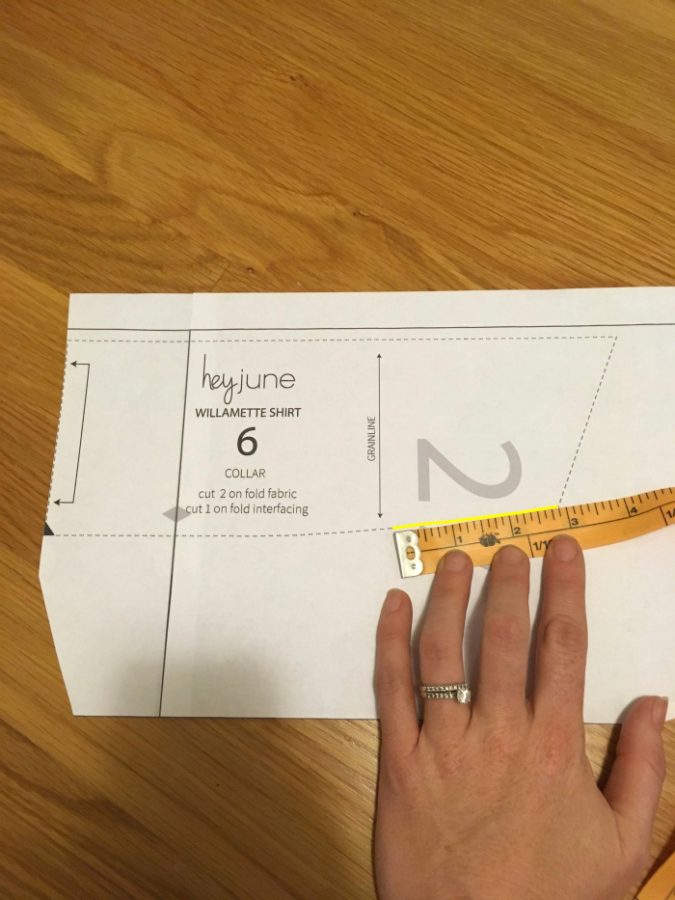
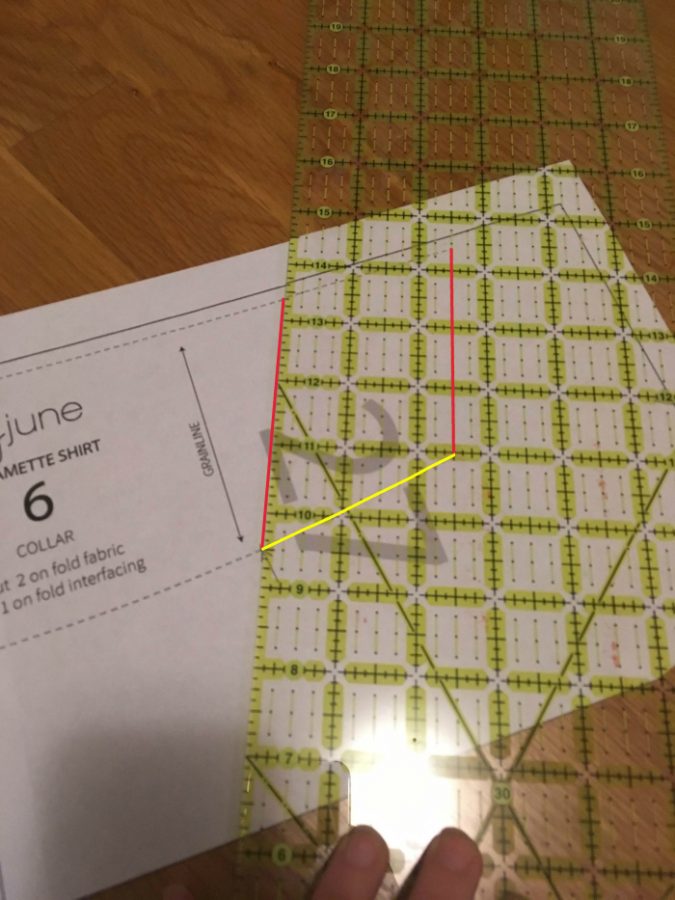
You will need to alter the collar piece as well so that it doesn’t come all the way to the front. Measure the distance from the notch marking to the spot you started your v-neck (the distance shown in yellow on the picture). Subtract a ½ inch from your measurement and remove that much from the length of your collar (note that I didn’t subtract a ½ inch, but I wish my collar came a little farther forward, so you can learn from my experience!). Make sure your new collar piece has the same angle as the original collar piece.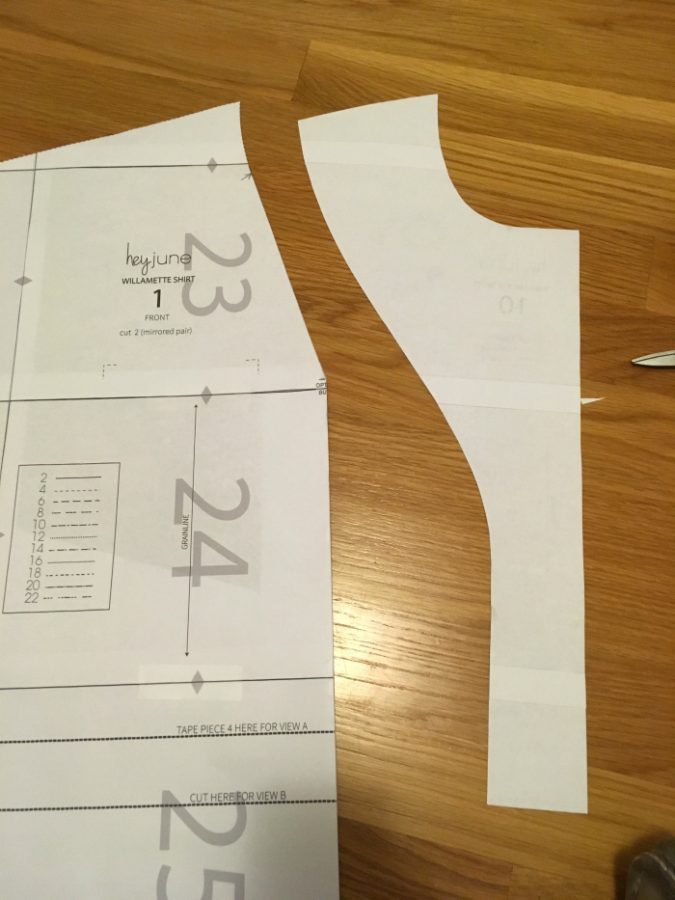
The last pattern piece that needs to be altered is the front facing piece. Match the neckline on your facing piece with the neckline on your front pattern piece and trace your new neckline and front. Measure down about 2 inches from the bottom of your V and remove the bottom portion of the facing. 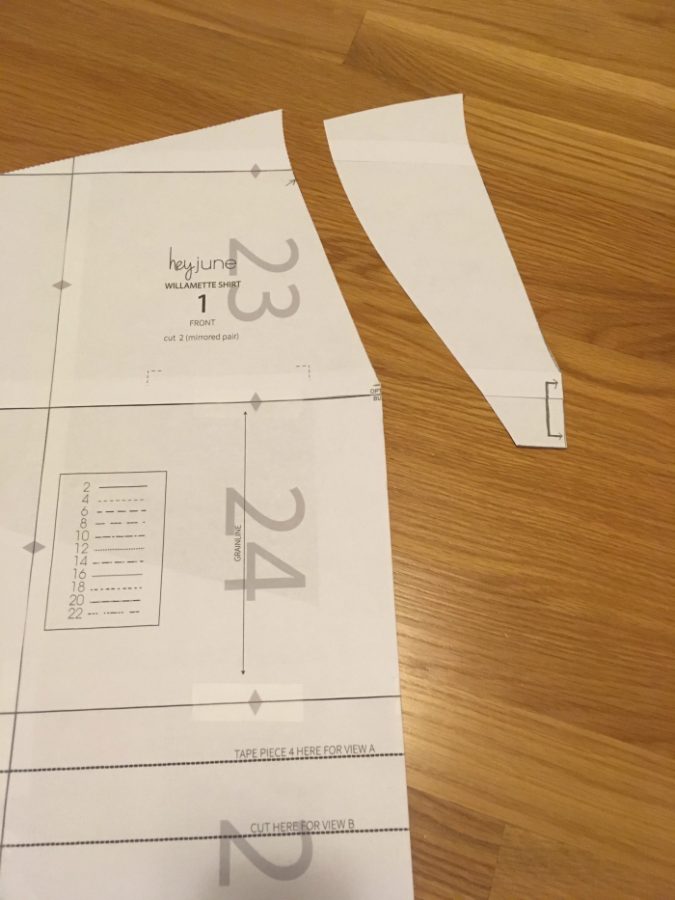 Your pattern pieces will now look like this.
Now, I *thought* you could just construct the garment the same way as the instructions tell you to, but it turns out that you can only do the burrito method when a pattern has two front pieces. Otherwise you try to pull it out of the burrito and it doesn’t happen… ask me how I know…
SO, you do need to change it up a bit…
- Complete the back pleat per the Willamette instructions, steps 1-5.
- Attach the lower back piece to the back yoke only (not the back yoke lining) with a 5/8” seam allowance
- Attach the front and back at the shoulders with a 5/8” seam allowance, press seam allowance to the back
- Finish the side and bottom edges of the front facing by serging or with a zig-zag stitch
- Attach the front facing and back yoke lining at the shoulders (the facing will not be as wide as the back yoke lining), press seam allowance to the back
- Memory press the bottom of the back facing up 5/8″ toward the wrong side
- Make the collar per the instructions in step 20
- Baste the collar to the neckline of the shirt,
- Put the facing/lining pieces right sides together with the shirt and pin around the neckline. Stitch with a 3/8” seam allowance.
- Clip the seam allowance around the curves
- Understitch by stitching the facing/lining pieces to the seam allowance, close to the edge. Make sure not to catch the collar in your stitches.
- This is the tricky part! With right sides together, sew the back yoke lining shoulder seam to the shoulder seam allowance. You can’t get all the way to the neckline, but you should be able to get within about an inch or so.
- To attach the bottom of the back yoke lining, fold under where you did a memory press earlier and pin in place at the bottom of the back yoke. Edgestitch along the bottom of the back yoke, catching the back yoke lining with your stitches.
Continue with the regular instructions starting at step 34.
~~~~~~~~~~~
Thank you so much for the tutorial Patti! Your two tops are gorgeous and perfect for day-to-night wear. Make sure you’re all following Patti – she’s pretty much my style hero and I want to copy everything she sews!
This is so cool and pretty!!