Melissa is on the blog today sharing her hack to make the Santa Fe perfect for working out, especially the kind that frequently leaves you tucking in your shirt or awkwardly holding it down. There’s nothing better than a tutorial that is easy AND useful!
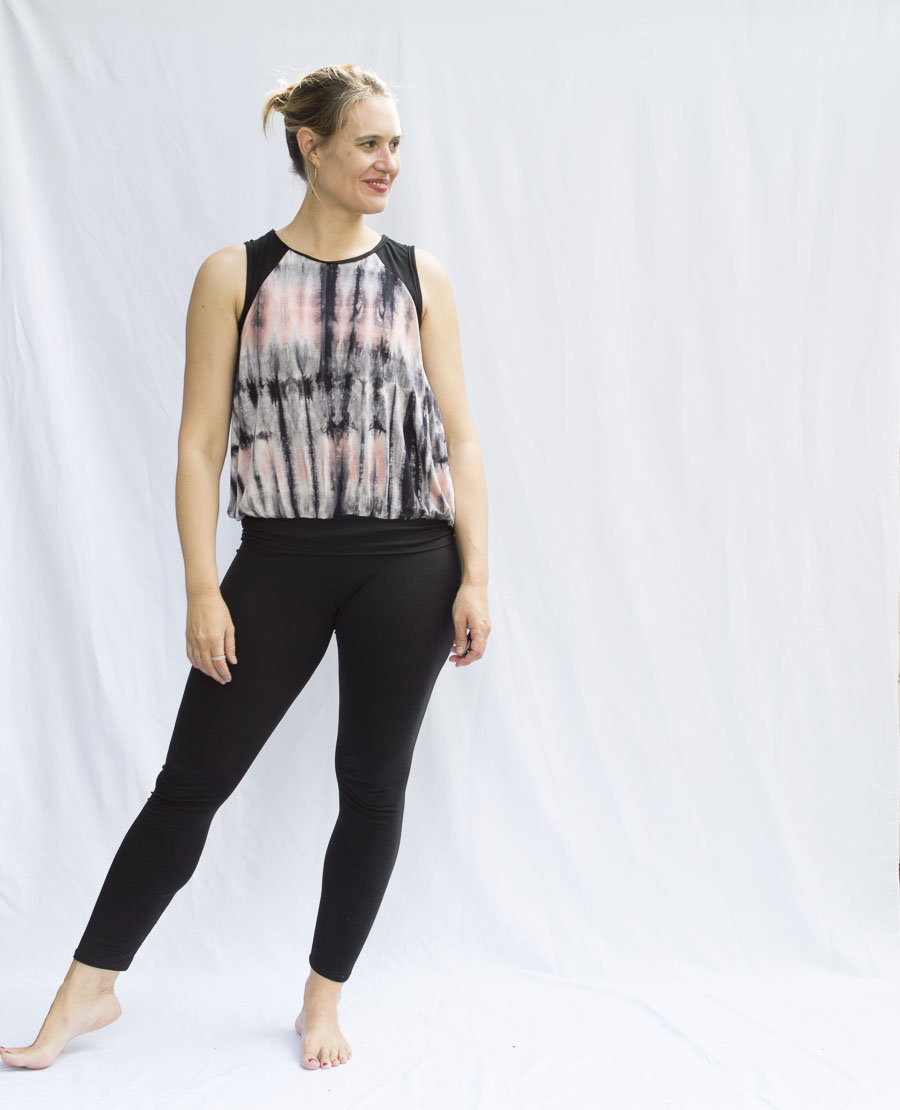
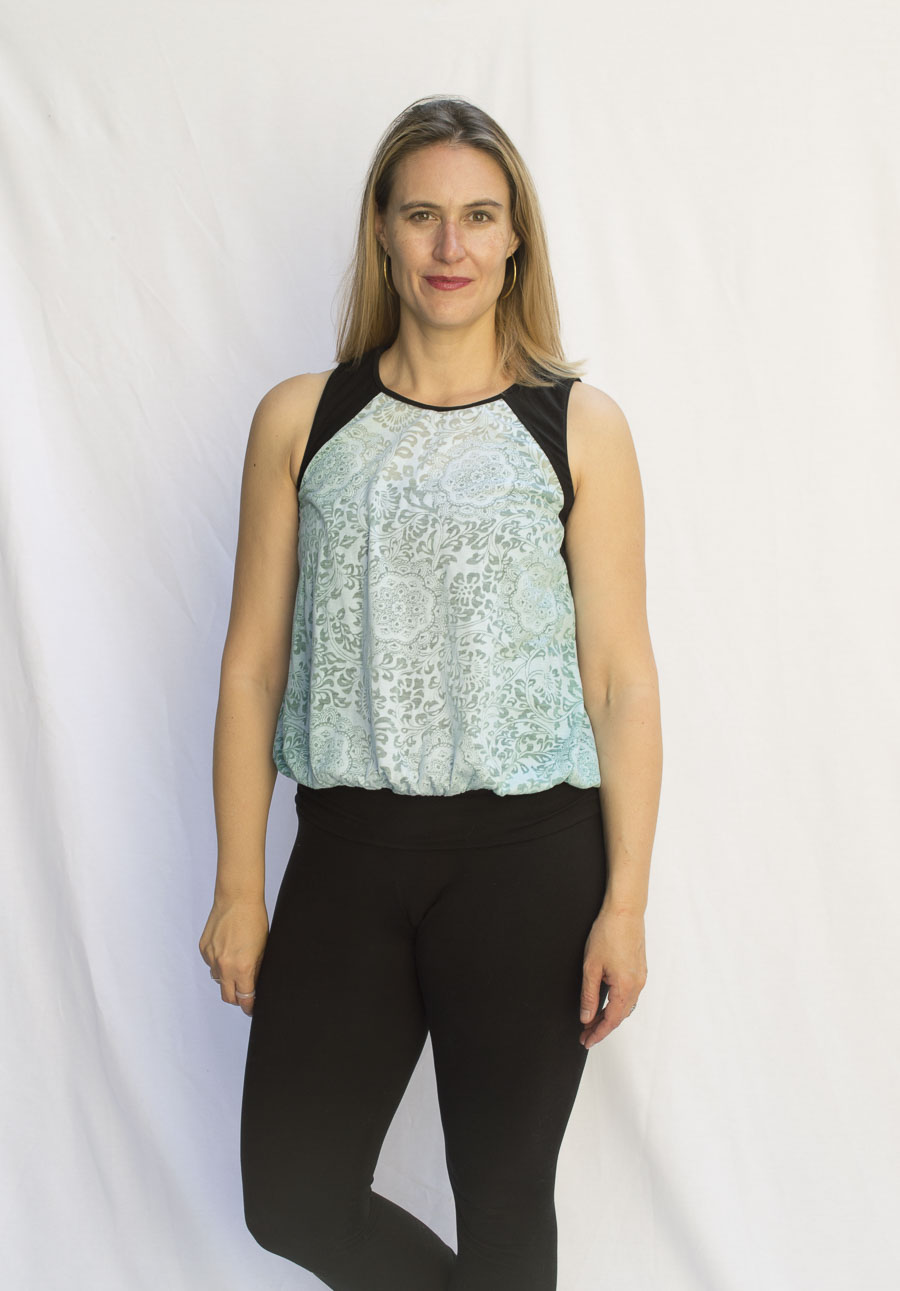
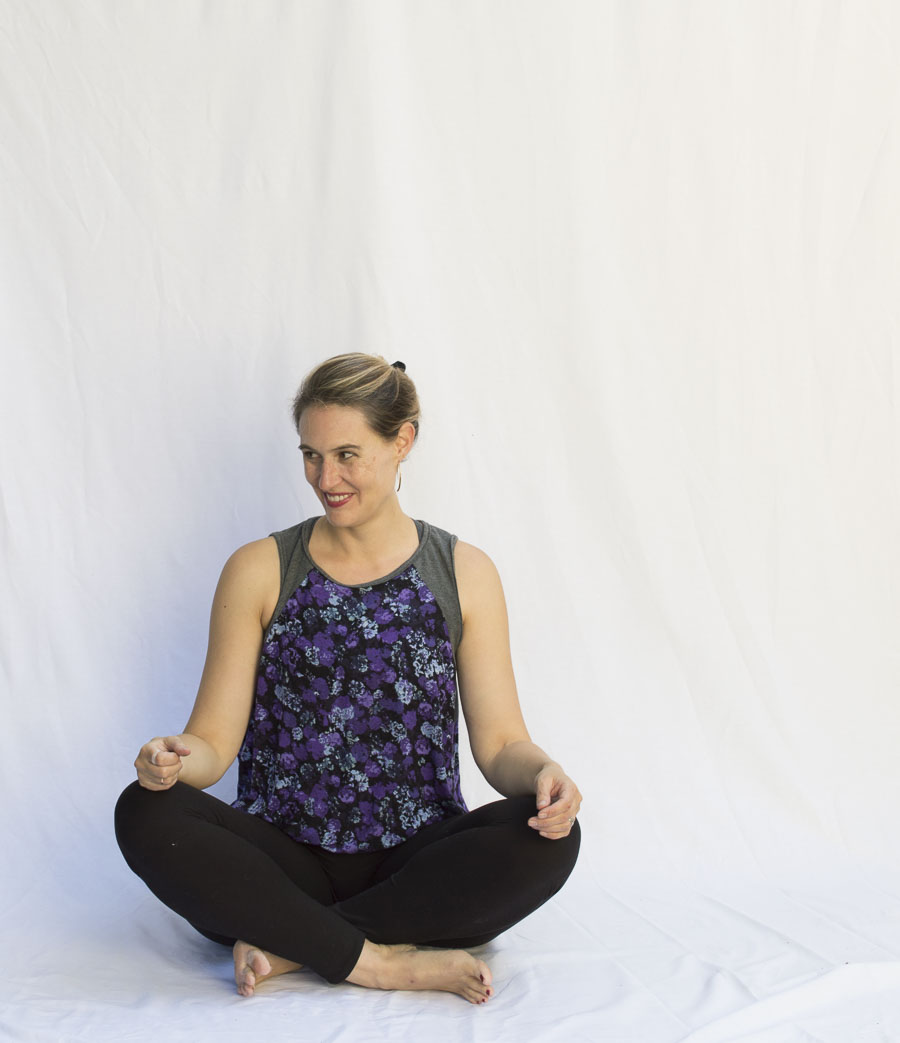
Hey all! It’s Melissa from A HAPPY STITCH and I’m so excited to be back with a brand spanking new Santa Fe pattern hack. I love the casual ease of the Santa Fe . I went ahead and upped the ante to fit in with my very specific workout needs. I’ve been super busy playing around with shoes so it was positively luxurious to spend time in my studio sewing these tops together. So luxurious, in fact, that I just HAD to make three. I told myself I was doing it to give you guys lots of inspiration but honestly, I just wanted three new workout tops.
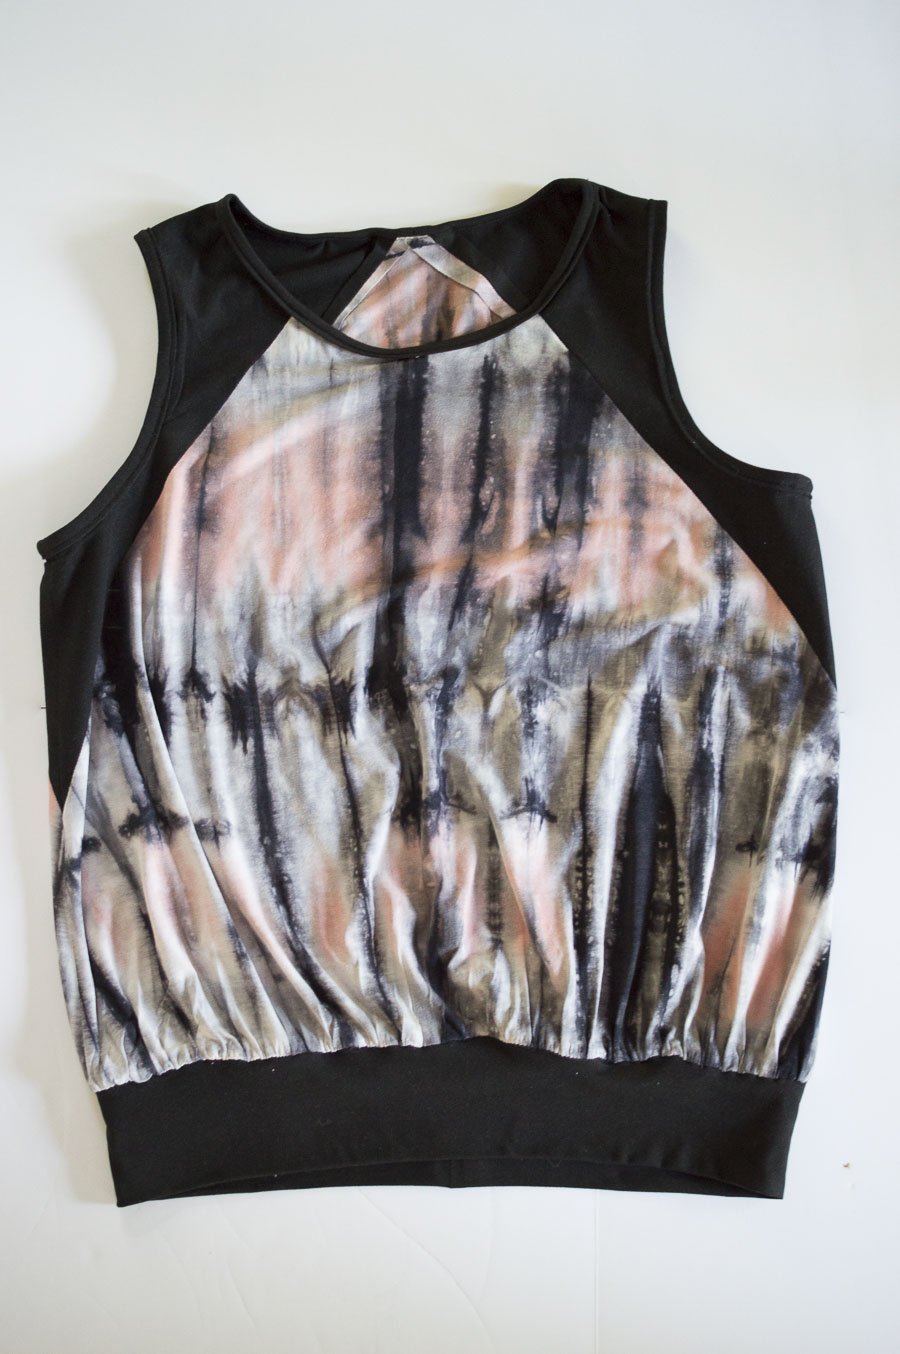
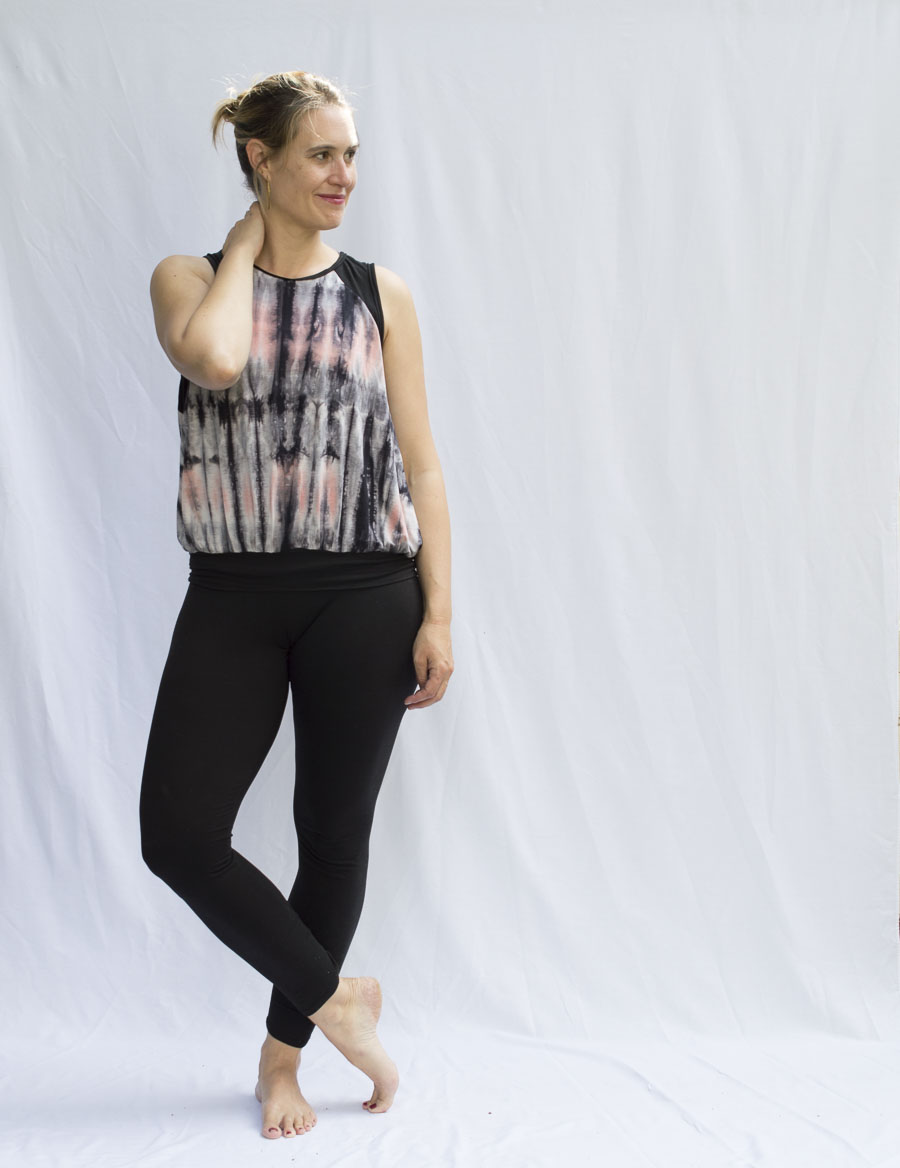
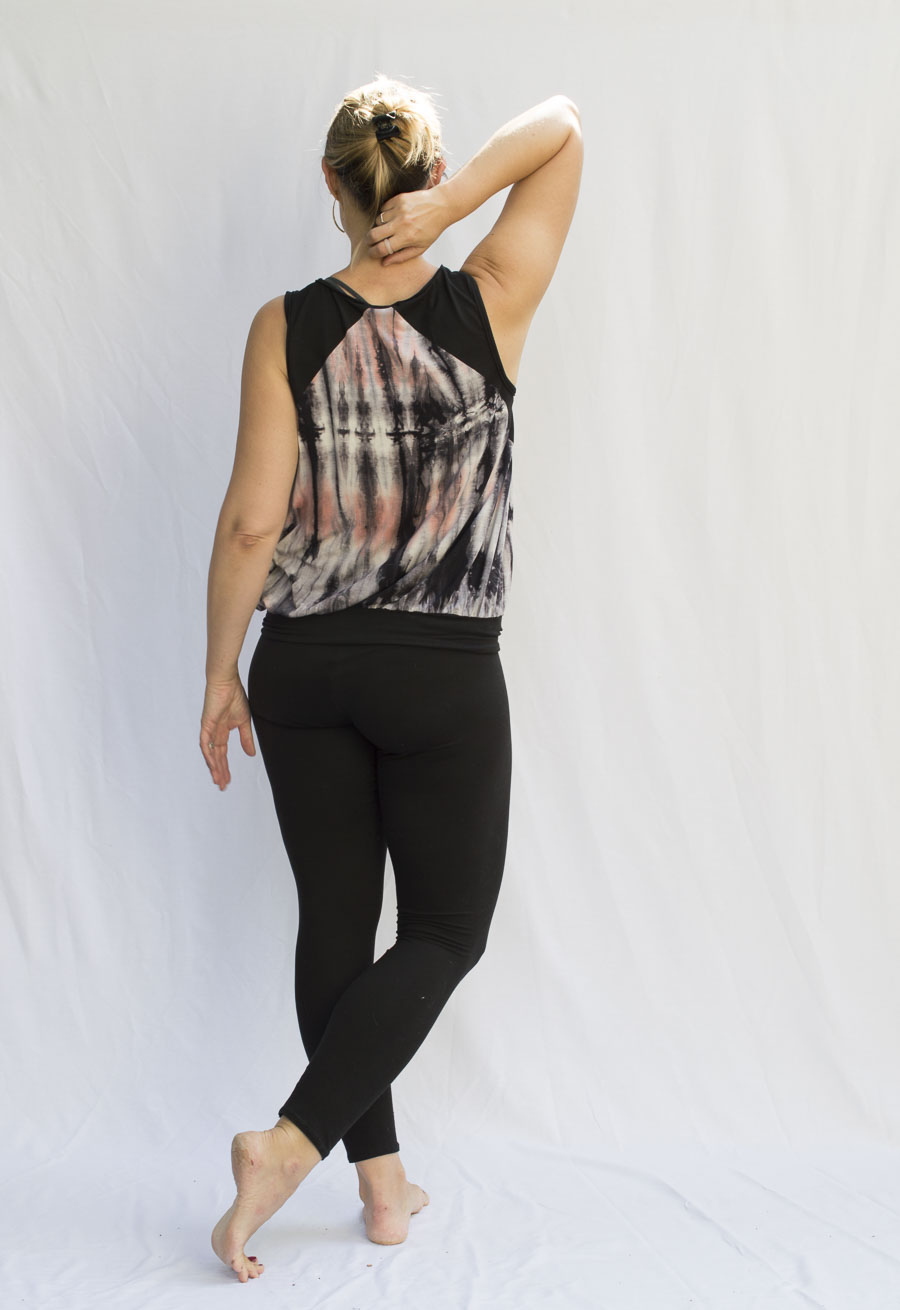
What I love about this pattern hack is that it’s so simple. I’m pretty sure you can already guess exactly what I did (spoiler: I added a band to the bottom). I know. It’s not sorcery. Or is it? Seriously, this simple bottom band on the Santa Fe transforms this top into my absolutely PERFECT workout top.
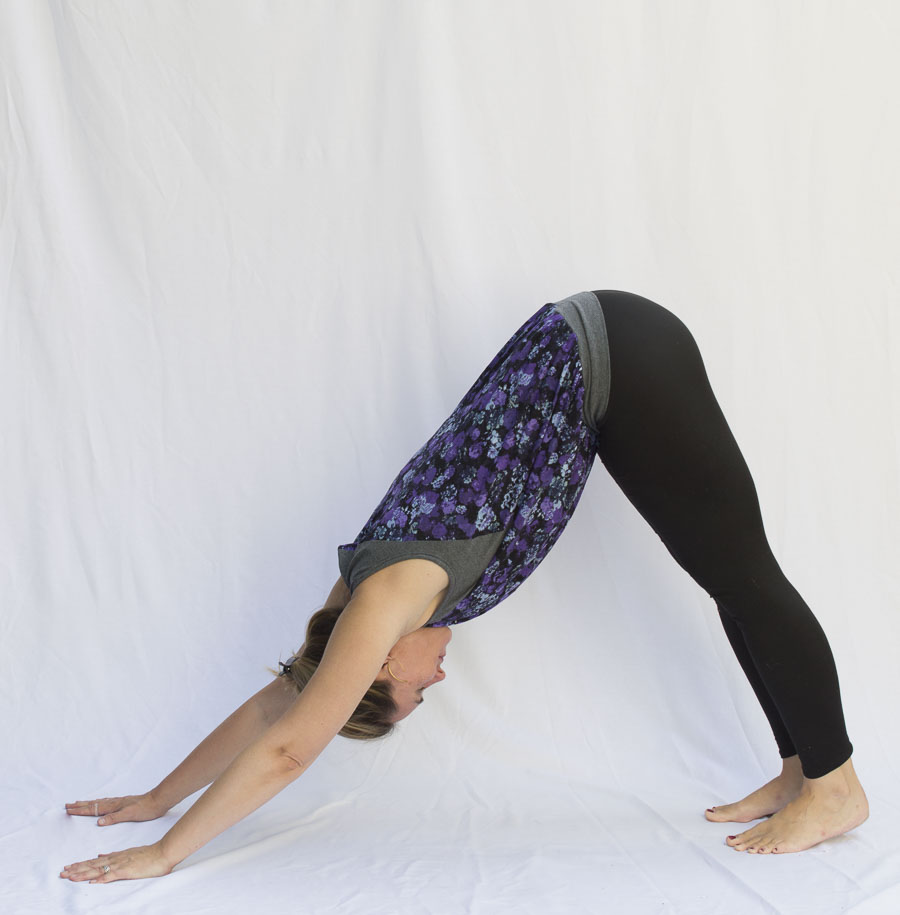
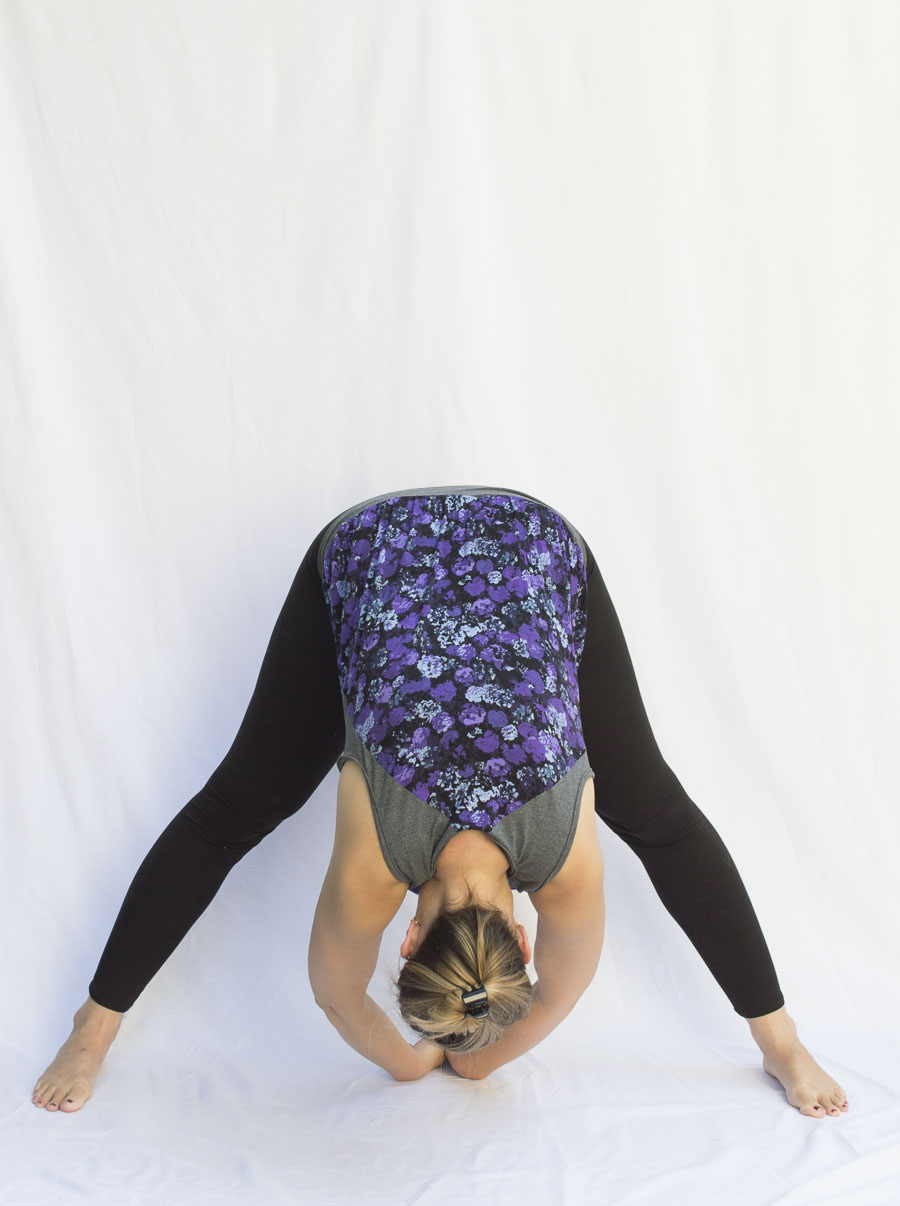
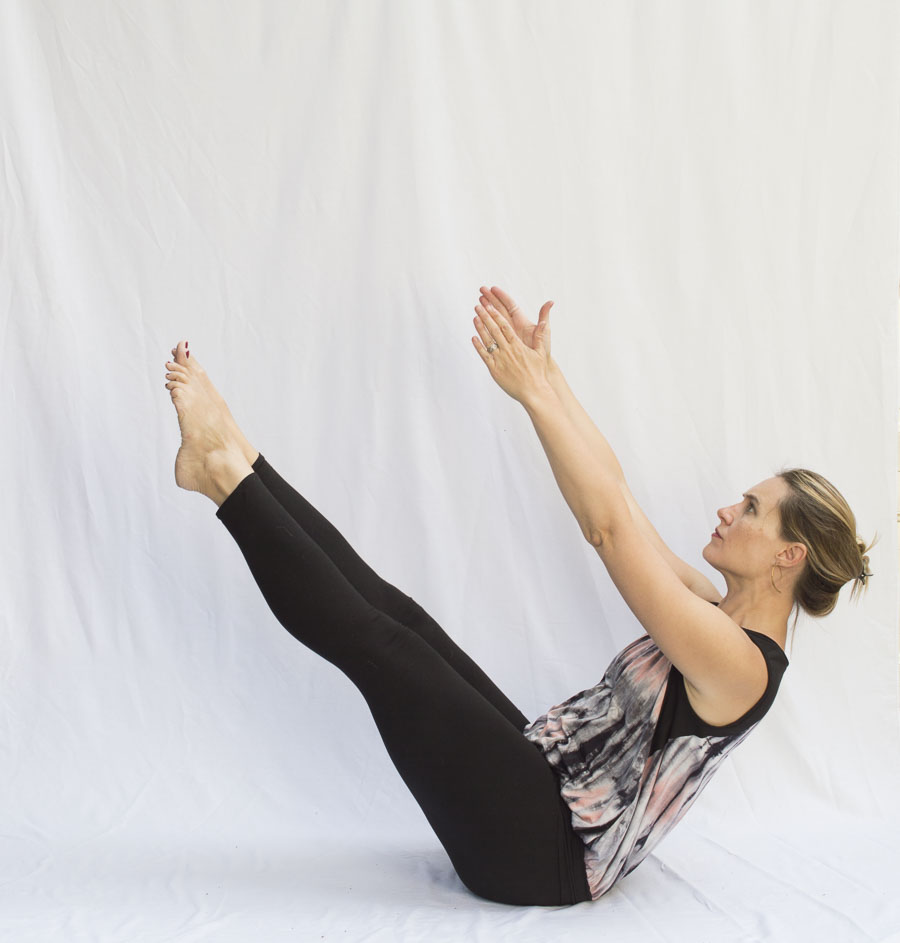
I have been a dedicated Pilates person for the last few years after discovering a degenerative joint disorder in my lower back that meant I could no longer run or do anything that caused any impact. Pilates is vital for me to build core strength to protect my back and basically keep me mobile. My problem was that I went from being a runner who wore scuzzy old t-shirts to needing clothes that could move all over the place and be presentable in public. That is why these tops are my new workout companion and favorite a-ha moment. I can move wherever I need to without exposing my stomach or even feeling the ‘creep up’ of a standard workout shirt. Plus, the blousy-ness of the top means I don’t have to be thinking, not even for a second, about what my tummy is doing. Essentially, they free me up to focus only on my body and my workout and not fuss with my clothes. See. It’s a bit of witchcraft after all.
So, let’s get into the super simple way that YOU TOO can have the perfect workout top.
+ First, grab your Santa Fe pattern. FYI, I made the version E but this technique should work for any of the versions.
+ To start, we need to alter the pattern a wee bit before you cut your fabric. On page 3, when the pattern is discussing lengthening alterations, it shows a straight cut across the bottom hem. Go ahead and cut your paper pattern so that it has a straight bottom hem like that illustration.
+ Cut out your pattern pieces and corresponding fabric. I, obviously, used contrasting fabric for the bands and armscye design. Be sure to use a fabric with at least 50% stretch.
+ Sew up your top just as the pattern calls for but don’t sew the hem.
+ To determine what to cut for the bottom band start by measuring around your low waist (a good way to find this is to measure one hand’s width BELOW your belly button straight across). Take that number and multiply it by .80. This is 80% of your low waist and that will ensure a snug fit that won’t budge. If you want it a little looser (and easier to sew) multiple by .90. The resulting number is the LENGTH of your bottom band. Add one inch to this number.
+ Cut out one strip of fabric with the LENGTH + 1″ in the direction with the most stretch and a WIDTH of 7″. (In my case, this meant a strip of fabric sized 31″ by 7″ with the stretchiest part of the fabric measuring 31″.)
+ Sew together just the short ends so that you have a circular tube. Fold it over, wrong sides together, to align the two long edges with each other and the other long side forming a fold. This will be the bottom band.
+ Mark four notches notating equal quarters around the bottom band and the bottom hem of the shirt. For example, the very middle of the front and back of the shirt as well as the two side seams each mark one quarter of the hem.
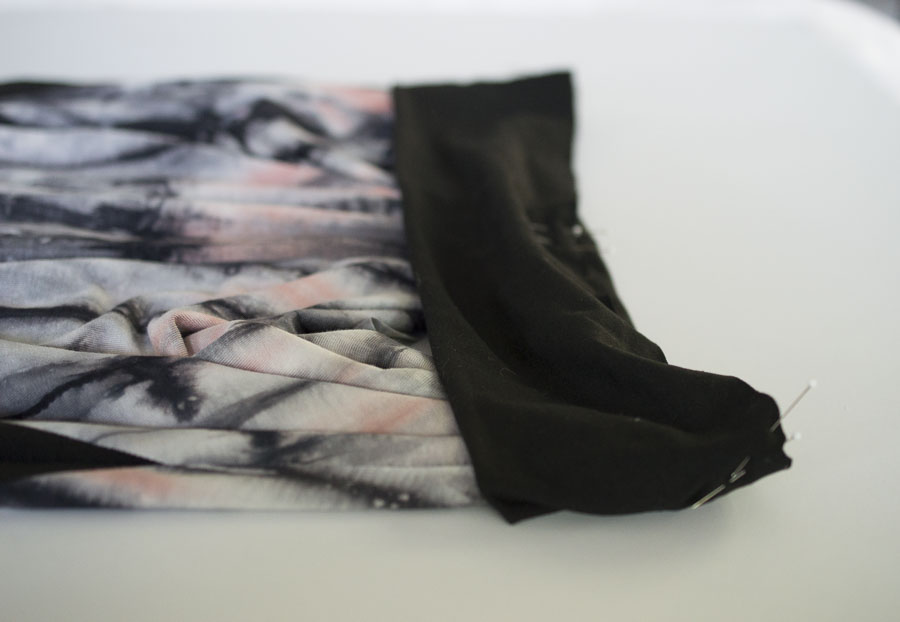
+ Pin each of those notches on the bottom band to their corresponding partner on the shirt hem making sure all three raw edges match. Right away you will notice that the bottom band is MUCH smaller than the shirt hem. It’s ok. We are going to make it ok.
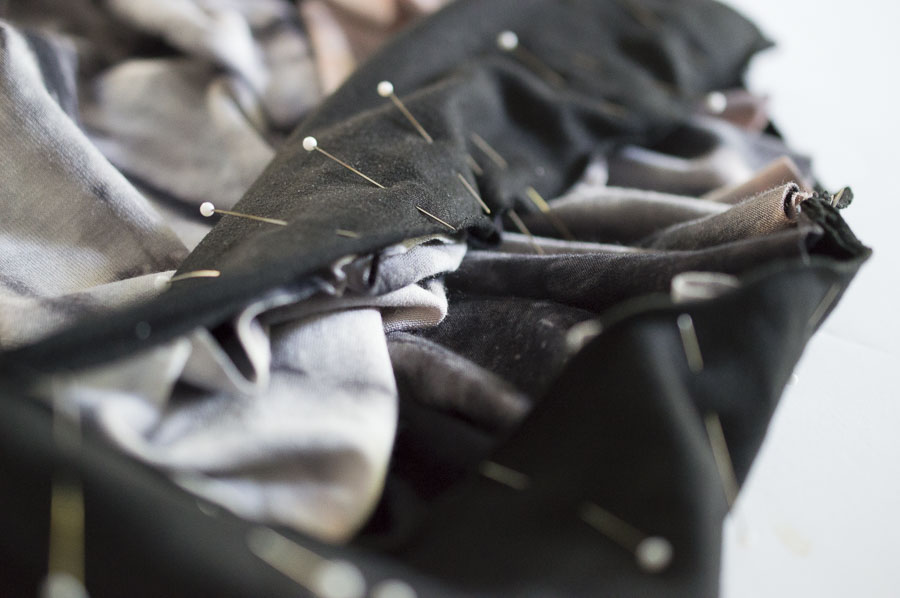
+ With the palm of one hand grab one of the pinned areas and with your other hand grab the pinned area nearby. STRETCH the area between these two pinned zones until the fabric aligns with each other. Using your thumb and forefinger, grab the stretched fabric and pin it. Once relaxed, the shirt hem fabric will probably droop a good bit. Don’t worry, that’s how it should be!
+ Move your hand over to what you just pinned and continue to STRETCH and pin until you reach your other hand. At this point, you will have pinned one quarter of the hem. Continue this same technique until you have pinned the whole thing.
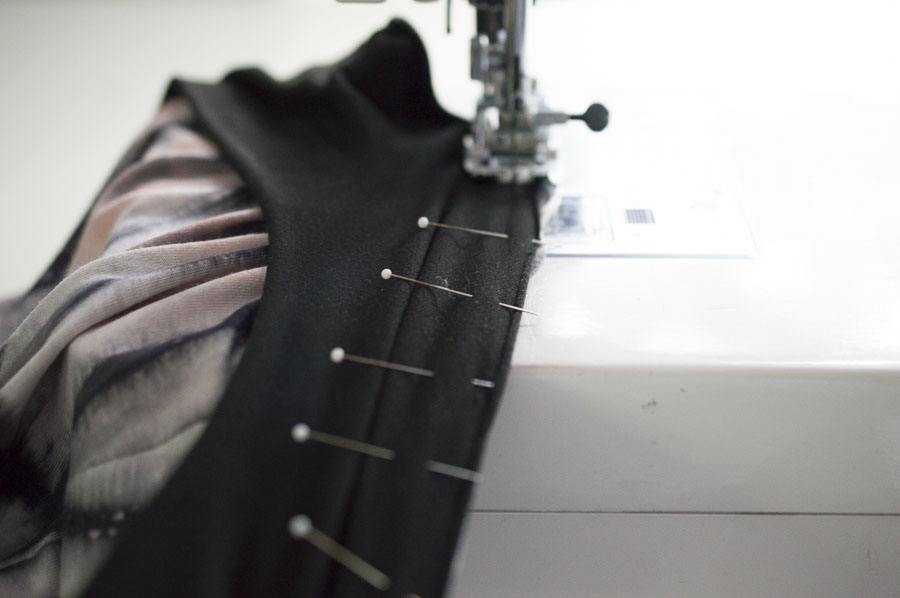
+ Set your sewing machine to a narrow zig zag or a lightning stitch and align the fabric at 3/8″ seam allowance. To sew the bottom band in place STRETCH the fabric while you sew. You will probably find that you need to stretch from both in front of the needle as well as behind. (My hands are not pictured in the image below but should be, in case that is confusing.) This isn’t the easiest sewing, you will need to be seriously stretching your fabric but the blousy-ness of the top is totally worth it. If you accidentally sew some puckers, don’t worry, you can’t tell them apart from all the gathers once the top is on your body.
+ Sew all the way around the bottom band in this manner STRETCHING as you go. Once it is sewn in place press it quickly with an iron.
Now, we can all chuckle at the fact that I’ve said the stretch with dramatic emphasis a million times because this top will let you seriously STRETCH your body and let loose without thinking about anything but your joyous movement. And do me a favor and stretch out a whole bunch. Take it easy on that beautiful body of yours and If it starts to hurt, don’t ignore it. Ok?
Thank you so much for that great tutorial as well as the good advice, Melissa! Be sure to follow Melissa on her website and instagram, where she consistently shares her amazing sewing projects and sells super cute DIY espadrille kits!

These are great! I need to sew one!