Sometimes I plan hacks for my patterns before they’re even released, but then wait 10 months to finally make them. This is one of those times.
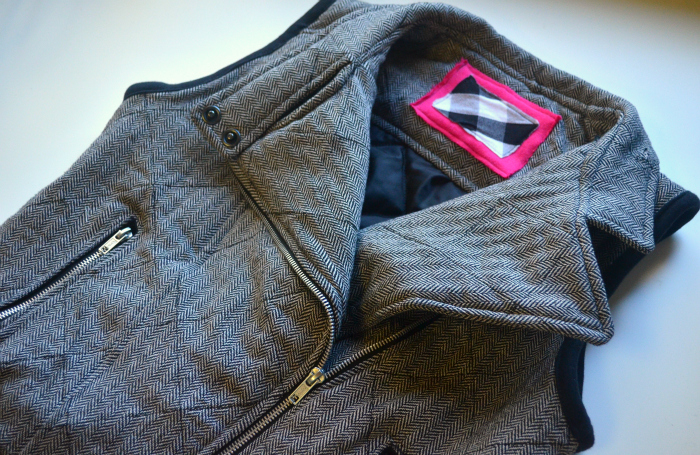
As I was designing the Evergreen Jacket, I knew that it needed a moto collar hack. I thought I would do it right away, but then it was March and nobody ever wanted to see a jacket again, so I put it off and focused on spring. But earlier this fall I saw this awesome pre-quilted fabric at Hobby Lobby of all places and knew it was going to be the perfect moto collar Evergreen. And something about the fabric screamed “vest” to me, so I had to add that hack too!
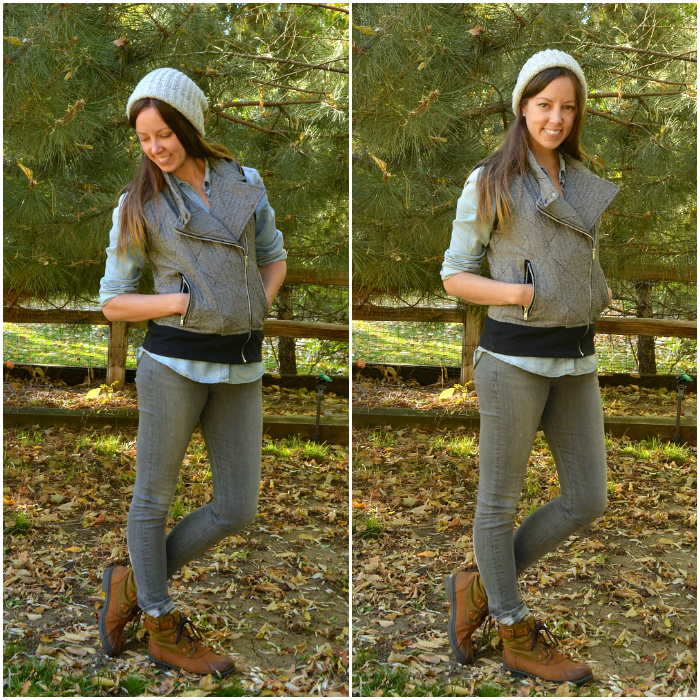
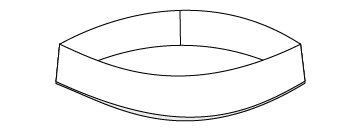
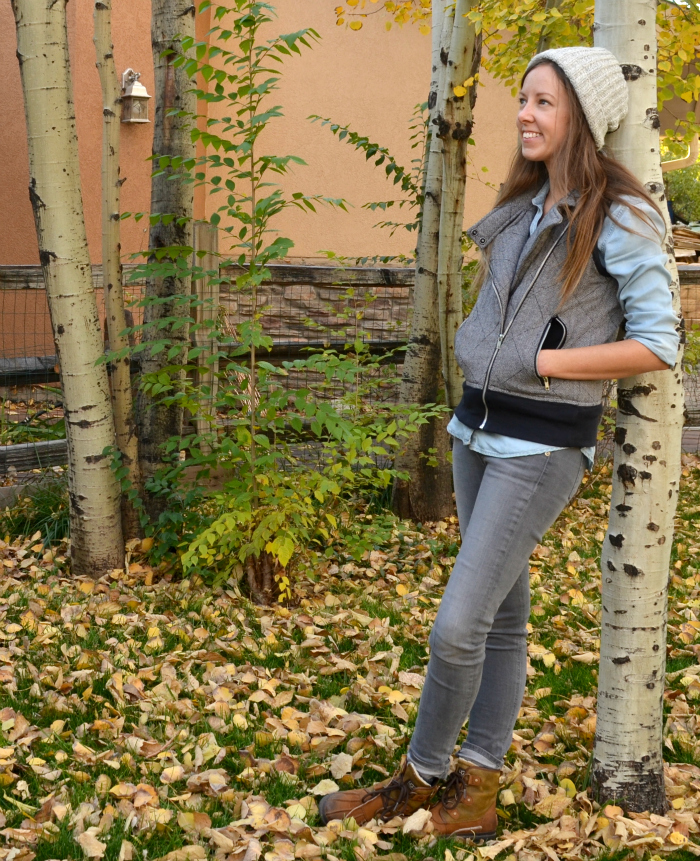
So, here it is: The Moto Collar Evergreen Vest! I’m so freaking excited about this garment – it’s probably in my top five favorites of all time. It’s not mistake-free, but it’s functional and cute and warm and I love it. I’m including a free add-on pattern for the moto collar so you can make one too! Here’s what you need:
- The Evergreen Jacket pattern and all the normal requirements
- The FREE Moto Collar Add-on pattern
- two heavy duty snaps and a snap setter tool, or two buttons
The Moto Collar Add-on pattern includes a very simple set of instructions to guide you through the process, but please feel free to ask questions or share progress over in my Hey June Facebook group! We’ve got a great group of sewists over there ready to help or just admire your pretty projects.
If you’d like to turn your Evergreen Jacket into a vest like mine, it couldn’t be easier. Here’s what you do:
- Leave off the sleeve pieces and the wristbands
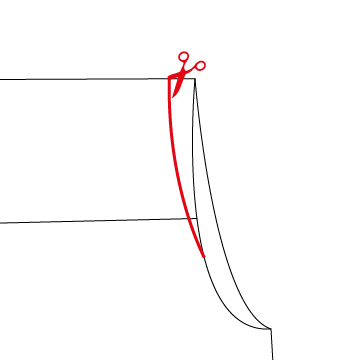
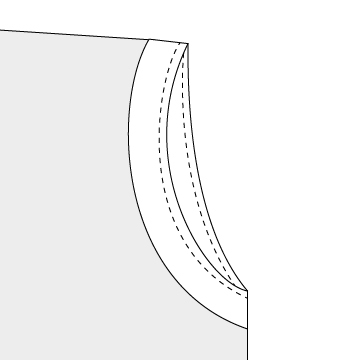
- Trim about 1/2″ off the width of the shoulder seam at the arm after sewing the front and back together. Angle your trimmed area to taper off at the sides of the arm holes.
- Measure around the new arm hole.
- Multiply that number by .9
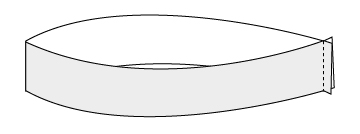
- Cut a strip of knit fabric to that length by 2 inches wide, with the stretch running with the length (exactly like you would cut a neckband). This will be your arm binding.
- Sew the short ends of the binding strip right sides together to form a loop.
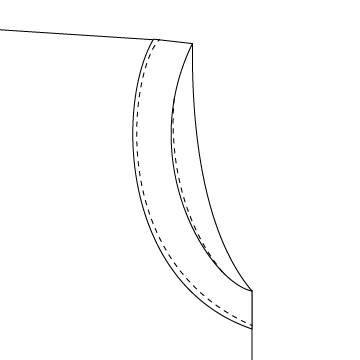
- Fold the binding loop down on itself, wrong sides together. Now it is half the former height and only has right sides facing out.
- Sew the two raw edges of the binding to the raw edge of the arm on the wrong side of the garment, aligning the binding seam with the underarm seam and stretching the binding to fit. Use a 1/4″ seam allowance.
9. Flip the arm binding to the right side of the garment and top stitch the fold around the armband to enclose the seam allowances from step 8.
That’s it! Sit back and enjoy your brand new vest!
I hope you love your Moto Collar Evergreen Vest as much as I love mine. I can totally see myself wearing this as my main outerwear here in the temperate Denver winter. And besides adding warmth, the layer of batting in this pre-quilted fabric makes sewing outerwear so crazy easy. You’re sewing one layer of fabric but it’s already lined and filled with batting for you! It’s an added detail that takes a relatively easy pattern and makes it look like you slaved on it for days.
You can find pre-quilted fabric (including knits!) at Joanns and online. My favorite place to find unique fabrics is actually Etsy – just type in what you’re looking for and change the criteria to “supplies” instead of finished goods.





Love how you styled this vest. It’s all too cute. And that last photo is crazy stunning!
Aw, thanks so much Ashley! I have the ever shifting sun and no photographer to thank for that! It was a happy accident 🙂
Great vest What a fun hack!
Thanks so much Meg!
Please add me to your email list to receive new posts and comments.