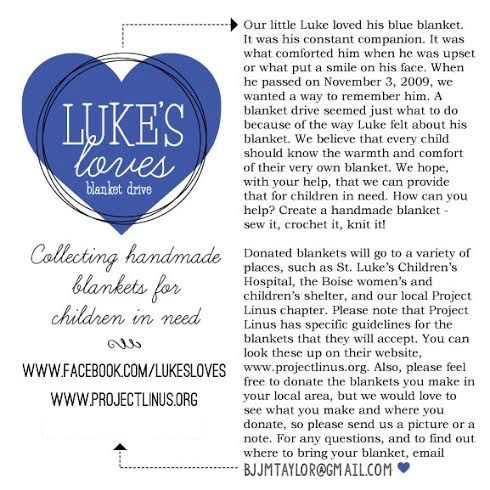
Kim from A Girl and A Glue Gun is hosting a wonderful event to support Project Linus this month. To honor their son Luke, her friend is collecting blankets for Luke’s Loves to donate to children’s charity organizations, including Project Linus. Last year they collected 200 blankets, and this year they’re trying to top it! Here’s a bit more information from Kim:
If you’re a sewist with a little bit of extra time or fabric, they’d love for you to get involved by donating to their cause, or locally. Blankets can be really easy, even for a beginner sewist. Really all you need to do is finish the edges of a length of fabric, which is basically what I’ve done here.
To make a rustic quilted blanket like mine, you’ll need a couple yards of fabric and a roll of bias trim. The thicker and softer your fabric is, the most cozy and blankety your blanket will be. I got this super thick, soft, pre-quilted knit at Fabric Bonita on Etsy. They have a fantastic selection of high quality quilted knits in a bunch of colors and some crazy adorable prints too. But if you don’t have time to wait for shipping from South Korea, Joanns also has some great pre-quilted knits this season. And you don’t have to use knit – a thicker flannel, velour, minky, or fleece would be perfect too.
I got this fantastic plaid bias trim at King Bees on Etsy. They have a ton of prints in this really nice wide bias. Bias is also ridiculously easy to make yourself from fabric yardage, so you can always find the perfect trim to match your fabric. Our living room is all reclaimed wood, leather, and rustic decor, so I thought this combo of color and print would make a perfect accent blanket for the room. I’m calling it lumberjack chic 🙂 (just to be clear in case you’re wondering, I didn’t make this blanket for project linus and then keep it for myself – I made it last winter and am using it to show you how easy blanket making can be – my donation will be much more kid-friendly in appearance!)
This blanket is ridiculously easy to make. You probably don’t even need any instructions, but here’s what I did:
- Fold your fabric in half if it has a wrong side or if you just want to make your blanket thicker. Fold wrong sides together.
- Press the bias in half, wrong sides together.
- Pin the bias around the edges of the fabric, including the folded edge, and sew 1/4″ away from the raw edge, mitering your corners as you go.
That’s it! The “rustic” element in this blanket is the raw edge on the bias and visible stitching. Woven fabric cut on the bias won’t fray, but it will curl up a little bit and get kind of scraggly, as you can see in the pictures. That’s the look that I wanted for my blanket, but you can also bind your blanket in the traditional way for a nice clean finish.
I hope you’ll consider throwing together a couple simple blankets like this one for a child in need. It only takes a couple minutes of your time, but as those of you who are parents will know, a blanket can make all the difference to a child.
Be sure to read Kim’s post for more information on getting involved and to link up any blankets you make!


