Coverstitch machines are becoming more and more prevalent amongst home sewists and it’s not hard to see why. They’re more affordable than ever, they make handmade knitwear a breeze to sew, and it’s the only way to truly emulate RTW with stable and stretchy hems. I definitely recommend reading through your coverstitch’s handbook and doing lots of test runs with scrap fabric, but I thought I’d throw together a quick tutorial to show you how I use my machine (but these same principles can be used with a double needle or zig zag stitch too!)
I have the Brother 2340CV and I’ve been using it for over 4 years now with no issues. It’s not a fancy machine, but it does one job really well. It comes with a few extra feet and there are several other feet and attachments you can buy, but I’ll be honest – I’ve only ever used it to hem or top stitch a neck binding. It may seem like a big investment for a machine that basically only does one thing, but if you sew with knits you’ll know that it’s one really really important thing. You’ll have to weigh your decision to buy one with the expense and how often you’ll use it, but I’ve never regretted it for a second. I never had great success with double needles or any sewing machine hacks for stretch hems, and using a coverstitch to hem means your knit garments are finished quickly – the way they should be! I love sewing knit garments because they’re so easy, so quick, and so wearable, and a lot of that is due to my coverstitch (and my serger, but that’s a post for another day!) So that’s my little sales pitch for you – I’m not being compensated by Brother, I just really like my machine 🙂 On to the tutorial!
Hemming will be the last thing you do on your knit garment, so you can sew up a bunch of garments and save hemming for last. When I’m on a sewing spree I’ll make little piles of unhemmed garments and then hem them all at once so I can avoid changing thread as much as possible. Although, you’ll find that threading a coverstitch machine is so much easier than threading a serger! And speaking of thread, I’ve had the best success using regular polyester thread on a cone in the two needles and wooly or bulky nylon in the looper. It yields a really nice smooth stitch on the wrong side of the garment and can even out any tension issues that may be happening when using all poly thread.
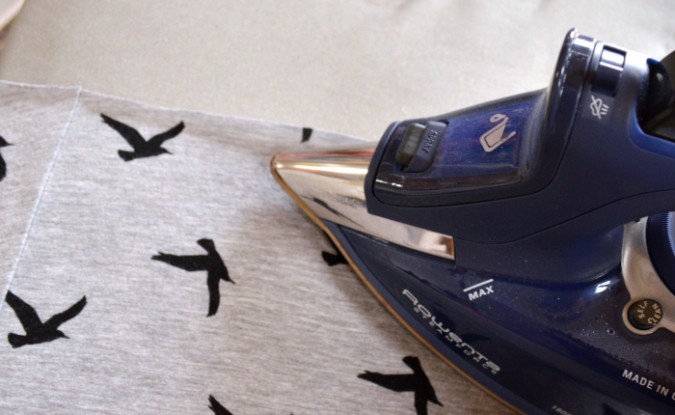
Because knits like jersey tend to curl toward the right side of the fabric, I like to first give my hems a good press and steam. Just remember that pressing and ironing are two very different things! Whether you’re sewing with knit or woven, make sure you’re actually pressing the garment and not moving it back and forth as you would when ironing. Ironing can distort and stretch out your fabric and that’s never a good thing.
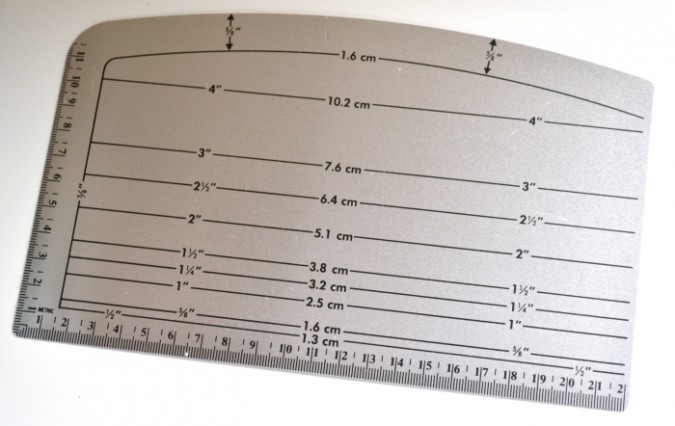
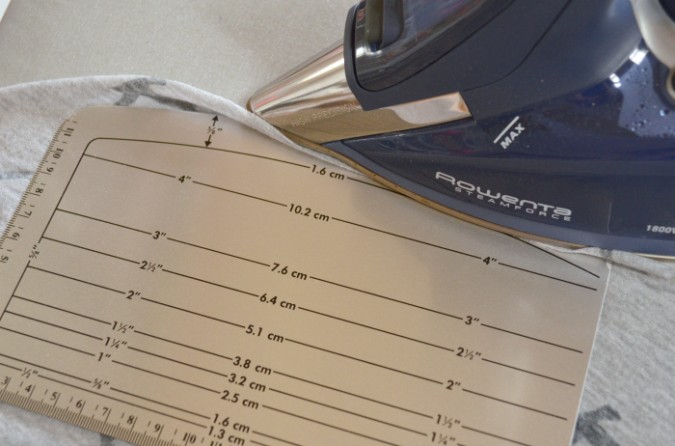
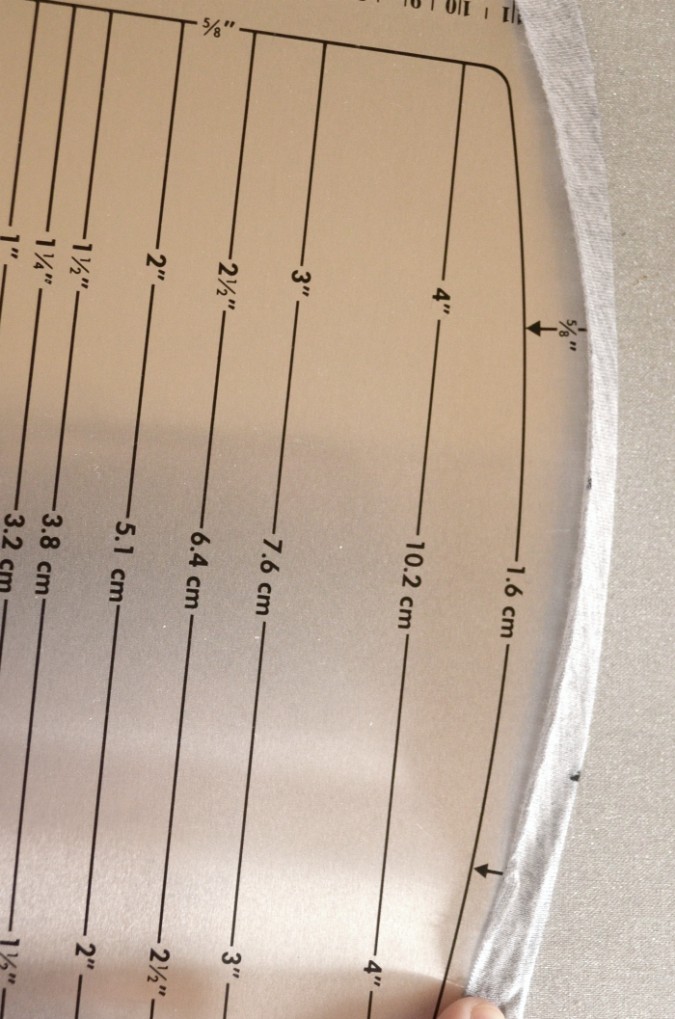
My favorite secret hemming tool is this metal hem press gauge from Dritz. I got mine at my local Joanns (save your coupon!) As you can see, it comes marked with measurements on all sides to help you turn up your hems the perfect amount. For knit garments with a shirt tail hem, like the Lane and Camden Raglans, I find the curved edge to be especially helpful.
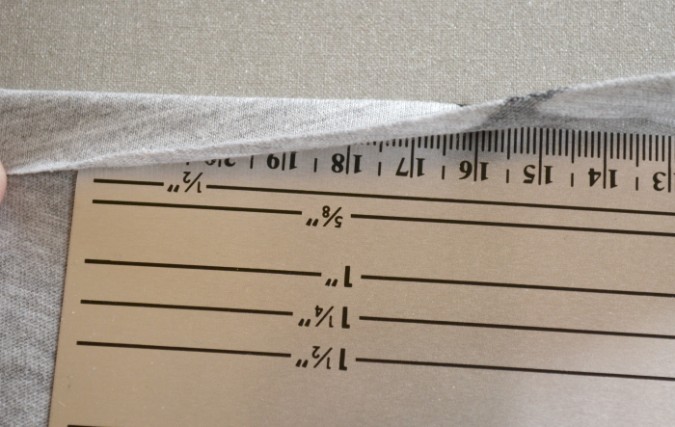
Fold the edge of the hem wrong sides together and slide the hem gauge in between the fabric.
Turn up the fabric until it reaches the appropriate measurement marking. The hems on my knit patterns are usually 1/2″. The gauge starts at 5/8″ on the curved edge, so I usually call that close enough or press my hem so it’s just shy of that marking. The metal of the gauge will help the hem hold its shape with the extra heat. Just be very careful if your knit has polyester in it so it doesn’t burn.
The curved edge of the gauge helps the curve of the hem press nice and flat without any rippling.
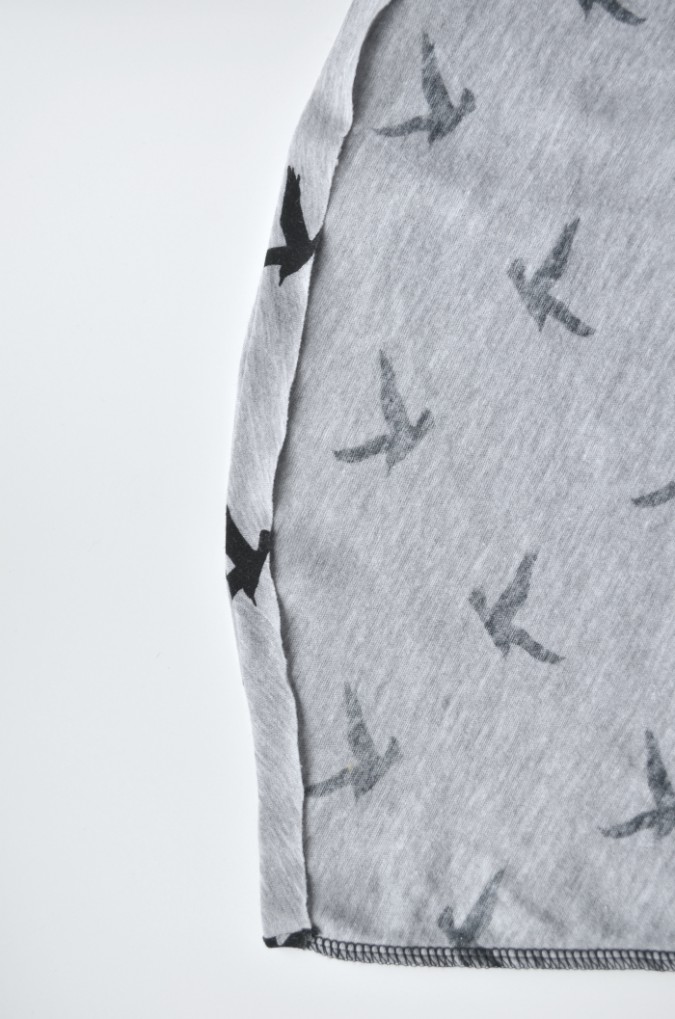
On a nice cotton knit like this one, the hem will hold its fold really well, making it easier to sew later. If necessary, use a few pins to hold the hem in place.
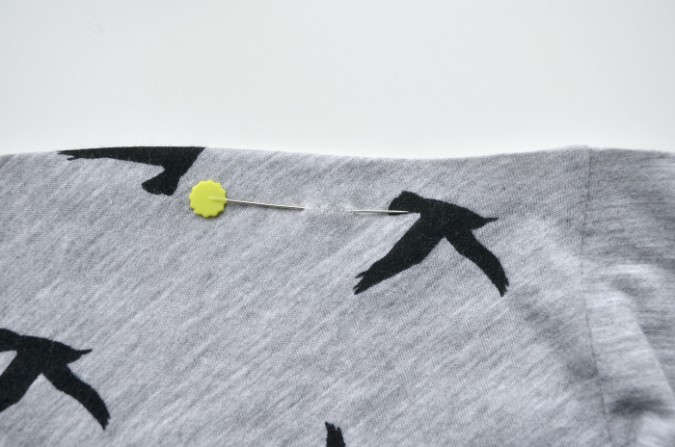
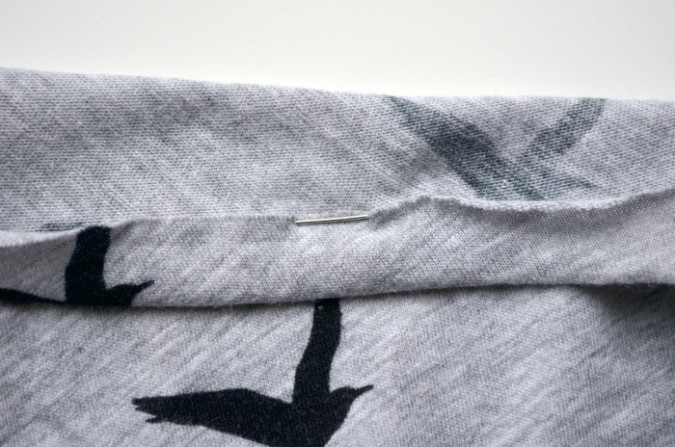
When you’re ready to sew, there are two options. I like to push a pin through the hem on the right side of the garment so it is aligned directly on the raw edge of the turned up hem (see the second picture). Another option is to use a water or air soluble marking pen or quilters pencil to draw a short line at that point. I also recommend starting your hemming close to the side seam on the back of the garment, where it will be the least conspicuous. If you start directly on the side seam, you may end up with uneven stitching because of the extra bulk from the seam.
As you can see, the pin is perfectly placed to indicate where the raw edge of the hem sits.
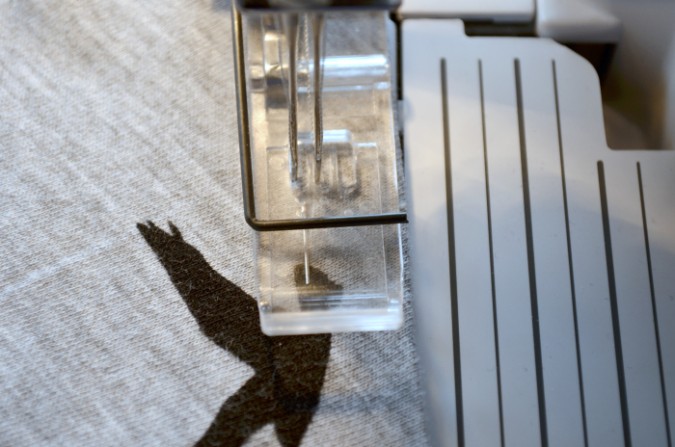
Move the hem under your coverstitch presser foot, with the garment right side up. You will always be topstitching with your coverstitch machine. Place the two needles so they straddle the pin or the line that you marked at the hem (one needle on either side). I like to sew with my needles in the closest position to one another, but you can also set them farther apart or use three needles. At this point, make a note of where the edge of the hem is sitting in relation to the seam allowance markings on your throat plate or machine. As you can see, on my machine a 1/2″ hem sits just about on the edge of the presser foot. To guarantee an even hem allowance, you can also mark it with a piece of electrical tape on your machine.
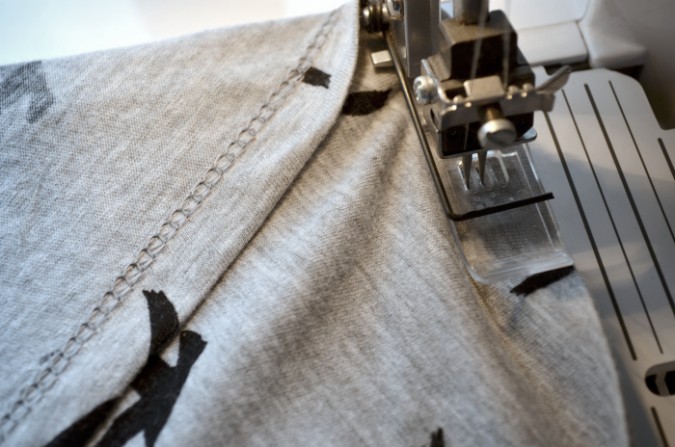
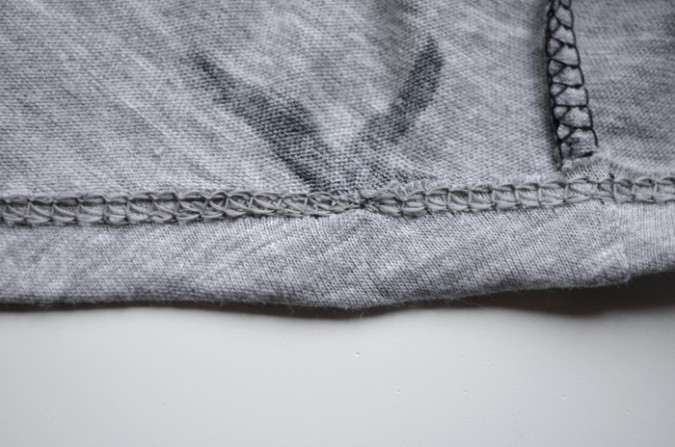
Begin sewing slowly and remove the pin. Maintain the hem allowance that you noted in the previous step (I’m just making sure the edge of the hem stays aligned with the inside edge of my presser foot here). After you’ve sewn a few inches, you can flip the hem over and see that your loopers are perfectly positioned to cover the raw edge of the hem! Continue all the way around your hem and you’ll have a perfectly even hem. If you’re nervous about not catching the hem on the wrong side, err on the side of having excess fabric above the hem seam, which can be trimmed off later. But a few practice hems will have you sewing perfectly covered hems every time!
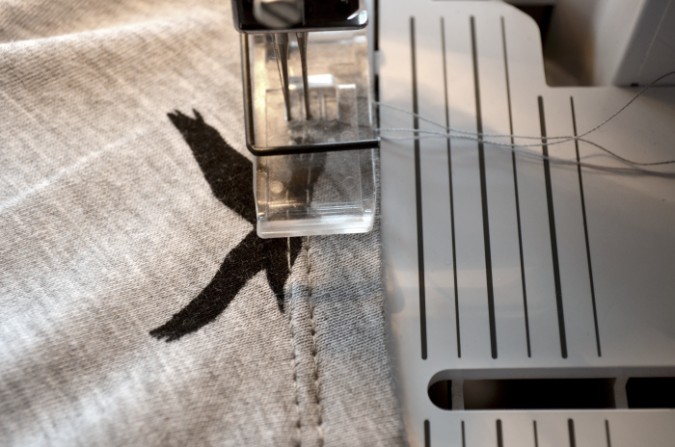
When you get back to where you started, continue sewing to overlap your first few stitches.
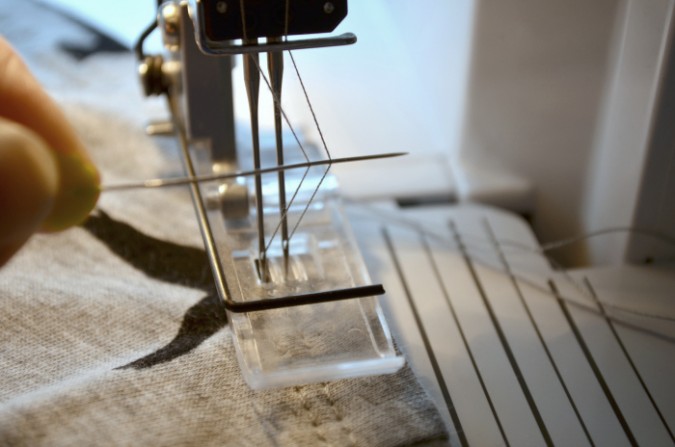
With the needles in their highest positions, raise your presser foot. You’ll need to release some of the tension from your thread before you can pull the garment out from under the coverstitch machine. I do that by using the blunt edge of my embroidery scissors or a long pin to pull the needle threads toward me just above the eye of the needle.
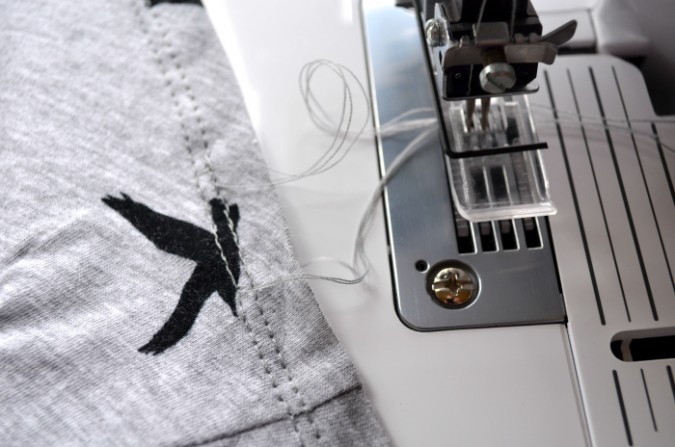
Once you have enough slack, you can pull the garment out from under the presser foot. If your garment won’t come out easily, also try turning the hand wheel to release the looper thread.
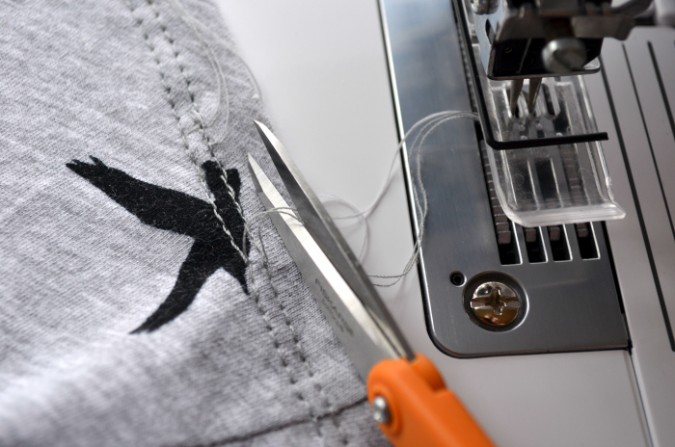
Cut the two needle threads but NOT the looper thread. This picture is a little misleading – I would recommend cutting closer to the needles to give yourself more thread dangling from the hem.
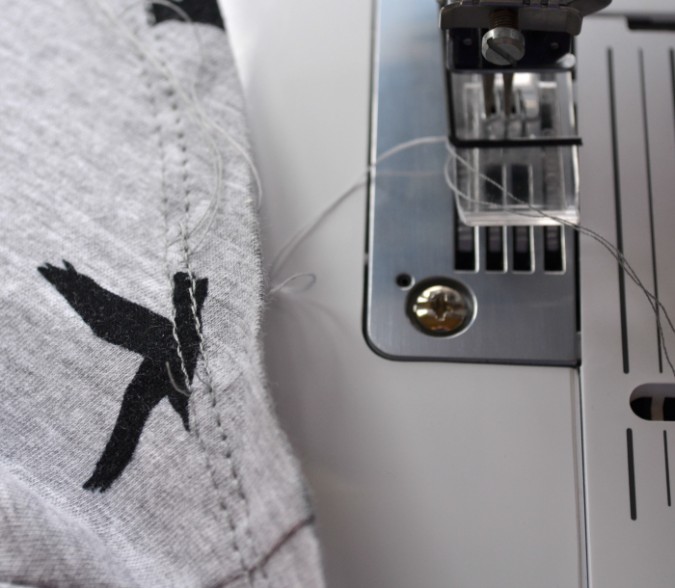
Now here’s the fun part – pull the garment away from the machine with the looper thread still uncut. The two needle threads will automatically be pulled to the wrong side of the garment!
Now cut the looper thread and tie it with the two needle threads on the wrong side of the garment to ensure your hem stitch stays nice and secure. If your original threads at the beginning of the seam aren’t caught in the overlapping seam, you can also tie them off at this point.
It’s really important to always give your final hems a thorough press and steam to help them regain their shape and encourage the fabric to recover in case it was stretched while sewn.
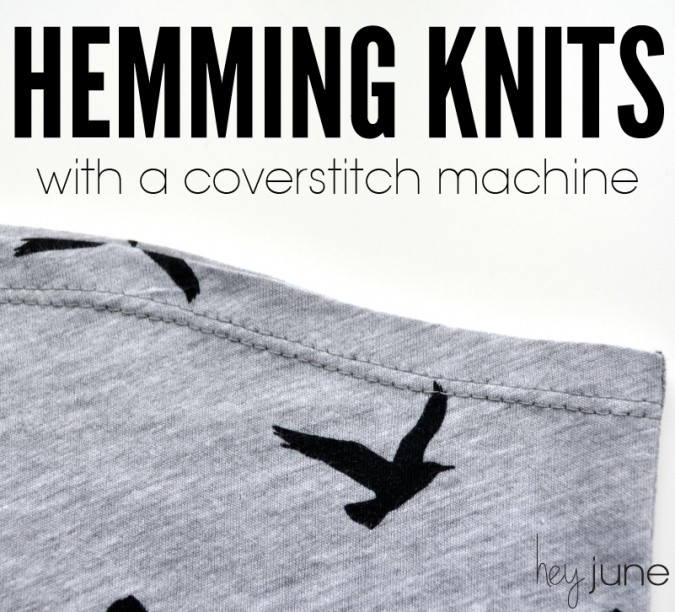
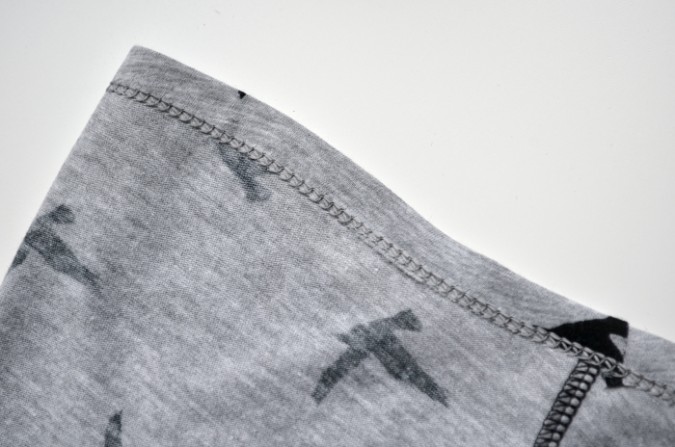
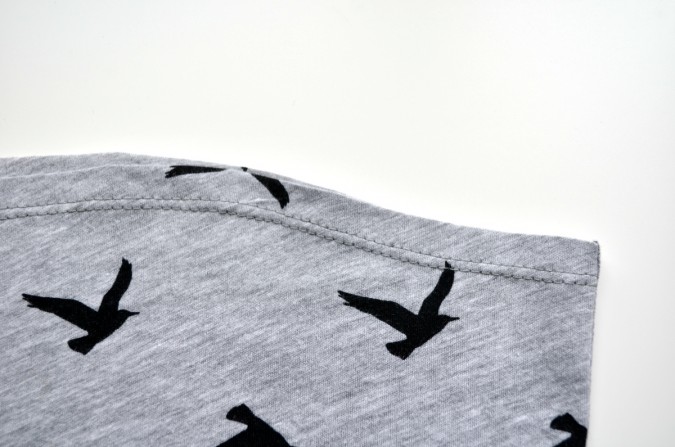
And there you have it! A perfectly covered hem on the inside of the garment and a beautiful line of parallel stitching on the right side. A new sewing level unlocked!
This tutorial was specifically for hemming with a coverstitch, but if you are using a double needle the process is basically the same. You can still straddle the raw edge of the hem and catch it in the zig zag stitch on the wrong side. You can also apply the same principle to hemming with a single needle and a zig zag or faux overlock stitch! If you are using a sewing machine to hem, I also strongly recommend using knit hem tape and adjusting your presser foot pressure or using a walking foot if you have one. These extra steps will help emulate the feed differential that comes with a coverstitch machine.
Now go forth and hem!

Hi, thanks for the useful information – just wondering if you recommend stretching the hem whilst sewing to maintain stretch?
No, actually you want to avoid stretching the hem as much as possible. The coverstitch will automatically provide stretch, as will a double needle or zig zag stitch on your sewing machine. If you stretch the hem while sewing it’ll end up really wavy and distorted.
What a timely post. While sneaking in some sewing before heading off to work, on a lane raglan of course, I was wishing for a cover stitch. Well, I was really wondering if a cover stitch would handle hemming a very light weight knit better than twin needles. I actually went so far as to loosen the tension in my bobbin, which I hate to do.
Oh! I need one of those curved plastic ruler thing-ys!
THANK YOU for this post! I have the same coverstitch machine as you and have never thought to mark the edge of the hem with a pin – that is simple genius. I’m glad to hear you like the machine; I have been second-guessing my decision to buy it instead of the similarly-priced Janome. I picked the Brother because I wanted the triple stitch option but I am finding the extra space on the Janome and the free arm would have been useful.
Do you sew your sleeve and narrow hems with the garment inside out? I find it easier to do it that way, so the presser foot is kind of “inside” the garment. Makes up for no free arm 🙂
I have the same coverstitch machine as you. I also use woolly nylon in the looper, but I find I have to put the looper tension to 0 for this to work, which doesn’t seem right. I was wondering what tensions your dials are set at?
I’ve actually had more luck by bumping up the tension on my looper. I have them at about 5/5/8 right now. Make sure the thread is set all the way into the dials too!
Hey! I recently purchased this cover stitch machine and I feel like I’m in hell. I work with knits and the particular ones I’m currently working with are incredibly lightweight. I’ve practiced on scraps and then when I finally think I have the tension right and move to my project, it’s all screwed up and I keep ruining fabric. I’m super frustrated so I was hoping maybe you could give me some pointers!
Thanks in advance!
Have you watched any of Glenda Sparling’s coverstitch videos on YouTube? I have found them to be very helpful. I have also heard that Glenda is very good about replying to questions.
HI, thank you for this posting, I just got the same machine and have been struggling a bit to dial it in. Do you have any suggestions when working with really thin knits?
Hi Caitlin. I do practice seams on scraps first if I think the fabric will be tricky so I can adjust the tension if necessary. If it’s tissue thin fabric, I recommend using hem tape to stabilize the area before folding up the hem and sewing it. That’ll help a lot!
Hi. I just wondering if you could tell me which settings to use when working with knits?
It really depends on the knit. I just saw from a previous comment that I suggested 5/5/8 earlier, so that’s probably a good bet for decently stable knit like this jersey with wooly nylon in the looper. I no longer have this coverstitch otherwise I’d be more specific. It’s always good to start with the recommended range from the user manual though and do some trial stitches and work from there.
Also, what would be the best way to fix the gaps after sewing? I’ve provided a picture. Thanks! 🙂 [IMG]http://i64.tinypic.com/2v16ww8.jpg[/IMG]
Hi, it won’t let me see the pic :/ But after sewing the only way is probably to sew again with either a smaller stitch length or tighter tension or both. There should be trouble shooting in your manual for this issue as well. And it can differ depending on the fabric.
How do you prevent “tunneling” when hemming?
Tunneling is usually a sign that the tension is a bit too tight, so I would loosen that up first. If you’re using a thinner knit, tunneling can happen despite machine settings so I recommend using fusible hem tape to add a bit of stability.
My looper is on 0
My needles are on 1/2
Almost no tunneling…. just a tiny bit ever so slight.
Thank you for your help !
Are you catching 2 layers of fabric with both needles or 1 layer with the left needle?
I just received this machine as a gift for my birthday! I’m currently working on seam ripping double needle hems and re doing them. I had a huge problem with tunneling with the double needle no matter what I did. So happy to have a chance at some prettier hems! Thanks for the awesome tips! Happy sewing!
Thank you so much for this! I just bought this same machine and I’m so excited to use it, but also intimidated! Everyone seems to recommend the same group on Facebook, and while it’s helpful, the main website associated with the group is confusing and I couldn’t quite grasp what they were saying. Your walk through helped a ton, and I can’t wait to go try again!
Do you have any video of that? I’d like to find out
some additional information.