So I have to tell you this story, and I’m sure if you’re a mom or wife or really just have a role in telling other people what to do you know this story well. This summer I negotiated chore and reading time in exchange for screen time with my kids. So the first day when I told them they needed to clean up, I kid you not, they reluctantly began picking up and started singing “It’s a Hard Knock Life” from Annie. I don’t know who started it, but soon all three (including the 3 yr old) were singing at the top of their lungs. It was so completely ridiculous given their well-cushioned life that my eyes rolled out of my head and out the door and down the steps.
So two days later when Kim from A Girl and a Glue Gun invited me to make something fun with Expressions Vinyl for Heat Transfer Week, the incident was still fresh on my mind and I steepled my fingers in sarcastic glee. When my girls saw the finished Hard Knock Bucket filled with cleaning supplies just for them, it was their turn to roll their eyes while I laughed at their over-dramatized hardships.
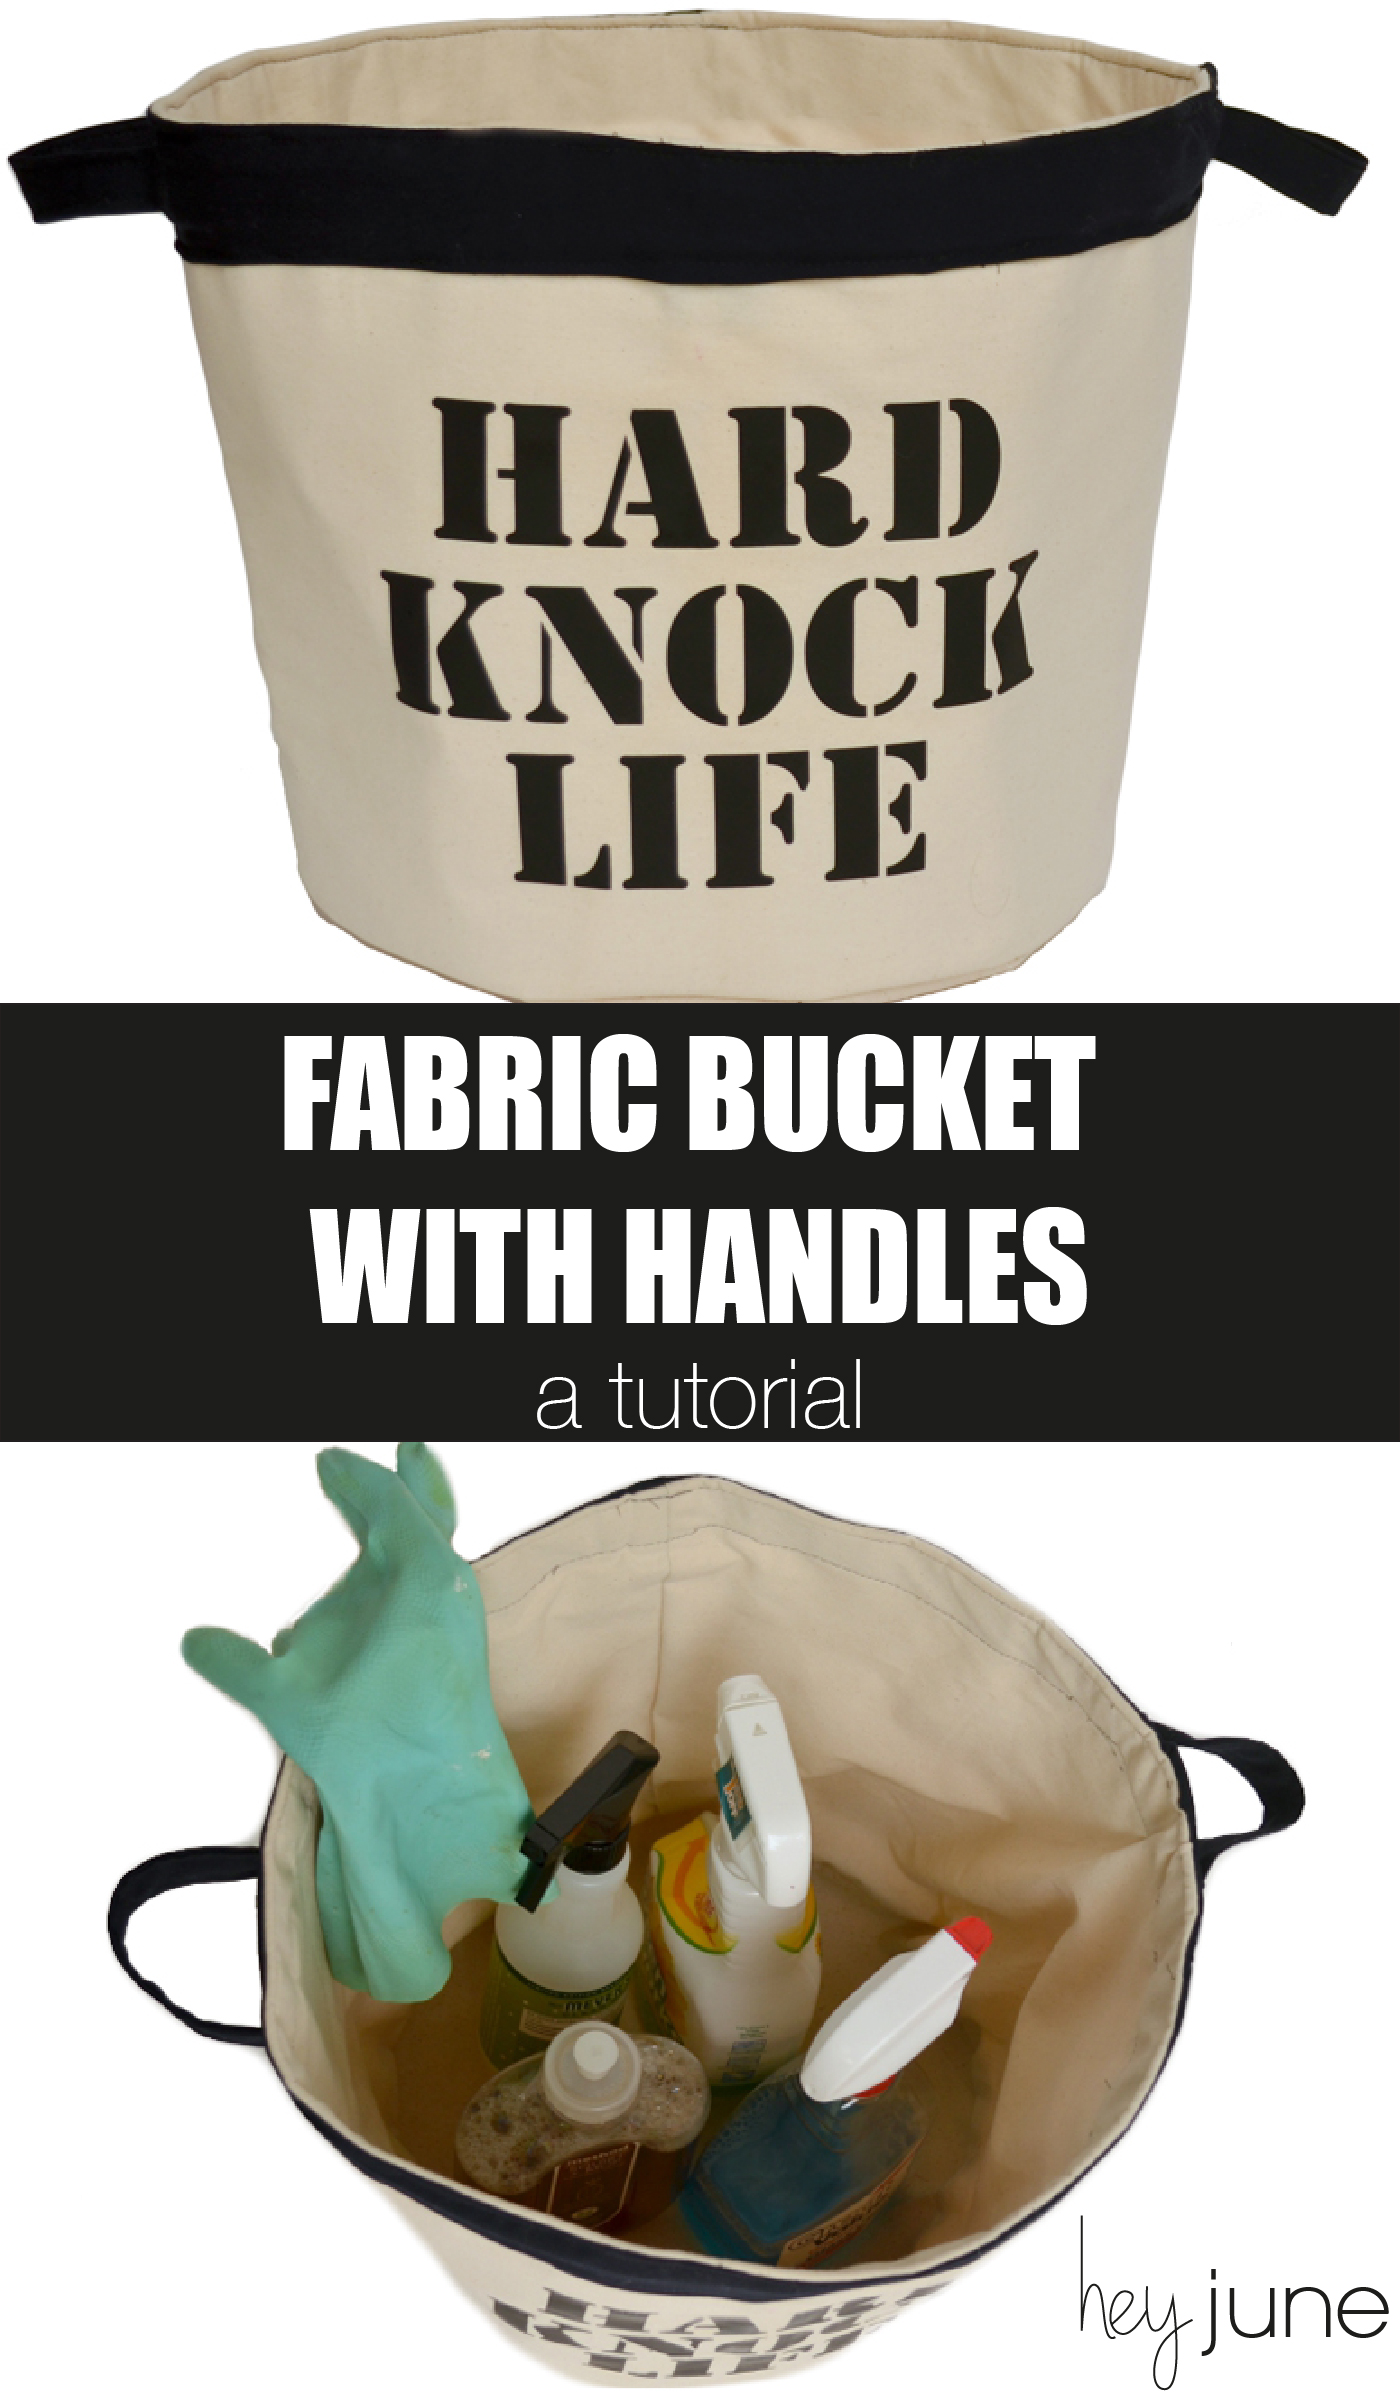
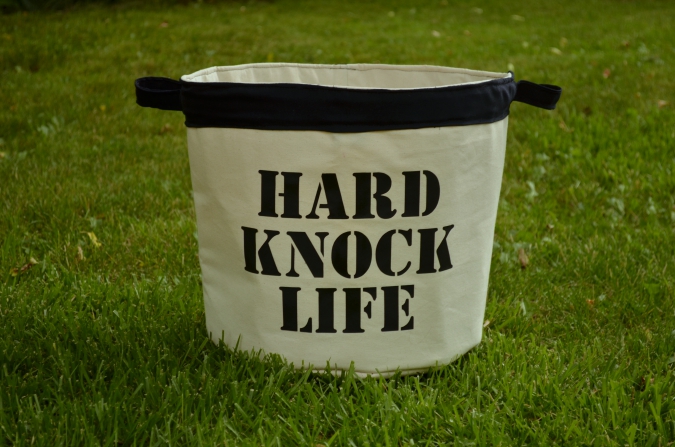
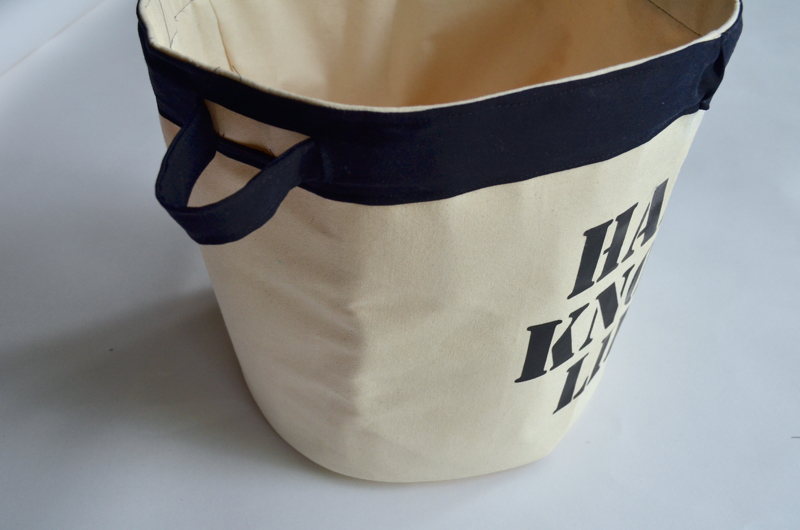
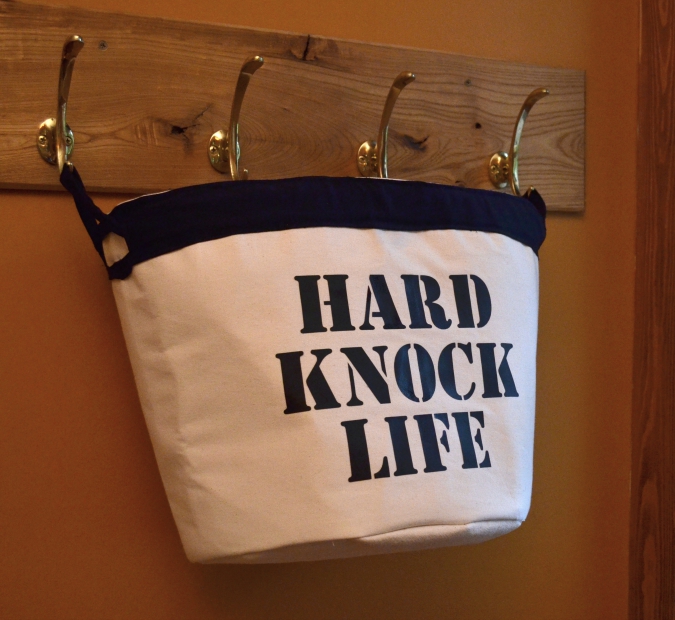
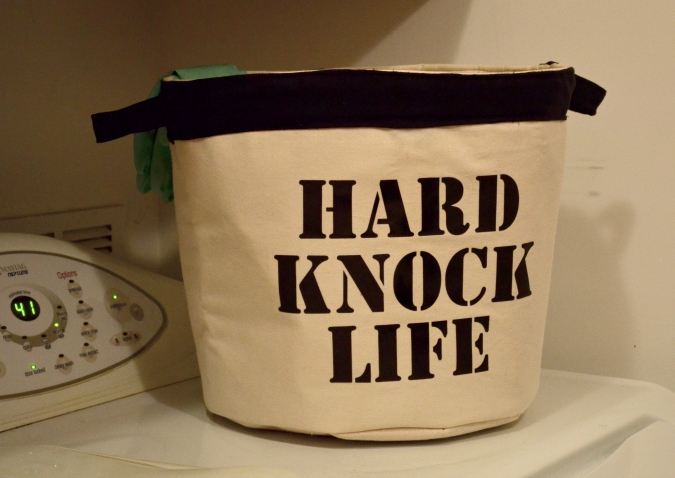
The Hard Knock Life Bucket is a handy circular fabric bucket with tapered walls and reinforced handles. It’s a heavy duty bucket that’s ready to hold anything you can imagine:
– cleaning supplies
– beach gear
– outdoor equipment
– shoes
– picnic supplies
– guest bathroom towels and toiletries
– laundry
– fabric scraps
At 12″ diameter and 12″ tall, it’s the perfect size for different uses all over your house!
I used simple matte black heat transfer material from Expressions Vinyl to make my letters, but they have every color under the sun and lots of fun textures too, including glitter!! If you want to try some of this versatile material, Expressions Vinyl is giving away a $100 gift card to their store to celebrate Heat Transfer Week! Fill out the raffle below for a chance to win!
Here are the directions for assembling your very own Hard Knock Bucket. If you don’t have the pattern yet, you can find it here. (and please ignore all the wonkiness on this bucket, as it was basically a muslin that ended up working out ok. This is why I’m a garment sewist, folks! Clothes are way easier than bags of any kind!)
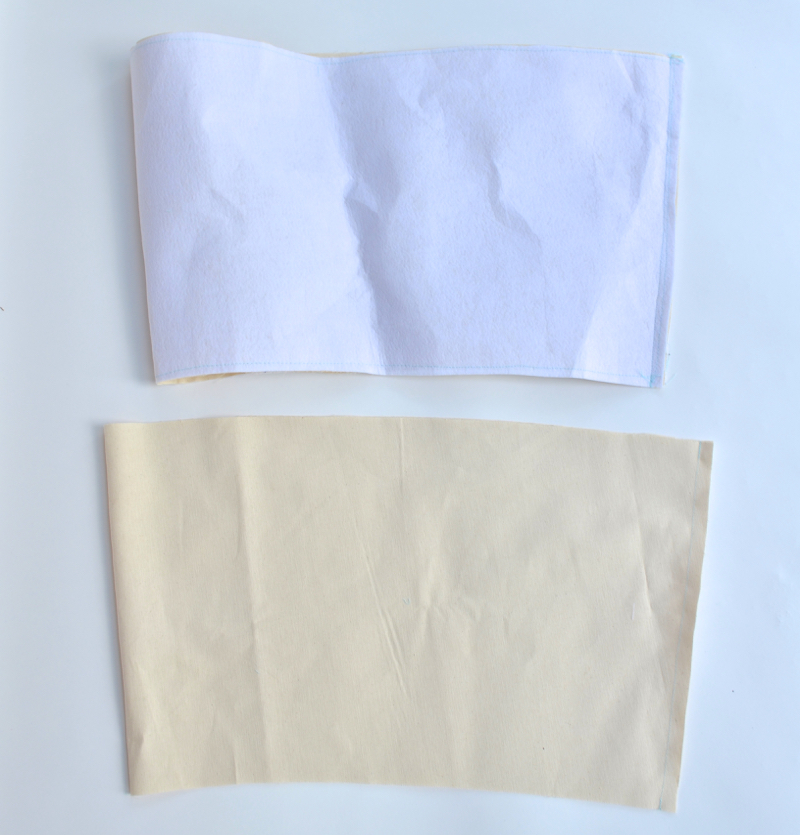
1. Cut out all your pieces. You will have a base from fabric, lining, and interfacing, a side from fabric, lining, and interfacing, and a trim, handle, and 2 handle opening facings which can be from your regular fabric or contrast fabric (shown in black here).
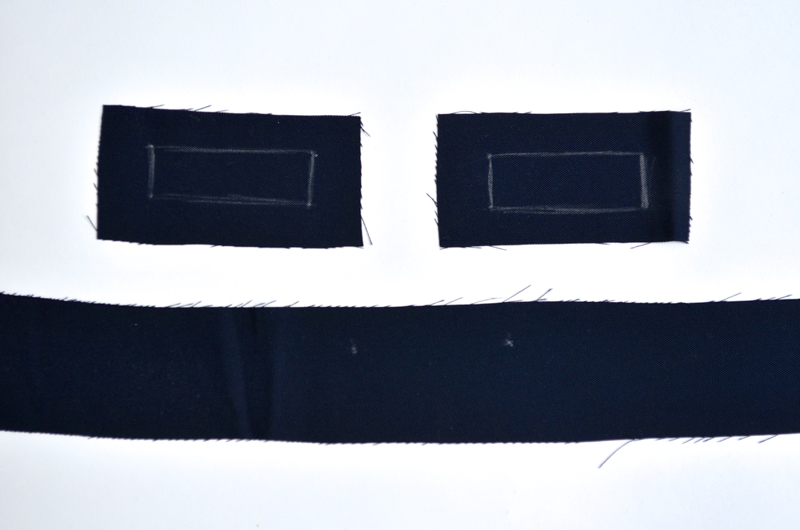
2. Transfer the stitch line markings onto the right side of the trim piece and the wrong sides of both of the handle opening facing pieces. (on the trim you can just mark dots in the corners to help align)
3. Baste the interfacing pieces to the main bucket pieces for the side and base (do not interface the lining). To baste them together, simply sew them wrong sides together using a longer stitch length and sew within the 1/2″ seam allowance.
4. Sew the side piece into a loop, wrong sides together, for the main piece and the lining. Use a 1/2″ seam allowance.
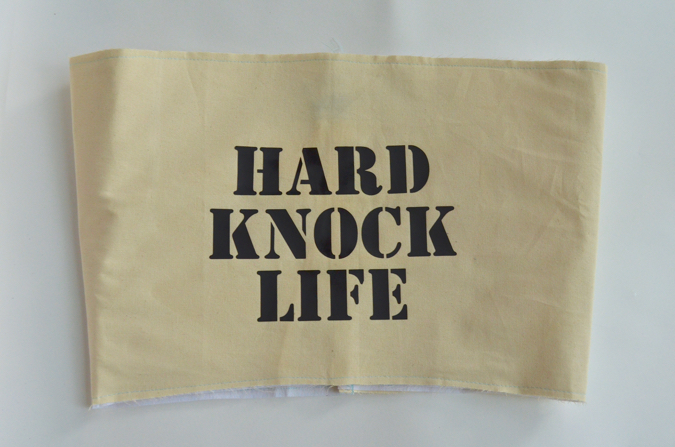
5. Now is the best time to apply iron-on heat transfer material from Expressions Vinyl, if desired. Center your design on the front of the bucket, opposite the seam. I found a 7×10″ design to work best for the finished bucket. Make sure your design will fall below the trim piece that will be sewn to the top of the bucket later. When cutting your heat transfer material, make sure you mirror any text so that it faces the right way when ironed on. If using a cutting machine, feed the Expressions Vinyl in shiny side down.
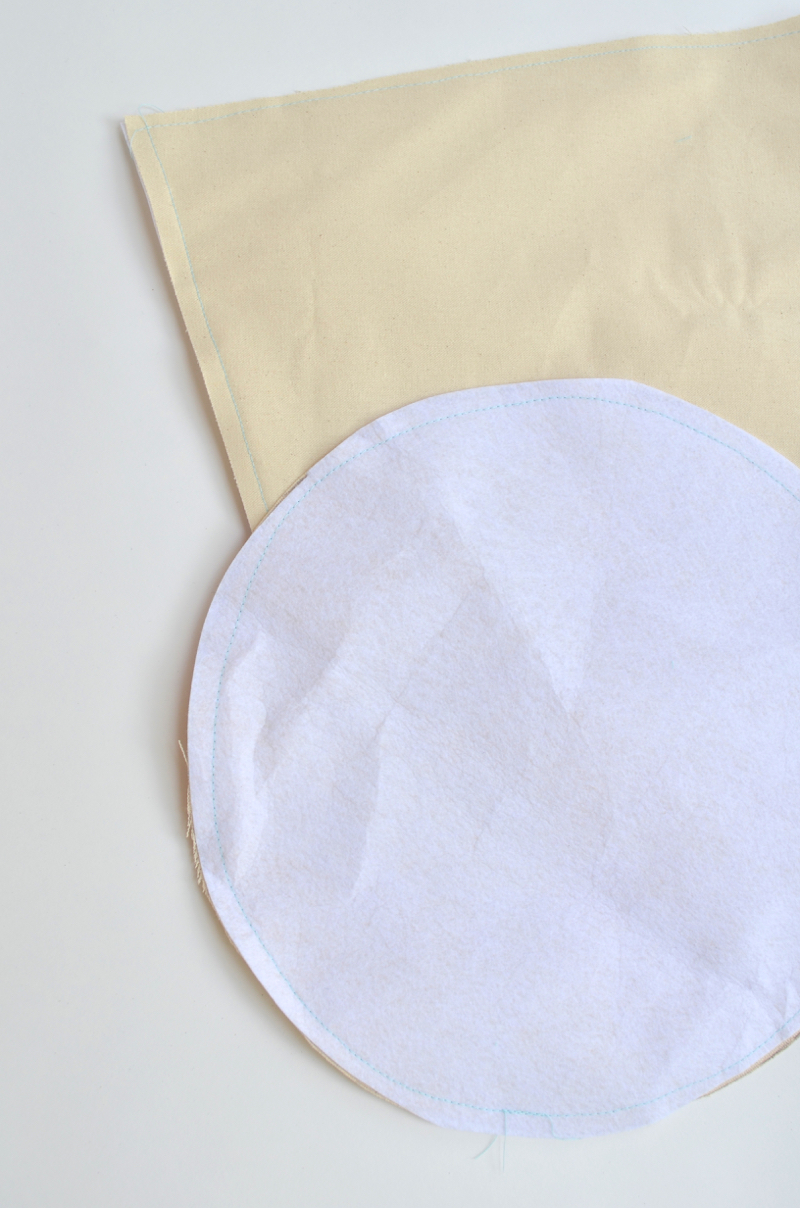
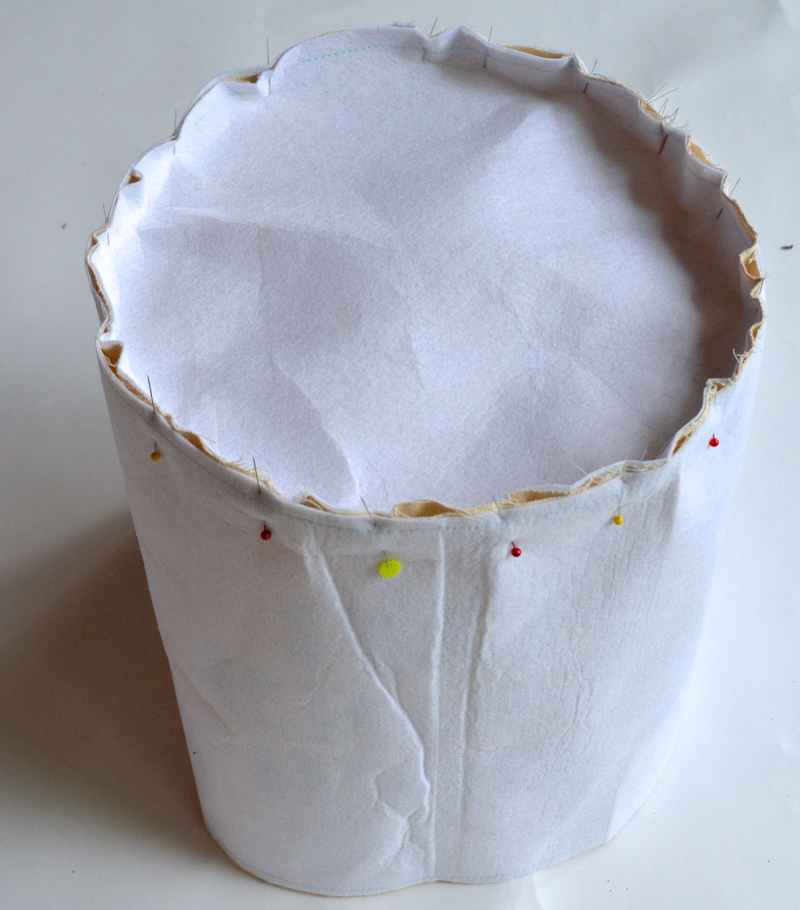
6. Pin the base to the sides all around the circle, right sides together. Repeat for the lining sides and base.
6. Carefully sew the base to the sides with a 1/2″ seam allowance, easing the base in as well as possible. Turn the main bucket right sides out and leave the lining wrong sides out.
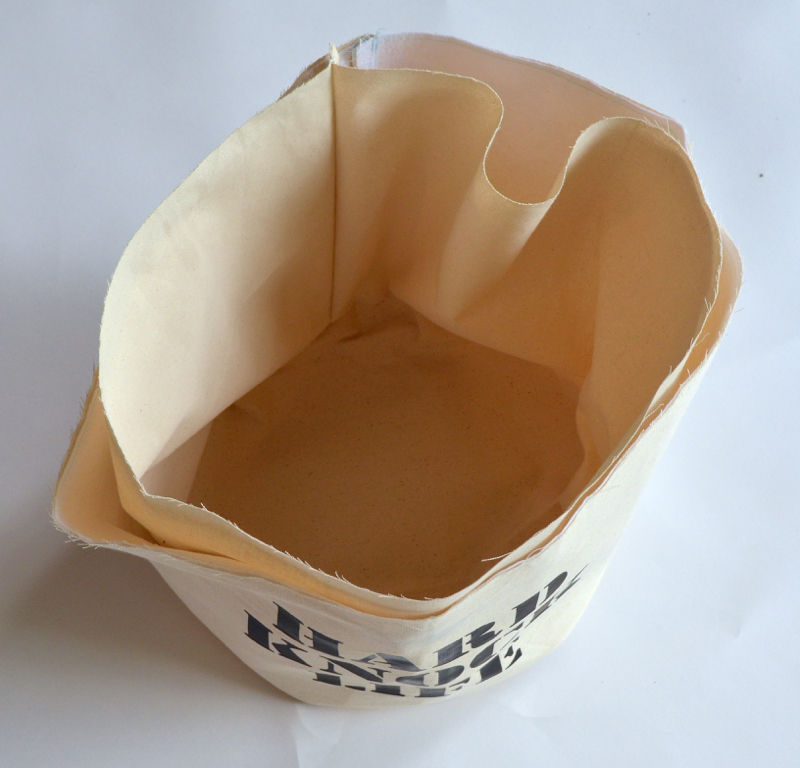
7. Slip the lining into the bucket so they are wrong sides together, aligning at the seam.
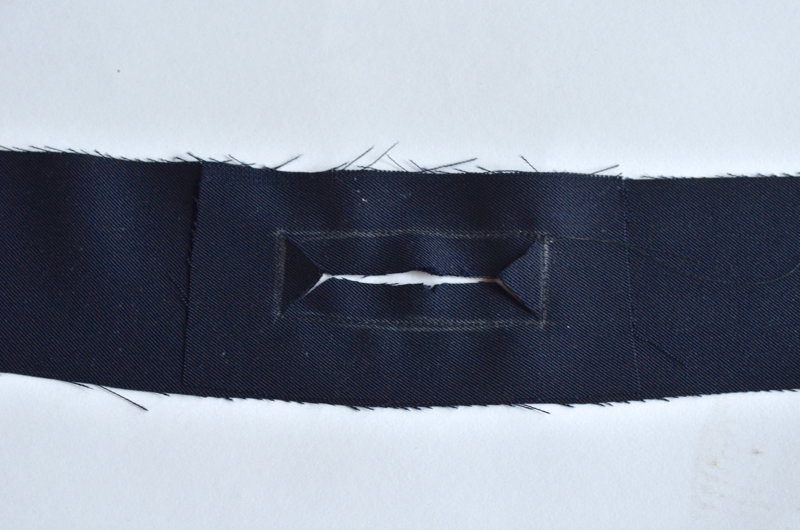
8. Lay the handle opening facing pieces on the trim, aligning the stitch lines and pin well. Starting at a long side of the rectangle, sew around the rectangle directly on the stitch line. Not pictured: Press the trim piece 1/2″ to the wrong side along the bottom (shorter) edge. You can let this unfold, right now you just want to create a crease line.
9. Cut a slit in the center of the rectangle, cutting into the corners on both sides. Cut up to, but not through the stitch lines.
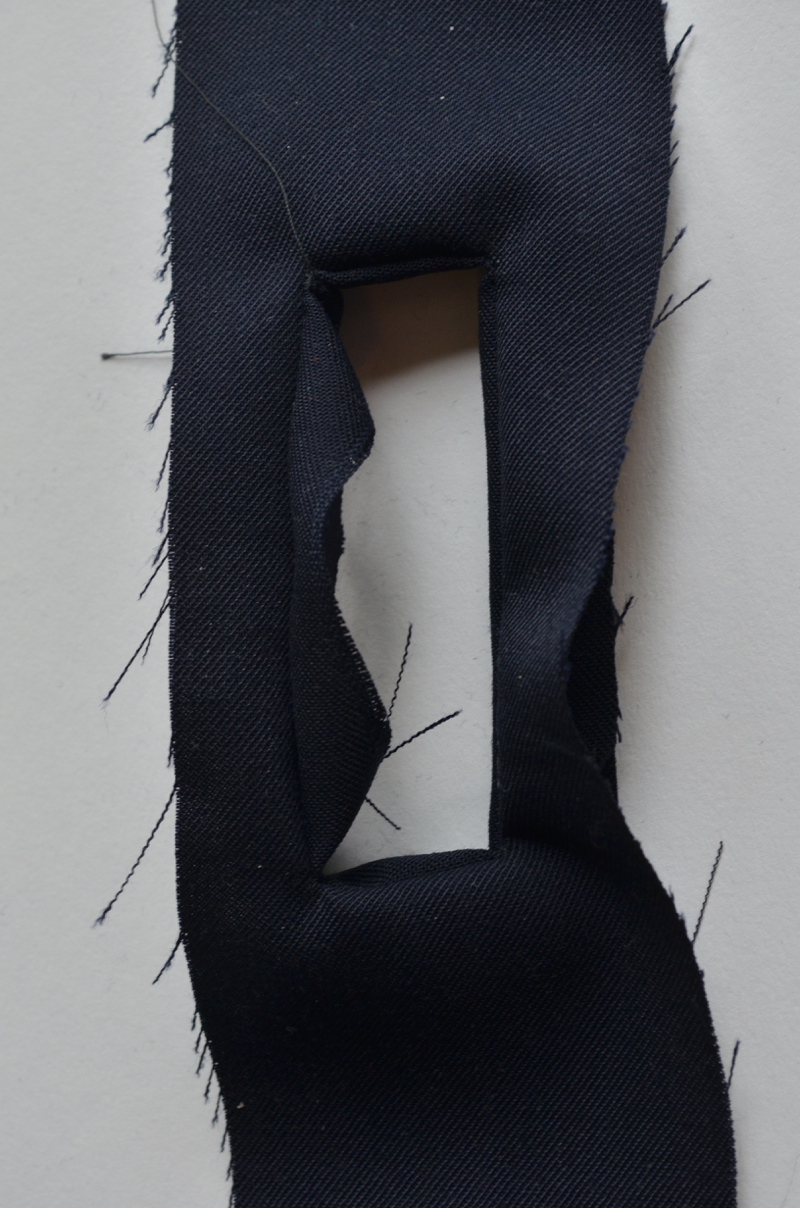
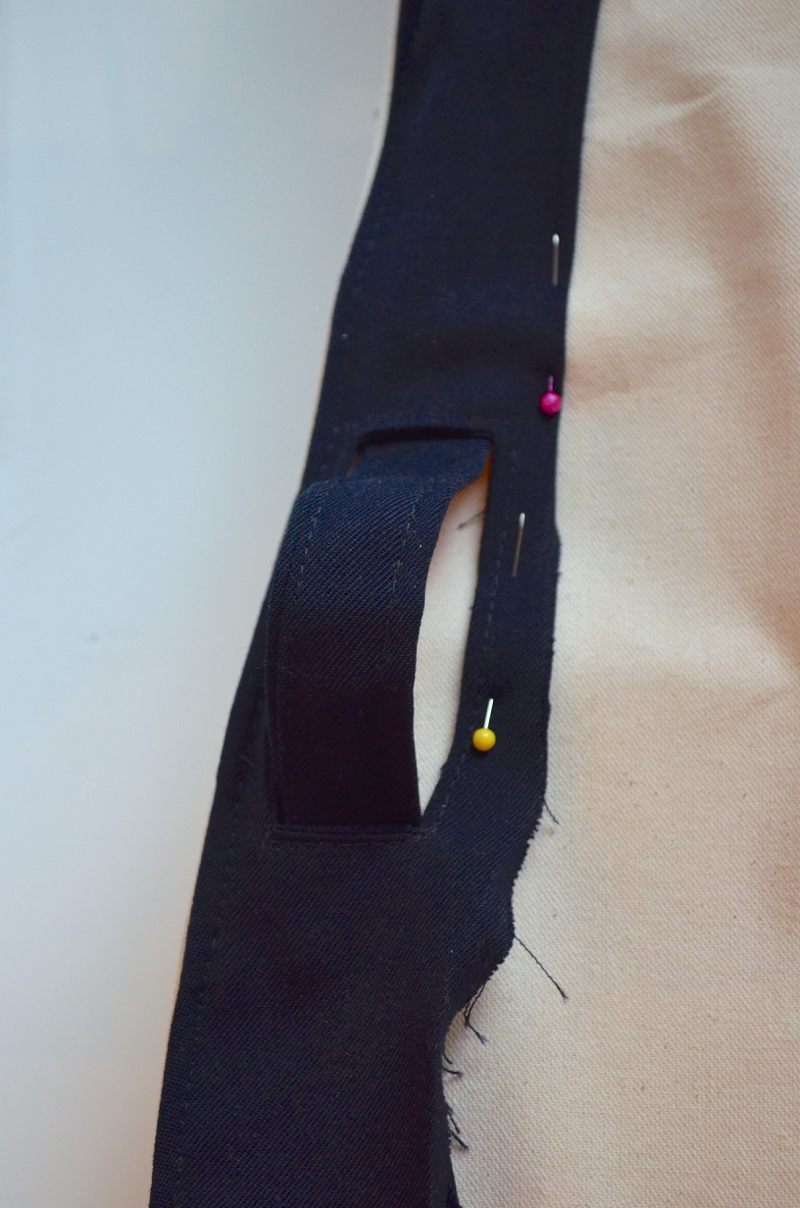
10. Push the handle opening facings through the trim to the wrong side and press flat.
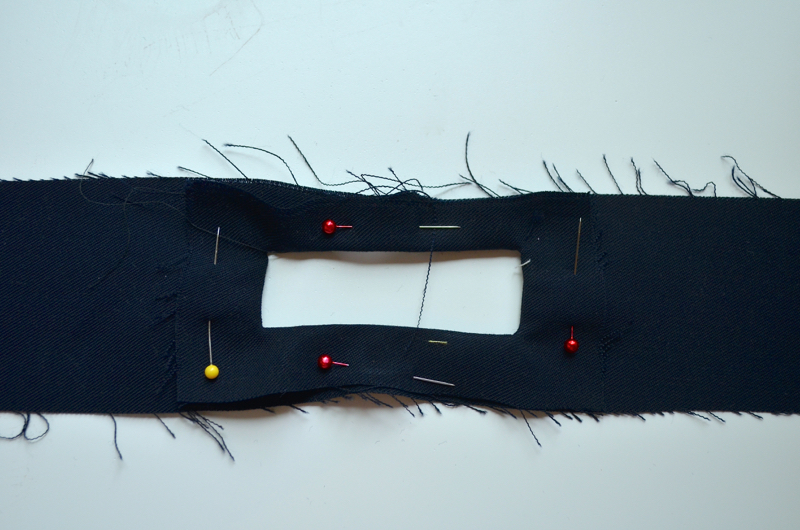
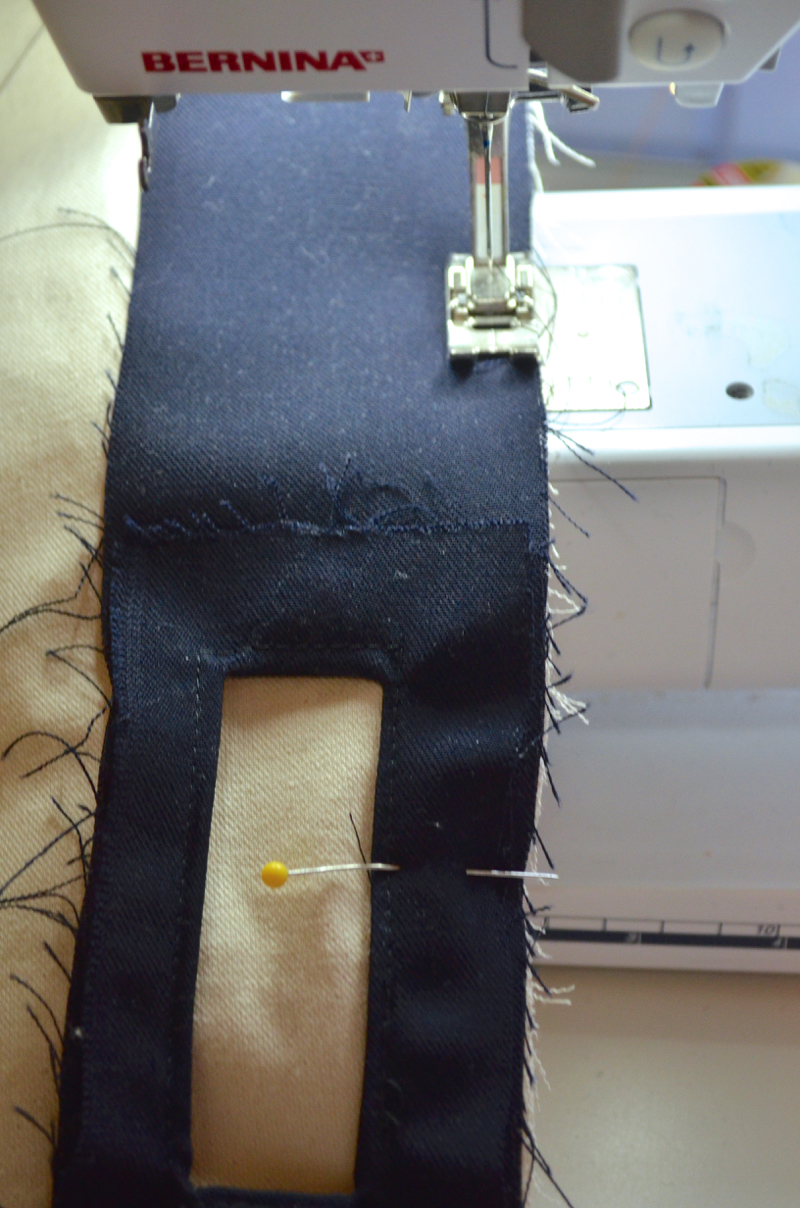
11. Pin the handle opening facings down to the trim.
12. Edgestitch around the opening on the right side of the trim to secure.
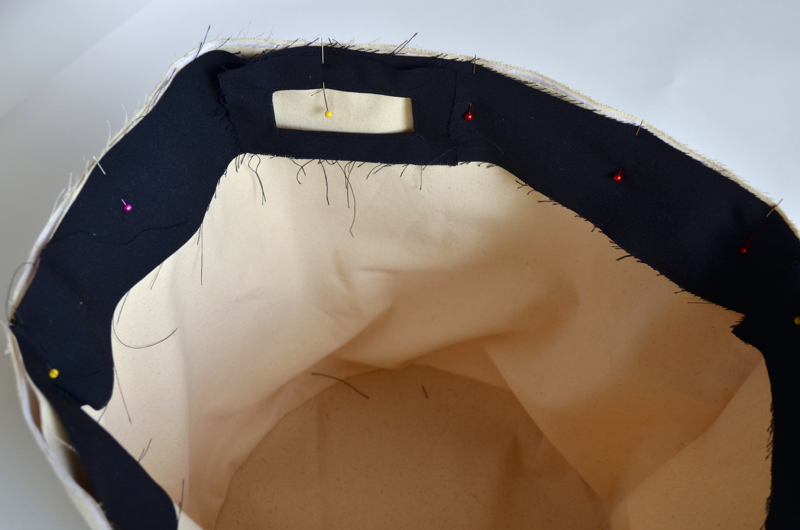
13. Pin the top of the trim to the top of the bucket, right sides together with the bucket lining (you are pinning the trim to the inside of the bucket.) Align the handles openings on each side of the bucket, using the seam in the bucket wall as the center back.
14. Sew the trim to the top of the bucket using a 1/2″ seam allowance.
15. Flip the trim to the outside of the bucket and edgestitch along the top to secure. Your bobbin thread will show on the inside of the bucket, so make sure your bobbin thread matches your lining and your needle thread matches the trim piece.
16. Press both of the handle pieces in half, wrong sides together. Then turn the edges in by 1/2″ and press again.
(not pictured) Unfold the handle pieces and sew them right sides together at the short ends, using a 1/2″ seam allowance, to form a circle. Press the seam allowances open and refold along the previous crease lines.
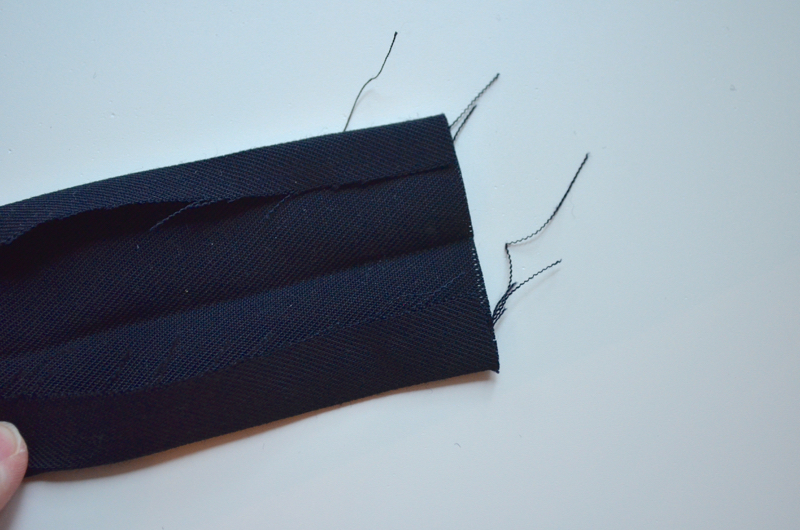
17. Edgestitch along the folds of the handle to enclose the raw edges (my handle was not sewn into a loop first because I’m an eejit. Ignore this picture and do it the right way.)
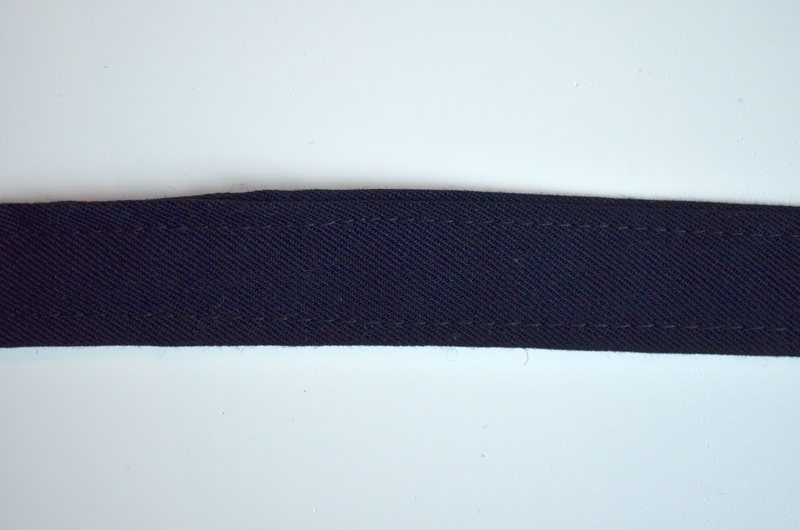
18. Repeat on the other side of the strap so there are two rows of topstitching.
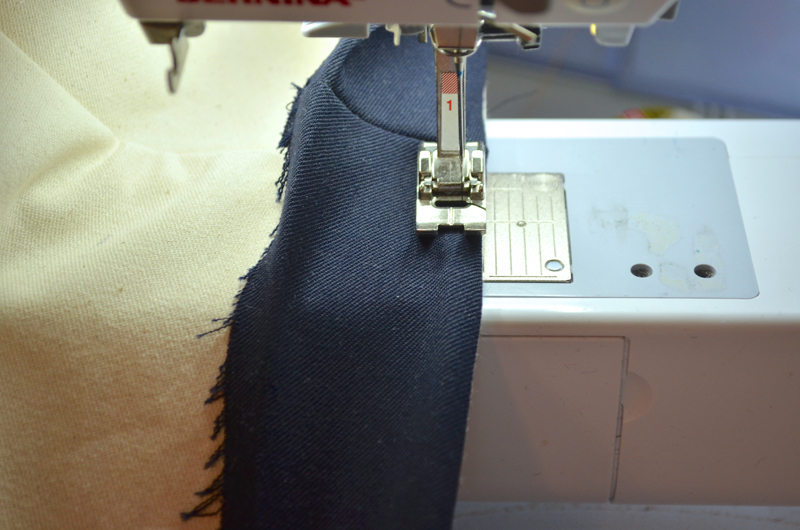
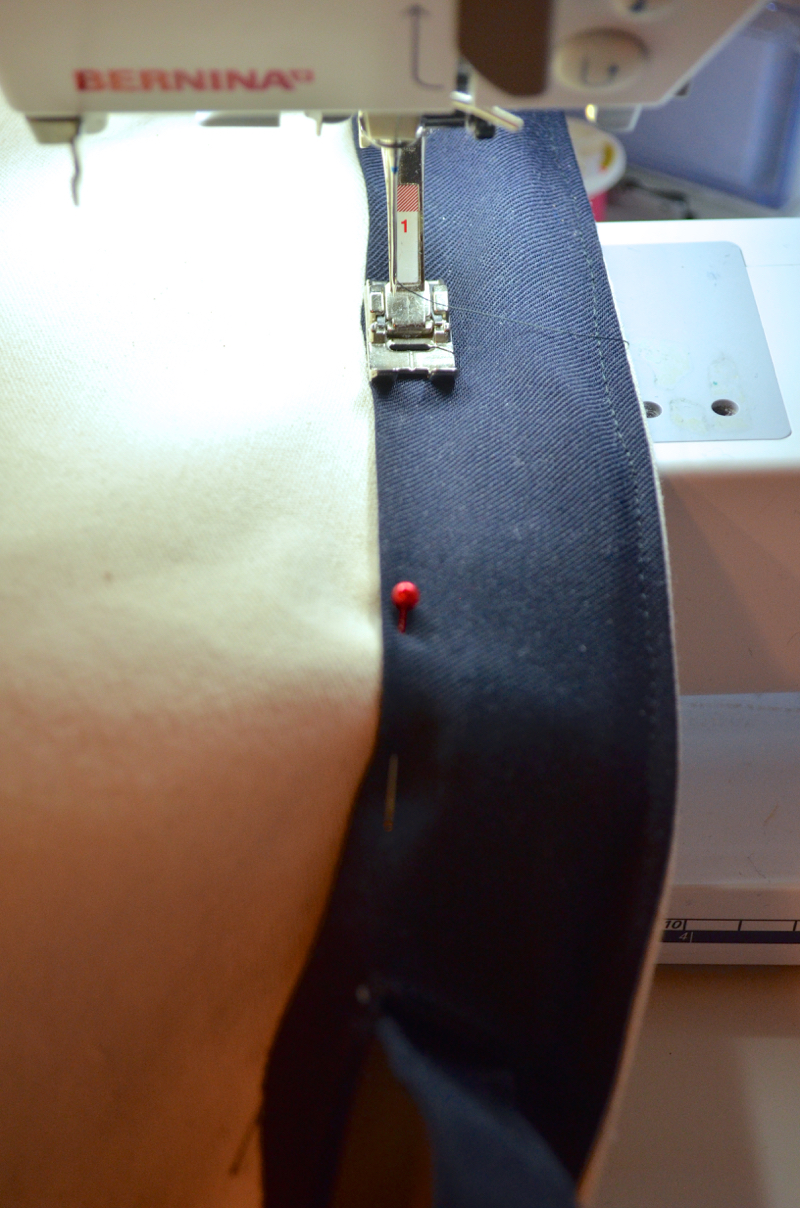
19. Slip the handle loop under the trim loop, tucking it up as close as possible to the top of the bucket all around. Turn the bottom raw edge of the trim under at the previous crease line and pin in place.
20. Edgestitch along the lower fold in the trim, being careful not to catch the handle in your seam.
21. Pull the handle taut so a loop forms at each handle opening. You’re finished!
While we really enjoy our “hard knock life” bucket, you could label yours with another funny saying, with the name of the contents it will hold, or personalize them for each member of the family. Make one in every color of the rainbow and organize your mud room or garage, or use them as cute playroom storage buckets. I can’t wait to see what you use yours for, so make sure to use #hardknockbucket and #heyjunehandmade on social media so we can all see them!
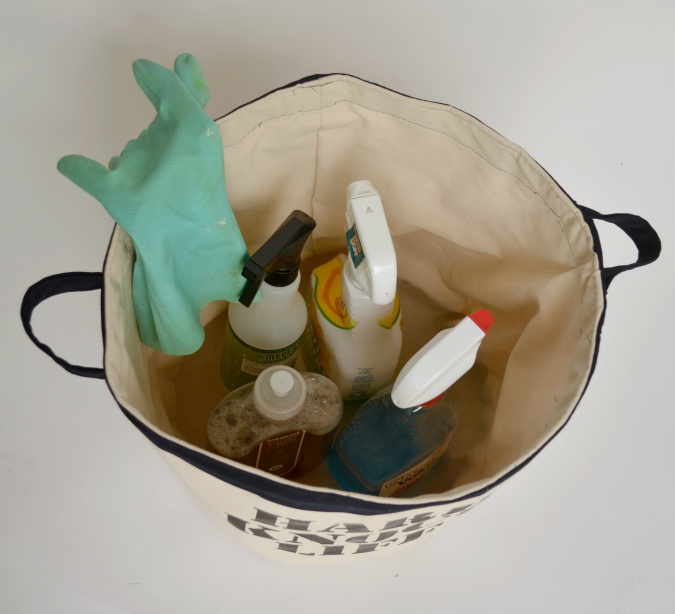
We filled ours with our most common cleaning supplies…
…and hung it up in the mudroom!
And now it’s ready to go whenever it’s chore time for my kids. I get a cleaner house and enjoy a touch of sarcasm in the process. I might even just start singing “Little Girls”!
Thank you Kim for hosting and inviting me, and thank you Expressions Vinyl for providing the materials for this tutorial! Make sure you enter to win $100 for Expressions Vinyl in the raffle at the top of the post and check out all the other Heat Transfer Week projects on A Girl and a Glue Gun!






haha! Love the story behind this project. Your girls crack me up…but you crack me up more! Advantage…mom.
haaa, thanks! We’ll see if they appreciate my sarcasm now 🙂
Adorable! You are so talented!!!