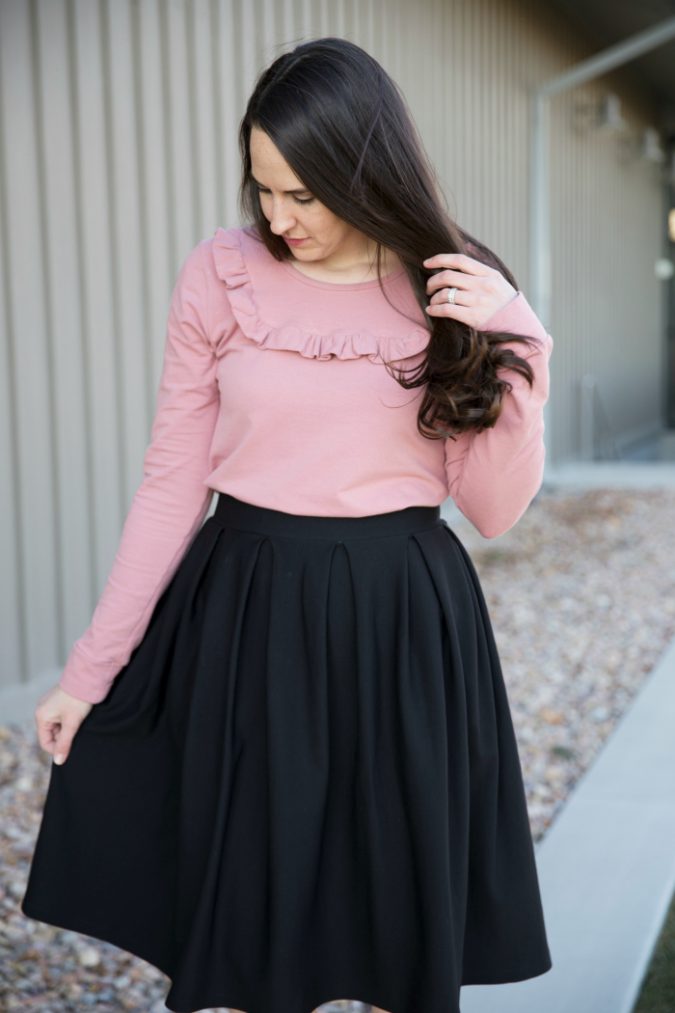
As the holidays approach it’s so great to have some fancier basics in your closet for events where you want to be festive but comfy. Rachel from Little Fish has come up with the perfect solution! She’s going to walk us through adding a ruffle collar to the Halifax (heads up, you could also do this with the Union!) I think it adds the perfect touch to fancy up this cold weather staple.
~~~~~~~~~~~
I came across a ready-to-wear sweater with this ruffle detail and fell in love. I decided it was necessary get a similar piece into my winter wardrobe as soon as humanly possible. So I created this simple tutorial for anyone who wants to give it a try.
Start by gathering your pattern pieces.
Print Halifax View D: 26-29, 32-35, 38-43, 48-52. You won’t need pages 44-47. (sizes XL – 2X print page 53)
Print Durango Neckline and Neckband: For my size Large it was pages 18-19, 13, 17, 22, 27
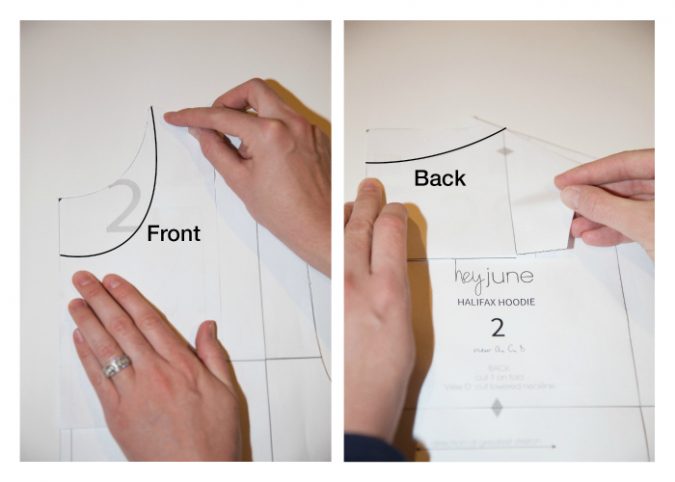
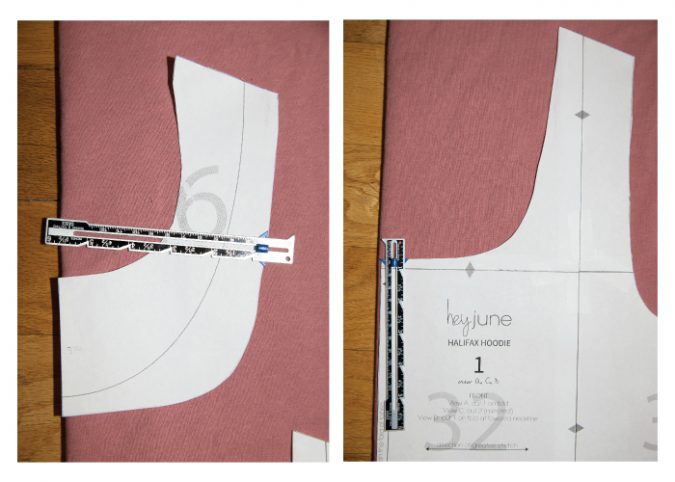
Next, trim the old neckline off.
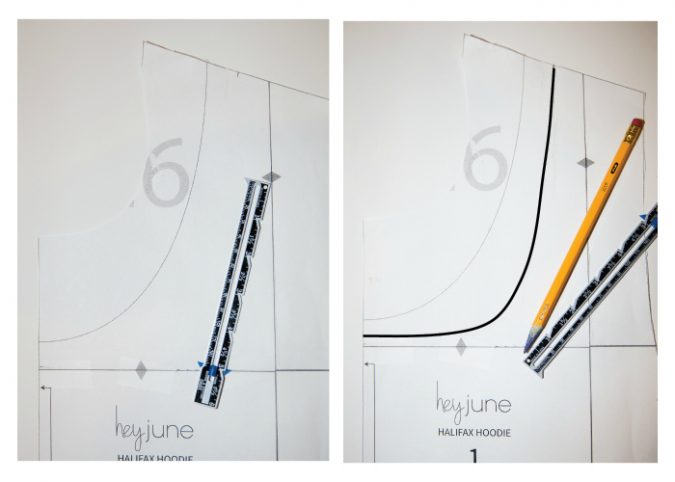
Tip: Be sure to leave the line near the center front 90 degrees. If it comes to a point it will end up being heart-shaped or v-shaped.
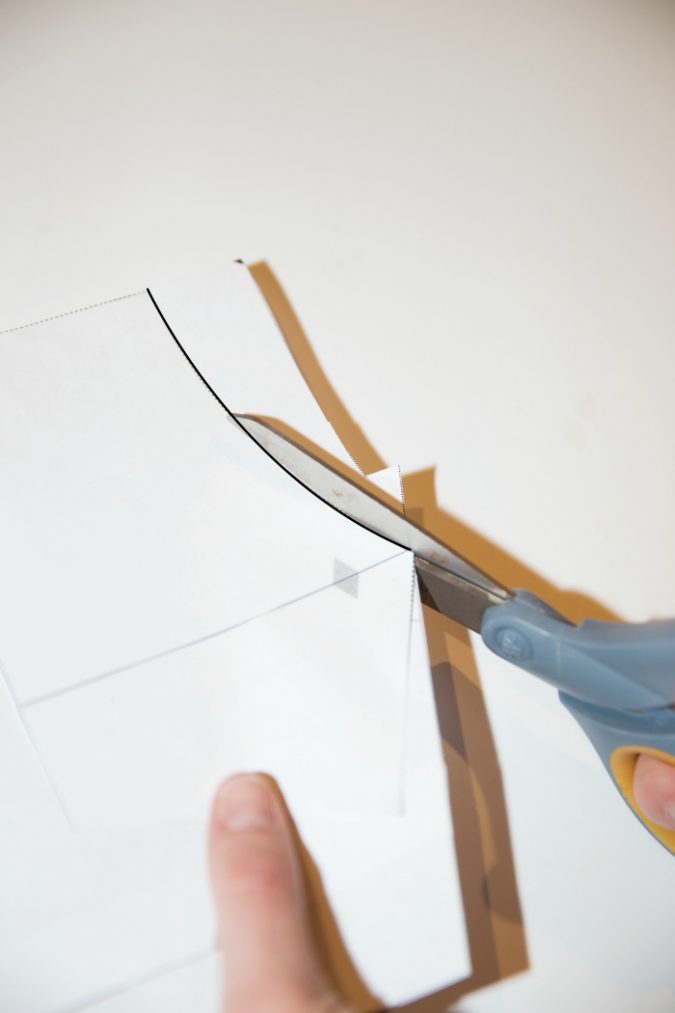
Next cut that curved line you just created. This is where you’ll add in the ruffle.
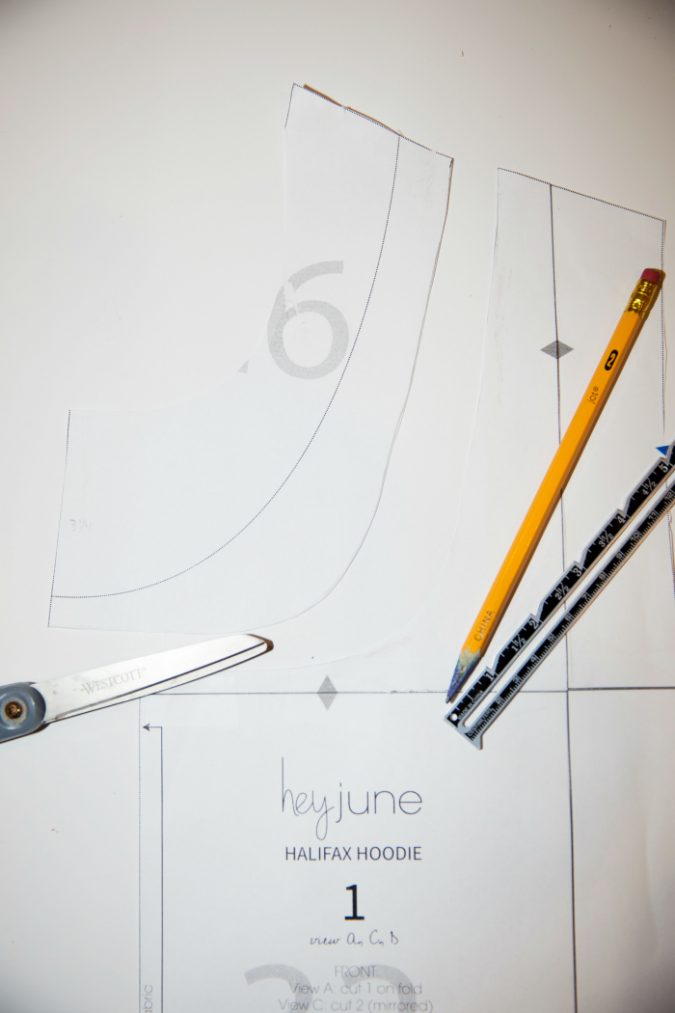
It’s time to cut into that beautiful fabric! You need to include the 3/8 inch seam allowance indicated on the original pattern bordering the curve shape you just created on both pattern pieces.
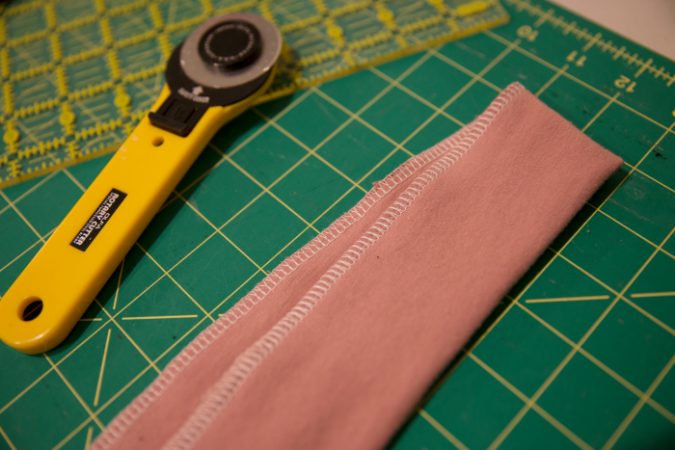
Don’t forget to cut out a strip for your ruffle. I doubled the length of the curved ruffle line and cut 4 ½ inches wide. (So, 22 X 4 ½ inches)
I chose to double up my ruffle so I didn’t have to worry about raw edges. To do that, fold your strip in half wrong sides together and serge the raw edge so the ruffle will be easier to work with.
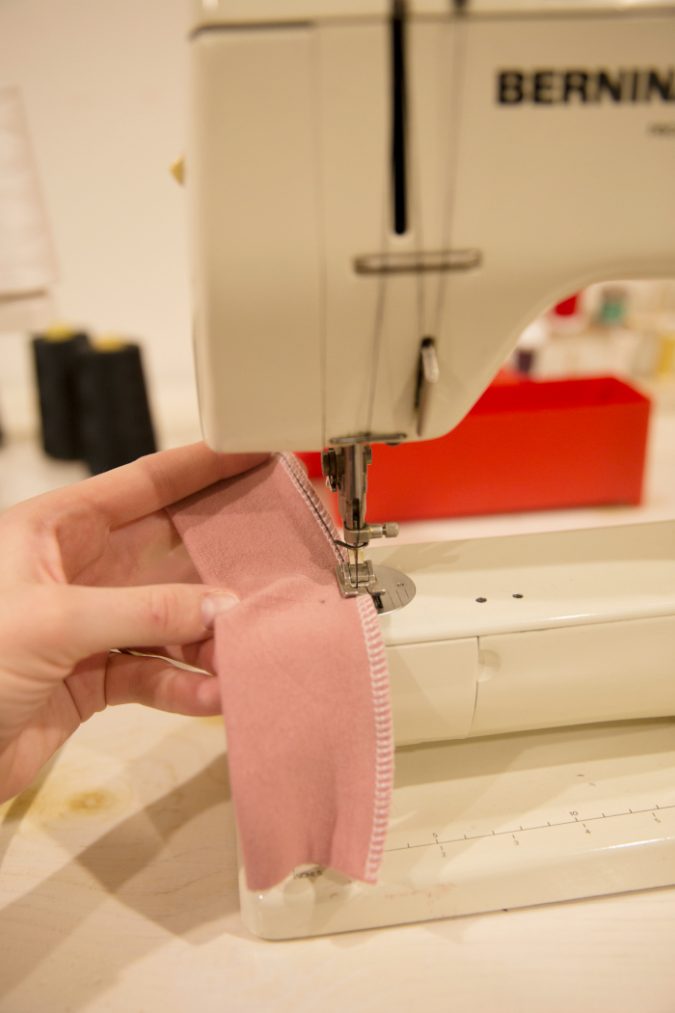
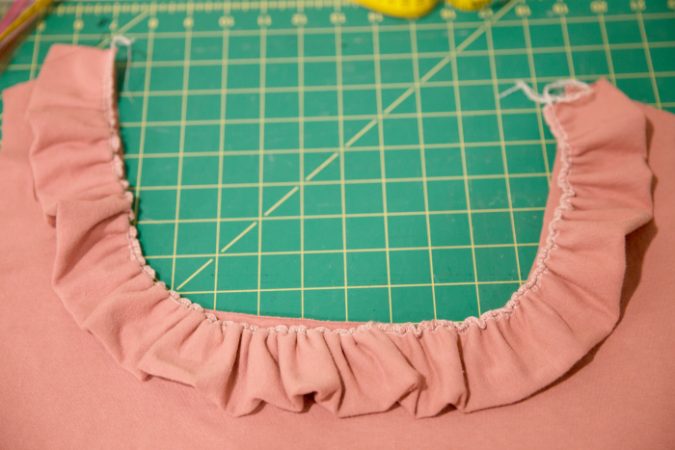
Sew a long gathering stitch along the serged edge.
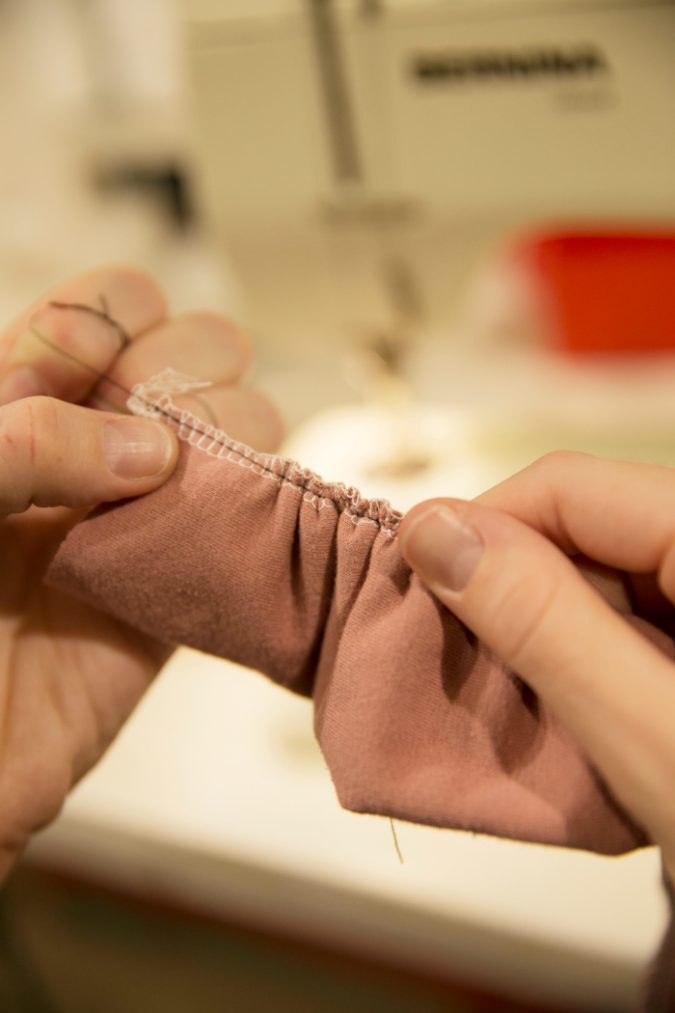
Gather your ruffle strip.
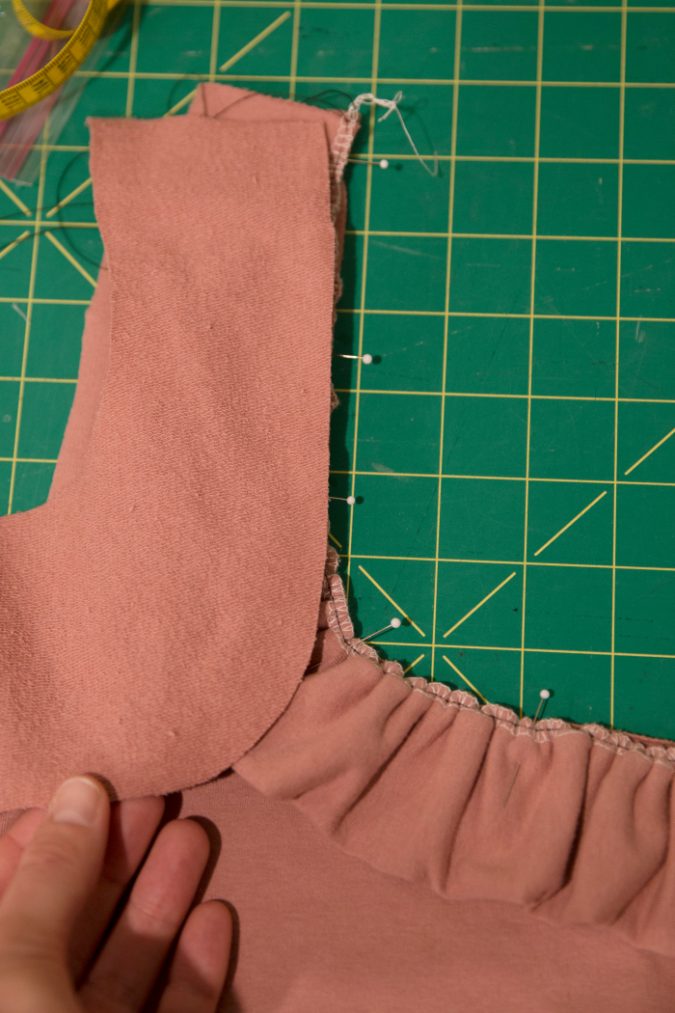
Line up your gathered strip with your bodice front piece. Make sure your ruffles look even. Pin in place.
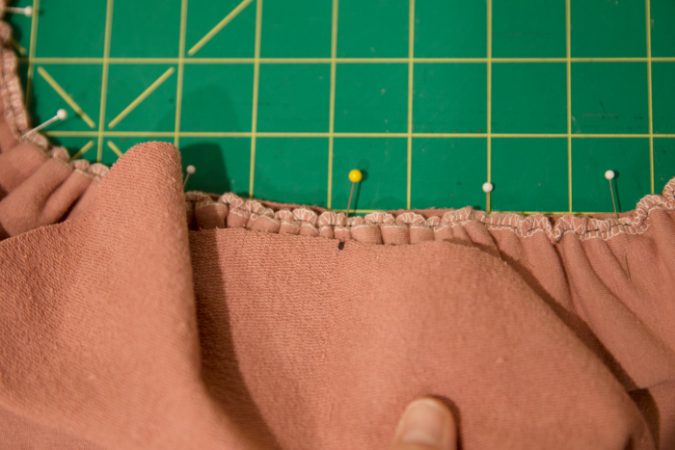
Now you will be sewing the top front bodice piece onto the bottom front bodice piece with the gathered strip between them. Be sure to place the fabric right sides together.
I marked my two center points with a yellow pin and a pen mark, and lined them up as I sewed.
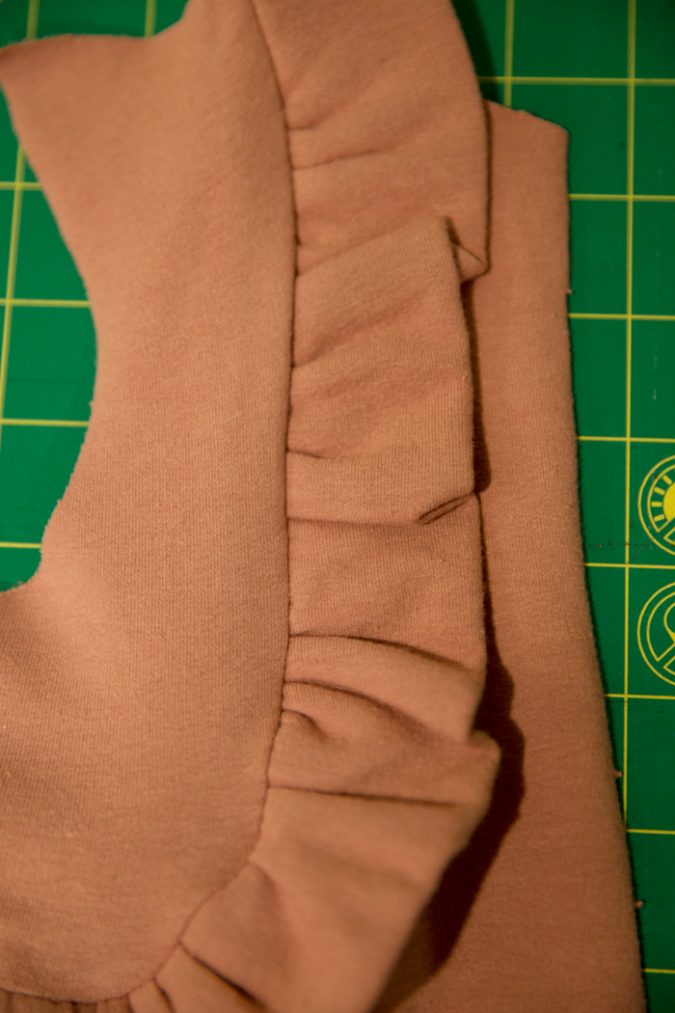
Tip: I had the best luck on my sewing machine because the layers were a little too thick for my serger to handle. I used a stretch stitch to attach the bodice and ruffle pieces.
You’re done! Now assemble the rest of your Halifax as directed. I hope you enjoyed this fun little hack!
~~~~~~~~~~~
Absolutely gorgeous, Rachel! Make sure you check out her Instagram account too – she’s always sharing her beautiful makes and photography!




This is so pretty!!