
Please welcome Audrey with a great tutorial for a 3 piece hood! She’s using it on the Lane Raglan, but you can use it on any hooded pattern!
Hi there! It’s Audrey from Skirt Fixation and I’m honored to be back on Hey June sharing my tutorial for a 3 piece hood. This tutorial would work for any of the Hey June patterns with a hood, like the Halifax Hoodie, the Lane Raglan, the Vero Beach Set, the Brunswick Pullover, Camden Raglan…the list goes on! The only exception is the Wheaton Windbreaker, which already has a 3 piece hood.

Today I’m sharing a tutorial for changing a 2 piece hood into a 3 piece hood. Personally, I prefer a 3 piece hood for the shape. Maybe I have a slightly pointy head or something, but sometimes I think I look like the Grim Reaper with a 2 piece hood… Or maybe that’s just my kid’s thought!

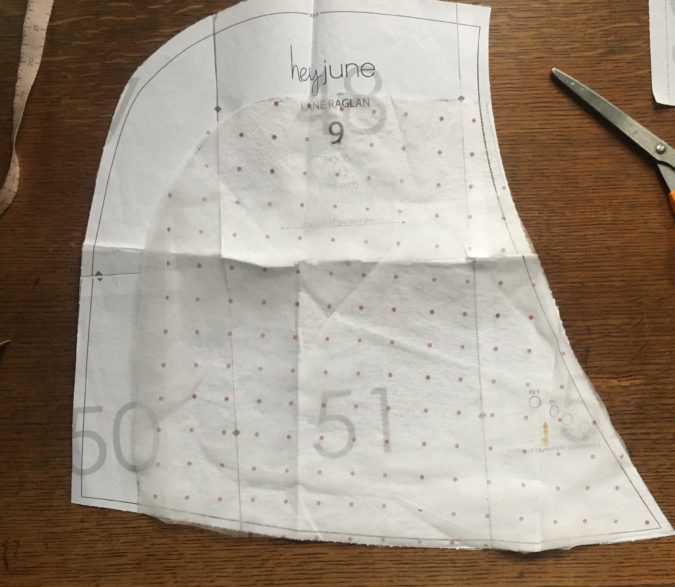
Grab your hood pattern piece (I’m using the Lane Raglan in this tutorial) and let’s modify it. We’re going to take a “wedge” out of the original pattern piece. I decided I wanted my wedge to be about 6 inches in the front and 4 inches in the back. Measure down 3 inches from the top at the front of the hood. Measure to the side of the bottom of the hood 2 inches. Mark these two points. Then use a measuring tape to draw a dotted line following the curve of the hood pattern piece gradually narrowing from 3 to 2 inches. Make a new hood pattern piece from the space below the dotted line.
In the next photo, you can see my new pattern piece (made from interfacing) laid over the top of the original pattern piece.
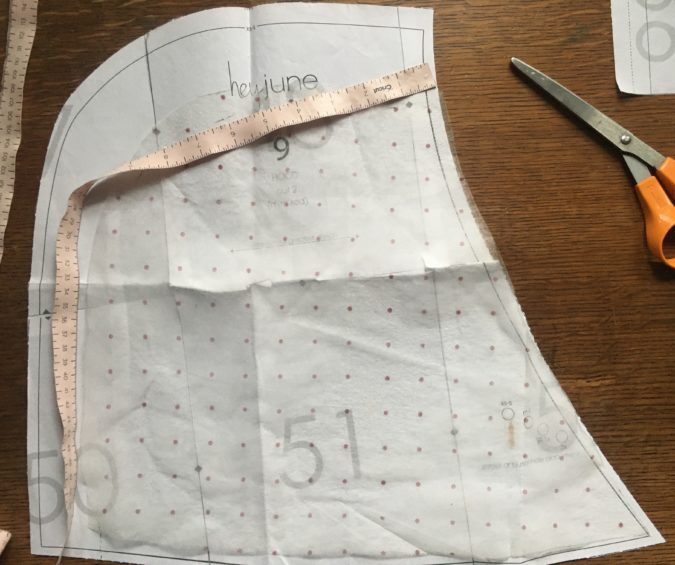
Next we’re going to create the 3rd piece for our hood. It’s going to be a quadrilateral (or wedge) shape. This is pretty simple, but first you need to determine how long to make it. Take your flexible measuring tape and measure around that new curve you made, from the top to the bottom.
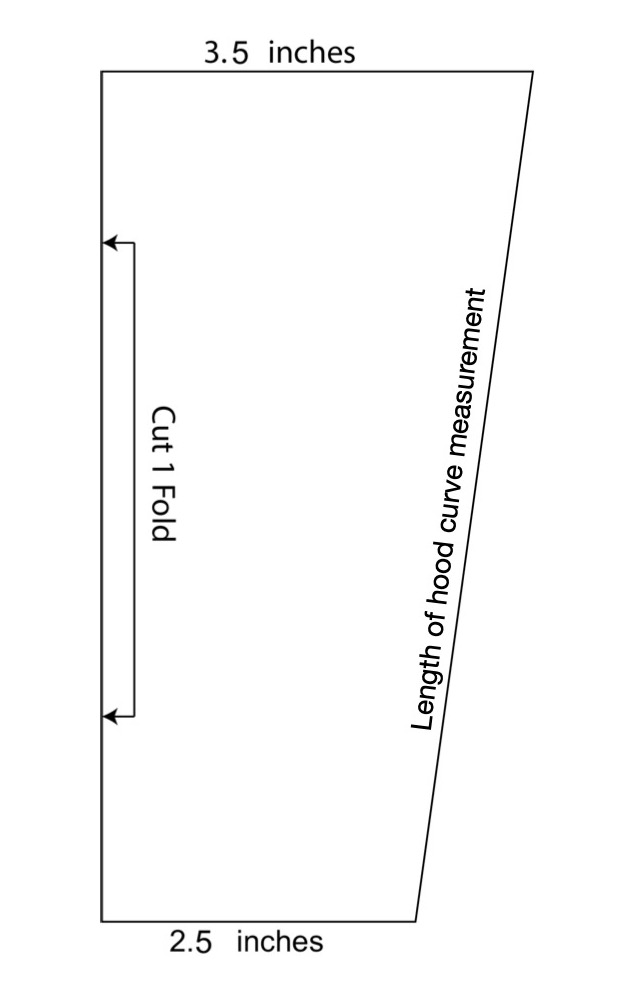
Now you can use all your measurements to create a 3rd pattern piece. (Or you can just use a ruler and rotary blade and cut directly on your fabric.) The top of your quadrilateral is 3.5, the bottom is 2.5, the left side is cut on the fold, and the right side is the length of the hood curve measurement you just took.
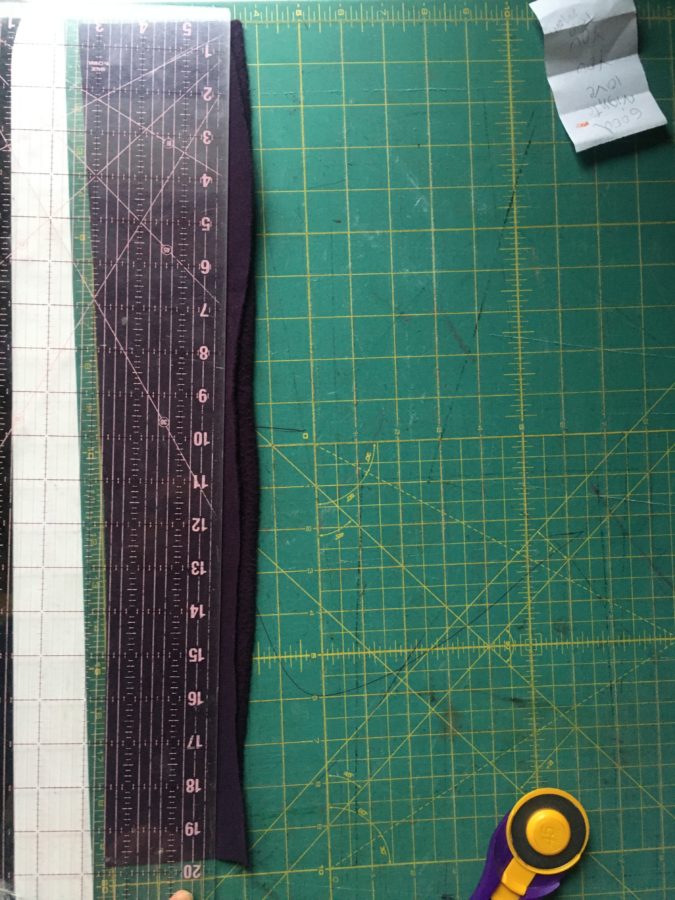
Here’s a picture showing how to cut this wedge piece it with a ruler and rotary blade. The fabric is folded in 1/2, and the top of the ruler is measuring out 3.5 inches while the bottom is at 2.5 inches.
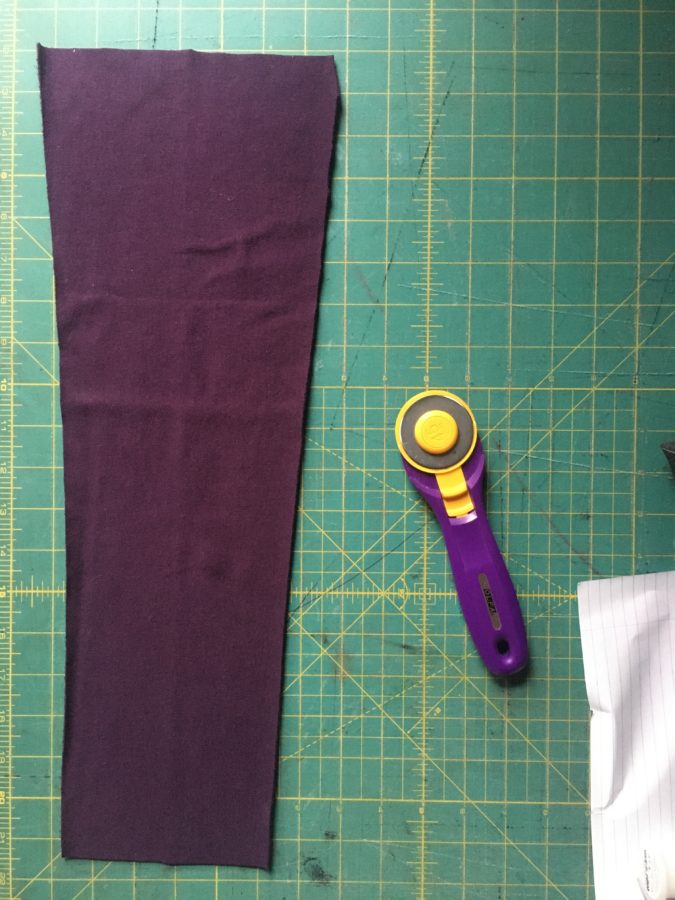
As you can see above, the 3rd piece ends up as a wedge shape. You also need to cut out 2 (make sure you have a left and right) of the new, smaller hood piece you created earlier.
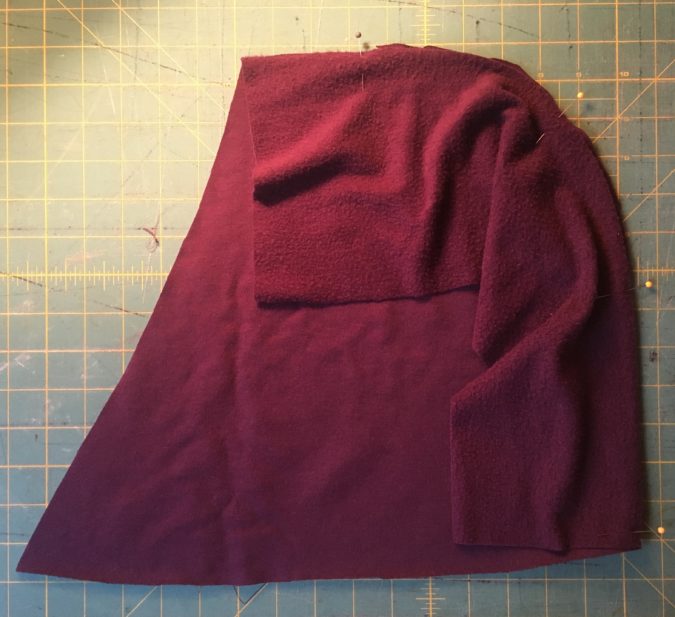
Now it’s time to assemble the 3 piece hood! Lay the wedge shape on top of one of the curved hood pieces with the right sides together. Pin in place, making sure the wider end of the wedge is at the top of the hood and the narrower end is at the bottom. Sew around this curve using a 1/4” seam allowance.
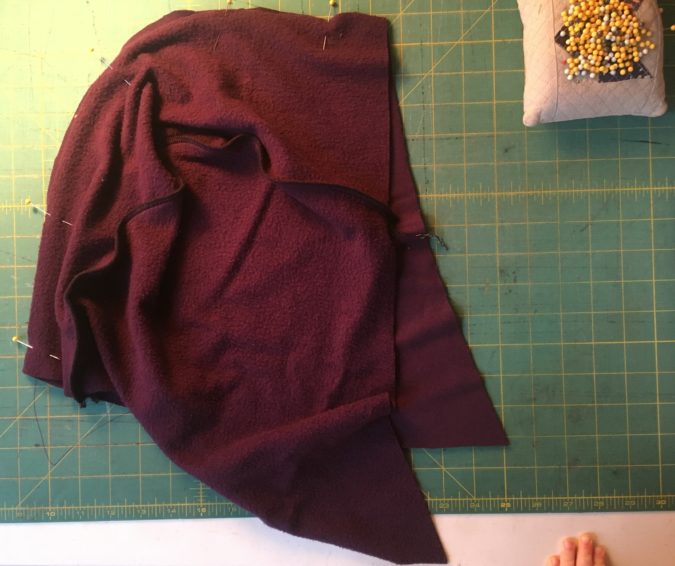
Pin the other side of the wedge to the other curved hood piece, with the right sides together. Sew around this curve, again using a 1/4” seam allowance.

That’s all there is to it! Now you can continue with the instructions of whatever pattern you’re using.
Thank you so much, Audrey! I love the versatility of this tutorial, and it’s so simple! Happy sewing, everyone!
[…] There was only one major change I decided to make; turn the 2 piece hood into a 3 piece hood. This is because sometimes I find a 2 piece hood to be a little pointy when I wear it (which I often do for warmth.) It turned out pretty easy to change, and I have a tutorial for you over on the Hey June Handmade blog today. […]