
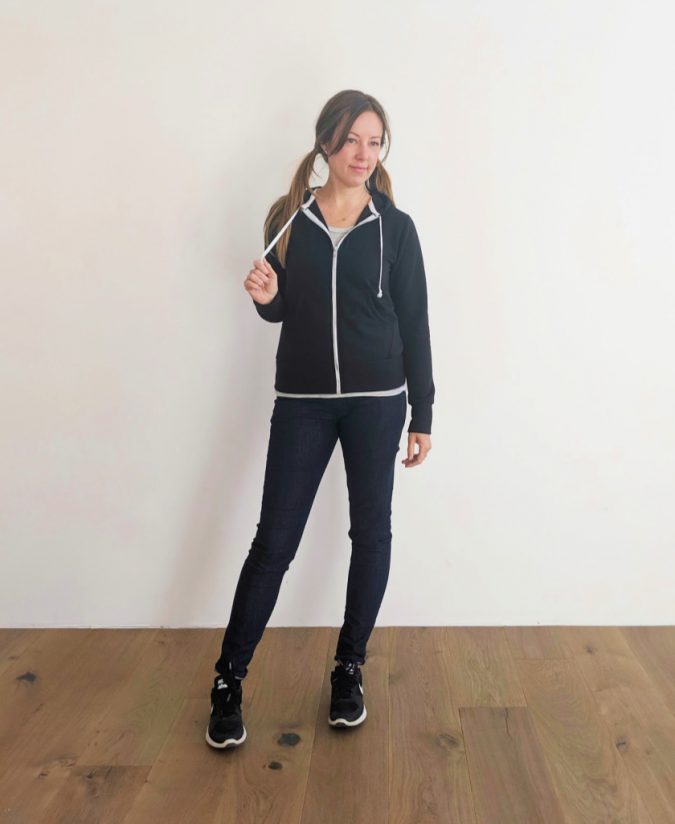
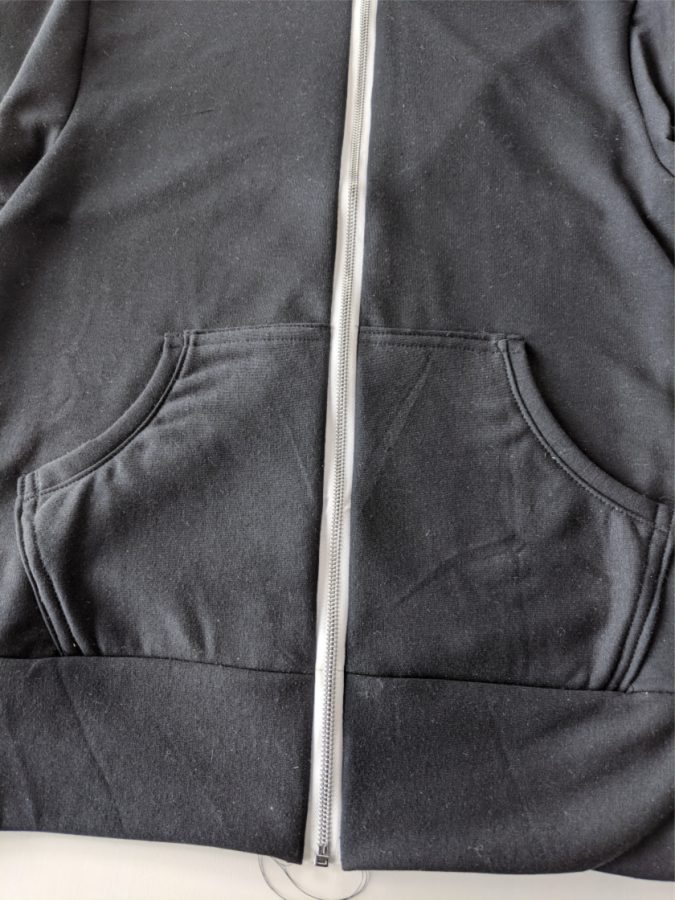
I’ve been wanting a classic retro-style black zip hoodie with white accents for far too long and I finally made it happen!

There’s nothing better than wearing a dark hoodie with sunglasses and obvious ear buds indoors to get people at the grocery store not to talk to you. Approximately 78% of my wardrobe is designed for this very purpose.

I used the Halifax Hoodie for this sweatshirt, and the pattern itself has extensive directions for shortening and installing the zipper and also adding the trim to cover the hood and zipper seams. However, I decided it was about dang time I photograph the process for a blog tutorial.
My only alterations to the pattern were made as a nod to the classic fitted hoodie style – I lengthened all the bands and cropped the hem by 3″. I also opted to line the hood, which is included in the pattern directions, and I used the kangaroo pocket from the Brunswick Pullover pattern. I can’t say I prefer one pocket over the other, but I was just feeling this one while I was making my hoodie.

Let’s dive right in, shall we?
Choosing and Sourcing a Zipper
I’m going to express an opinion here, so please treat it as such: Always use metal zippers, they’re the best. I feel like they add so much to a garment in terms of giving it visual weight and a more professional feel. They also come with the massive benefit of being the easiest zipper to shorten (outside of invisible zippers, which are not separating and thus will not be addressed in this post). Metal zippers come in every color of the rainbow and lots of different metal types and are pretty much perfect for every garment. They work equally well for zipped pockets and front zips.
The exception that I will allow is when you’re making an athletic garment. If you’re sewing a jacket that will be used for running, for example, you’ll want to use the lightest weight zipper that will not chafe. I would suggest a nylon coil zipper for those applications. If you’re making a piece of swim gear like a rash guard or wet suit, a plastic zipper is probably your best bet for durability and longevity.
No matter what kind of zipper you choose, I recommend buying one longer than you’ll need for your project so you can choose the exact stopping point. The Halifax and Hatteras Hoodies and the Evergreen Jacket all have zipper length recommendations for each size that are longer than you will need (for the most part, they are the next greatest full inch).
Here is a list of places I’ve purchased zippers. They all have amazing varieties in material, color, weight, pull type, and zipper type, and some even have the option to be shortened to a specific length.
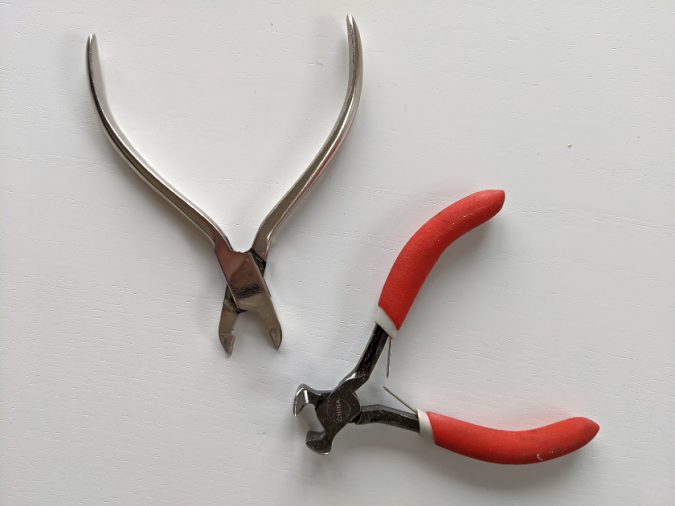
Wawak (they also have pliers and replacement zipper pulls)
Depending on local availability and if you just need white, black, navy, or tan, Joann Fabrics is also good for metal separating zippers.
Between these four shops I haven’t had to find other sources for zippers, but please share in comments if you’ve had a good experience with another shop or if you have recommendations for shops in other countries.
Install a Separating Zipper
I find it much easier and more accurate to shorten my zippers after I’ve installed them in my garment, given that the construction makes that possible. So I’ll be showing the installation steps first and then I’ll move on to shortening.
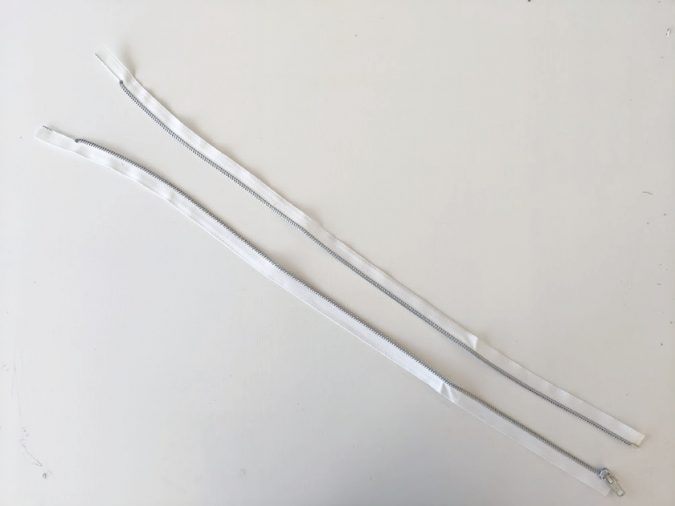
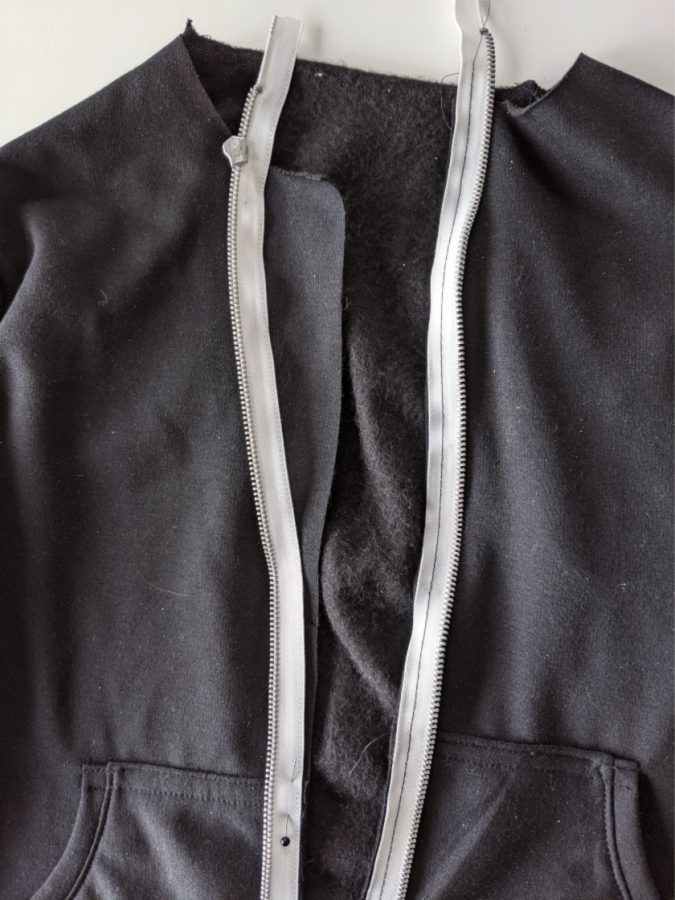
- Unzip and separate the two sides of the zipper.
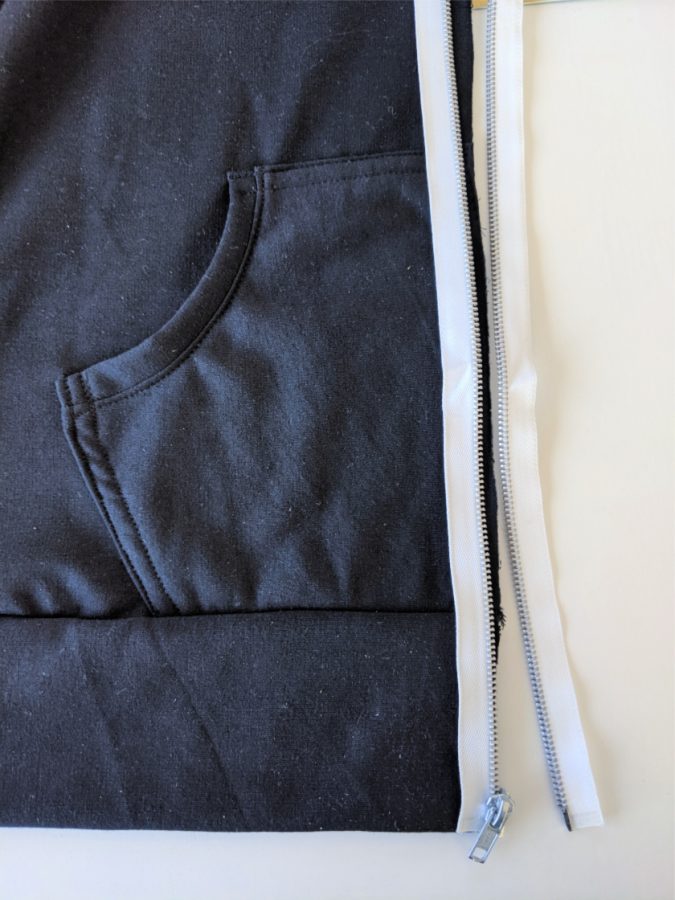
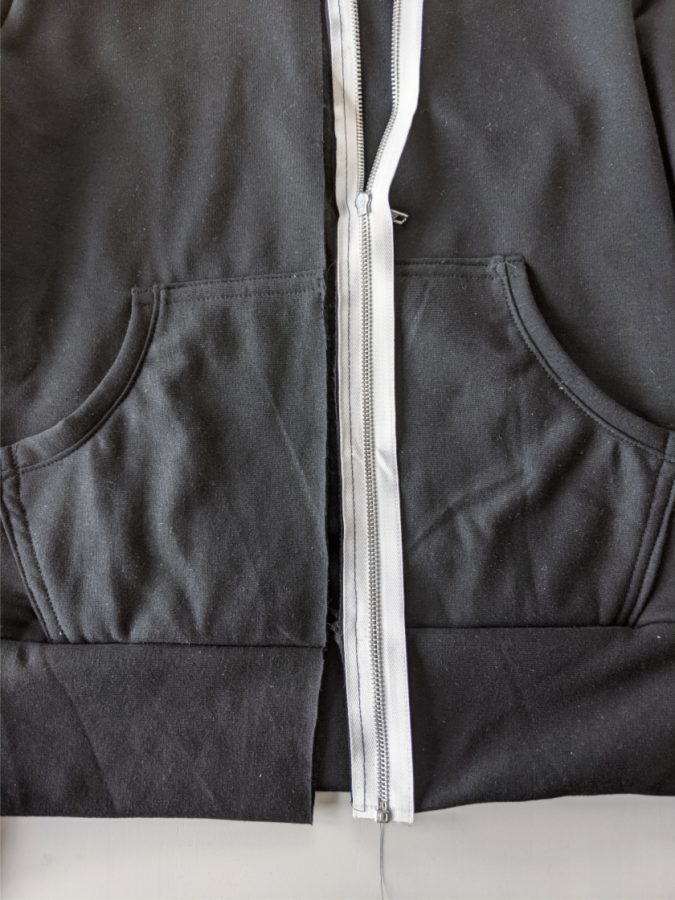
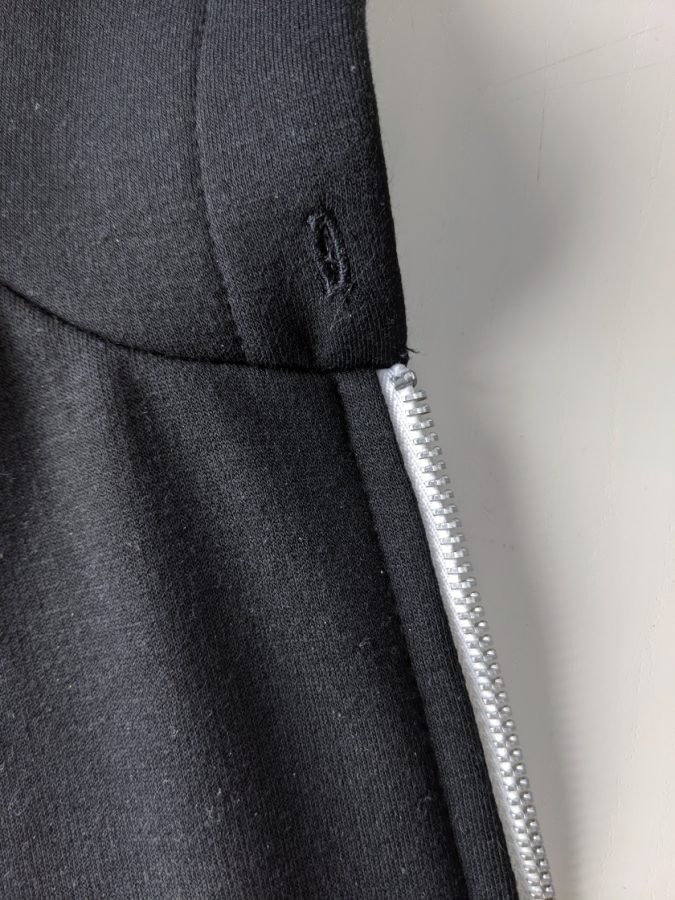
2. If you forget which way to sew on a zipper, I find it helpful to lay the zipper on the garment in the way it will appear after sewn, as above.

3. Flip each side of the zipper face down. The edge of the tape (without teeth) should align with the raw edge of the opening where you’ll apply the zipper.
4. Baste one side of the zipper tape only. THE MOST IMPORTANT THING about sewing on a separating zipper is that every single seam, basting and finishing and top stitching MUST be sewn in the same direction. For example, I start at the hem for every single stitch, even if that means sewing with the garment on the wrong side of the presser foot so I can keep the zipper tape on top. If you sew the tape on in different directions, your seams will come unaligned and the fabric around the seam will pull in different directions.
Another good idea is to use a walking foot for the basting step if you have one, or to sew all the zipper seams with a reduced presser foot pressure.
You’ll also note that for this project I used black thread so it would be very clear for the pictures. However, I recommend matching your thread to your zipper tape if you don’t want that contrast.
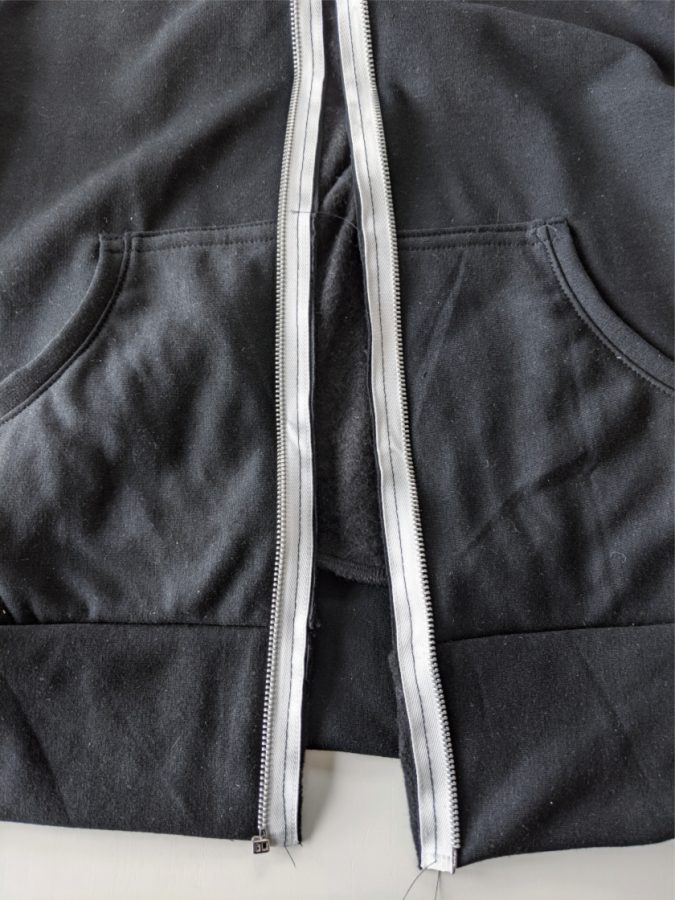
5. Zip the other side of the zipper up on the basted side.
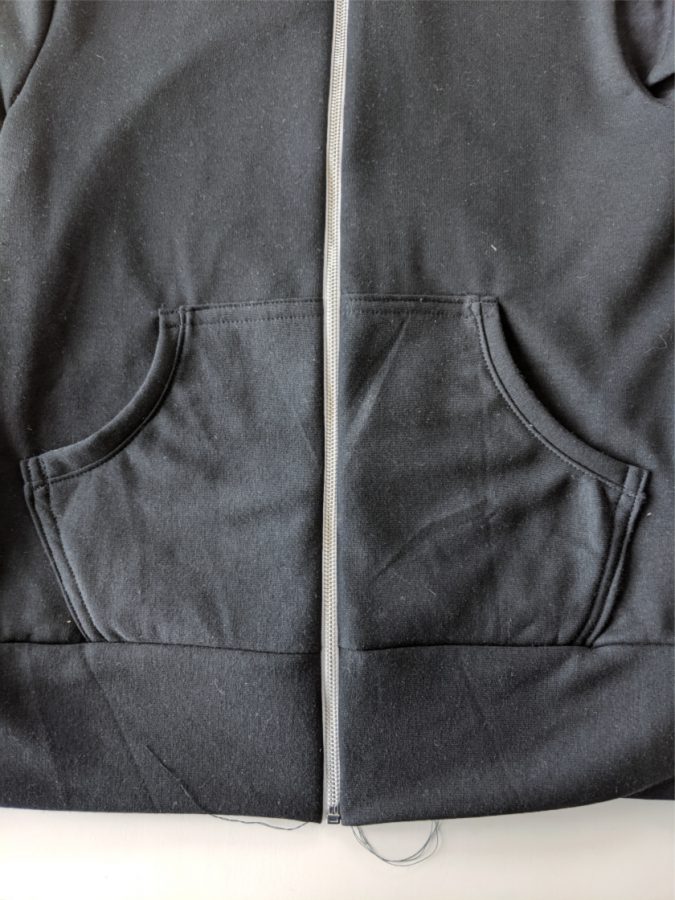
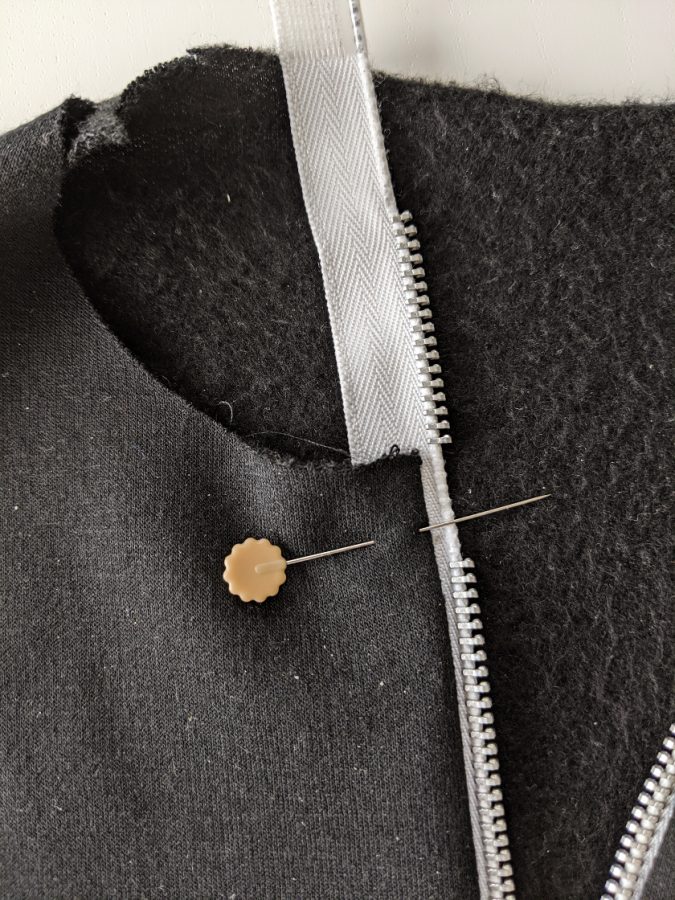
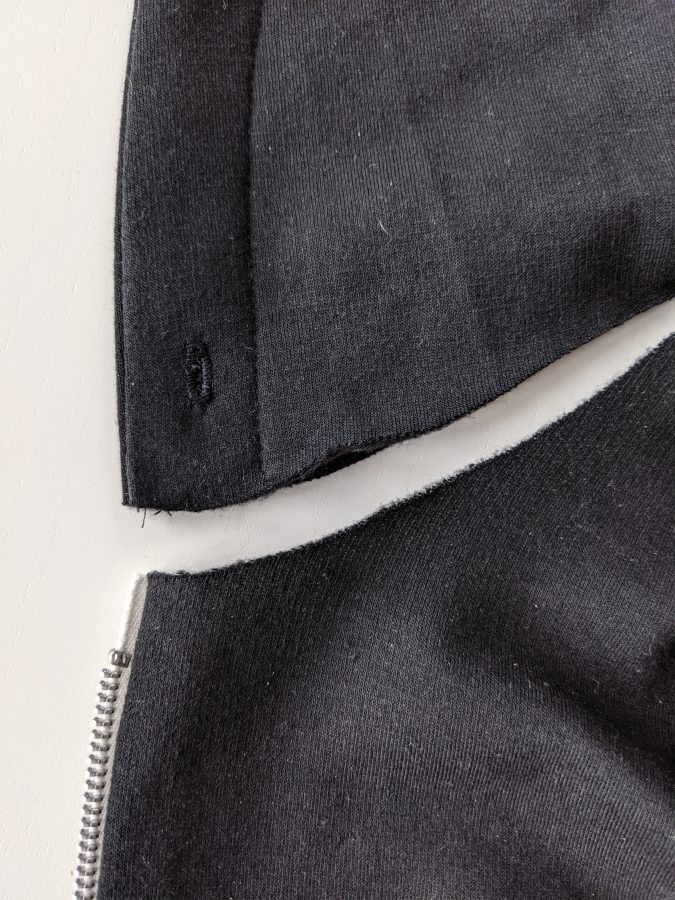
6. Mark the position where any seams must align on the unsewn side of the zipper tape. Make sure this marking can be erased/washed off. On the Halifax, I marked the seam at the waistband, at the top of the kangaroo pocket, and at the neckline.
7. Unzip the zipper and pin it to the garment, making sure the markings align perfectly with the seams.
8. Baste the other zipper tape to the garment.
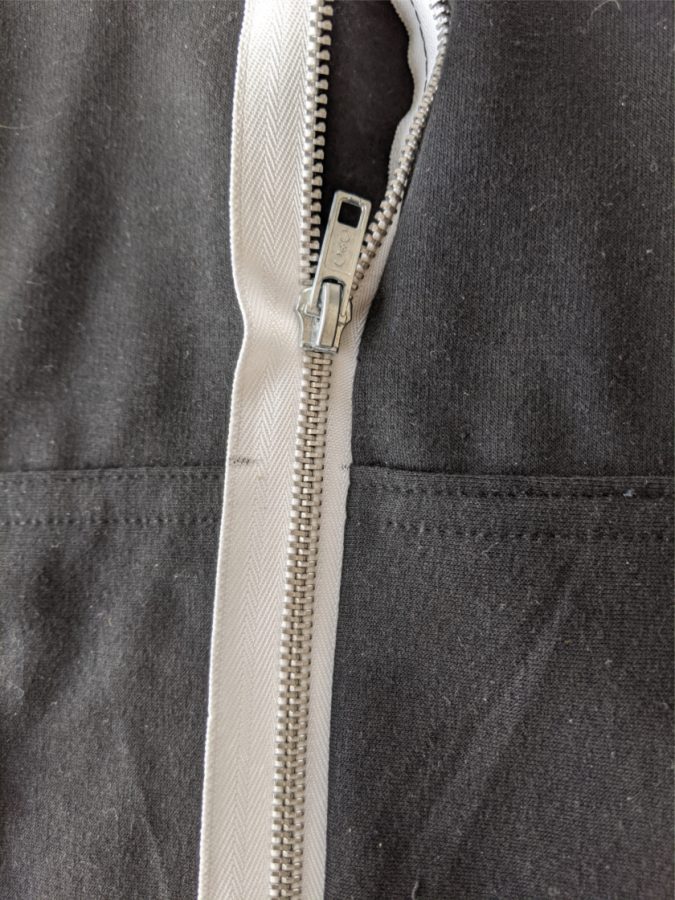
9. Zip the zipper to see how well the seams align. You can see mine are about 1 mm off and you can also see that I don’t care enough to fix that. The good news is that if you’re more of a perfectionist than I am you can easily unbaste one side of the zipper tape at this point and try again. Note: you probably won’t have to unpick the entire thing, just a couple inches on each side of the spot you want to fix.
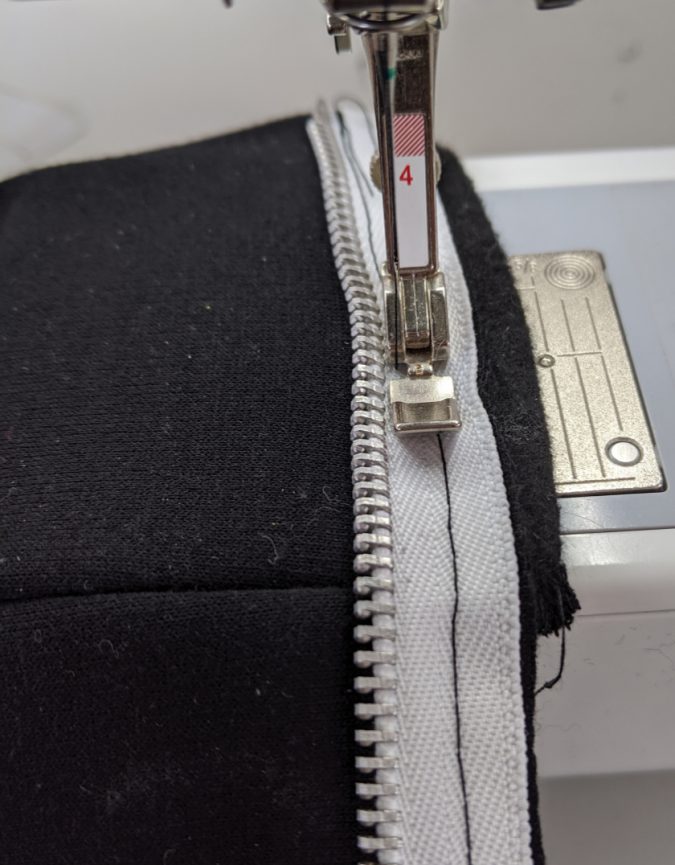
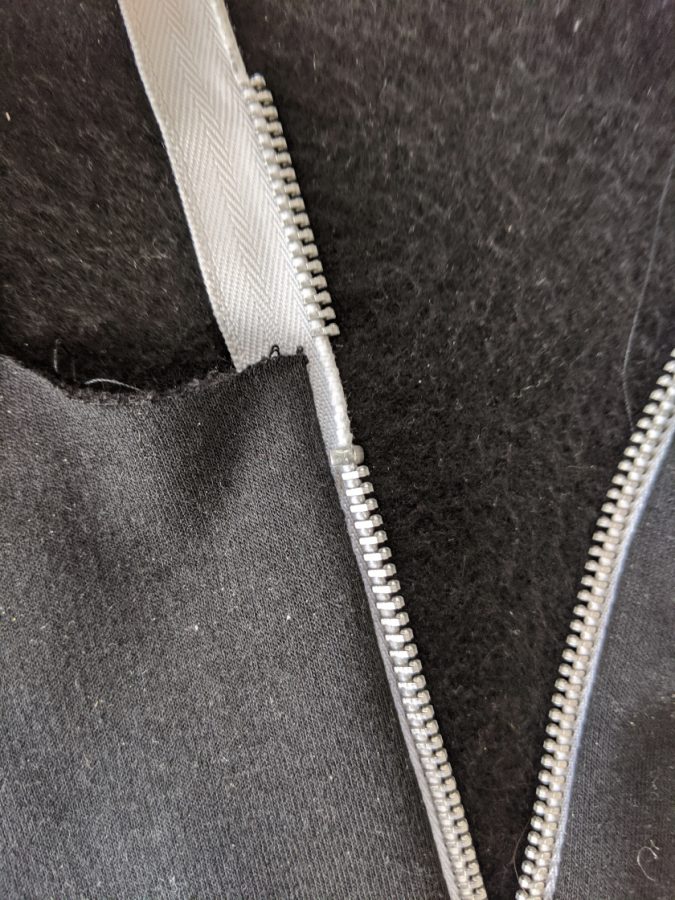
10. Switch to a zipper foot, move your needle all the way over to be next to the zipper teeth, and sew the zipper tape on permanently with a regular stitch length. Do this on both sides. One small note: depending on your fabric width and how chunky the zipper pull is, sewing too close to the teeth may hinder or make zipping difficult. Do a quick baste test if you feel like this may be an issue with your project. For this sweatshirt knit, I moved my needle over 1 short of the farthest point to the left.
Note that in the Halifax or Hatteras patterns, this seam has a strip of fabric or twill tape sewn into it to eventually flip around and cover the zipper tape inside the garment. This provides incredible stability along with a beautiful finish. However, I really wanted that retro look with exposed tape, so I left it off.
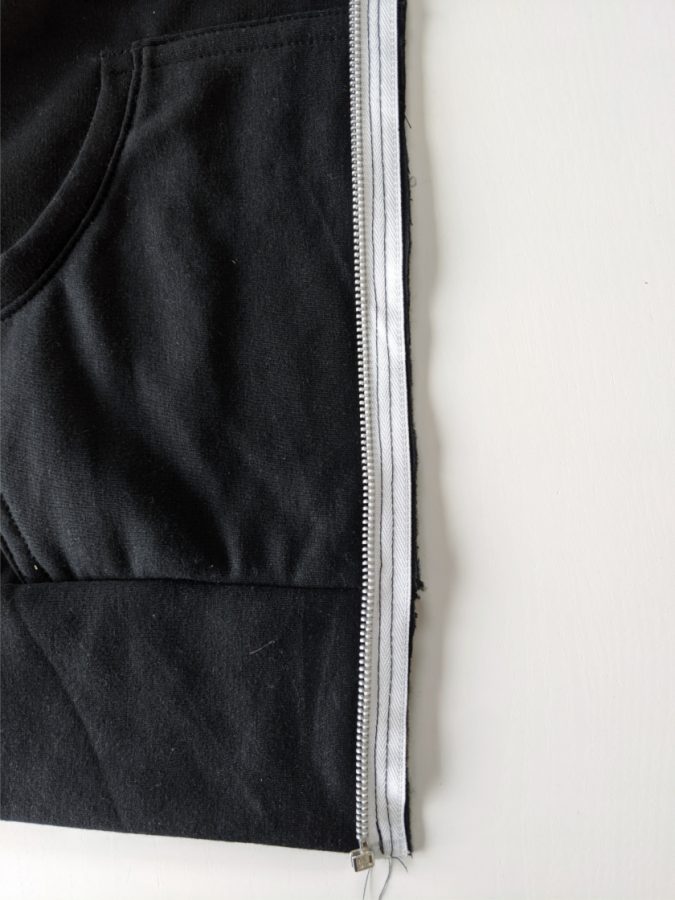
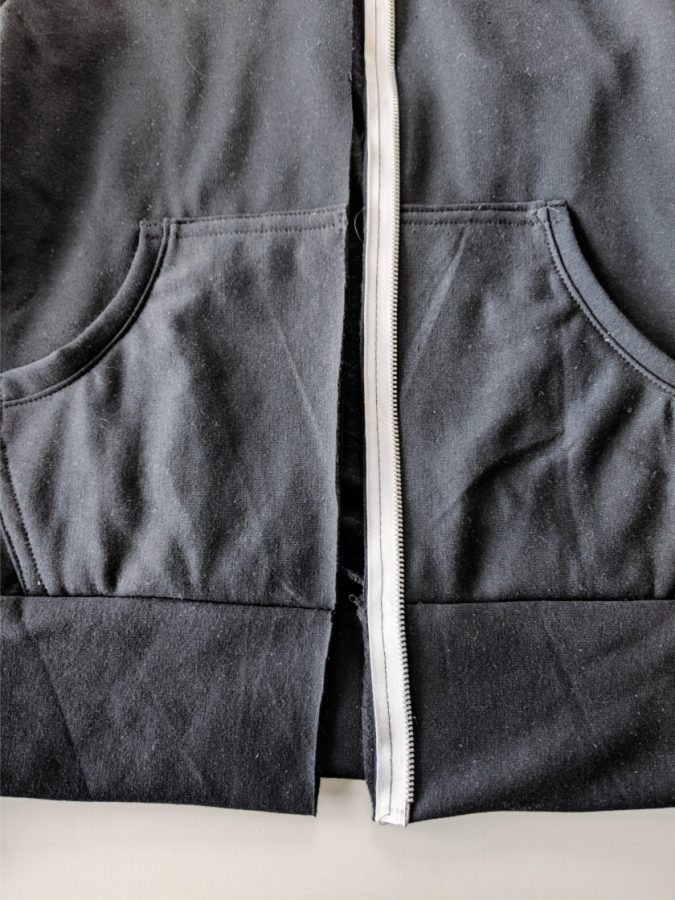
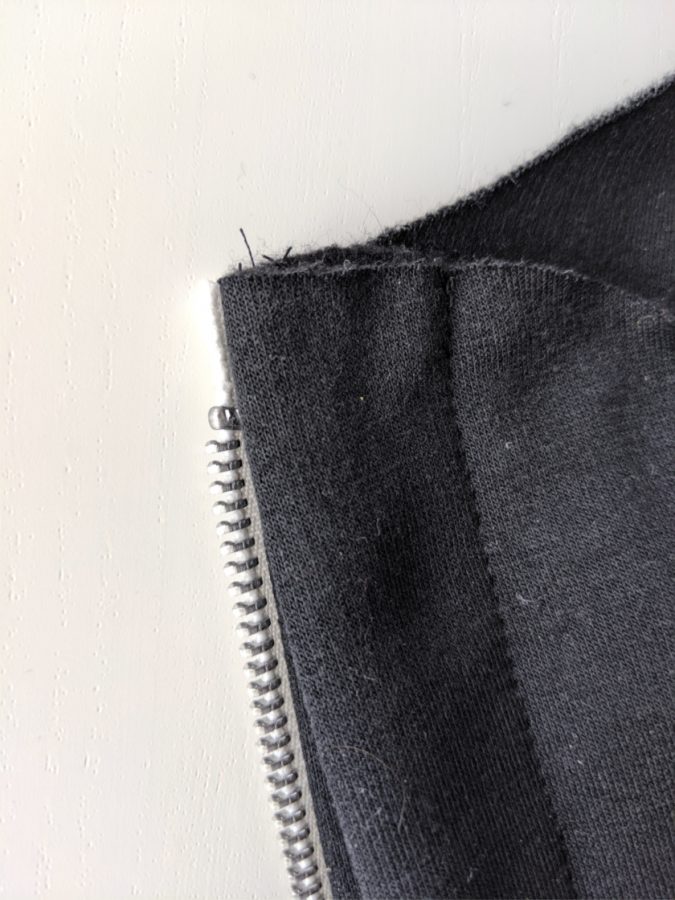
11. After sewing, you will have parallel stitch lines. You can now remove the basting stitch.
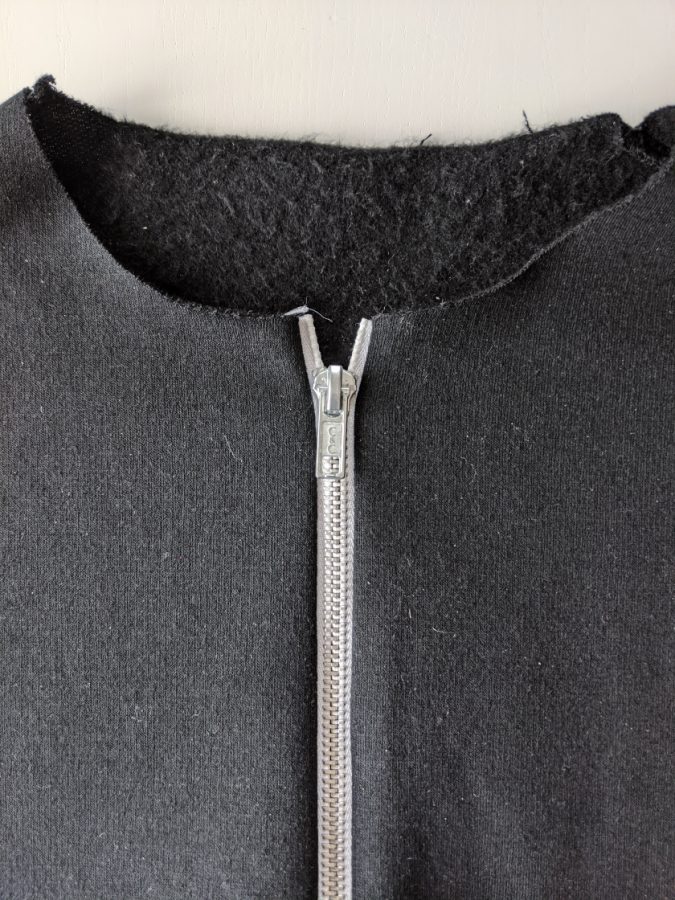
12. Zip up the zipper once again to make sure it pulls smoothly and everything looks acceptable to you before you move on and make things extra permanent.
13. I forgot to take a picture at this point, but here’s an example from a later step. At this point, make sure your top stitching thread matches your garment and your bobbin thread matches your zipper tape. Topstitch along the zipper tape on the right side of the garment, catching the zipper tape underneath. I used a 1/4″ seam allowance for this step with the needle moved a step or two to the right to make it slightly narrower. I also used a slightly longer stitch length, which is very much recommended when top stitching on thicker fabrics. On my Bernina, this was a “3”.
Tips for Lightweight or Stretchy Fabric
Attaching a zipper (especially a heavier metal zipper) to lightweight fabrics or extremely stretchy fabrics can be more difficult. Again, the most important part is to match up the points on the garment where seam lines MUST match, pin them in place, and then force them to meet as you’re sewing whether that requires you to ease a little fabric in or stretch it slightly. Also make sure you’re sewing every seam in the same direction.
But what might prove most helpful is stabilizing the garment opening before applying the zipper to force it to maintain its length. This can be done with a handcut strip of fusible interfacing, fusible hem tape, or seam tape. The important factor is making sure the fusible tape is not as wide as the zipper tape so it doesn’t show on the finished garment. Fuse the tape to the cut edge on the wrong side of the garment before following the steps for sewing the zipper.
Shorten the Zipper
Now it is time to shorten your zipper. The following is a video showing how to shorten a metal zipper, and subsequent paragraphs will address nylon and plastic zippers.
The following are some stills highlighting a couple of the steps from the video if you wanted a closer look:
If you are shortening a nylon coil zipper or a plastic zipper, the first steps are the same – remove the zipper stops. Nylon coil zippers tend to also have metal stops, though they are more delicate than those on a metal zipper and have little hooks instead of a solid clamp. You can try to pry them off in the same way and save them, but they may not be hardy enough to reapply. Plastic zippers have plastic stops that must be broken as they’re pried off. In either case, you will have to buy new zipper stops or create a zipper stop by sewing a zig zag stitch with a “0” stitch length right over the edge of the zipper tape to create a thread zipper stop.
To remove the nylon coil, you can either use sharp scissors to cut the edges off the teeth and then carefully pick the coil off the tape from the wrong side, or you can use a sharp knife to run between the coil and the tape and carefully and slowly cut each stitch holding the coil down. Note that when you reapply the zipper stop, you’ll need to apply it just below the first loop in the coil to keep the coil in place so it doesn’t unravel.
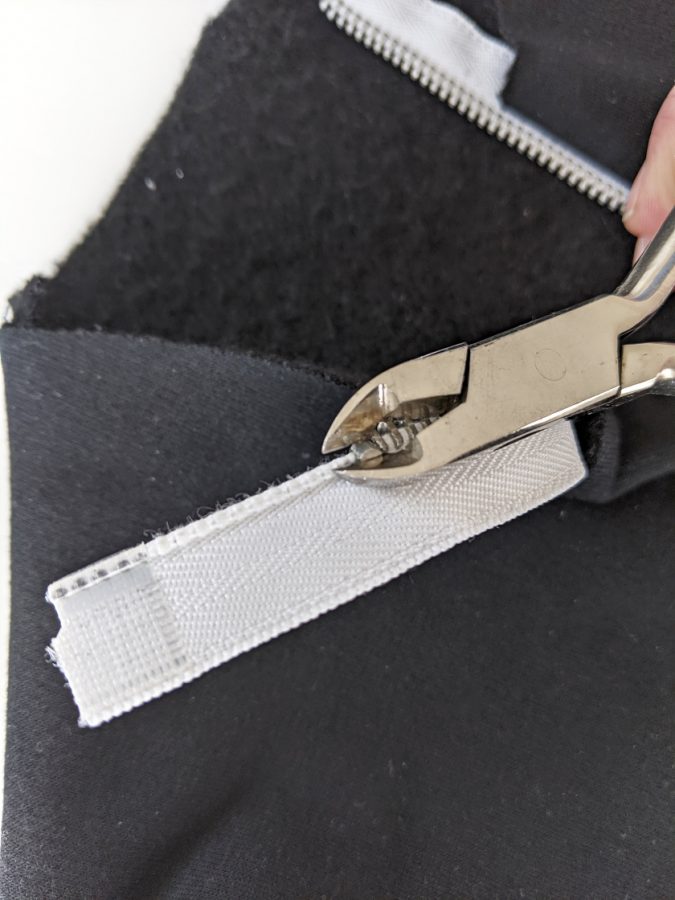
To remove plastic teeth you can simply cut them off with sharp scissors or a plier.
Bonus Features: How to sew the hood with seam allowance binding
While I was going crazy with this photo tutorial I figured I may as well keep going and take pictures of a step that a lot of people have questions about. It’s actually incredibly easy, but if you’ve never done it before, it may not make sense until after you’ve sewn it. Of course, I didn’t have the recommended notions, so my pictures will be slightly different. The good thing is that if you use the correct ones you’ll have a much easier time of it than I did!
- Lay the hood above the neckline so they’re both right sides up. Double check to make sure the side of the hood with the drawstring opening is laying right side up, if applicable.
2. Lay the hood right side down on the neckline, aligning the center front edges.
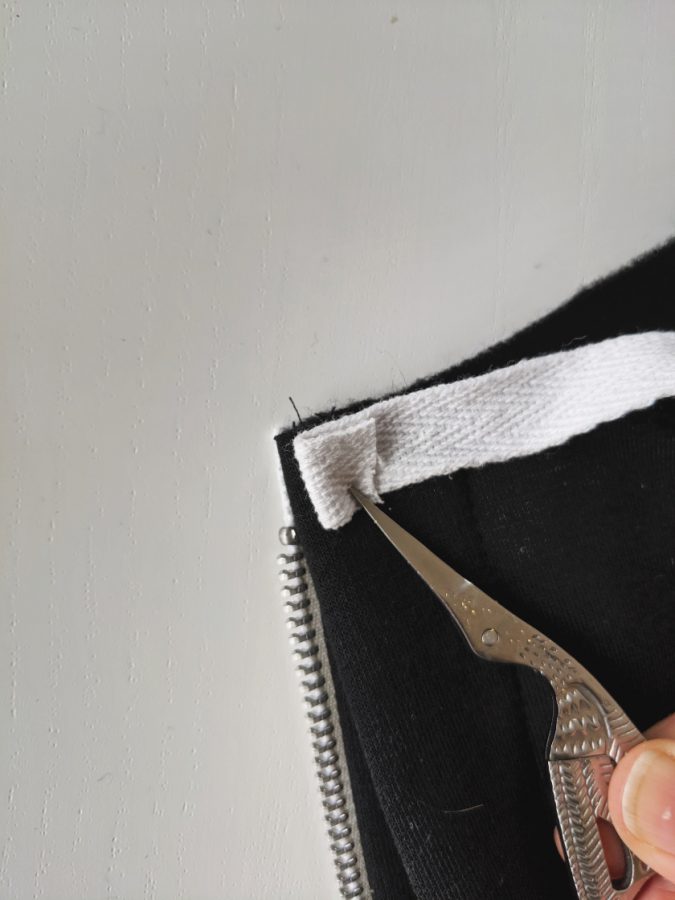
3. Now is the time when you would lay your twill tape down over the hood, aligned with the edge of the neckline. The center front of the twill tape should be folded in by about 3/8″. You can really see in this picture why it’s important to use twill tape that is at least 1″ wide. Mine is 1/2″, so I will not be able to sew it into this seam and still have enough left over to cover the seam allowances. Wider twill tape is also usually thinner, which is also very important.
4. Now you will sew the twill tape, hood, and garment together around the neckline. When you get to the other side, you will once again fold the end of the twill tape up. If you do that and then flip your hood up, you will have a seam that kind of resembles the picture above, except the upper edge of the twill tape will be sewn into the neckline seam and it’ll look way neater than this.
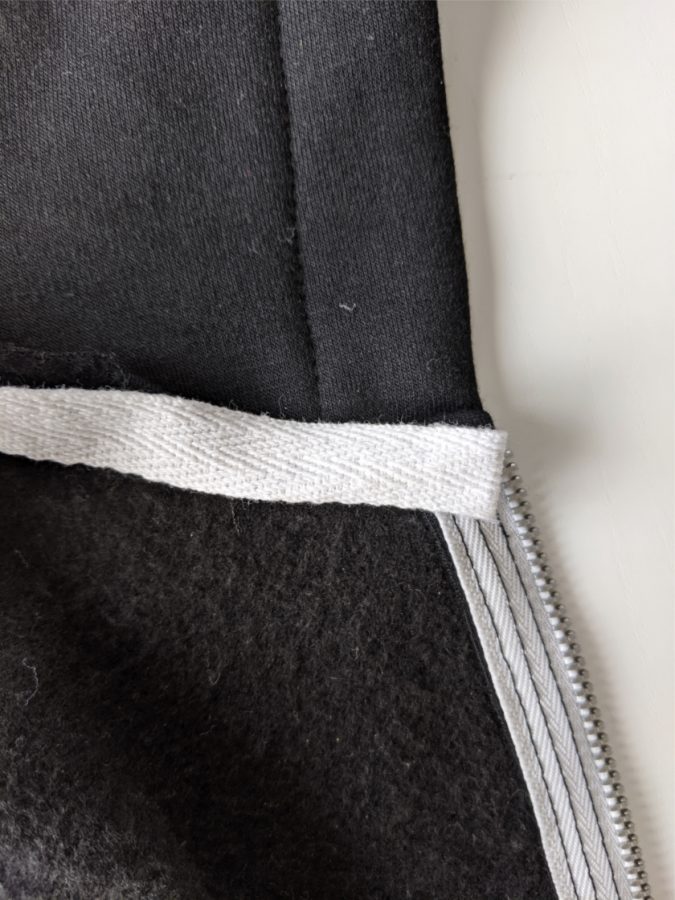
5. At this point, if you’ve constructed your hoodie correctly (unlike me), you can simple edge stitch the bottom edge of the twill tape down to the garment. I like to make sure my bobbin thread matches the garment and top thread matches the twill tape. Because I like to make life difficult, I had to top stitch both edges of the twill tape which isn’t easy or neat, and it’s also just too thick at the center front to lay nicely.
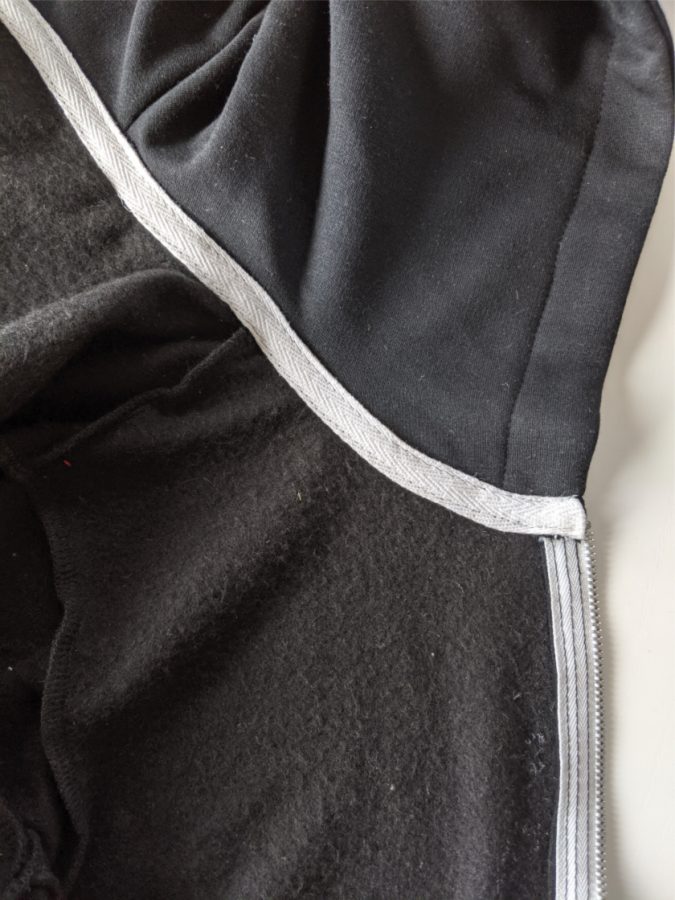
6. Done correctly, you will just have a seam on the outside of the garment that follows the curve of the neckline and looks really nice. You can see I have one decent looking seam and then another one that is almost stitched in the ditch of the hoodie seam but not quite. The good news is the black thread on the black sweatshirting is invisible in real life without the brightness of these edited pics.
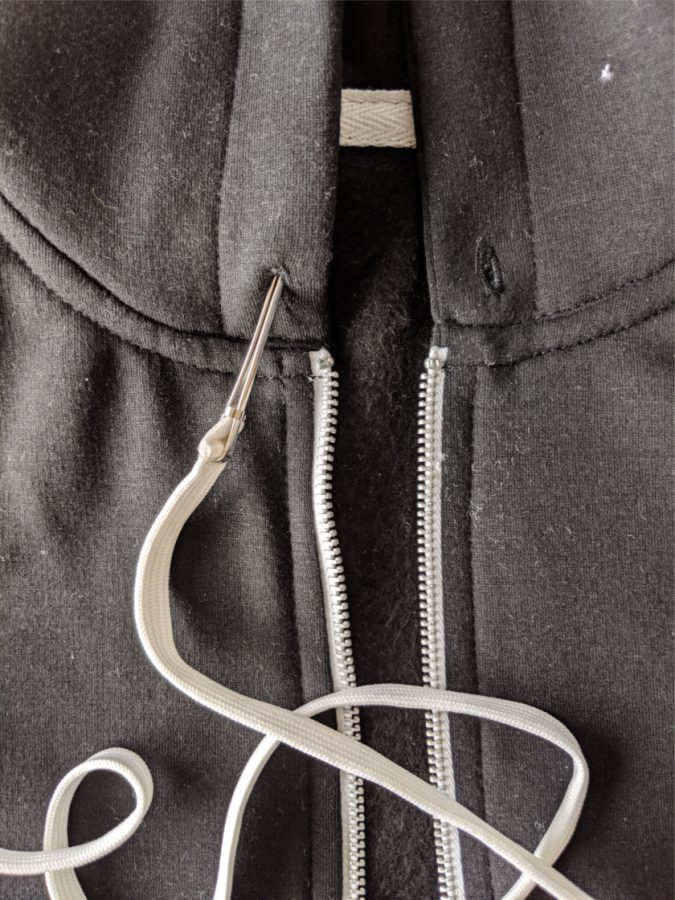
7. Lastly, use a bodkin or safety pin to thread your drawstring through the hood.
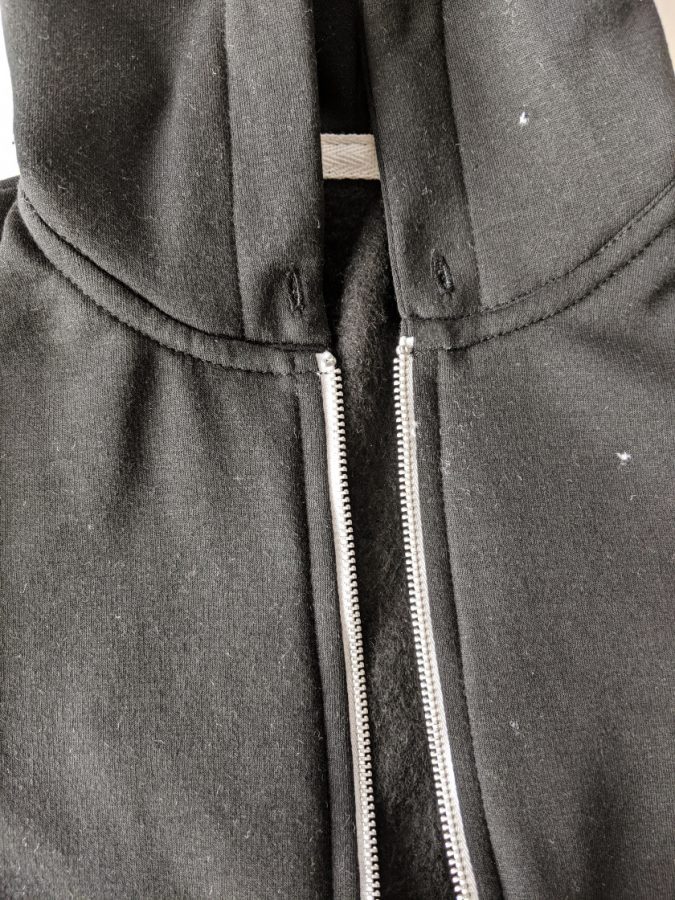
Now you have a beautifully finished hoodie, inside and out! I left my basting stitch in my zipper tape because I was considering going back and replacing those seams with white thread, but if I were you I wouldn’t bet on me actually doing that.


Sources:
Sweatshirt Fabric: Phee Fabrics
Zipper, twill tape, drawstring: Joann Fabrics
Tee: August Ink
Jeans: American Giant
Sneakers: Nike, old
This was so good! Some tips I knew, some a new prospective or new all together. Incredibly helpful. Thank you!! ?
Love this Hoodie! The tutorial is very detailed, thank you so much! When you say you lengthened all the bands how much did you lengthen them by?
I believe about 2″ for an added 1″ in length. I used the Brunswick band lengths actually, if you happen to have that.
This is so helpful! I am in the middle of a project with a separating zipper that is too long and I am waiting for the right size zipper to be shipped to me but I don’t feel like waiting. I’ll give this a try!
I’m a little behind, but I finally finished my handbag!
It isn’t quite perfect, there’s some puckering and wrinkling, but I love it anyway. It’s mine and I designed and made it all by myself!
Thanks for sharing this great information for shortening the zipper. I have a sweater but it’s too long I can’t shorten this zipper. Even the fact of a world pandemic Corona I can’t go outside from my home. I have a sewing machine in my home when I see your video and read your article very attentively then I have done this work at my home. Thank you for sharing these great tips.