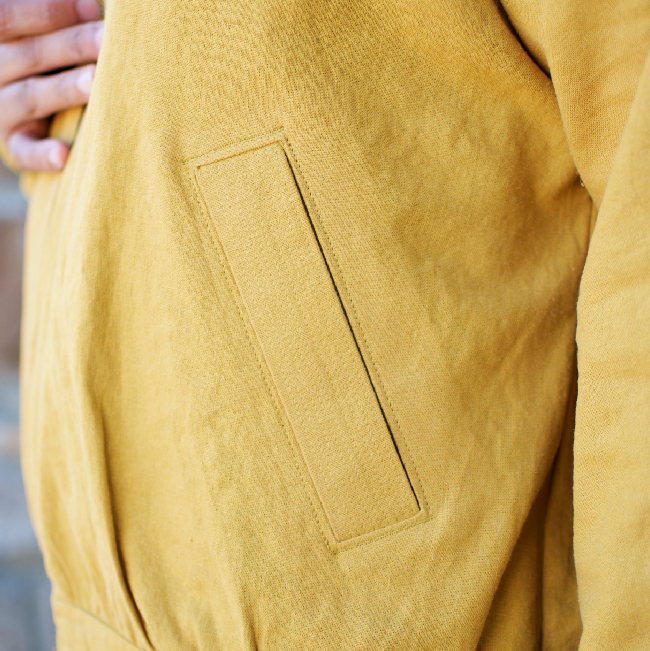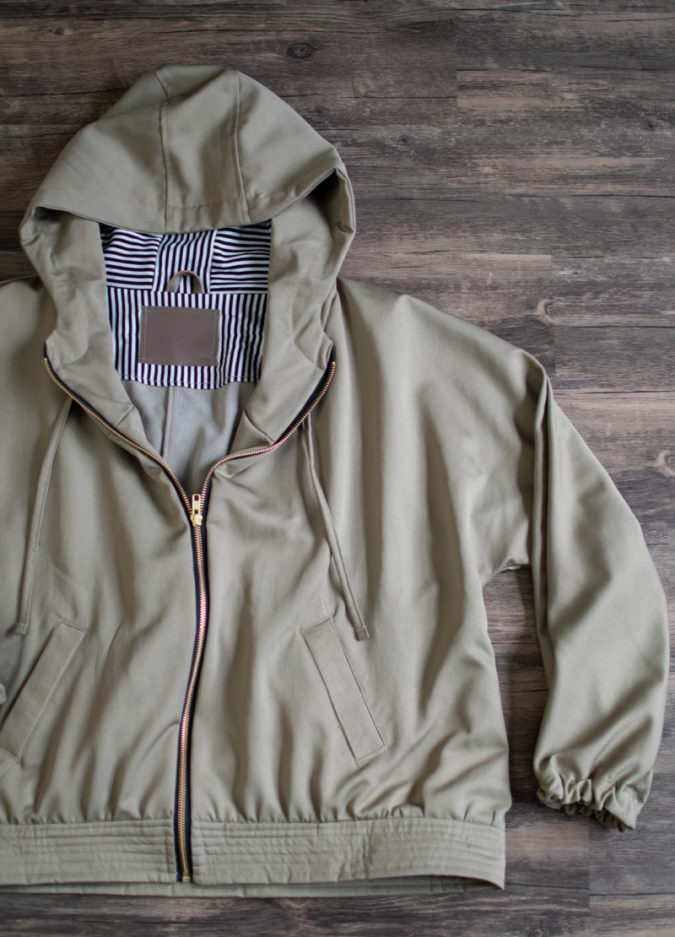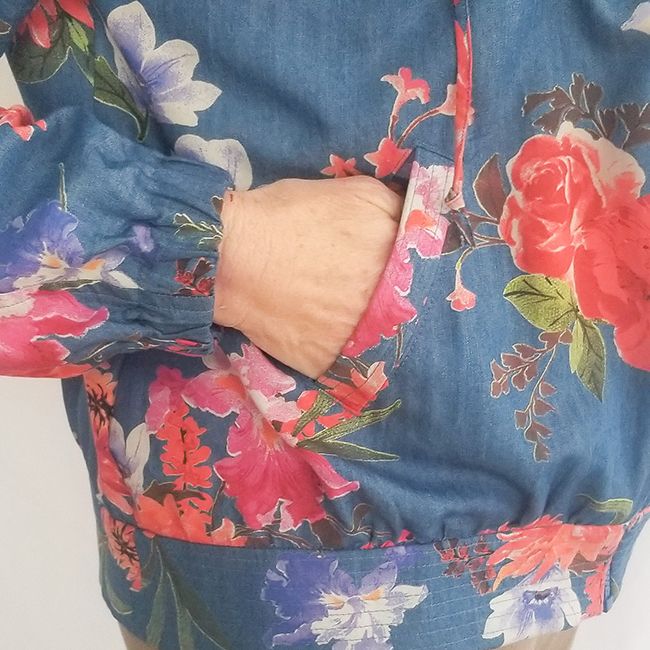
Here is a series of videos to help you out with the Wheaton Windbreaker if you’ve never sewn a welt pocket before. These videos are intended to be used in conjunction with the pattern directions. Instead of making one extremely long video, I have chopped them up into small snippets of video so you can skip to the parts that you need. There’s nothing worse than needing to see one step in the middle of a 30 minute video, am I right?
So please just keep in mind that this is not a traditional video sew along, but rather quick snippets to show you a visual of each step (in addition to the visuals included in the pattern instructions, which also have clear illustrations for every single step). I do ramble quite a bit in each video, but since you are following along with the pattern, you can watch with sound off. I’ve also included a little summation of each video so you’ll know what to find in each one.

My last caveat is that this pocket is actually really straightforward. I think it seems difficult because there are 5 pieces. But if you go into it with the right attitude and expectations I think you will be fine. I hesitated to make this many videos because that in itself makes the pocket seem more complicated than it actually is. Without talking and filming, I can sew this pocket together in about 3 minutes. So please do not be put off by the fact that there are seemingly a ton of steps – the pocket construction is far easier than the tutorial implies!
(most of these videos are missing the titles that I spent a lot of time adding in iMovie, which proves there is a conspiracy against me by video editing software and is also one of the many many reasons I don’t do video tutorials very often.)

Welt Pocket Tutorial
Step 1: A discussion about the pattern pieces, cutting, and fusing
This video includes information on the 5 pattern pieces that compose each welt pocket. These 5 pattern pieces are each cut as a mirrored pair. I am only cutting one set for this tutorial because I am only sewing a right pocket. It is helpful to understand what each piece does so the construction process makes sense.
Pieces 14, 15, and 16 are cut from the main jacket fabric. Pieces 17 and 18 are cut from lining fabric. The sample shown in this video uses flannel as the lining to make extra cozy pocket bags for your hands. Pieces 14 and 15 make up the welt and welt opening. Pieces 16 – 18 make up the pocket bags.
The video then shows how to block fuse fabric for cutting pieces 14 and 15 with the interfacing already attached.
In the pattern, these steps are shown in the cutting instructions on page 9 and the interfacing instructions on page 12.
Step 2: Marking the pattern pieces
This video shows how to transfer the necessary markings to your pattern pieces. There is a fold line to transfer on piece 16. Pieces 14 and 15 have multiple markings and this video includes a quick tip for easy mark transferring.
In the pattern, these steps are shown in the marking instructions on page 12.
Step 3: Optional top stitching on the welt lip
This video shows where and how to sew the decorative top stitching on the welt lip (piece 14).
In the pattern, this is shown in step 2.
Step 4: Sewing the welt lip to the pocket
This video shows how to sew the welt lip (piece 14) to the pocket (piece 17).
In the pattern, this is shown in step 4.
Step 5: Preparing and sewing the welt opening in the jacket
This video shows how to mark the welt opening on the jacket, interface the wrong side, sew on the welt pieces (14 and 15), and cut open the welt. I recommend using very sharp scissors to cut the welt, unlike what I have done here.
In the pattern, this is shown in steps 1, 3, 5 – 8.
Step 6: Forming the welt lip
This video shows how to turn the welt lip facing (15) and welt lip (14) to the wrong side of the jacket, press it, and fold the welt lip into place.
In the pattern, this is shown in steps 9 and 10.
Step 7: Sewing the welt lip in place
This video includes instructions for sewing the short edges (triangular cut pieces) of the welt in place to secure it to the jacket.
In the pattern, this is shown in steps 11 and 12. If you’re following along with this sewalong while sewing, please refer to the top stitching in step 13 as that is not covered here, but must be done at this point.
Step 8: Finishing the welt seam allowances
This is an optional step, but recommended if your fabric tends to fray easily. This video shows you how to finish the seam allowances with the welt lip facing and the welt lip.
In the pattern, this is mentioned in step 12.
Step 9: Assembling and sewing the pocket facing
This video shows you how to sew the pocket facing (piece 16) to the pocket lining (piece 18), and then sew the pocket lining to the pocket. It also shows where top stitching around the welt opening would go if you chose to use that on your jacket.
In the pattern, this is shown in steps 14 – 16
And there you have it! A beautifully sewn welt pocket! You can use this technique or even these pattern pieces on any pattern where you want a welt pocket opening! Happy sewing!

Super helpful!! Thank you!!!
Excellent tutorial with attention to detail. very helpful. keep up the good work!!
Thank you for such an amazing tutorial! Such great detail, you have made this very easy to follow 🙂
This is the best welt pocket tutorial! Instead of giving up on trying to add them to my project, I now feel confident enough to try. I love how you broke it down into small steps and explained each one to well. Thank you!!!
Thank you very much from France for this clear and complete tutorial. I am a beginer and was afraid of the welt pocket I have to sew. You are a great helper. Nathalie