Happy Monday! Please join me in welcoming Emily this morning! She’s sharing a cute dress that is just perfect for a trip to Disney or for Halloween! You still have plenty of time to whip one up before the 31st!
~~~~~~~~~~~
Hello Hey June Readers! I am thrilled and ecstatic to be guest posting today!
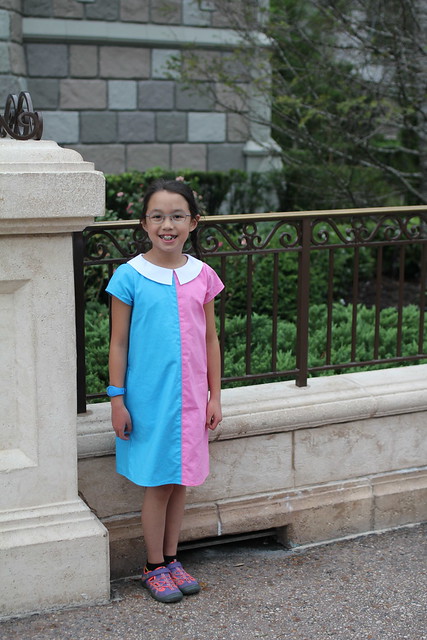
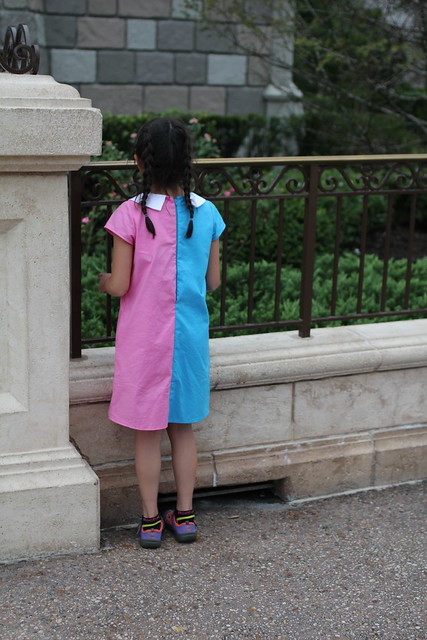
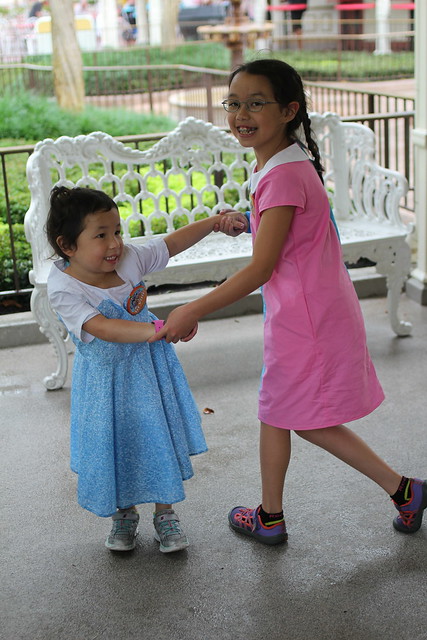
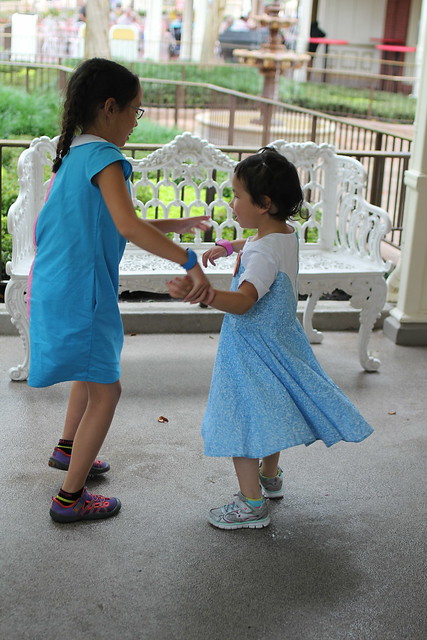
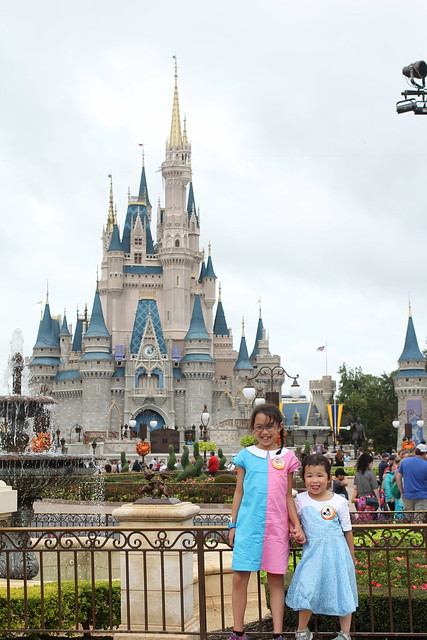
We just came back from our first visit to Disneyworld. When we booked our tickets seventyish days ago I immediately started planning outfits. Ansley is eight and was totally on board with Disneybounding (dressing in colors/accessories like a character but not an actual costume) and happily agreed to bound as Sleeping Beauty from the scene where Flora and Merryweather are having a magical disagreement about the color of Aurora’s dress. While not quite as simple as waving a wand and creating a perfectly fitted dress, it is quite easy to sew your own colorblocked Larkspur dress.
This is a size 10. Her measurements put her between an 8 and 10. This is my first time sewing the Larkspur and we love the shape and the collar options. And pockets, because dresses with pockets are the best.
Before cutting my pieces I labelled the pattern pieces with which color I wanted on each side. It turned out that the side with the writing was always the same color (Adrianna probably did that on purpose and it was a pleasant surprise/discovery for me). My fabrics are Robert Kaufman kona cotton from a local quilt shop (the best color match I could find) and the white collar (which was Ansley’s idea) is white tencel from Joann, leftover from her Polina dress. I hope I saved enough for a Cheyenne for myself.
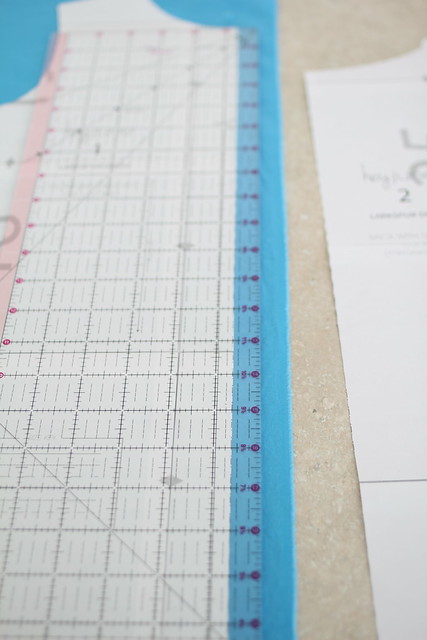
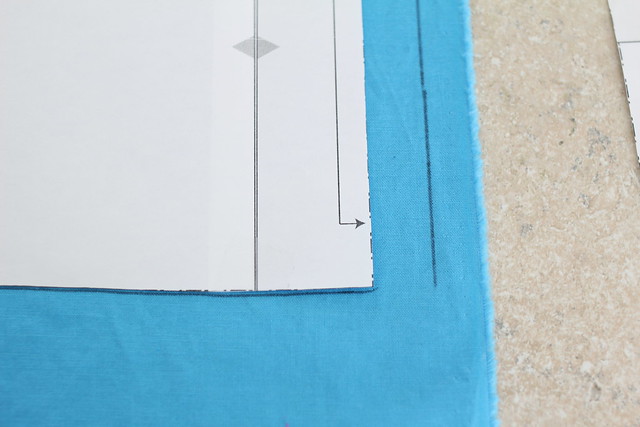
The front piece of the Larkspur is normally cut on the fold. Instead of cutting it on the fold, I added 5/8 inch for seam allowance to seew the two pieces together.
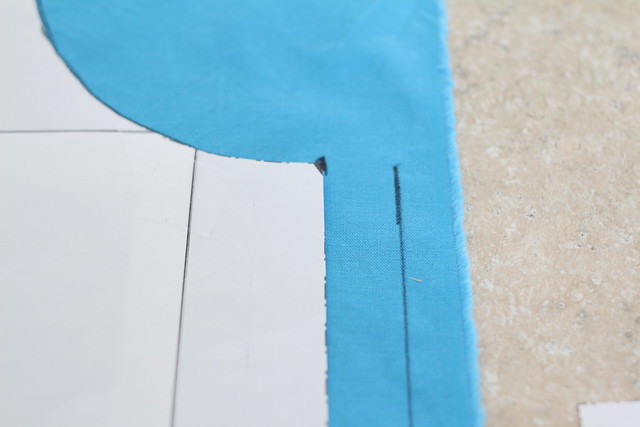
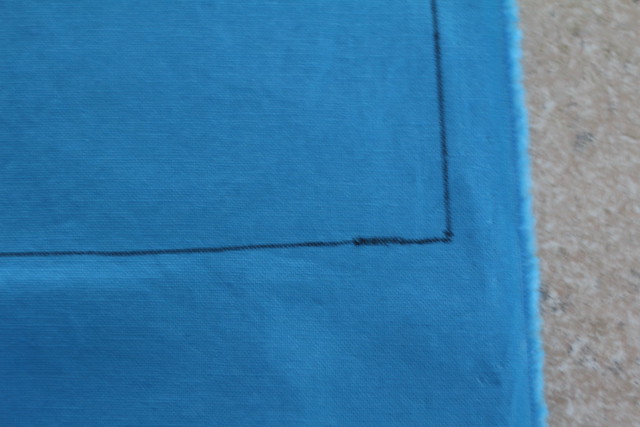
After tracing the new cut line (5/8ths from the pattern piece) I drew a small line to connect the bottom and top of the front piece with the side piece. (I almost always use Crayola washable markers for marking my fabric).
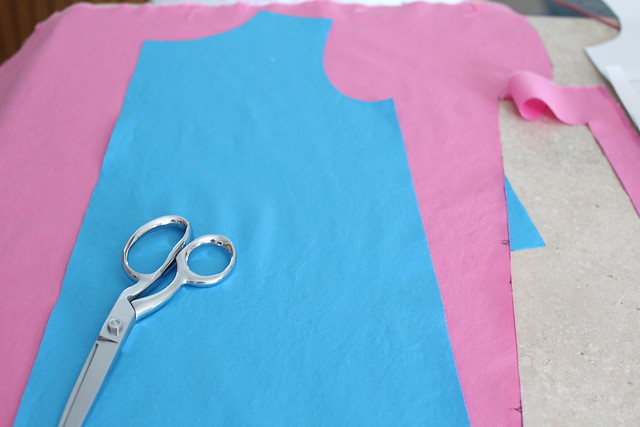
Next, I cut out one blue piece that I had traced.
Using the blue piece as my new pattern piece I cut a mirrored image in pink.
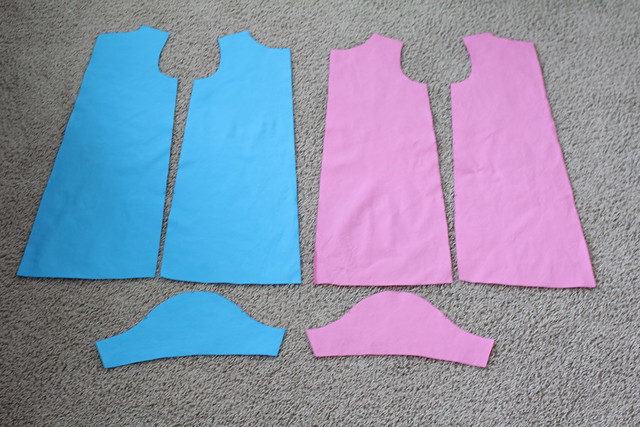
I also cut mirrored image sleeves. This is what my pieces looked like all right side up. (The back pieces are normally not cut on the fold so I just made sure to have mirror images of blue and pink). I also cut pink pockets for the pink side and blue pockets for the blue side.
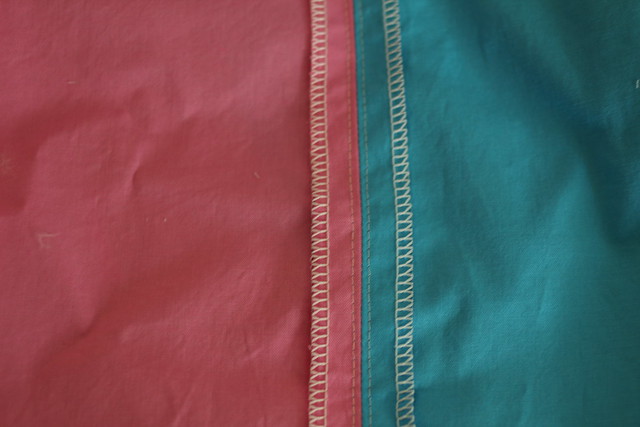
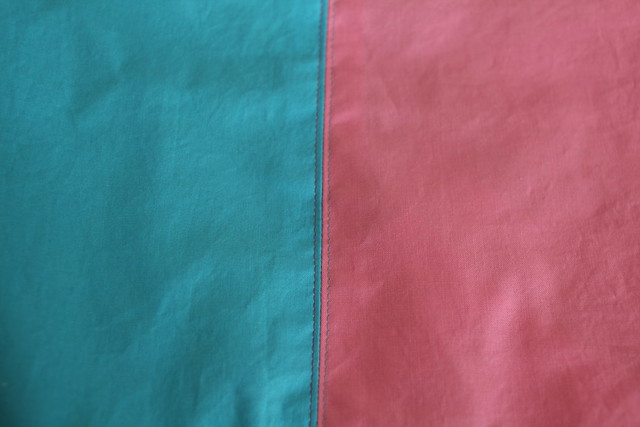
Before sewing the front pieces right sides together I serged the center edge of the pink and blue individually. (You could also sew right sides together and then fold the raw edge into the center seam and press and then topstitch). Using a 5/8th seam allowance sew the front pieces together right sides together. Press open and topstitch. We decided to use pink topstitching on the blue side and blue topstitching on the pink side.
Assemble the rest of the dress as directed in the instructions. The only other thing we had to consider was what color zipper to use. We decided to use blue because it was a better match than the pink zipper at the store.
Make it pink!
No, blue!
What color combo would you make? I think black and white would be striking. Or Hogwarts house colors. Or sports team colors.
Thanks for stopping by!
~~~~~~~~~~~
Thank you so much Emily! I can’t stop looking at those dancing pictures of these sweet girls and their mama-made dresses. The pink/blue effect is so fun!

Thanks so much for having me! ?
My Granddaughter loved your racer back dress when she was 4. Now she is 9 and takes a size 12! Very tall, dad is 6’5″. I am going to give enlarging the pattern a shot if you don’t have one in the works? Wish me luck, I will need it…
Love your work