Sandbridge Sew Along Day 1: Fitting
Sandbridge Sew Along Day 2: Zip Fly
Sandbridge Sew Along Day 3: Pockets
Sandbridge Sew Along Day 4: Back
Sandbridge Sew Along Day 5: Waistband
Sandbridge Sew Along Day 6: Finishing Details
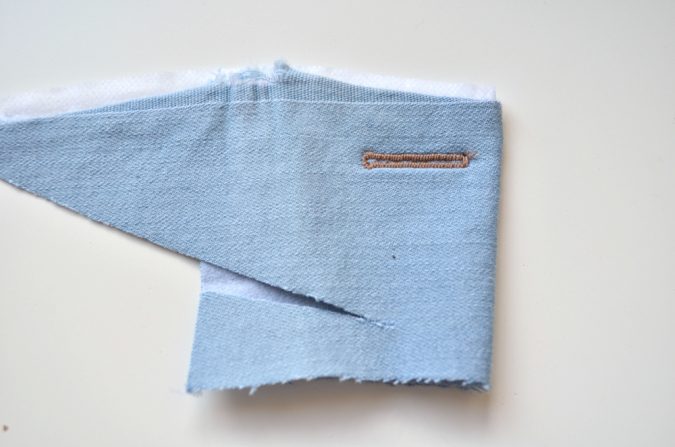
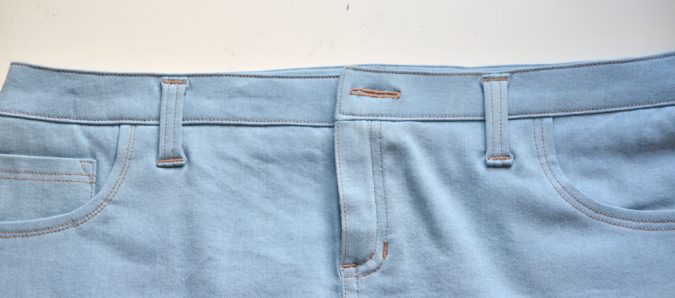
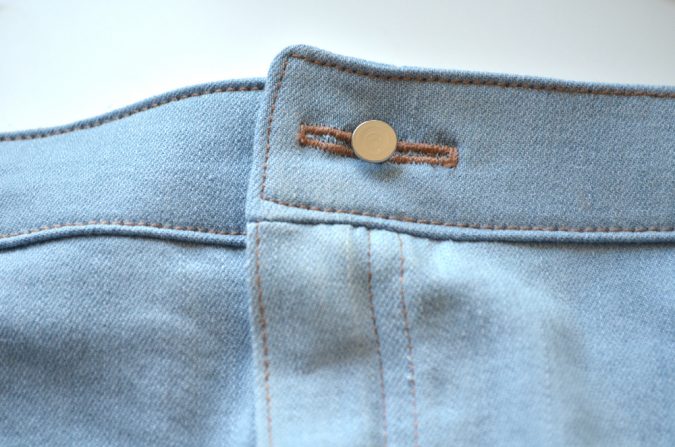
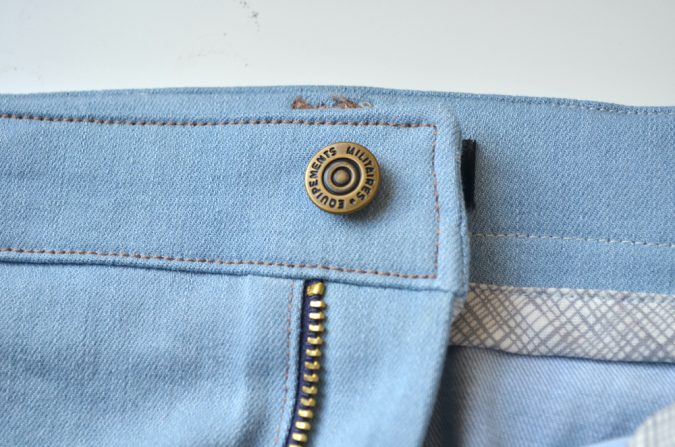
First up we’re going to tackle that dreaded buttonhole. Here’s the thing about sewing buttonholes on denim waistbands – they work great during practice but rarely on the garment. Here’s why: the keyhole buttonhole is the recommended and standard type of buttonhole for a denim garment. However, this type of buttonhole must be sewn moving toward the center front of the waistband because the automatic buttonholer does the keyhole at the bottom of the stitch. But you’ll notice as you’re sewing toward the center front of the waistband that it doesn’t take long until your buttonhole foot is hanging off the front of the skirt with no fabric underneath of it. If yours is anything like mine, it does not like that so much. I’ve tried to trick it by sticking other fabric under that area or even basting it to the waistband but it’s not having it. So, I get test buttonholes that look perfect like this:
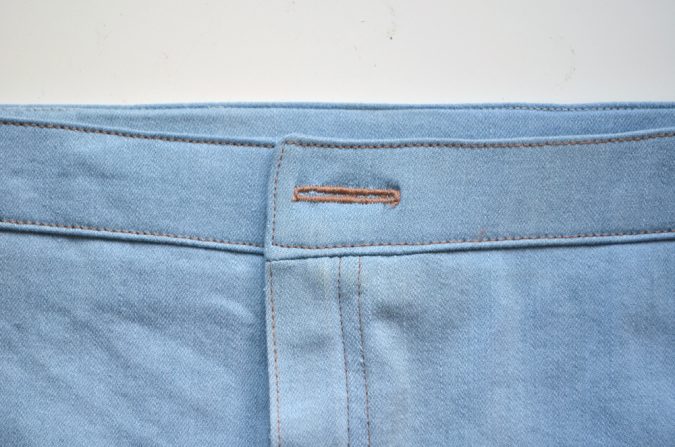
…and I can’t replicate them to save my life on the actual garment. SO, I always just end up doing a regular rectangular buttonhole and call it a day. After all, the button is going to cover any cute buttonhole detail anyway, so don’t sweat it. And if your machine is STILL not having it, just switch that topstitch thread to regular thread and sew a plain ol’ buttonhole. Ain’t nobody stressing over this but you, I promise. When your buttonhole is finished, put a drop of fray check right in the center on the wrong side and leave it there to dry for a bit.
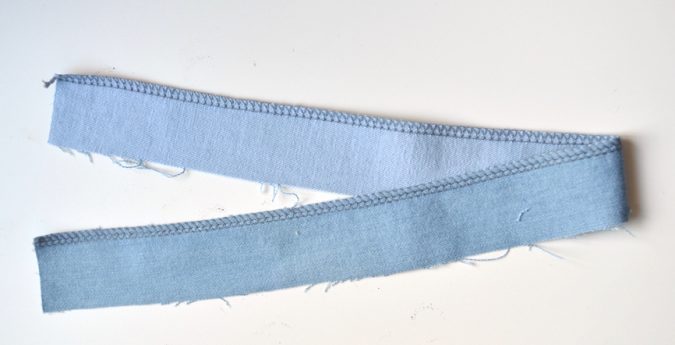
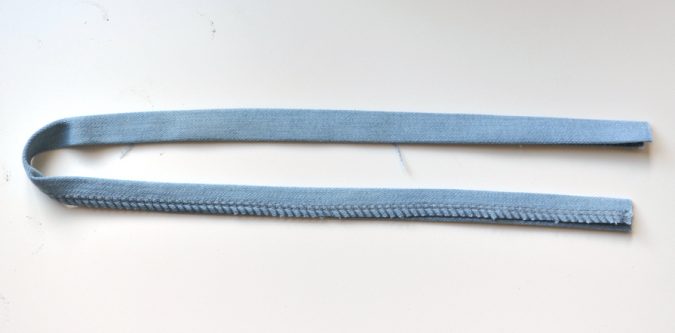
Now let’s work on belt loops! First serge one long edge of the belt loop piece.
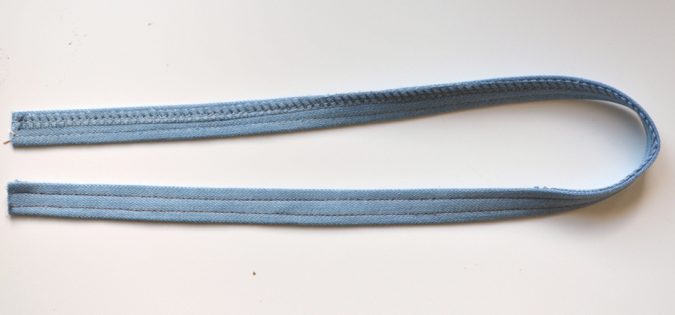
Now fold the belt loop in thirds, like a letter, down the length of the strip. Make sure the serged side ends up on top so it stays visible.
On the right side of the belt loop, sew two lines of stitching using top stitch thread. I like to move these a little bit farther away from the edge than an edgestitch. Check out the belt loops on your jeans to see how the two lines of stitching just about divide the belt loop into thirds.
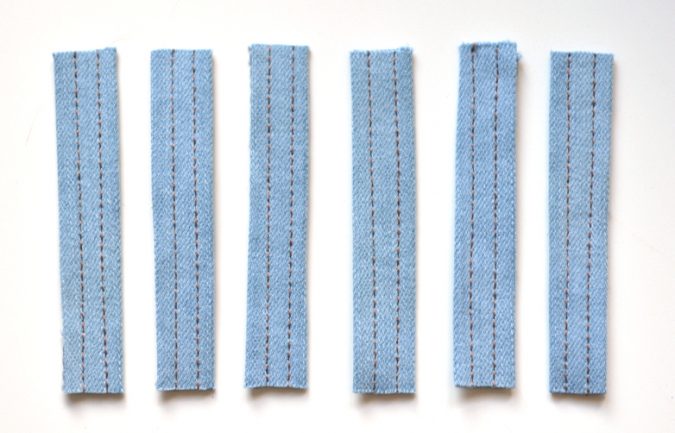
Use a ruler to cut the belt loop into 6 pieces that are each 3 1/4″ long. To keep the edges nice and crisp, start cutting the first one a bit away from the top of the belt loop, about 1/2″ down. At the end you’ll have another bit of excess belt loop that you can also toss.
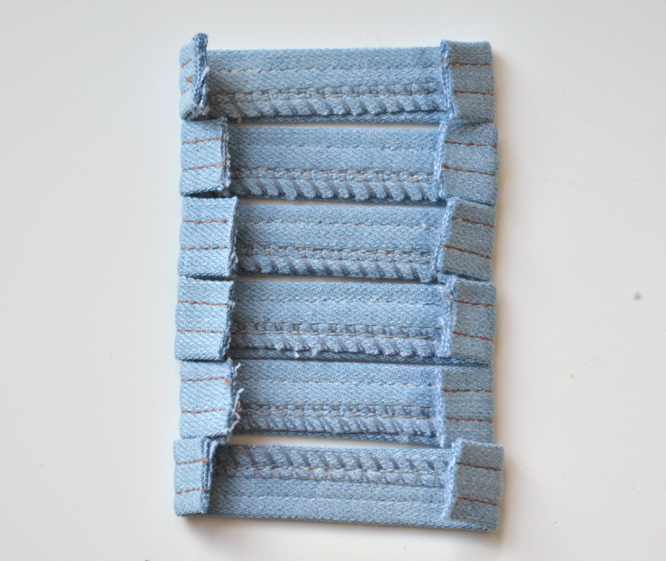
Press both sides of each belt loop 1/2″ toward the wrong side. After you measure and press the first one, you can use it as a guide to press the rest of them.
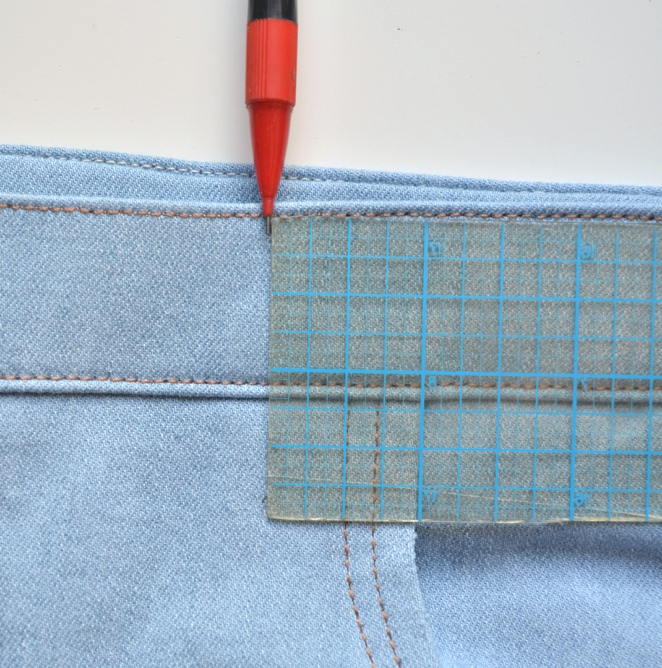
Use a ruler and pencil or tailor’s chalk to mark a point on the waistband 1″ from the curved pocket opening toward the center of the skirt.
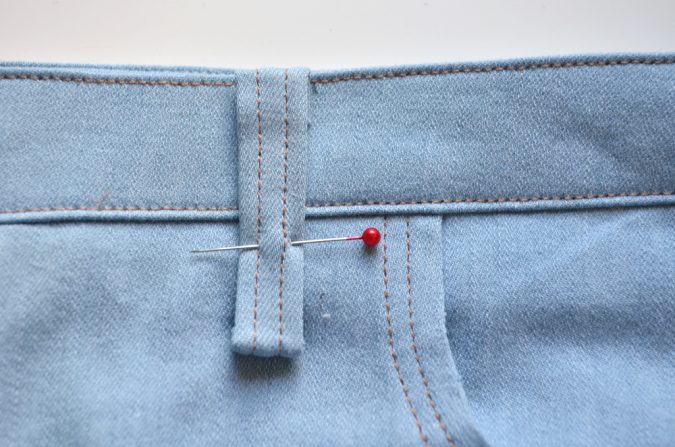
Pin one of the belt loops just to the inside of the mark you made.
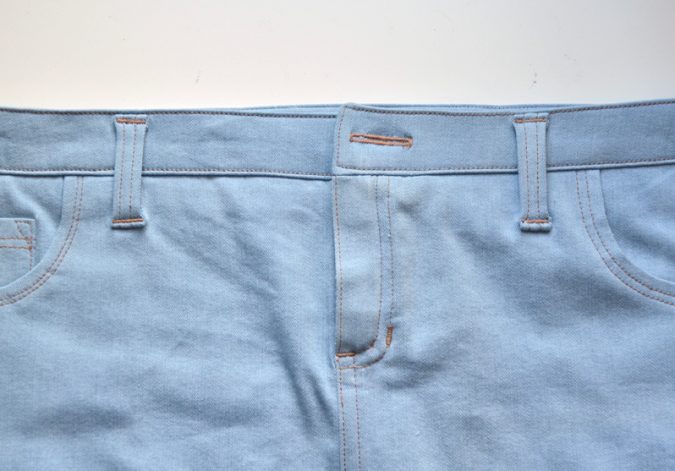
Use bartacks to secure the top and bottom of the belt loops to the skirt front on both sides.
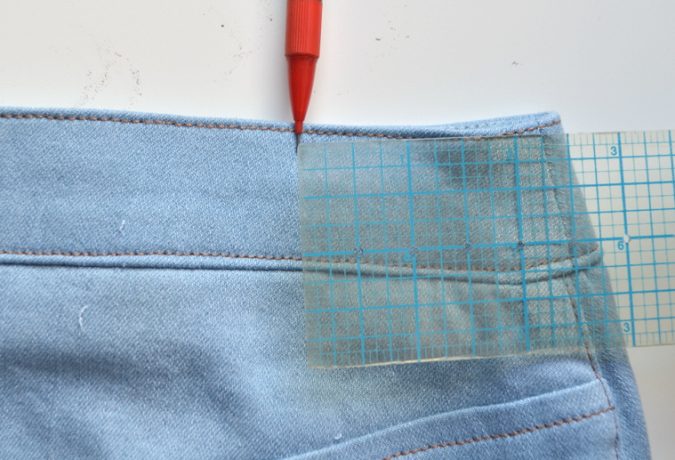
Now you’ll repeat those same steps to add the belt loops to the back. This time mark 2 1/4″ from the side seam on the back of the skirt.
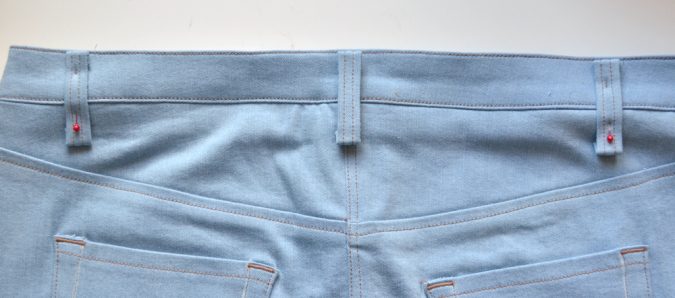
Pin the side belt loops in place. For the center belt loop there are several options. Again, this is a great place to get some inspiration from RTW. Here is the standard one vertical belt loop:
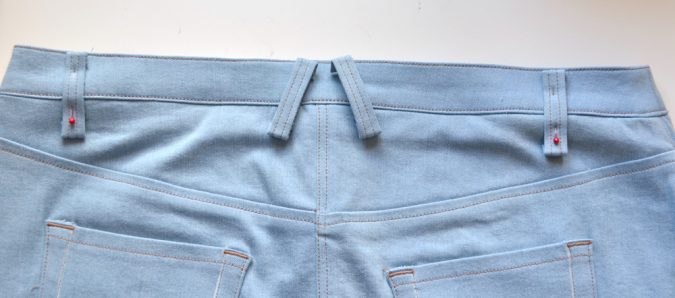
You can also put two belt loops on either side of the center seam angled toward one another.
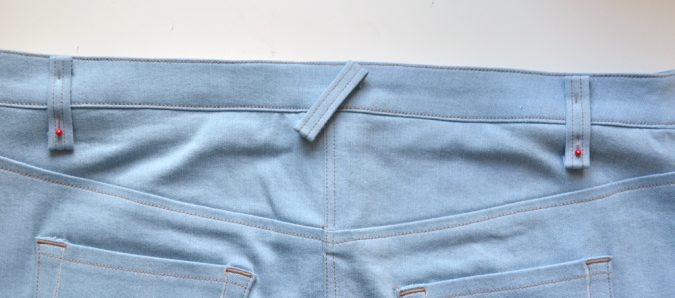
I’ve also seen just one belt loop at an angle across the back or even two forming an “X” shape. It’s up to you!
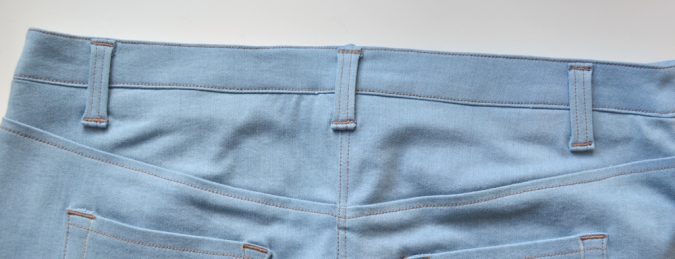
I went with the traditional look on this one.
Now flip the skirt over and cut open that buttonhole.
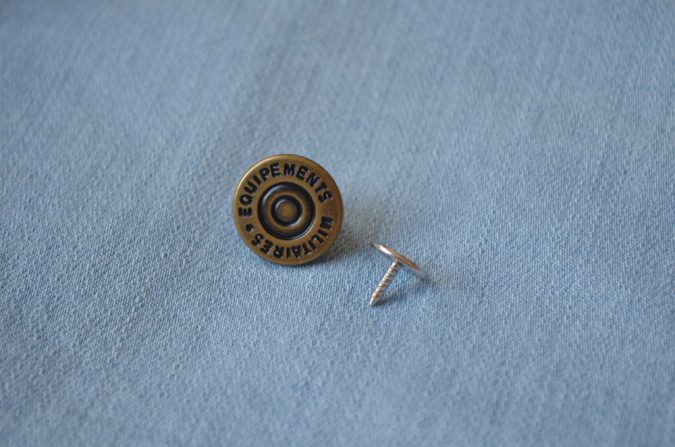
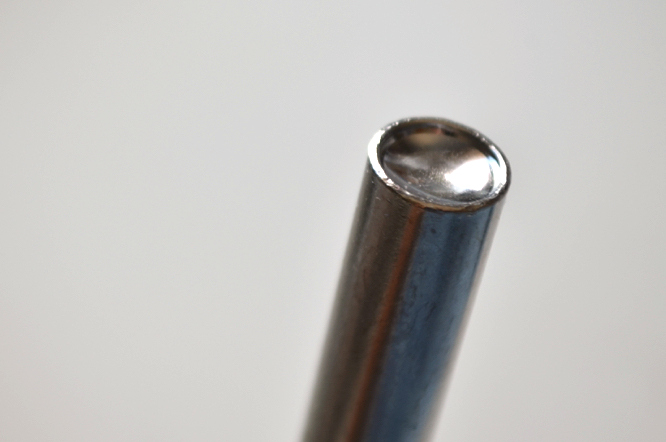
There are several different types of jeans buttons that can be used. All of them have a longer hollow cylindrical shank and a back piece that will either screw, press, or hammer in. I got these at Joanns and they’re my favorite because they are so, so easy. I’ll show you why.
First I use the back of the button to push through the buttonhole and mark the point where it needs to go on the right waistband.
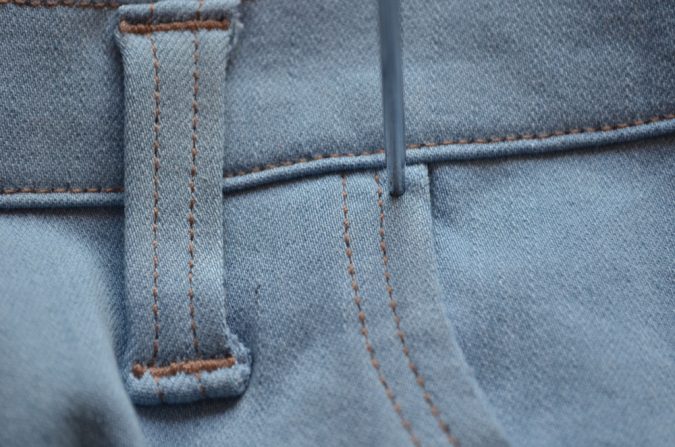
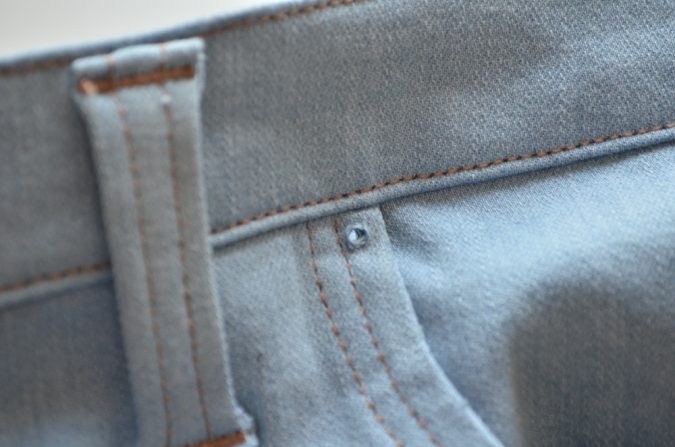
Then I use an awl to punch a hole through the point that I marked.
Stick the back of the button up through the waistband from the inside.
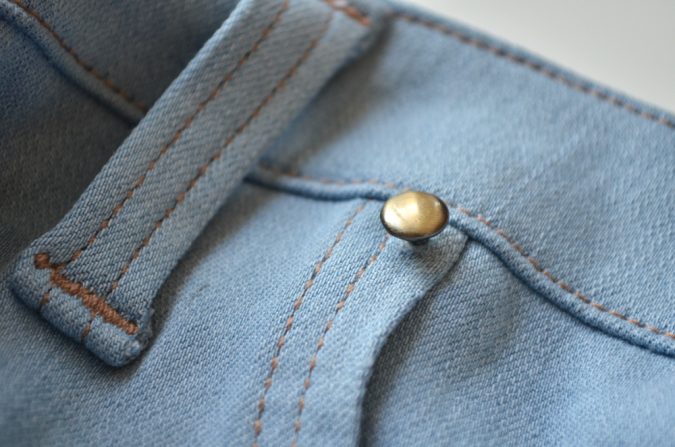
At this point, you may be setting the back piece on a mini anvil and hammering the top of the button down onto the exposed back piece. But here’s why I love these. You can simply place the button on top of the back and press it in place. That’s it! And it’s totally sturdy! No screwing or hammering or anything.
Bam!
So purdy.
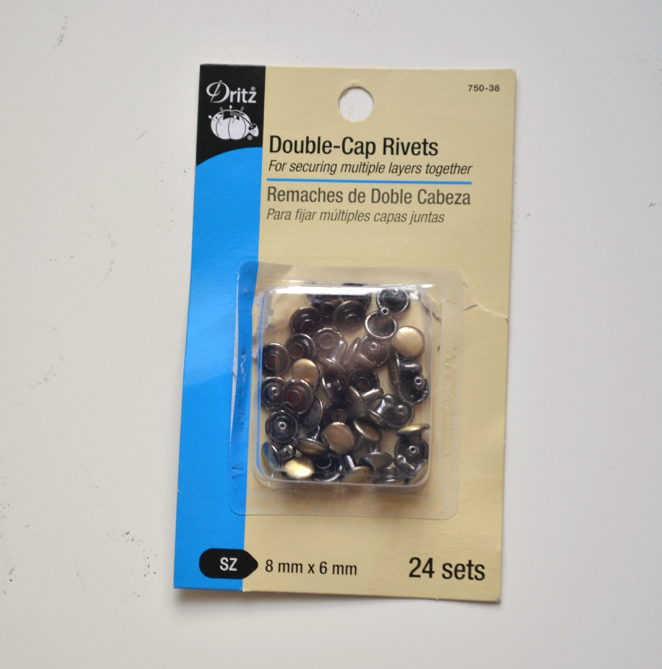
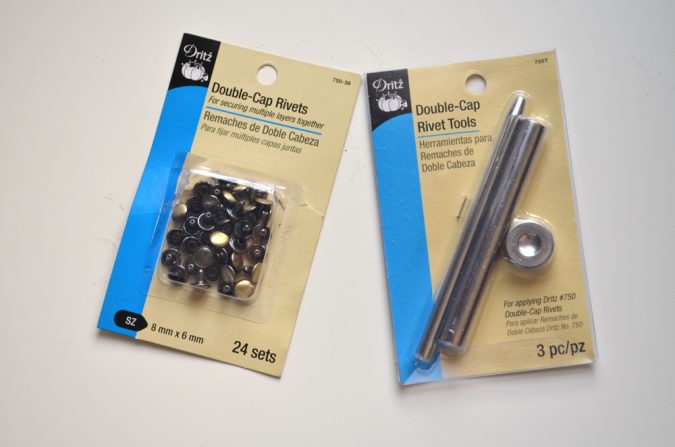
Ok, moving on to rivets! Once again, the type you buy can make your life much easier or much harder. The traditional style of jeans rivets only have a single cap and the back looks very similar to the back of the button I just showed you. Those have a bit of a learning curve. Do yourself a favor and get these double-cap rivets. They can be found at Joanns and they’re cheap and so easy to install.
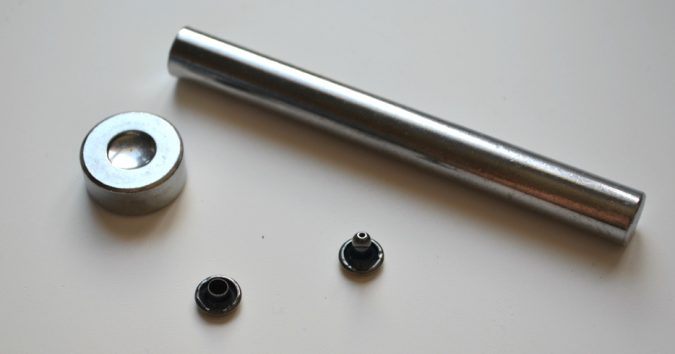
You’ll also need the rivet installer that corresponds with these and includes a setting tool and an anvil.
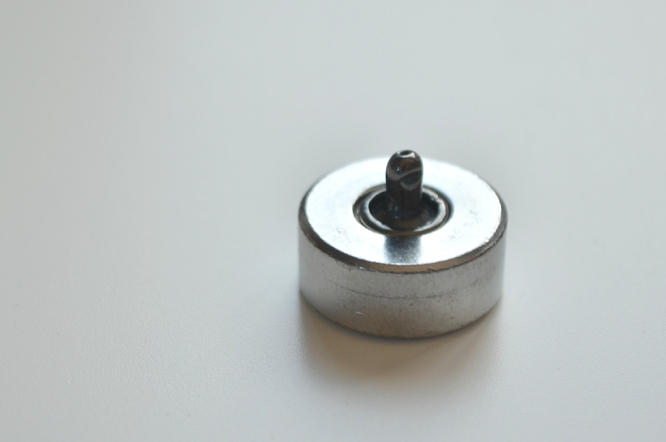
Pull out these four pieces (each rivet has a male and female piece.)
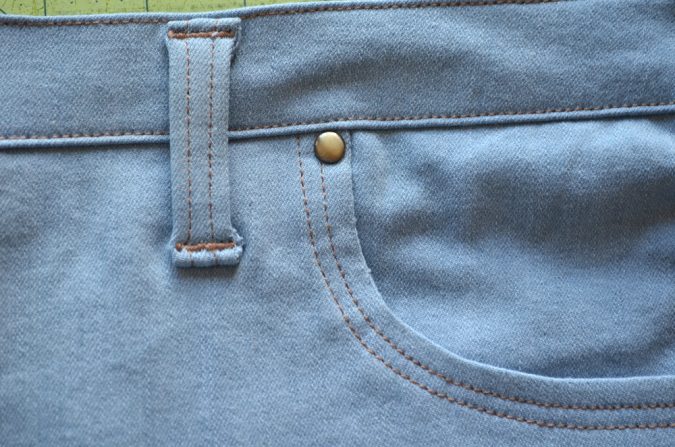
Once again, check out RTW jeans for inspiration on rivet placement. I put mine at the top and bottom curve of each hip pocket and one on the outer edge of the coin pocket. I don’t recommend putting rivets on the back of the skirt because it can scratch or rip seating. Where ever you decide to install a rivet, you’ll need to first punch a hole again with an awl.
Place the male piece of the rivet into the center well on the anvil.
Lay the skirt over it and push the hole down over the rivet. Make sure the anvil stays in place.
Position the female piece over the male piece.
The rivet setting tool will have two sides, one of which has a concave curve. That’s the side you’ll place over the female rivet in order to hammer it in place.
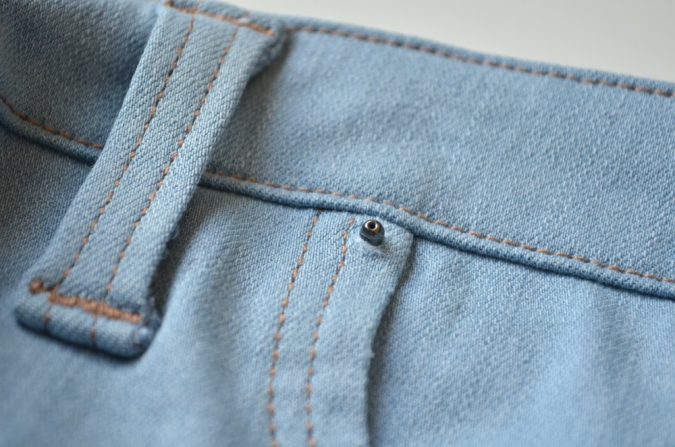
2 or 3 good hits will set that rivet.
And that’s it! A rivet! So easy, right? Now add the rest of them.
I chose to leave the bottom of my skirt fully raw with no stay stitching because I loved the super casual effect. However, if desired, go ahead and add one or two rows of stitching along the perimeter of the skirt using topstitch thread. If you added length at the beginning in order to do a traditional double turn hem go ahead and do that now and then topstitch the turned hem with topstitch thread.
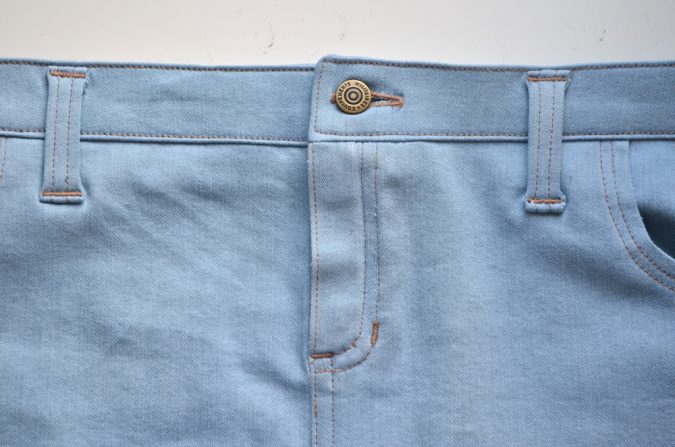
You’re not even going to believe this, but you are FINISHED my friend! Fist bump and high five and congratulations to you! What an accomplishment! Be sure to show off those skirts in the Hey June Facebook group and add them to Instagram using #SandbridgeSkirt!
Here’s your last chance to enter a giveaway to win a free pattern! Thank you so much for following along this week!

