Sandbridge Sew Along Day 1: Fitting
Sandbridge Sew Along Day 2: Zip Fly
Sandbridge Sew Along Day 3: Pockets
Sandbridge Sew Along Day 4: Back
Sandbridge Sew Along Day 5: Waistband
Ok, today we’re going to attach the waistband, but first we have to deal with that elephant in the room, the dangling, too-long zipper. Shortening a metal zipper is really fun and satisfying if you have the right tools. It is definitely not something to avoid. But you’ll have to dig in your toolbox or possibly take a trip to the hardware store so you can be prepared for this and all future zippers. Trust me, it’s worth it to know that every zipper will be easy from now on!
First of all, remove the basting stitches from the center front.
Open up the zipper.
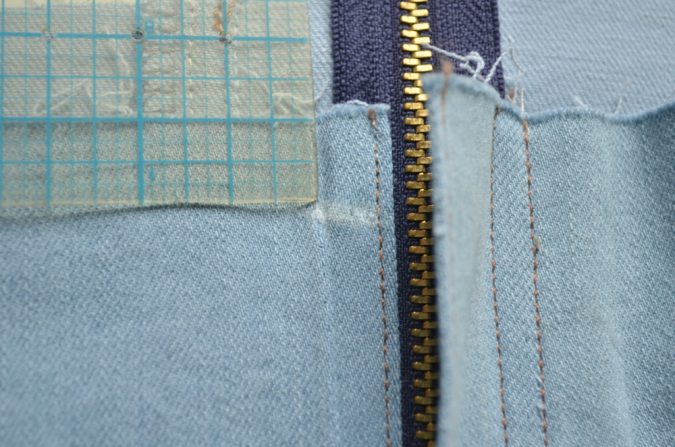
Use a ruler to mark a point 1/2″ down from the waist next to the zipper.
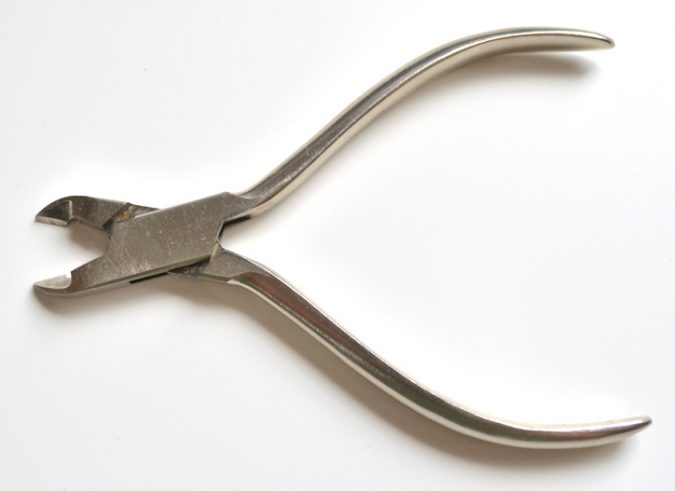
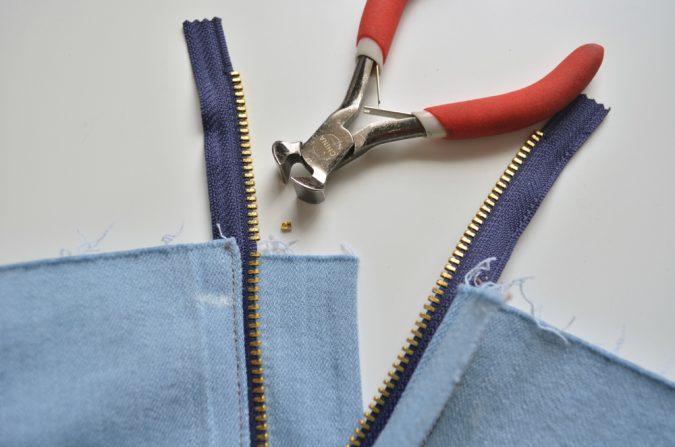
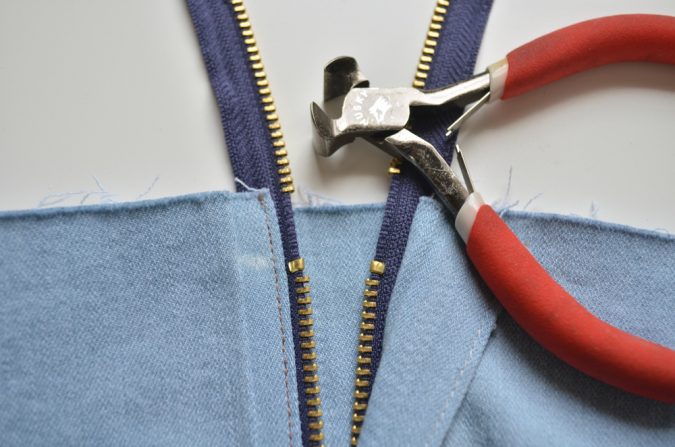
Here are the two tools that make shortening zippers super easy for me. First up are these sharp nipper/plier thingies. I apologize in advance for not knowing the technical names of these things, I’m just a humble sewist. But as you can see, they have a broad sharp edge on both sides, almost like a scissor. I use these for only one purpose, but a very important purpose – removing the zipper stops easily and keeping them intact.
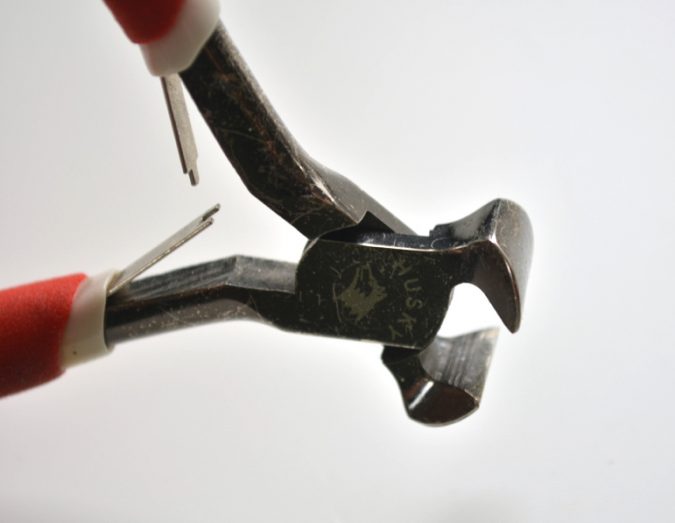
The second tool is the one I use to remove the zipper teeth and to reclamp the zipper stops. It has a thicker chunky “head” with broad edges that thin out at the center.
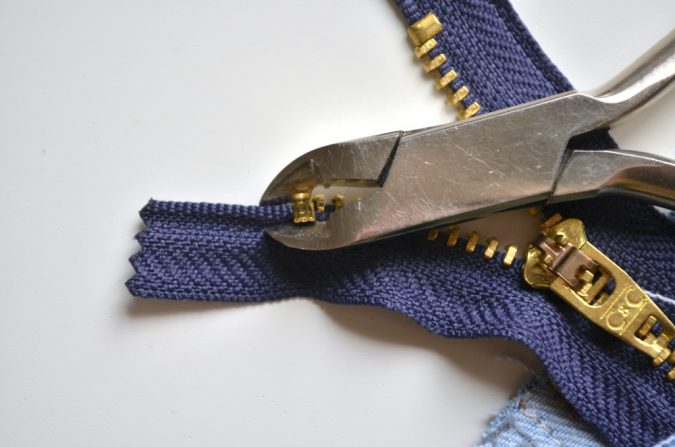
So here you can see how perfectly those sharper pliers slip under the zipper stops and with a quick clamp they open up the stop so it can easily be removed.
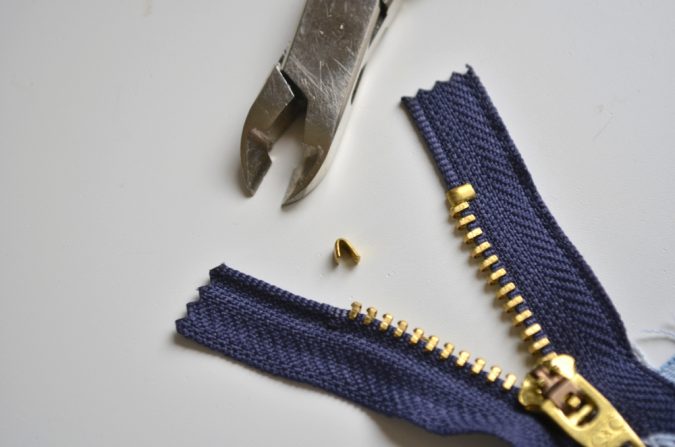
Then, starting at the waist line, I use the broad pliers to pull the zipper teeth off. To do this, be sure you’re only grabbing a single tooth and pull it perfectly perpendicular to the zipper tape. It’ll pop right off.
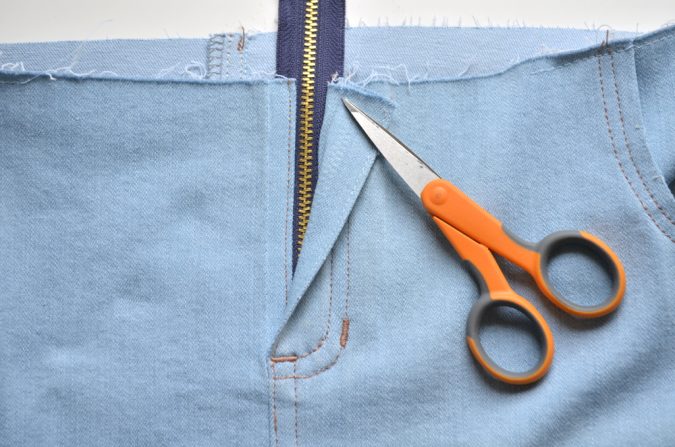
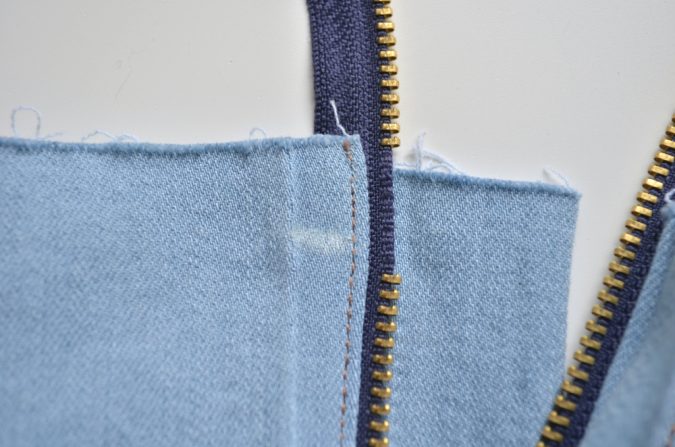
Remove the zipper teeth down to the marked line and then remove TWO teeth below it. Do this to both sides.
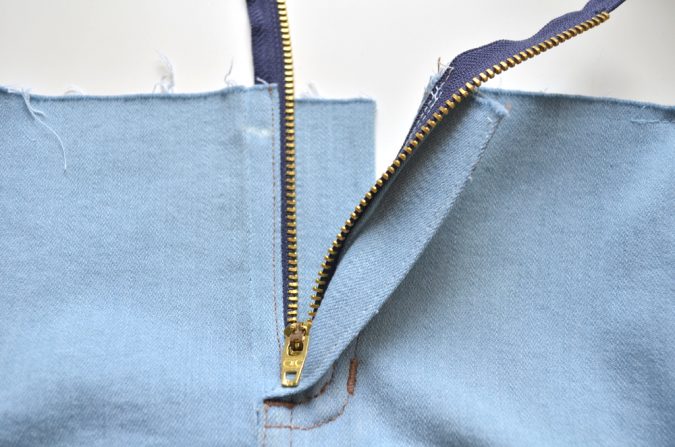
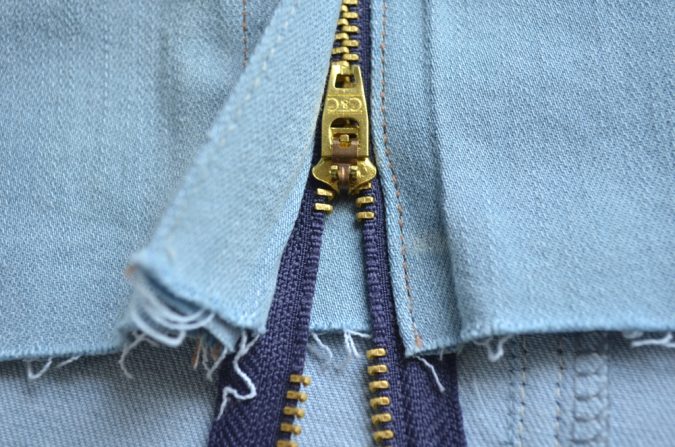
I like to zip the zipper up almost to the point where the zipper teeth end. Be VERY careful not to zip it farther than this. At this point I’m just making sure that I’ve removed the same amount of teeth from both sides and they align.
Now reclamp the zipper stops just above the top zipper teeth. It should still be just below the marked line.
Cut the zipper tape so it is even with the waistline.
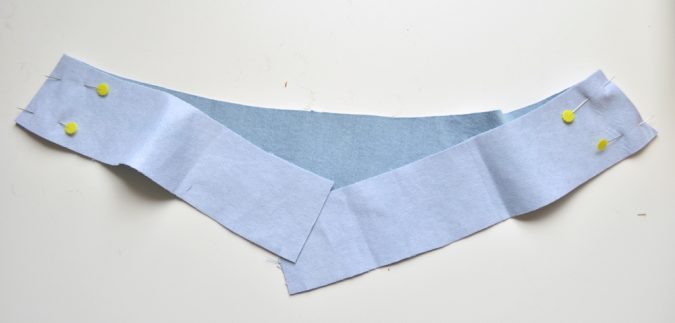
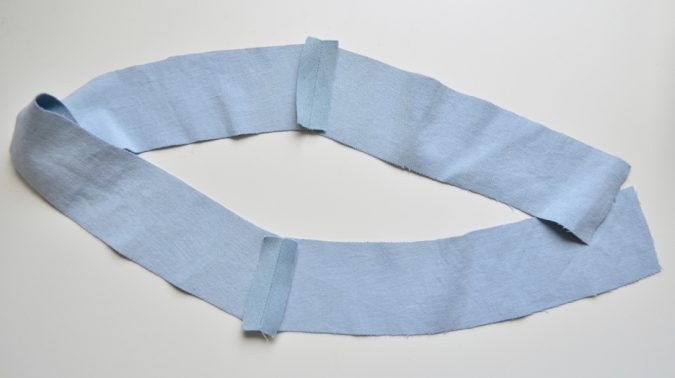
Ok, that’s it! Now you can set the skirt aside and pull out both sets of waistbands. Remember that one set is already interfaced and that set will be the waistband. The non-interfaced set will be the waistband facing. Sew the right and left front waistbands to the back waistband right sides together along the side seams. Remember that the side seams are angled whereas the center fronts of the waistbands are straight.
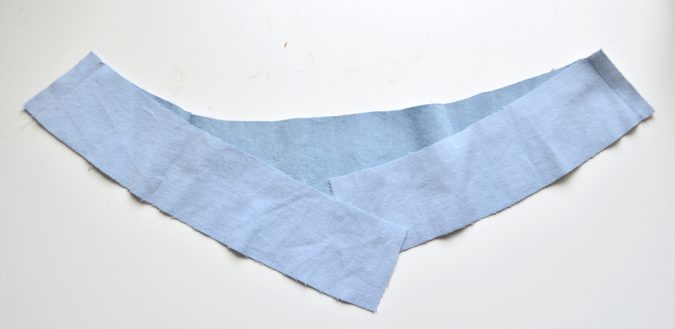
Repeat for the waistband facing.
Press all of the seam allowances open.
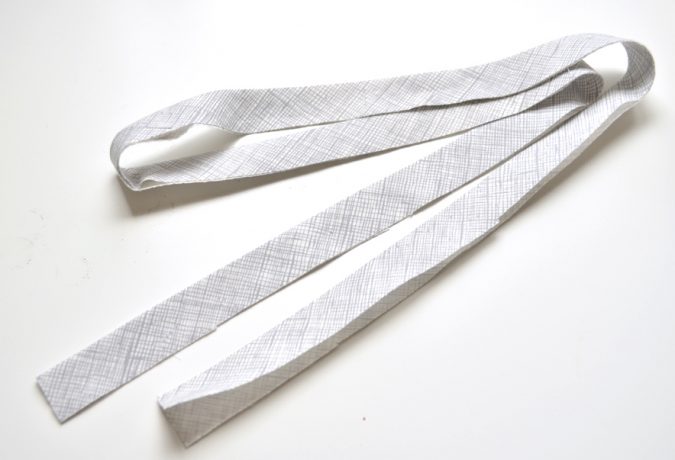
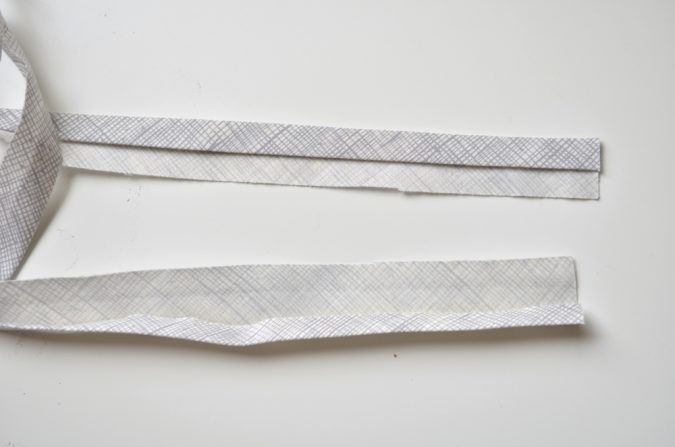
Press the entire bias strip in half lengthwise, wrong sides together.
Open up the bias tape and press one edge so the raw edge aligns with the center crease. Re-press the binding with that one edge pressed under.
Lay the waistband facing wrong side up. Lay the binding right side down on top of it, with the unpressed edge aligned with the lower edge of the waistband.
Sew the binding to the waistband using a 3/8″ seam allowance. Note: many of the testers used a 1/2″ seam allowance here. You can do either one! If you’re brand new to binding a 3/8″ seam might be easier to conceal in the next steps.
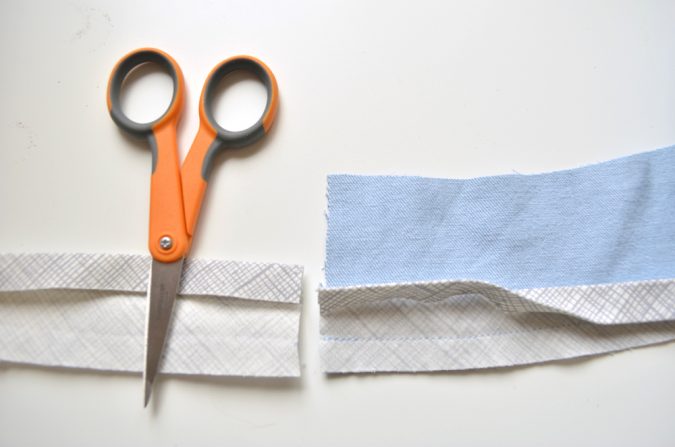
At the end of the waistband there will be some excess binding to trim off so it is flush with the waistband.
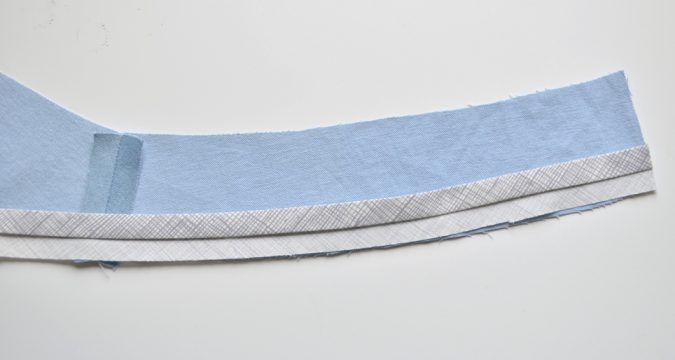
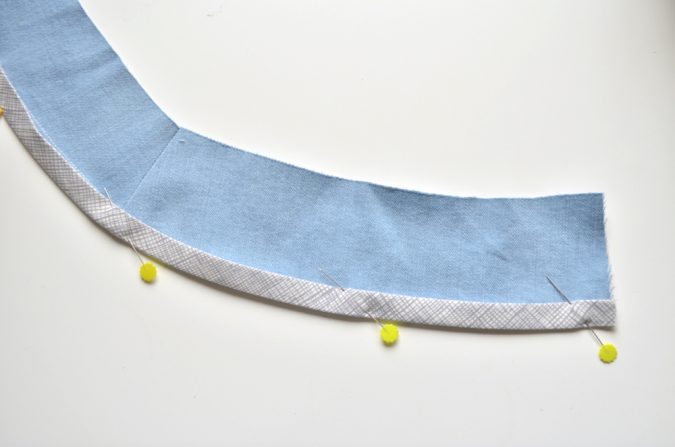
Flip the waistband facing right side up. Bring the binding so it wraps around the bottom of the waistband. Press and pin the binding on the right side of the waistband facing. The folded edge of the binding should cover the first seam.
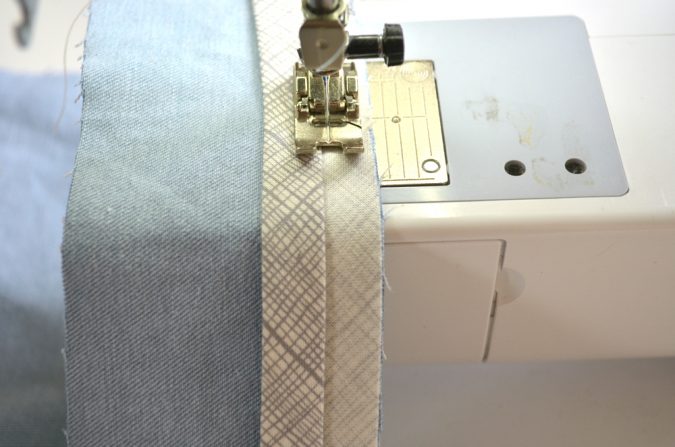
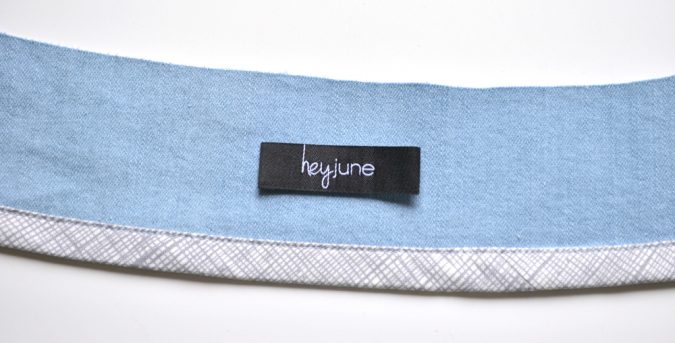
Edgestitch the binding to the waistband facing. If you use labels, now is the time to apply a label to the waistband facing. I applied mine at the center back but location is totally up to you and your design style.
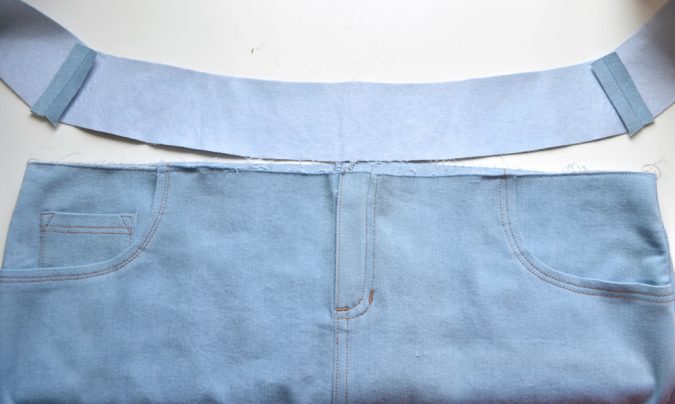
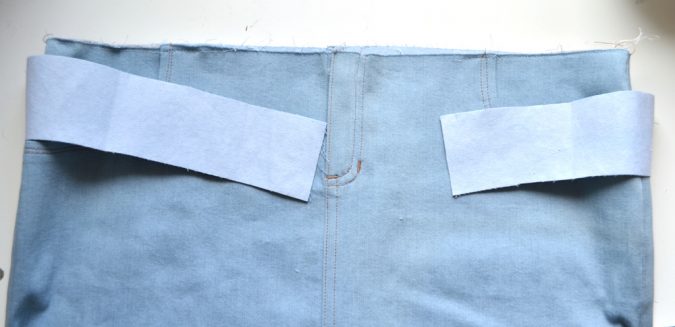
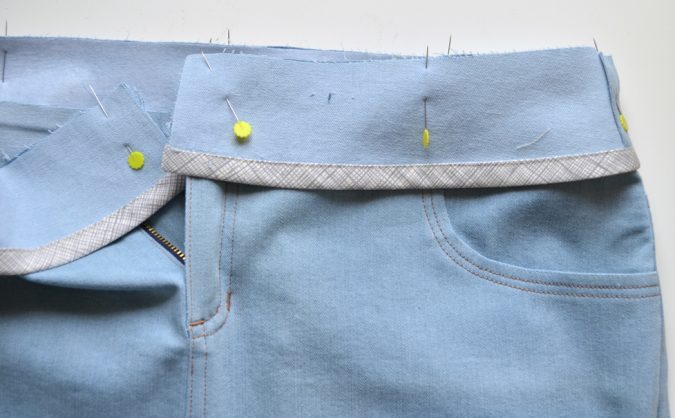
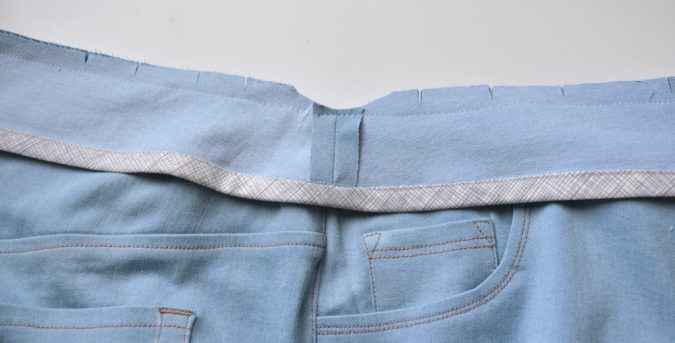
Now you will align and pin the interfaced waistband (NOT THE FACING) to the skirt. If it helps to visualize, lay the waistband above the skirt as it’ll look after it’s sewn on, as so:
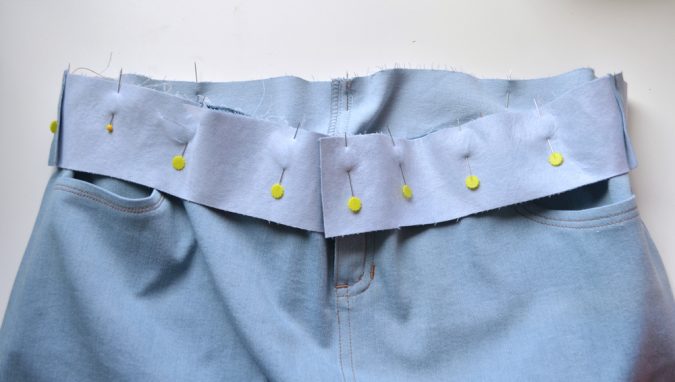
Then flip the waistband down so that it is right sides together with the skirt and the lower edge of the waistband can be pinned to the waist line.
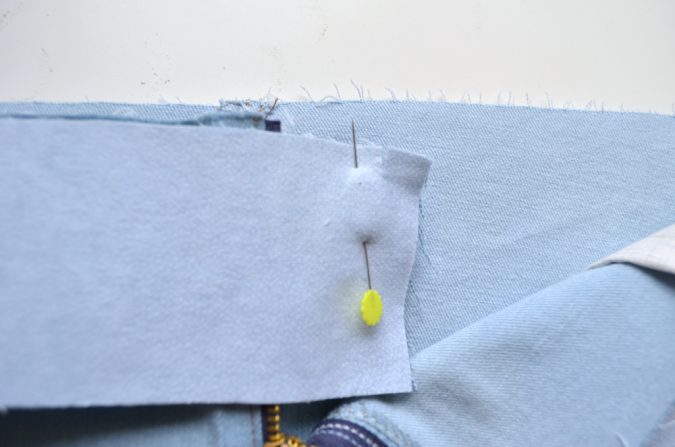
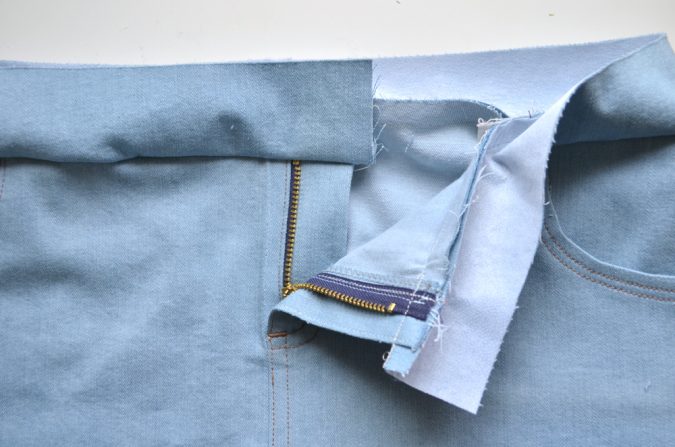
At the center fronts, pin the notch in the waistband with the edge of the skirt. The waistbands will extend 1/2″ past the center front of the skirts. The right side of the skirt and right waistband are longer to accommodate the fly shield.
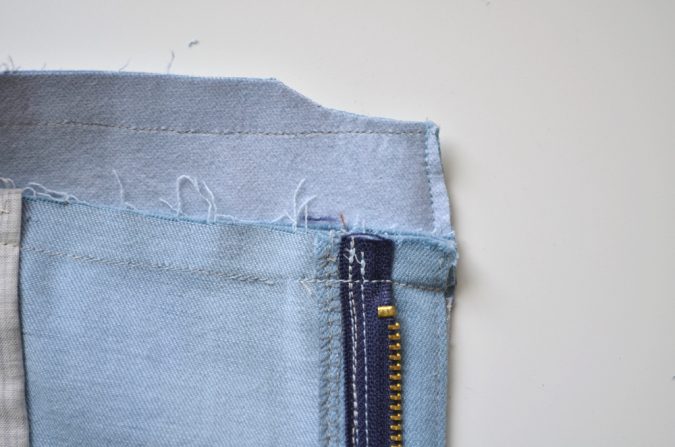
Here you can see the waistband extending past the skirt from the inside.
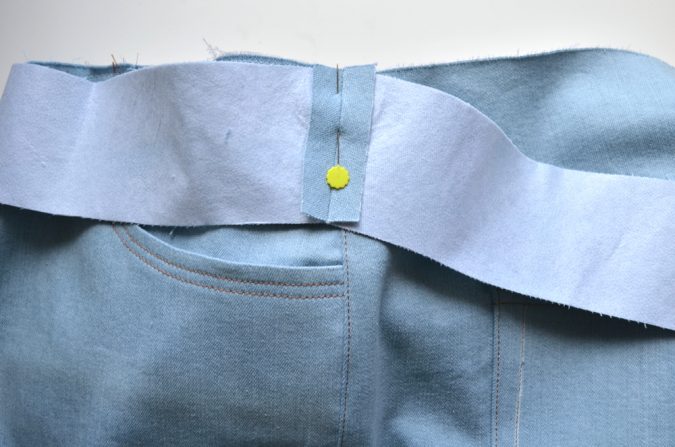
After pinning both center fronts, pin the waistband side seams to align with the skirt side seams.
Finally, pin the notch at the center back of the waistband with the center back seam of the skirt. Continue to align the waistband and skirt and pin in place. Once again, this will involve aligning a curve with a straight edge, so after pinning they will not lay flat against one another.
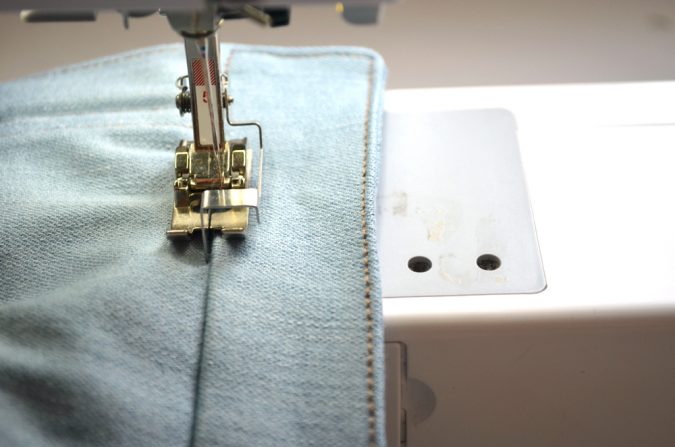
Sew the waistband to the skirt using a 1/2″ seam allowance and regular thread. You may have to stretch the waistband slightly, especially for stretch fabric. The waistband has been mostly limited in stretch due to the interfacing, and the skirt is not interfaced and has probably stretched a little bit with handling as you sewed the rest of the skirt, therefore a bit of stretching may be necessary. I sew like this, with my left hand holding the fabric taut behind the throat plate and my right hand pulling it taut in the front.
After you’re finished sewing, press the waistband away from the skirt and press the seam allowances up.
Make sure that when the waistbands overlap one isn’t taller than the other. If they are, you may need to adjust your stitching or trim a bit off. If you end up trimming a bit off, you’ll need to really be careful when sewing on the waistband facing to keep them even and apply the same changes to the facing.
Pin the waistband facing right sides together with the waistband, aligning them at the center fronts, side seams, and notch at center back.
Sew the waistband facing to the waistband along the top of the waistbands using a 1/2″ seam allowance and regular thread.
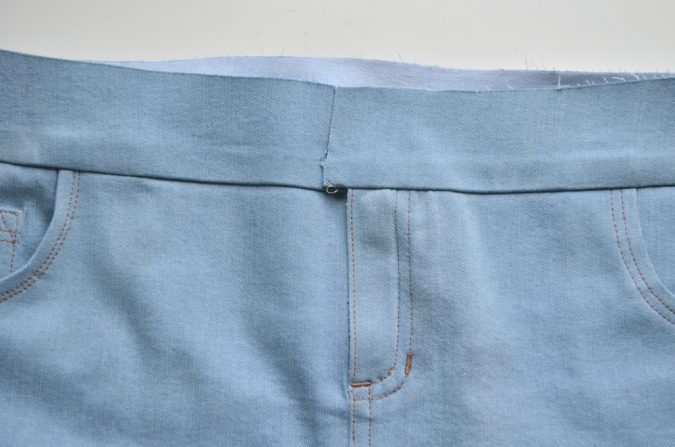
At both center front areas, you’ll be sewing with the wrong side of the skirt facing up for good visibility. Sew down from the top of the waistband and stop just above where the binding starts and lock your stitches.
Here’s a view of where the stitching will stop from the right side of the skirt.
Trim the seam allowances around the corner in the waistbands. Trim the center front as well, including the bias trim.
Clip the waistband around the curves and remove any extra bulk from the side seam allowances.
Flip the waistband facing to the inside of the skirt.
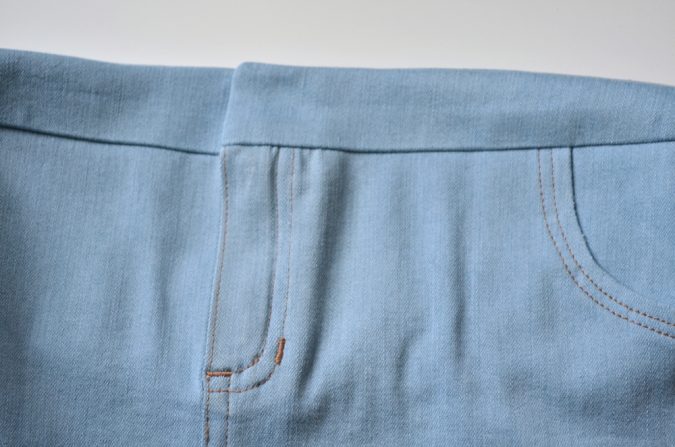
Press the waistband facing really well, rolling it slightly to the inside so it’s not visible from the right side of the skirt.
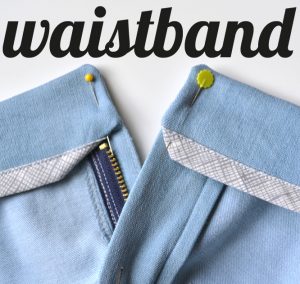
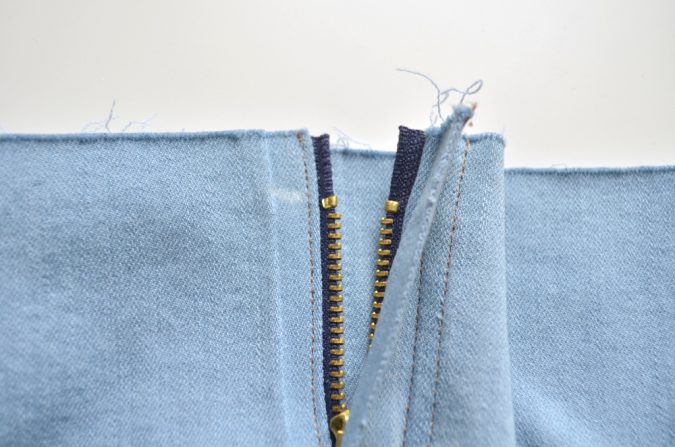
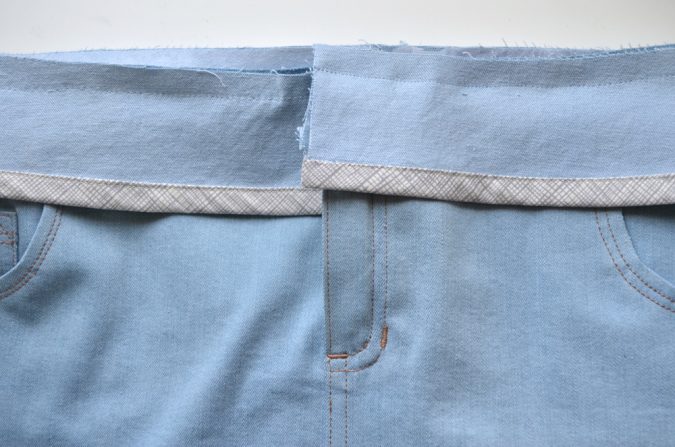
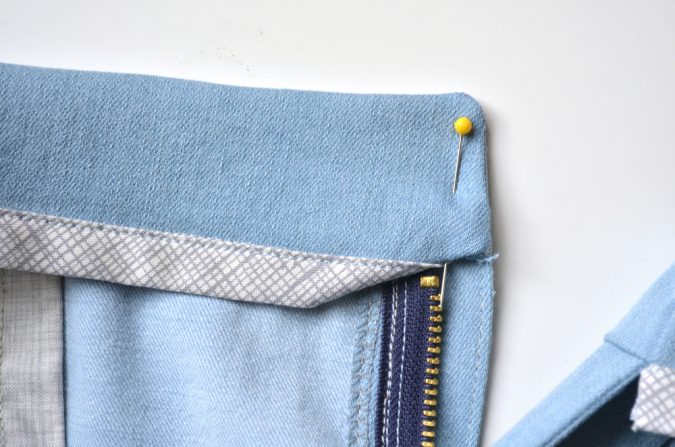
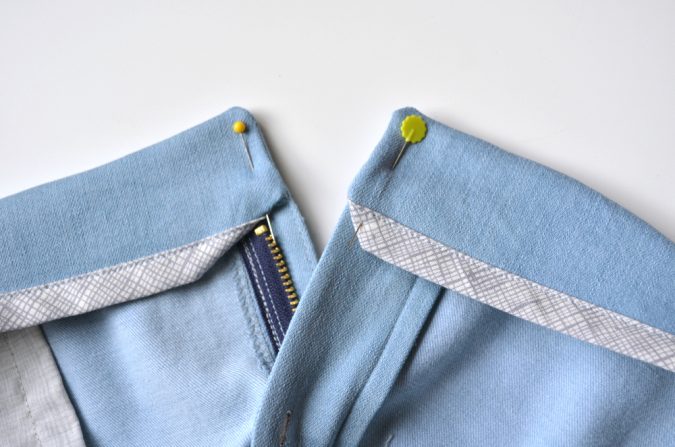
At center front, turn the bias tape under at a diagonal angle. On the left side of the skirt, it needs to be turned under enough to reveal the zipper stop.
On the right side of the skirt, it only needs to be turned under enough to hide the raw edges of the bias tape.
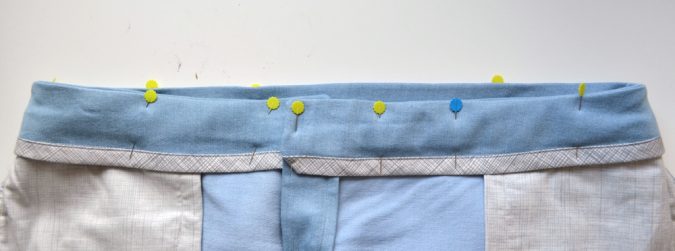
Pin the waistband facing to the waistband all the way around.
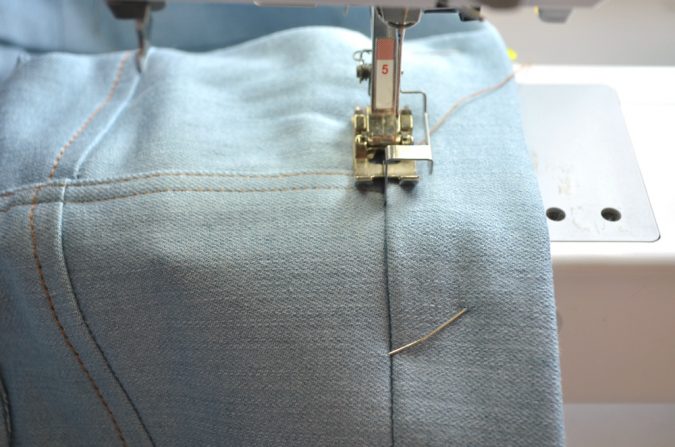
Starting at the center back, switch to topstitch thread and edgestitch along the lower waistband, catching the waistband facing underneath.
Sew all the way around the perimeter of the waistband until you reach the point where you started.
At center back, run over your beginning stitches to lock them in place. This area will be covered with a belt loop.
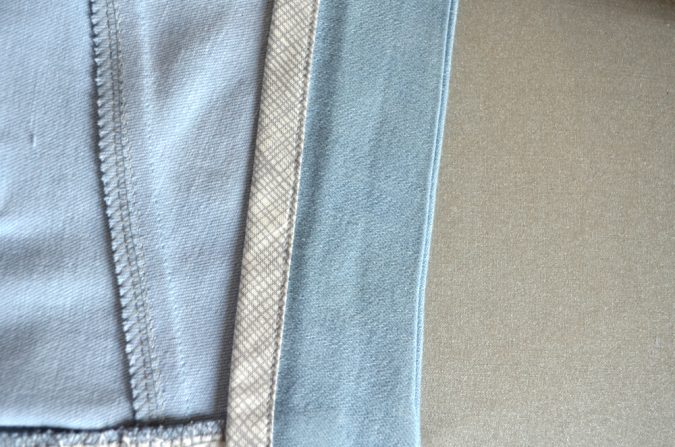
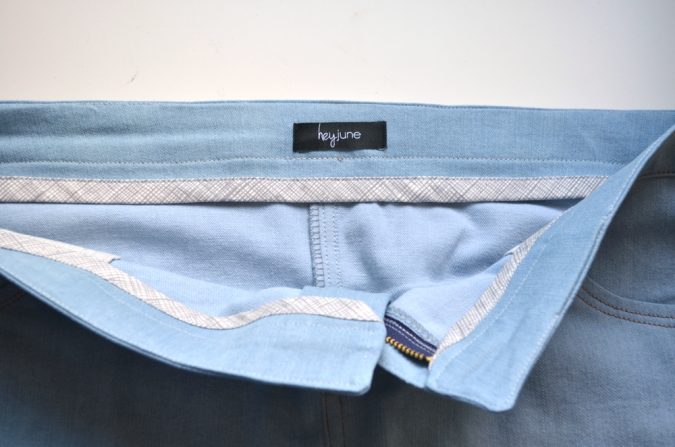
On the inside, the waistband facing will be caught above the bias tape. See how easy it is when you don’t have to worry about the lower edge of the waistband facing?
Ok, you’ve done enough for today, so we’ll save the finishing touches for tomorrow! Don’t forget to enter to win a free pattern in the giveaway below!





I love the look of the bias binding. Does the topstitching keep it in place where you tucked it under at the center front? Or did you do something else to keep it tucked under?
Yes, the top stitching is what secures the bias binding to the waistband.