
Sandbridge Sew Along Day 1: Fitting
Sandbridge Sew Along Day 2: Zip Fly
Sandbridge Sew Along Day 3: Pockets
Sandbridge Sew Along Day 4: Back

Depending on how adventurous you choose to get with your back pocket stitching, today is going to be really easy and straight forward. We’ll construct the back, back pockets, and sew the front and back together. It’s really starting to look like a skirt!
First align each of the back yokes with the corresponding back skirt piece. Pin them at the center seam, side seam, and at the notch. You will be aligning a curve to a straight line, so they will not lay perfectly against one another. For the following instructions, repeat each step for the other side of the skirt to minimize thread switching.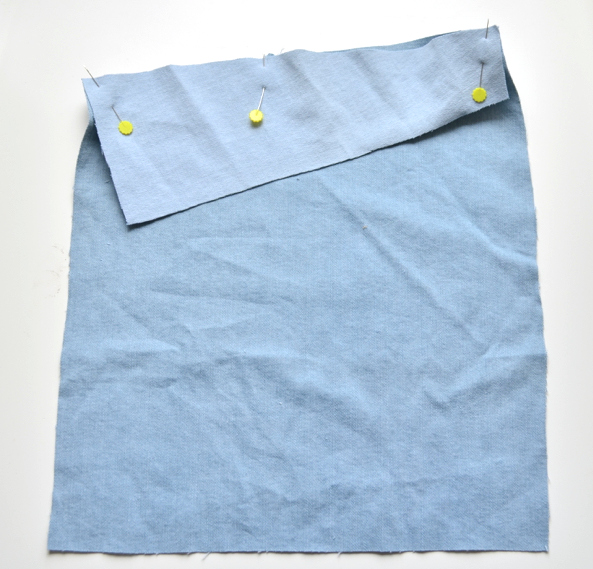
Sew the yoke and the skirt right sides together with regular thread and a 1/2″ seam allowance.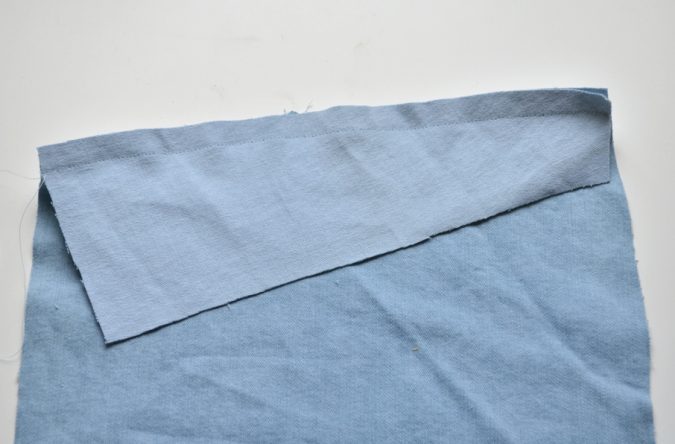
Finish the seam allowances.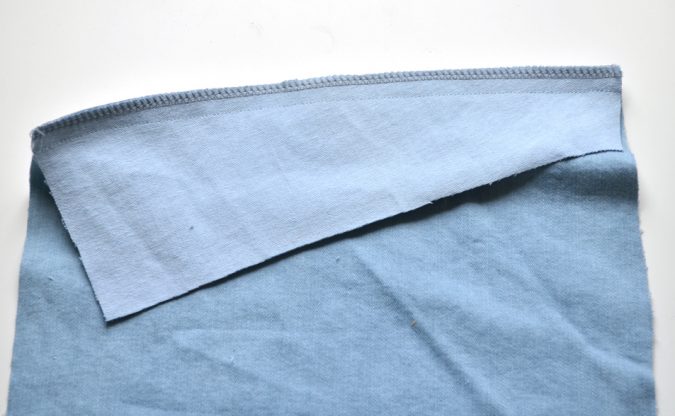
Press the yoke up and the seam allowances down toward the skirt. It is helpful to press this seam on both the wrong and right sides of the skirt to be sure the seam doesn’t buckle in on itself. It might be helpful to press this on a pressing ham or a rolled up piece of fabric since it will have a dome shape.
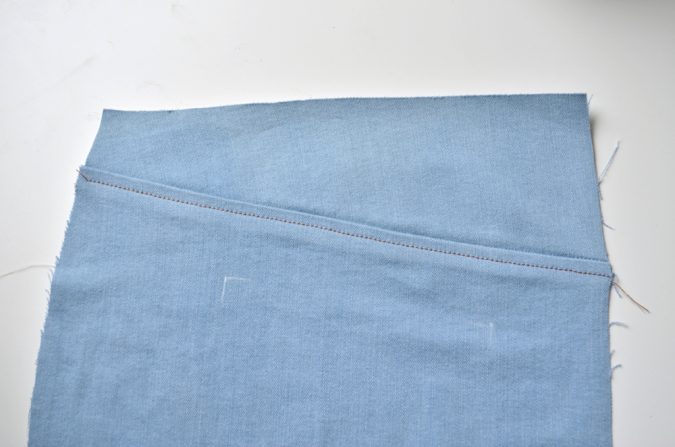
Edgestitch along the yoke seam on the skirt using topstitch thread. For a decorative effect, use two rows of parallel stitching.
Set the two sides of the back skirt aside for now and pull out your back pockets. First press the top edge 1/2″ toward the wrong side.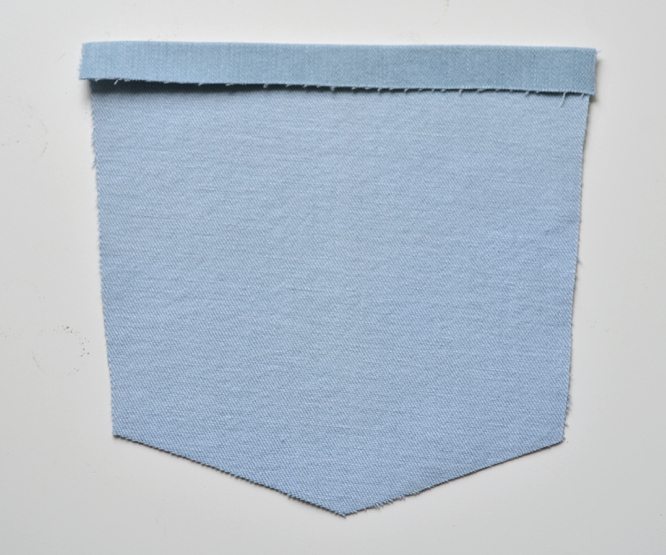
Hem the top of the pocket using a 3/8″ seam allowance and topstitch thread. Again, you can sew a second row of parallel stitching here if that aligns with your plan for your back pocket stitching. Now is the time to perform any decorative back pocket stitching you have planned. If it’s very extensive I recommend stabilizing the wrong side of the pockets with fusible or wash-away interfacing. Use a water or air soluble pen to sketch your design on each pocket (remember to make them mirror images of one another, if applicable!)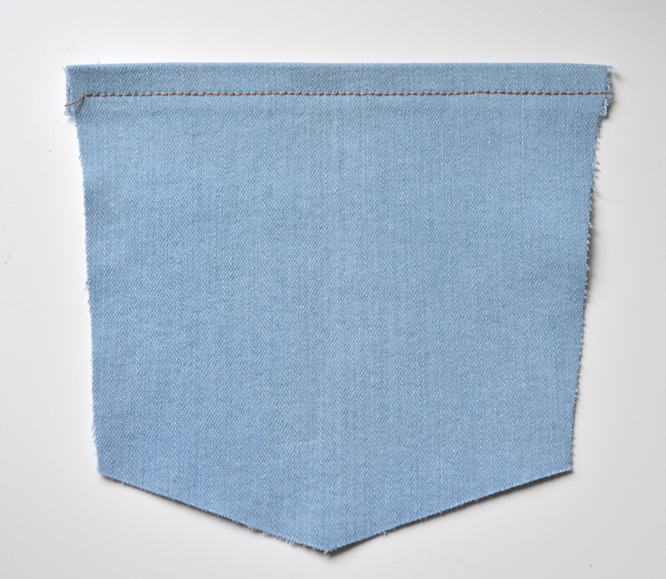
Press the sides of the pocket toward the wrong side by 1/2″ and then repeat for the two sides of the “v” bottom. The easiest way to do this is with a metal hem pressing gauge. You can also make your own hem gauge by simply trimming 1/2″ from each side of the pocket pattern piece and pressing the pocket around the paper. You could use something sturdier like cardboard for that step, but I usually find it to be too thick for the turn of cloth. Lastly, you can simply use a ruler and pencil to draw the fold lines on the wrong side of the pocket and then fold them along the lines. Press them very well.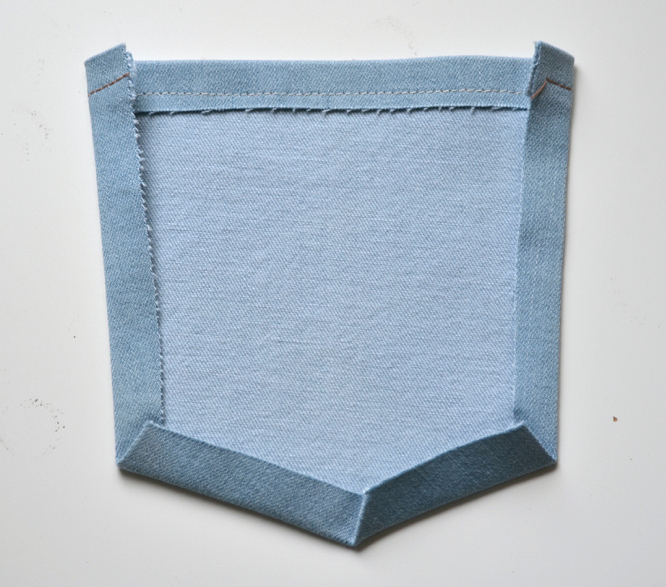
Lay the pocket down on the back piece between the two marked points. 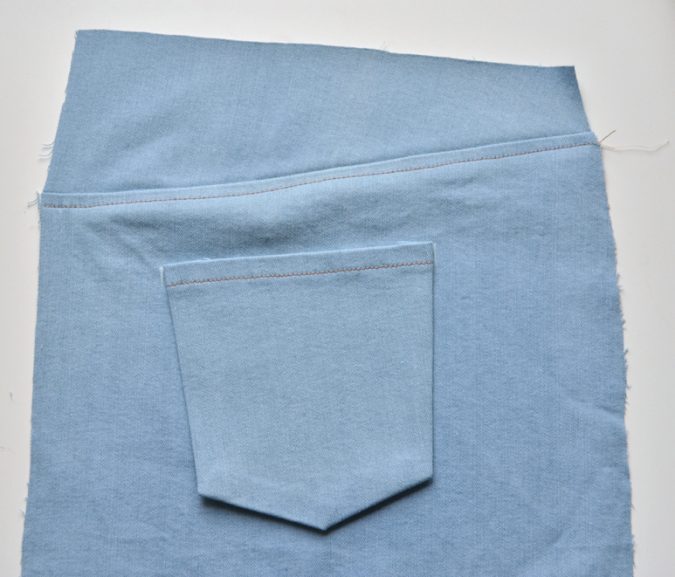
Pin the pocket to the back piece. I find it best to pin at each point or corner and then put one right in the center to keep it stable.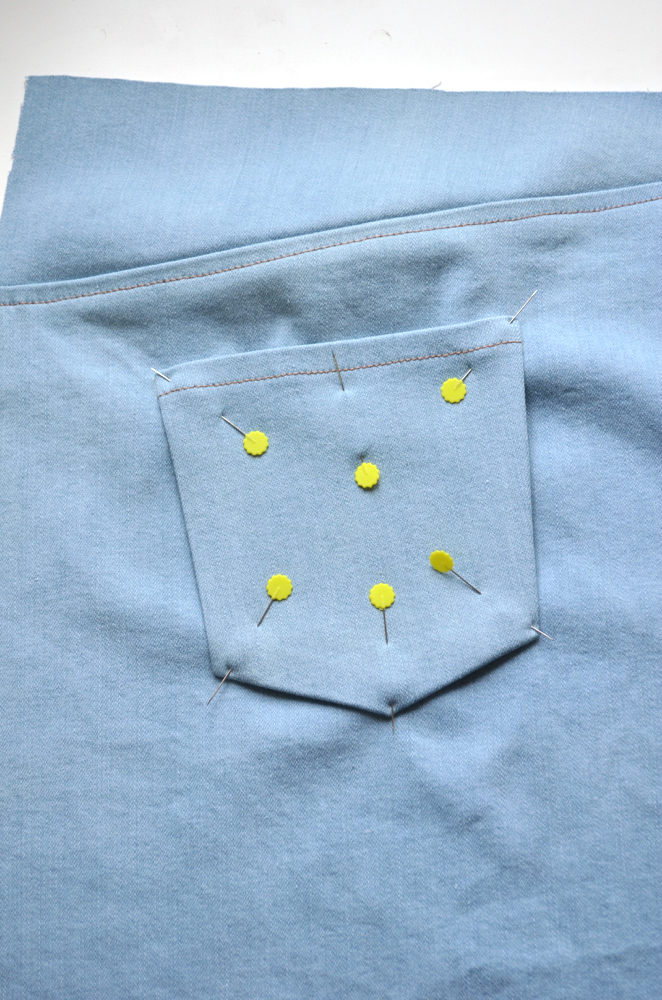
Edgestitch the pocket in place. I recommend using bartacks and/or reinforcement triangles at both sides of the top of the pocket. If you’re only doing a single row of perimeter stitching, add those details now.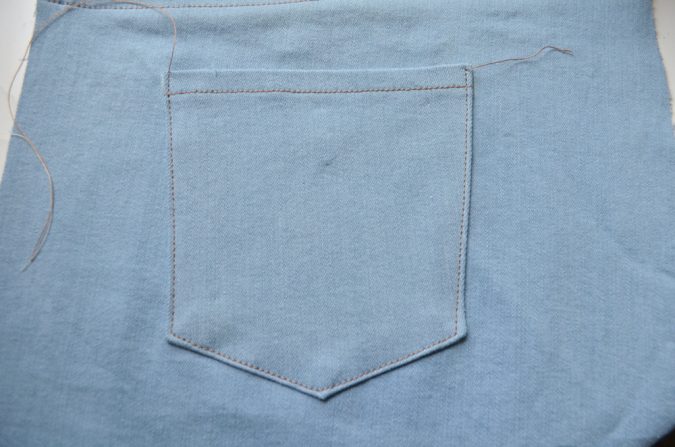
I decided to do a second row of non-parallel stitching on both sides of my pocket so I drew those in place with a ruler to keep them even. I didn’t draw lines around the bottom because they will be perfectly parallel to the first stitch line, so I’ll just use that as a guide.
Tadah! You can really see here now ornery that stretch fabric is becoming. My next step was to sew bartacks to connect the two lines of stitching at the top of the pockets but apparently I missed taking a picture of those here. You can see them in the next couple steps.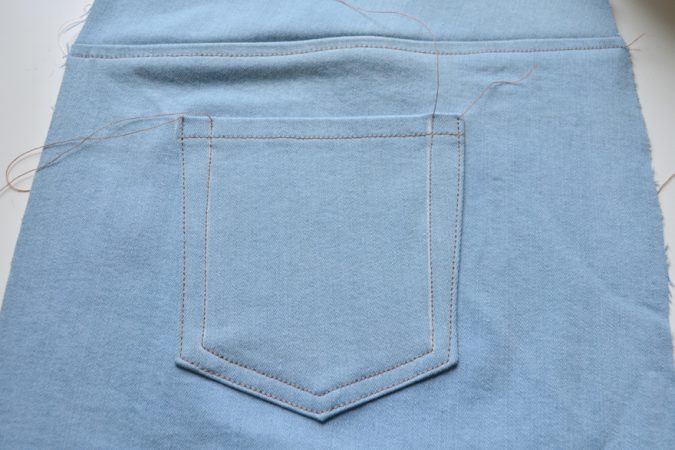
Sew the two back pieces right sides together along the center back seam with regular thread and a 1/2″ seam allowance. Use a pin and be extra careful to make sure the bottom of the yokes and the topstitching aligns perfectly. Remember that just because they align at the seam allowance doesn’t mean they align at the seam line! Keep them aligned 1/2″ in from the edge. Finish the seam allowances.
Here you can see the back yokes and topstitching perfectly aligned. You can also see those bartacks I forgot to show you earlier 🙂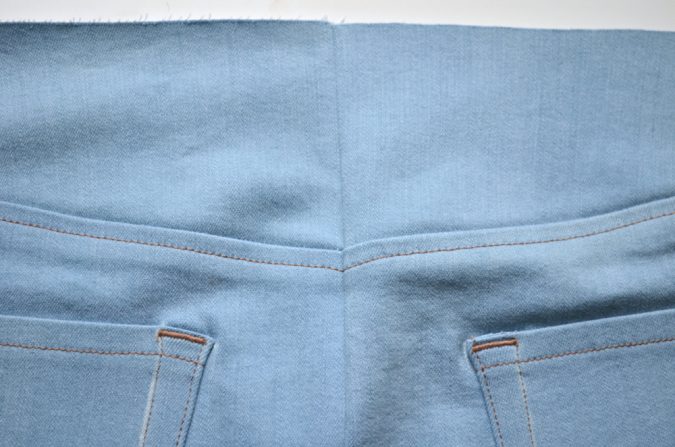
Press the seam allowances toward the left (right side as worn.)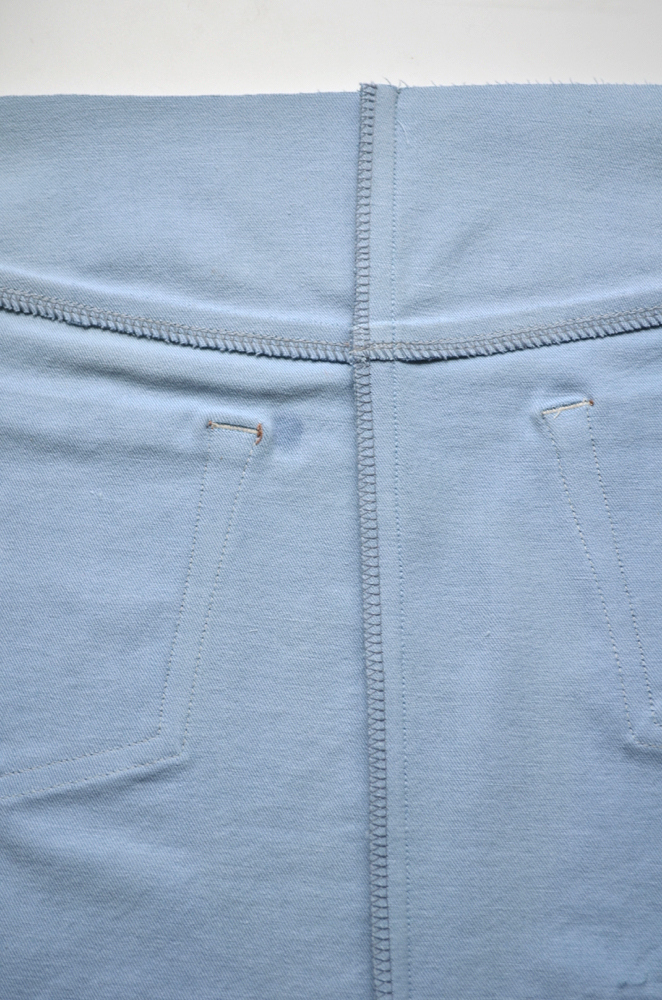
On the right side of the skirt, edgestitch just to the right of the center seam from the waist to hem. If desired, sew a second line of parallel stitching. Use topstitch thread. If you feel like the area where the yokes meet at the center back seam is too bulky for your machine to easily sew through, wack it with a mallet a few times to flatten it out. You can also use a hammer (or, um, frying pan) but be sure to protect your fabric by placing a press cloth over it first.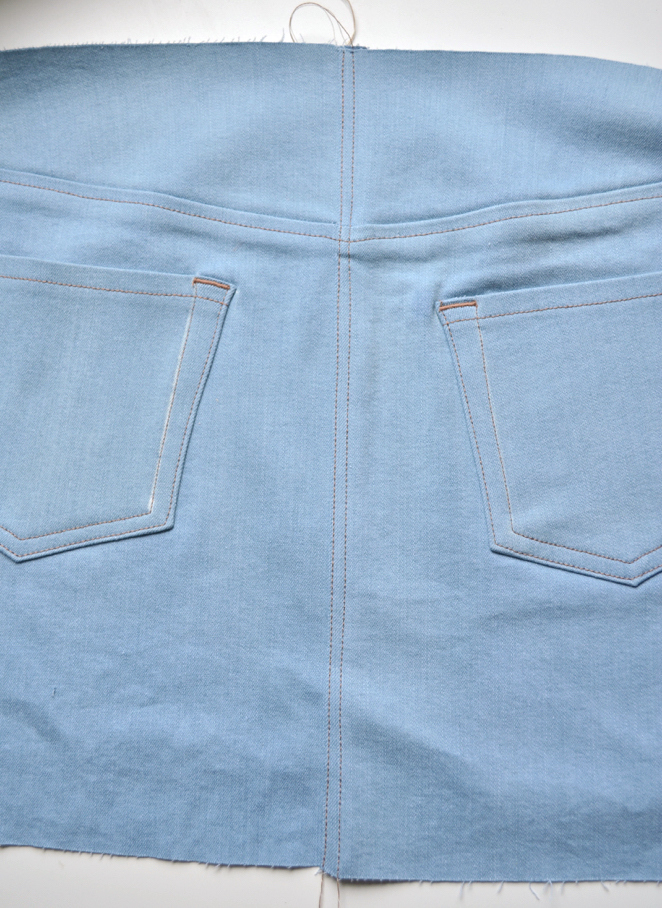
Sew the front and back right sides together along both sides seams using regular thread and a 1/2″ seam allowance. Finish the seam allowances (not pictured.)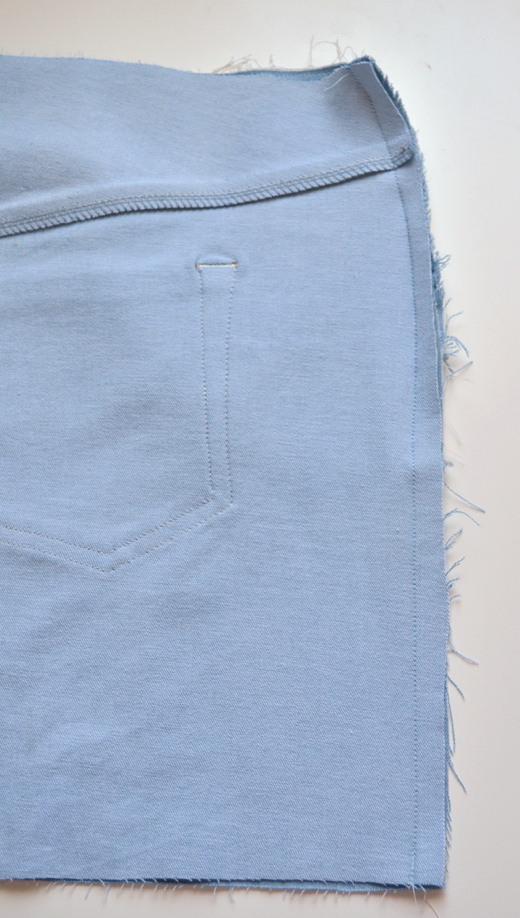
Press the side seams with the seam allowances pressed toward the back. It may be helpful to use a ham or a rolled up piece of fabric since this seam is on a curve.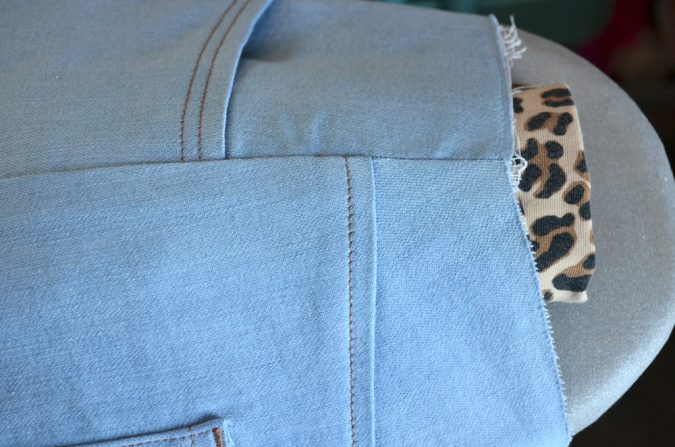
Two options for this next step – 1: edgestitch along the side seam on the back of the skirt from waist to hem. 2: edgestitch to a point that aligns with the bottom of the pockets or slightly above and then finish the seam with a bartack. This is a traditional jeans detail that is necessary because it isn’t physically possible to sew down to the hem of a pants leg after construction. However, on a skirt it is just decorative since you can sew all the way down to the hem. I went with option 1, obviously, but several testers did option 2 if you want to check out the tester round up!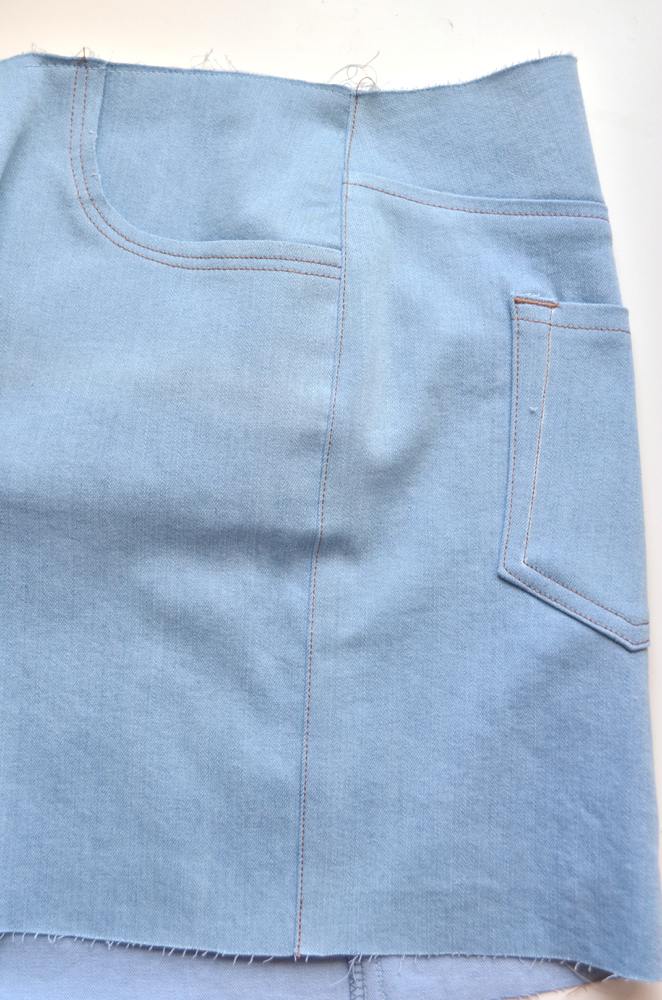
Ok, that’s all for today! Take a breather because tomorrow we’re attaching the waistbands. I promise they’re not as scary as some, but they still involve a bit of attention to detail. We’re going to finish the waistband facing in the easiest way possible though, so you’re welcome in advance.
Don’t forget to enter the giveaway below for a chance to win a free pattern! There’ll be one chance each day of the sew along!