Sandbridge Sew Along Day 1: Fitting
Sandbridge Sew Along Day 2: Zip Fly
Sandbridge Sew Along Day 3: Pockets

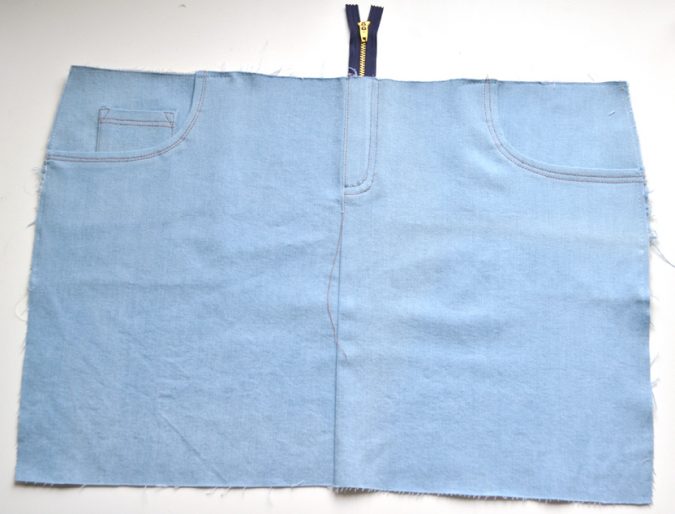
Today we’re going to be working on the coin pocket, front pockets, and finishing up the front of the skirt. If you’ve never sewn a hip pocket before, they’re really easy and satisfying and yield professional results even on the first try. So let’s get started!
First up we’ll sew the coin pocket, which is optional but adds a nice detail. Fold the top of the pocket toward the wrong side by 1/2″ and press well.
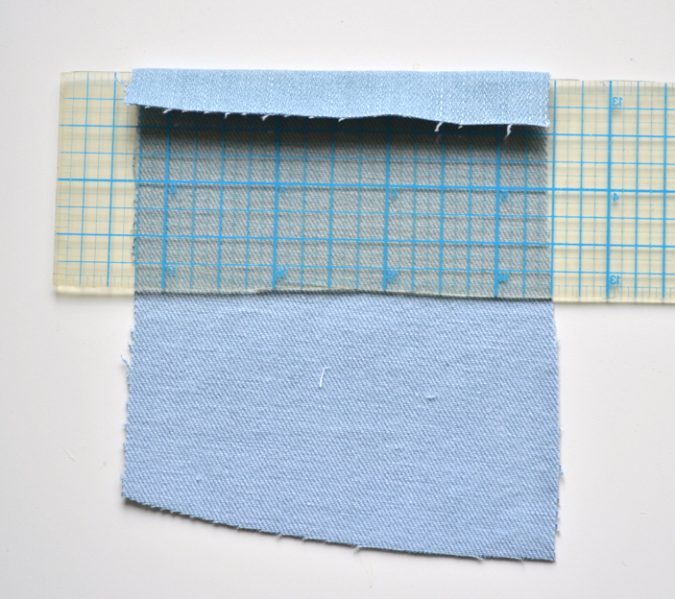
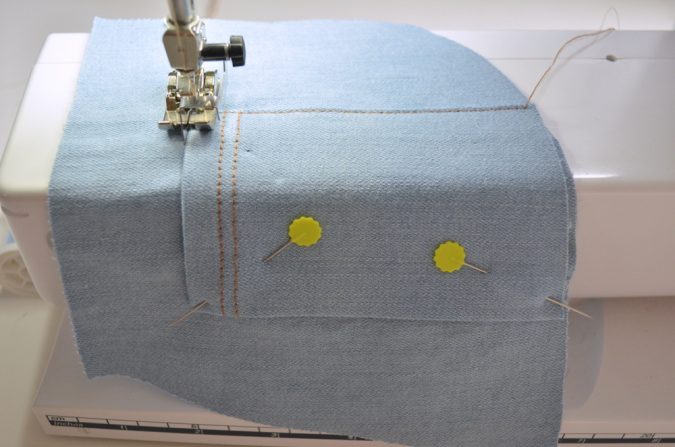
Use topstitch thread to sew one or two parallel lines of stitching to hem the top of the pocket. The first one should be at 3/8″. I sewed the second row of stitches below the first, so it didn’t actually catch the fold, it’s just for decoration.
Fold the two sides of the pocket toward the wrong side by 1/2″ and press well.
Pin the coin pocket to the RIGHT pocket facing where marked. Because the pocket facings have slightly different curves at the bottom based on size and there is only one coin pocket pattern piece, there might be a small area where the bottom of the coin pocket and the bottom of the pocket facing don’t perfectly align. That is fine as you’ll see in the next steps.
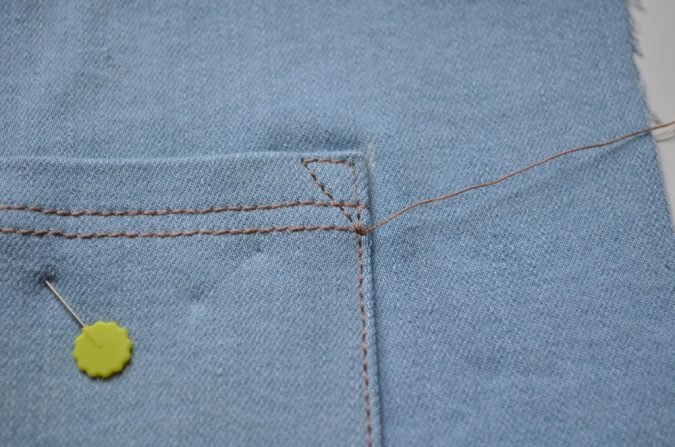
Using topstitch thread, edge stitch along both sides of the pocket to secure it to the pocket facing. Leave the top and bottom open. If desired, sew a reinforcement triangle and/or bartacks. When I sew reinforcement triangles I count the stitches that are sewn parallel to the top of the pocket so I can perfectly replicate them on the other side of the pocket. I usually find 4 stitches to be a good number for a triangle.
I generally sew the triangle down to the lowest line of parallel stitches if there are more than one. Leave a long thread tail and use a needle to draw it to the wrong side of the fabric and tie it off.
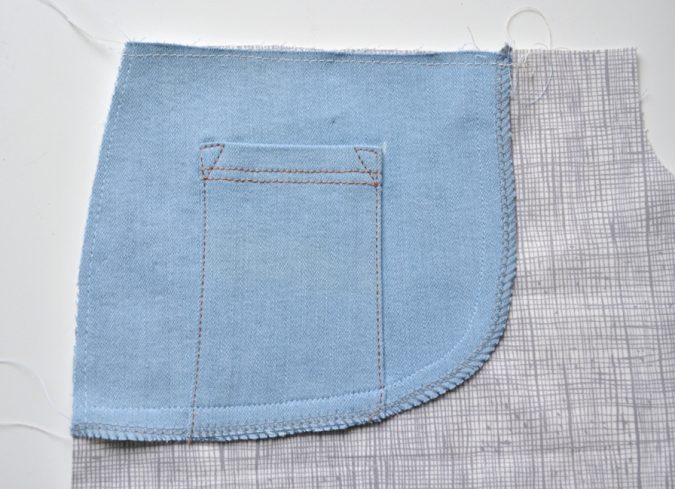
Finish the curved edge of each pocket. This will also close the bottom of the coin pocket (it’ll be closed more securely in the next step.) For each of the remaining pocket instructions, do each step to both pockets even though only one is shown. This will reduce the amount of thread switching necessary.
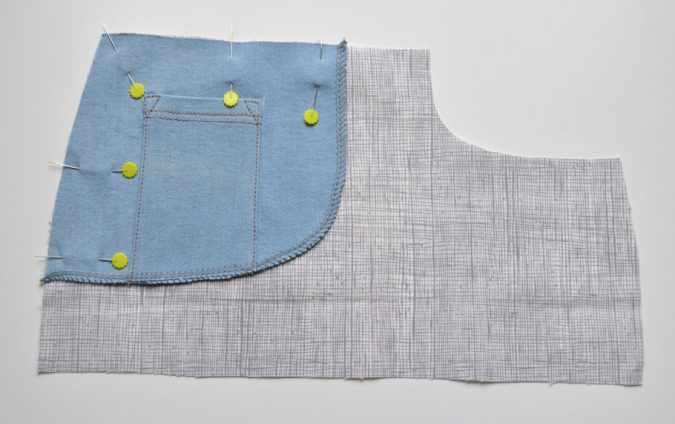
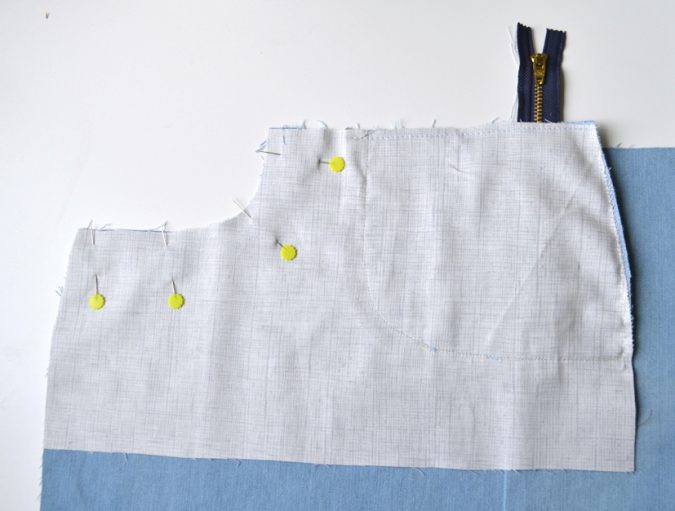
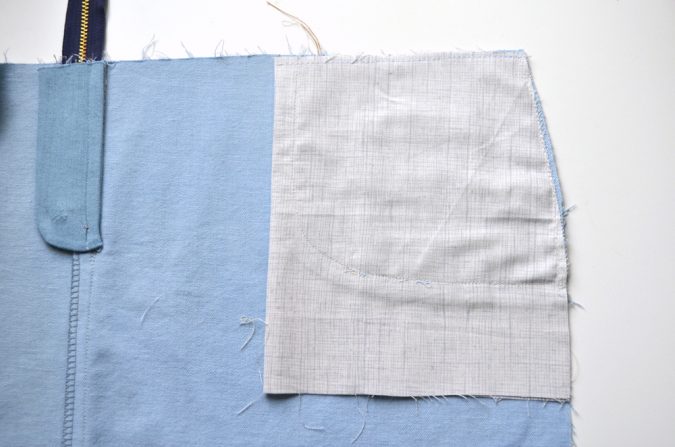
Pin the pocket facing to the corresponding pocket bag, aligning the two along the top (waist) and side (hip) directly opposite the curved opening. Both pieces should be facing right side up.
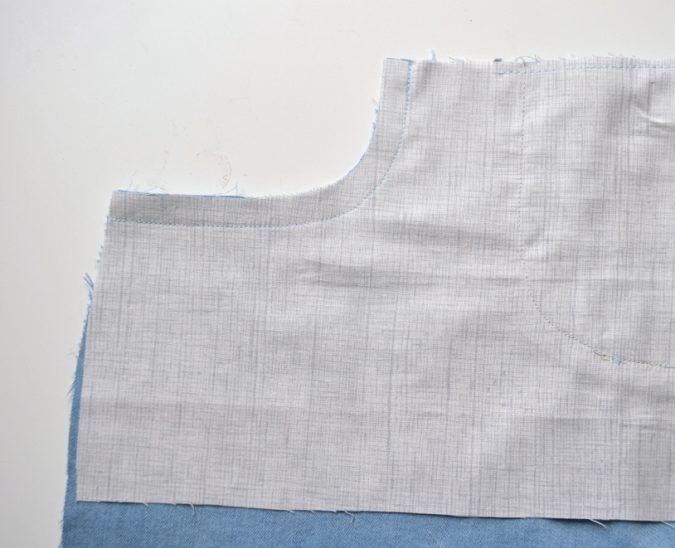
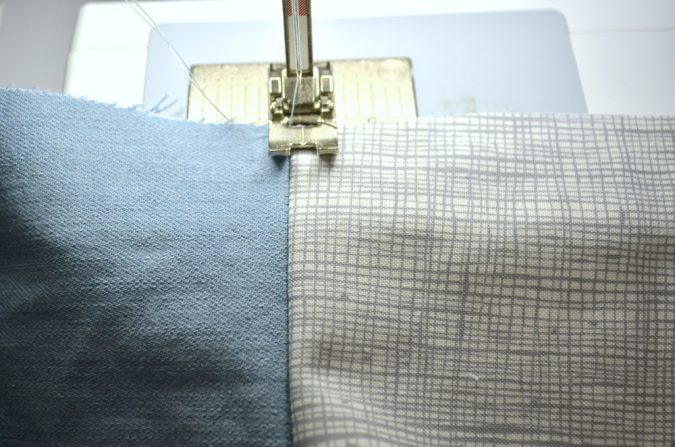
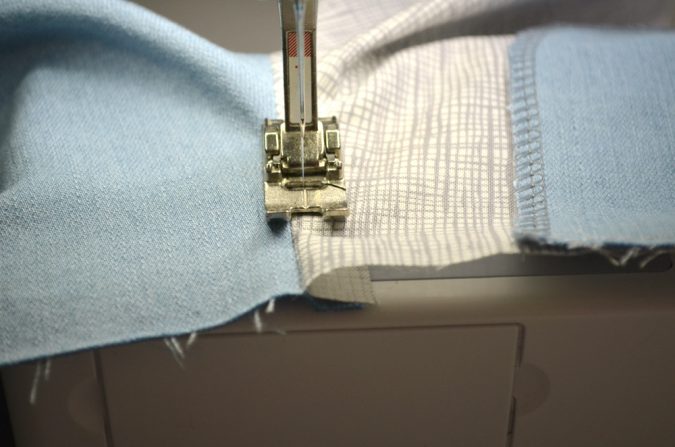
Sew the pocket facing to the pocket bag around the curve using regular thread. Seam allowance doesn’t really matter here, just use no more than 1/2″. Starting at the outer hip point, baste the pocket facing to the bag along the waist and side seam. Sew starting from the outer corner and out in both directions to avoid creating tucks or puckers of fabric.
Lay the pocket bag right sides together with the skirt front, aligning the curved pocket openings. Pin in place.
Sew them right sides together with a 1/2″ seam allowance.
Clip into the curve so the pocket can be easily turned and pressed.
Flip the pocket facing up, away from the skirt.
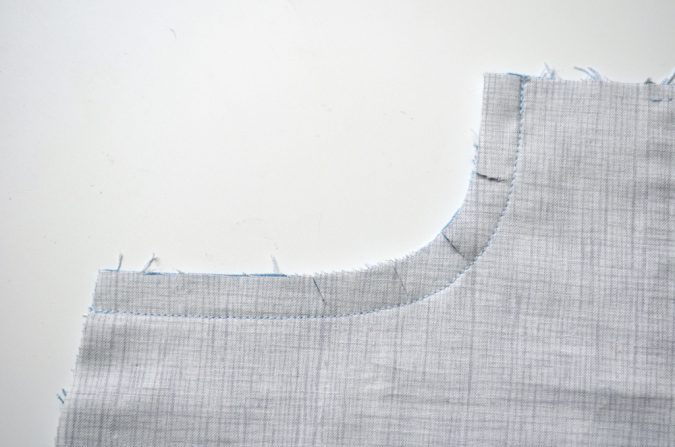
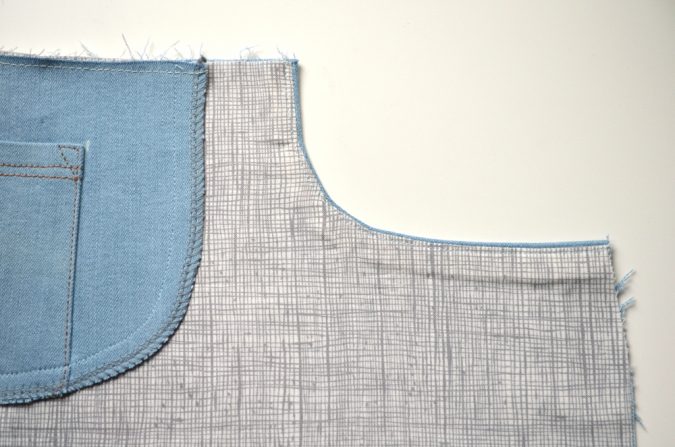
Understitch the pocket facing in place by edgestitching along the curve on the pocket facing, catching the seam allowances underneath. This will keep the facing tucked securely to the inside of the pocket so it doesn’t show.
After understitching, turn the pocket facing fully to the wrong side of the skirt and press the pocket curve well.
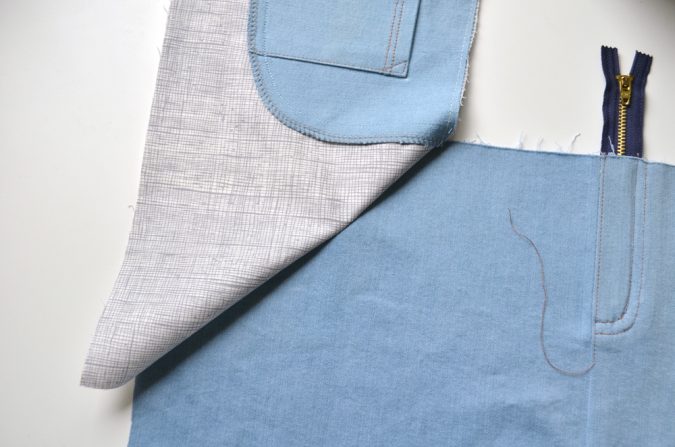
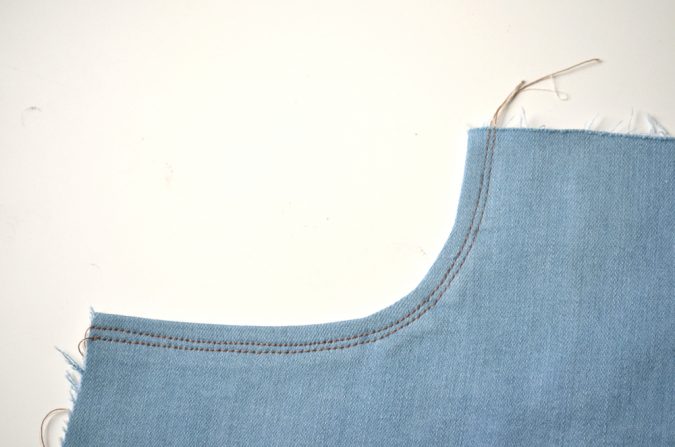
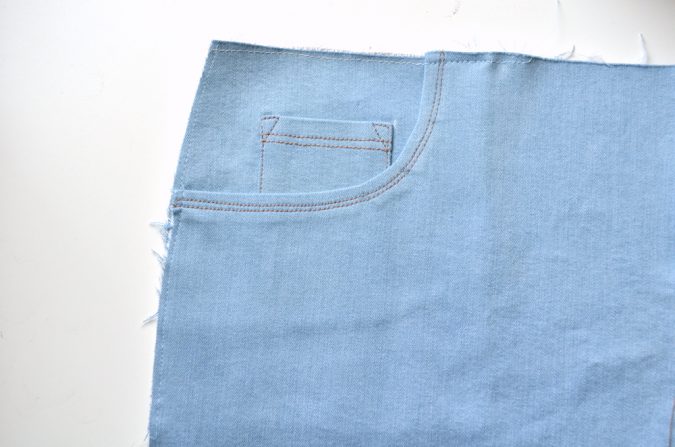
On the right side of the skirt, use topstitch thread to sew around the curve. For a decorative effect, use a double row of stitching.
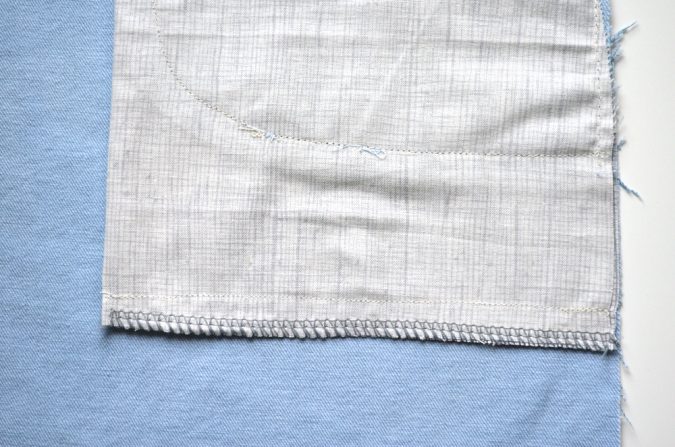
Flip the skirt to the inside. Fold the pocket bag wrong sides together so it aligns perfectly with the skirt along the waist and side.
Sew the pocket bag closed along the bottom using a 1/2″ seam allowance and regular thread. Finish the seam allowances.
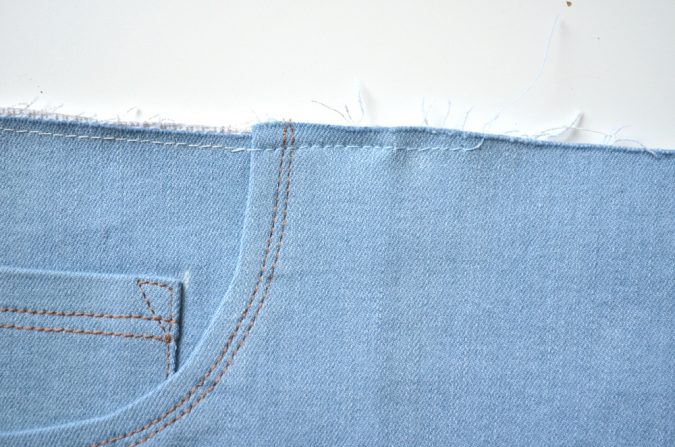
On the right side of the skirt you’ll see that you now have a perfectly professional hip pocket! Secure the pocket in place by basting it to the skirt along the top and side, right across the curved openings. In the final, the inner corner of the coin pocket should be covered by the curved opening. This was from a previous version of the pattern.
Press the entire front of the skirt well.
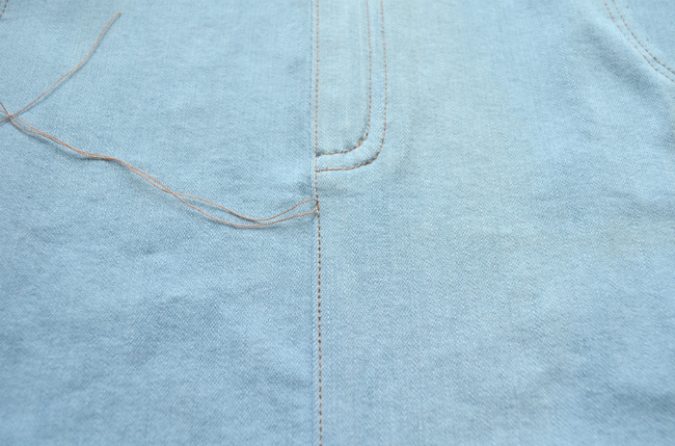
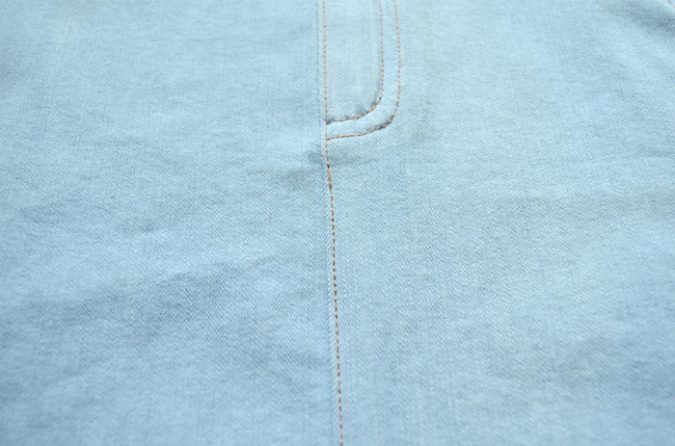
Using topstitch thread, continue the edgestitch along the center front seam, starting where you left off and sewing down to the hem. Leave long thread tails on both ends.
Use a needle to pull the threads to the wrong side and tie them off.
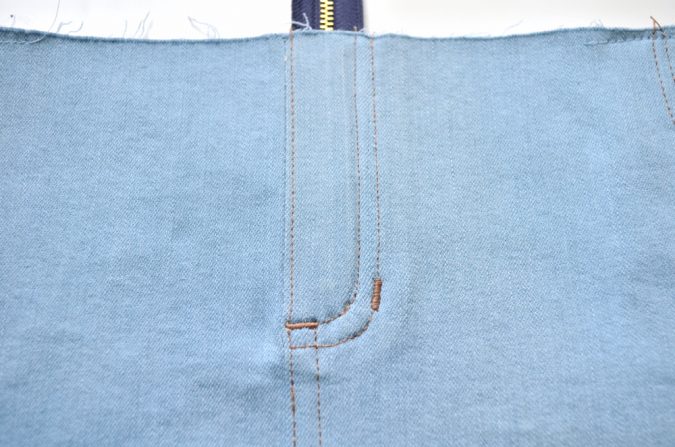
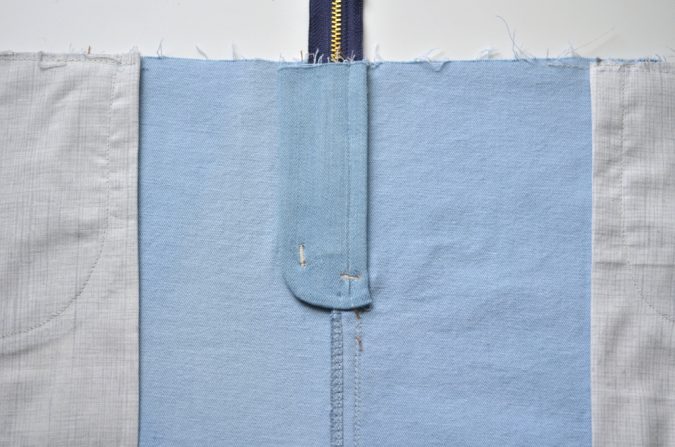
You may have already added your bartacks, but I decided to wait until this point to add mine because I also sewed a parallel line of stitching starting at the curved fly stitching and going down to the hem. I secured the area between the two parallel rows of stitching with a horizontal bartack and then placed one in the traditional position on the fly stitching as well.
On the inside of the skirt, you can see that the fly shield is now secured in place by the bartacks.
That’s it for today! Easy, right? Tomorrow we’ll begin construction on the back of the skirt, so start gathering back pocket stitching inspiration!
Be sure to enter the giveaway below for a chance to win a free pattern! You’ll have a chance to win each day during the sew along!


