When Fleurine said she wanted to help test the Phoenix Blouse, I was blown away that she had that kind of energy and motivation at the very end of her pregnancy. But I’m SO glad she did because she ended up making it maternity friendly and now she’s here to show us all how! Her Phoenix Blouse might be the most lovely maternity top I’ve ever seen – that drape, that fabric! Take it away, Fleurine!
~~~~~~~~~~~
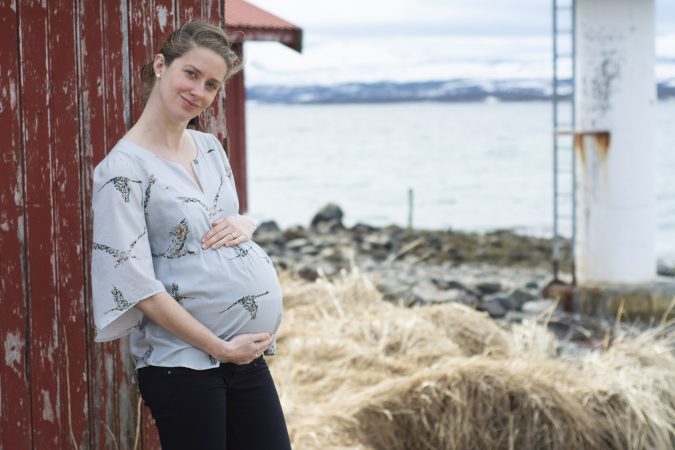
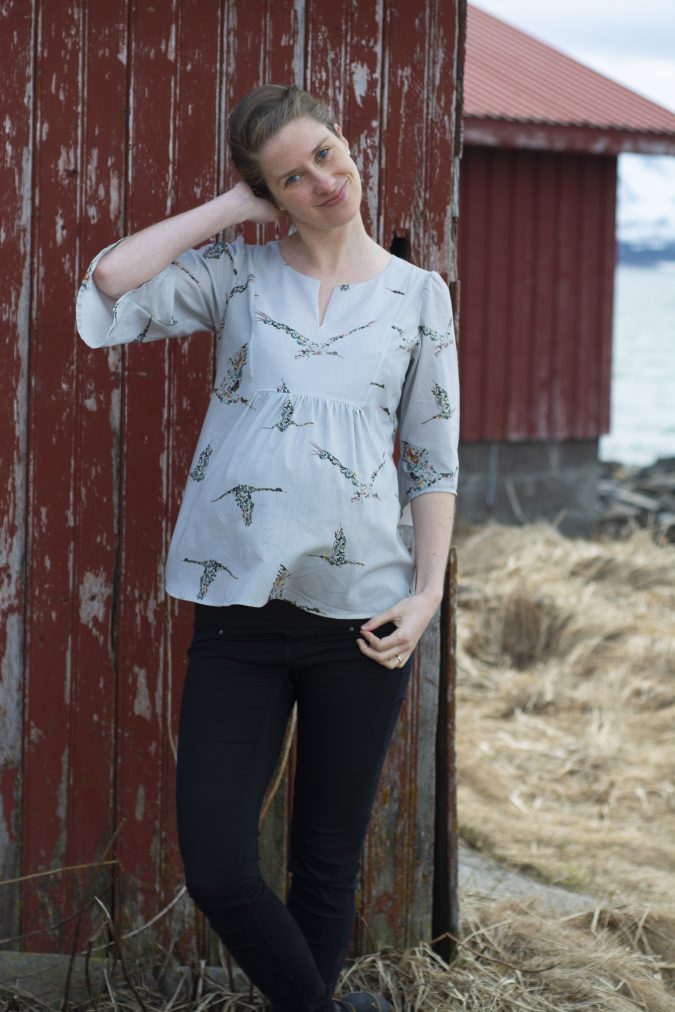
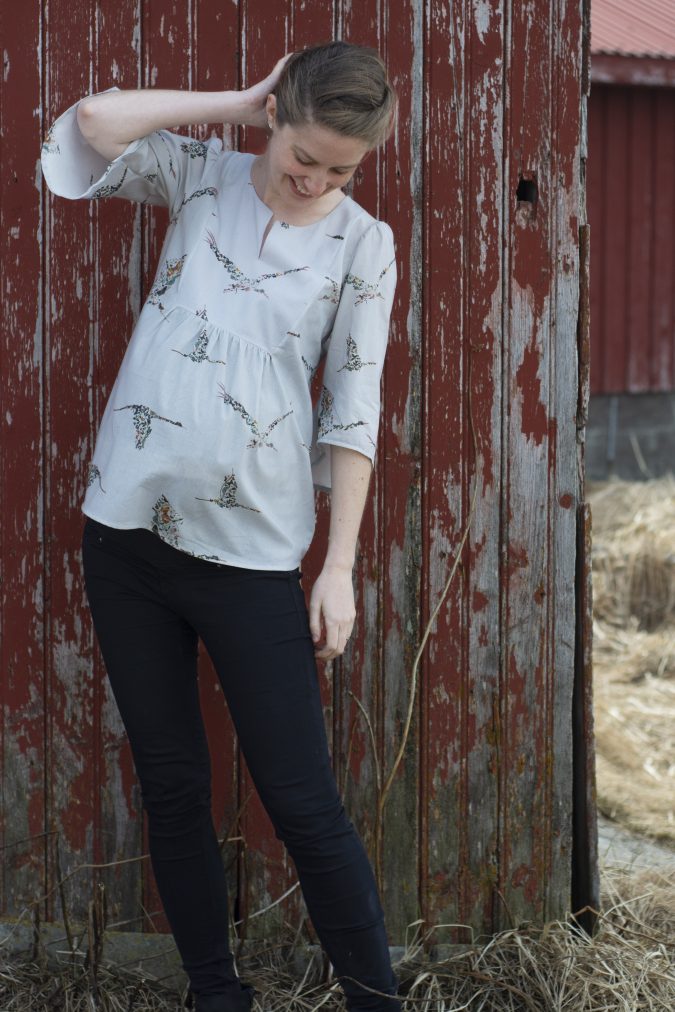
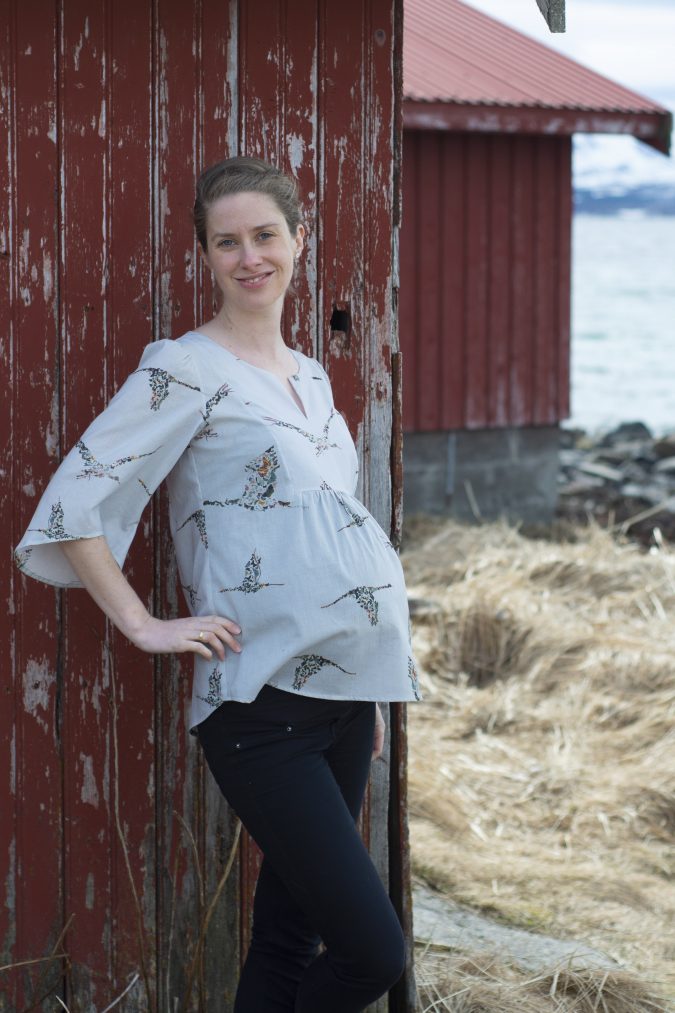
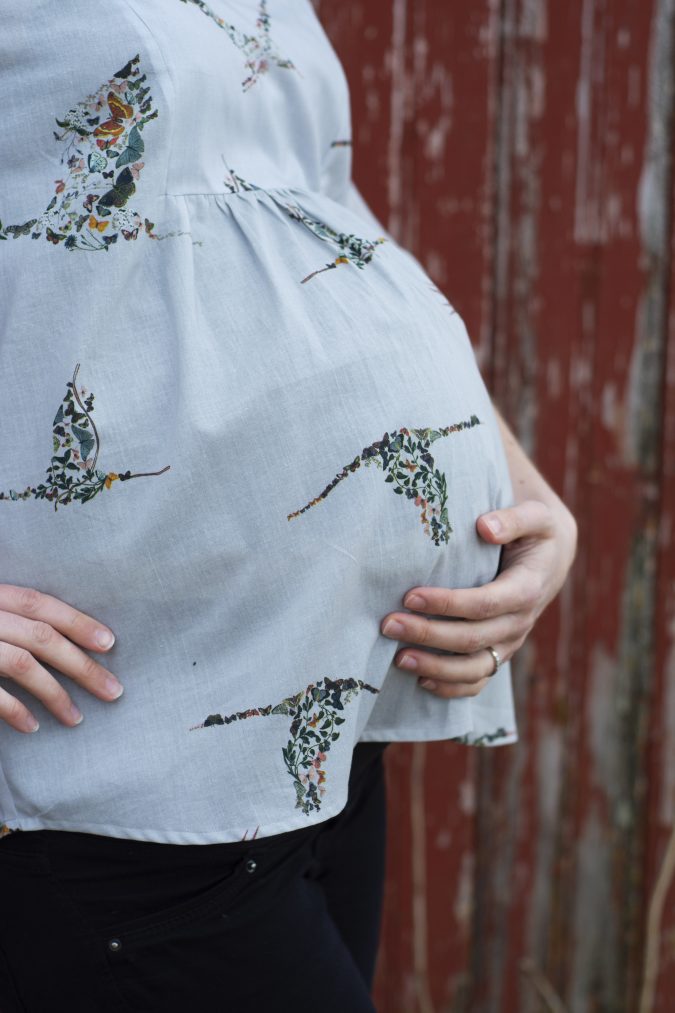
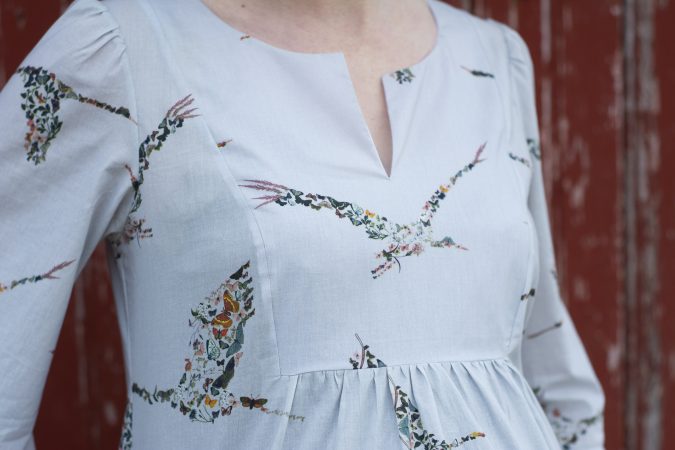
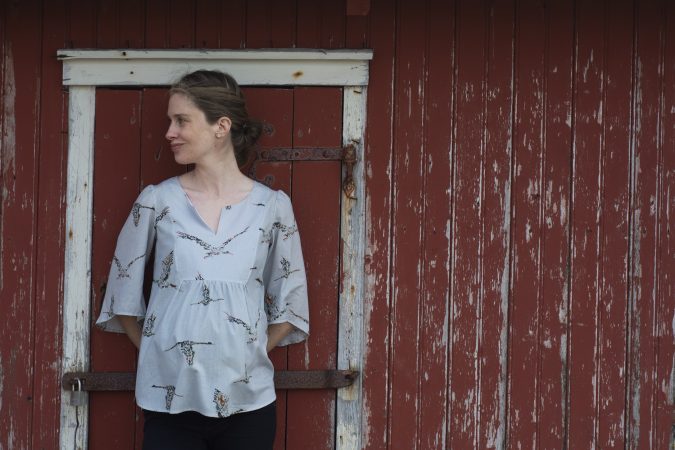
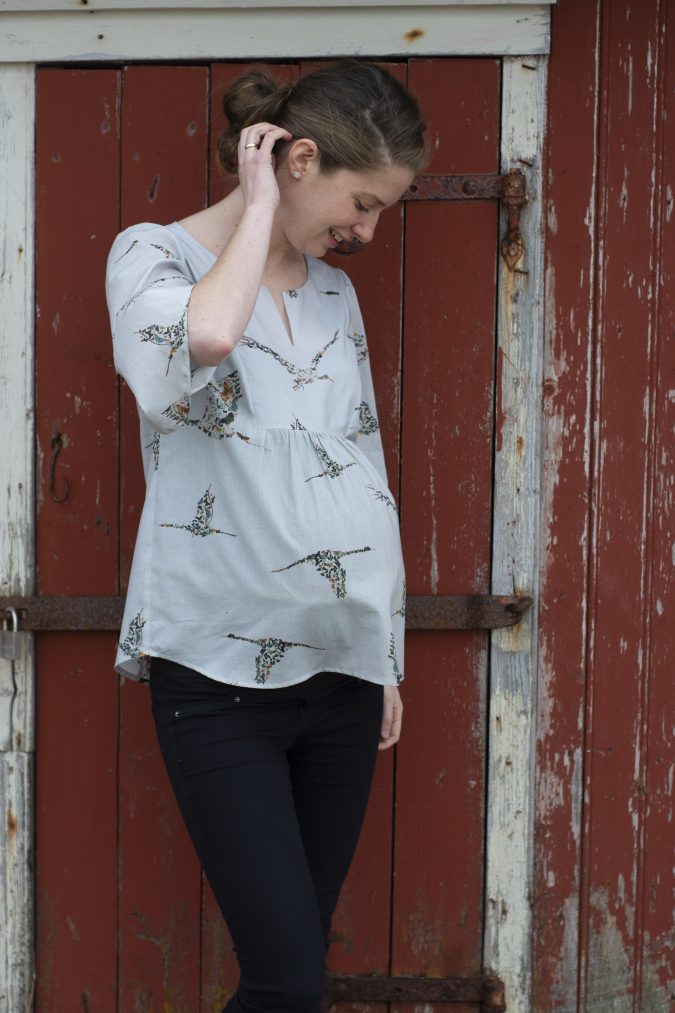
Hi everyone! I had planned this blog post for a long time and wanted to show you something totally different – but then the Phoenix Blouse was released and immediately my plans changed. I started with making a tester version of the Phoenix Blouse, mostly for wearing it after giving birth. Even without any changes, the fit while 40 weeks pregnant wasn’t too bad! The the front was a little short and I got some drag lines from the arm holes towards my chest, but those were the only issues. But there are a couple of easy changes that make the Phoenix Blouse the perfect maternity pattern. And do you know what’s the best thing? Even with these changes, the blouse will still look good after giving birth! Because who likes to make garments that only fits for a couple of months??
The Phoenix Blouse is a great pattern to modify for maternity, since it’s already rather loosely fitting around the waist and hips and has gathers and a front yoke that stops somewhere underneath your bust. To end up with a better fit for maternity, you can make three changes:
1: Add length
This tip might be a pretty obvious one – but adding some extra length gives you the opportunity to wear your Phoenix Blouse for a longer time as your baby bump is growing. Yes, the front might be a little shorter than the back, but as long as my tops were long enough that didn’t really bother me too much during my pregnancy. I’ve made the longer length of the Phoenix Blouse for my version and added an extra 1 3/8″ (3,5 cm) in length. Keep in mind that I’m a little taller than the height Hey June patterns are drafted for, so adding length isn’t that unusual for me. But it’s always easier to shorten a top than to lengthen it!
2: Add width to the front
This might be the most important change: adding some extra width to the front of the blouse. Since the front is already gathered, adding some extra width is super easy. You can basically add any desired extra amount of fabric to the middle of the front piece at the fold line (under the yoke). I decided to add 2 3/8″ (6 cm) in total to the width of the front pattern piece. Doing this couldn’t be any easier: Don’t place your front pattern piece right at the fold, but simply a little further away. In my case I measured 1 3/16″ (3 cm) from the fold (half of the total amount of extra width) and placed my pattern piece along this new line. Your modified pattern piece should look just like the original one, only a little wider. When sewing the front yoke to the front pattern piece, all you have to do is to gather the front a little more than usual to make it fit to the yoke. This gives you extra fabric right where you need it, at the centre of your bump, without changing the rest of the fit of the garment.
3: Shorten the front yoke
This is a change that I haven’t made but that might be useful for those of you who are shorter than I am or carrying higher than I am in these pics. Keep in mind that these pics were taken only a few days before my due date and I’m carrying my baby bump lower than earlier in my pregnancy. If you’re shorter than me and/or carrying higher, the front yoke might look longer on you than it looks on me and “collide” more with your baby bump. In that case you’re probably going to end up with a better fit if you shorten the yoke, having it end right below your bust. The amount of shortening needed may vary, but you could try shortening the front yoke by about 1″, while raising the gathered area of the front by 1″. Just make sure you shorten/raise both pieces by the same amount and remember to move the punch hole markings to the new position, too.
That’s it! With these simple changes, the Phoenix Blouse can accompany you through all of your pregnancy, while still being a stylish and functional blouse afterwards. Thank you for reading and happy sewing!
~~~~~~~~~~~
Thank you so much Fleurine! I’m sure so many people will be grateful for this tutorial. And a huge congratulations on the birth of your sweet little guy!

Thanks for the explanations, if I get time off work before my maternity leave, I’ll certainly use it!
This blouse fits you really well and I love your fabric, can you tell us where you found it ? Thanks!
(And congrats for the baby!)
Thank you! This is a cotton lawn from Lady McElroy, called Elegance Departure. Several stores carry it, for example Minerva Crafts. =)
I love the ideas! Such a beautiful pictures and article. Thank you so much for sharing it.
I am considering doing this hack for myself. I love this pattern and I’m dying to make one, but I want to get as much wear out of it as possible and I think it’s really flattering for pregnancy. Would you mind telling me how you’re finding it postpartum with the changes you’ve made? I’m just curious in finding out the expectation vs the reality