Here in the northern hemisphere we’re entering those dog days of summer when we’re all over the heat, over entertaining our kids, and over complicated sewing and dressing. Luckily Michelle is here with the perfect antidote! This dress sews up so fast, it will be so comfy, and well, I’ll let her tell you how long it’ll take you to get dressed!
___________
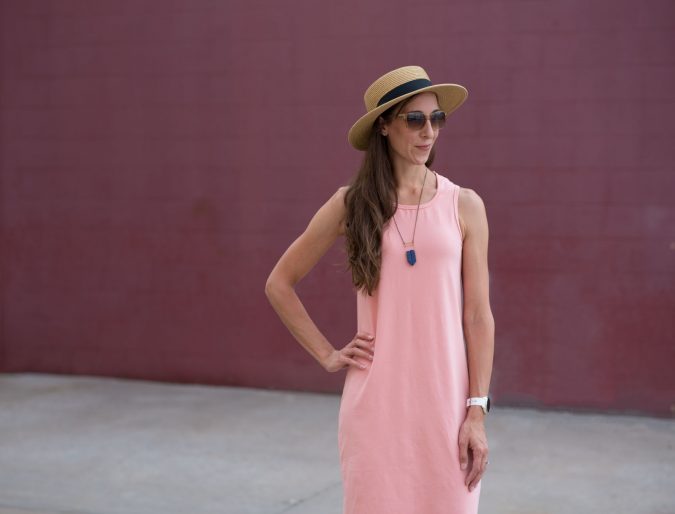
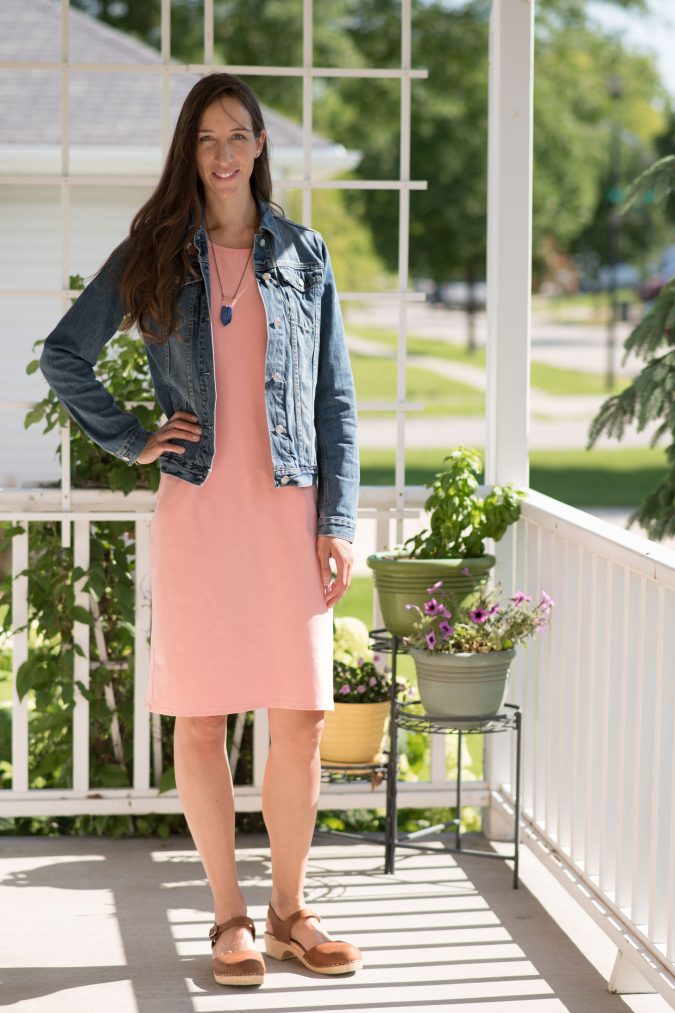
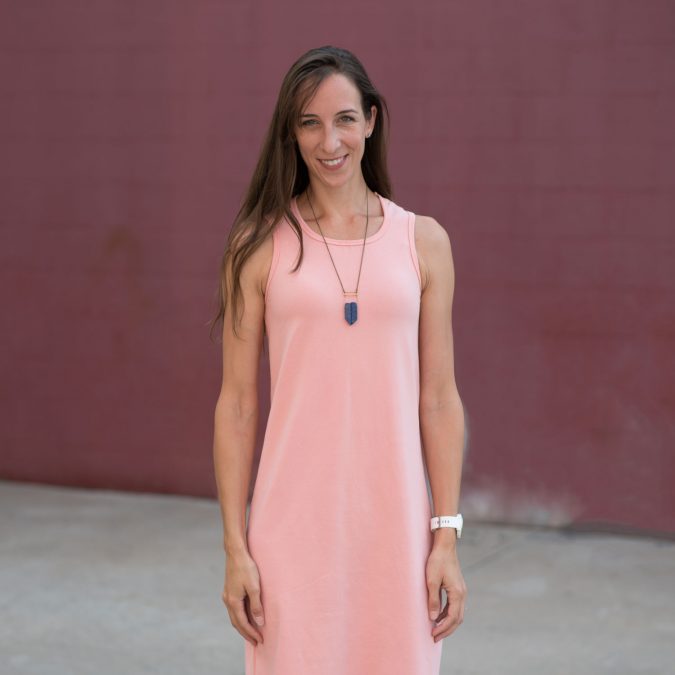
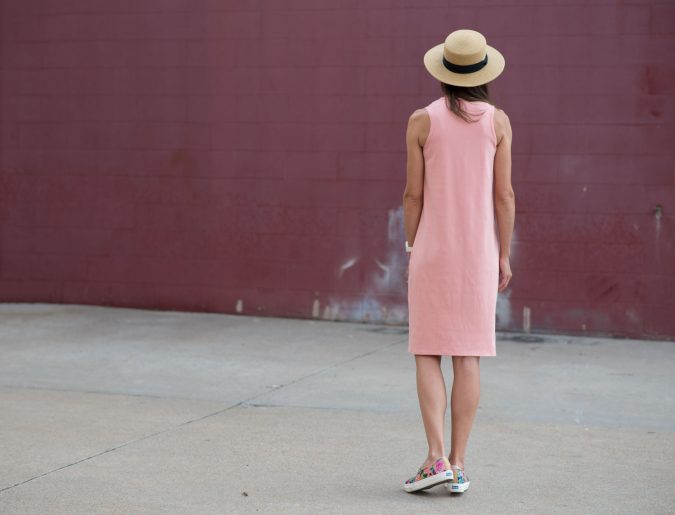
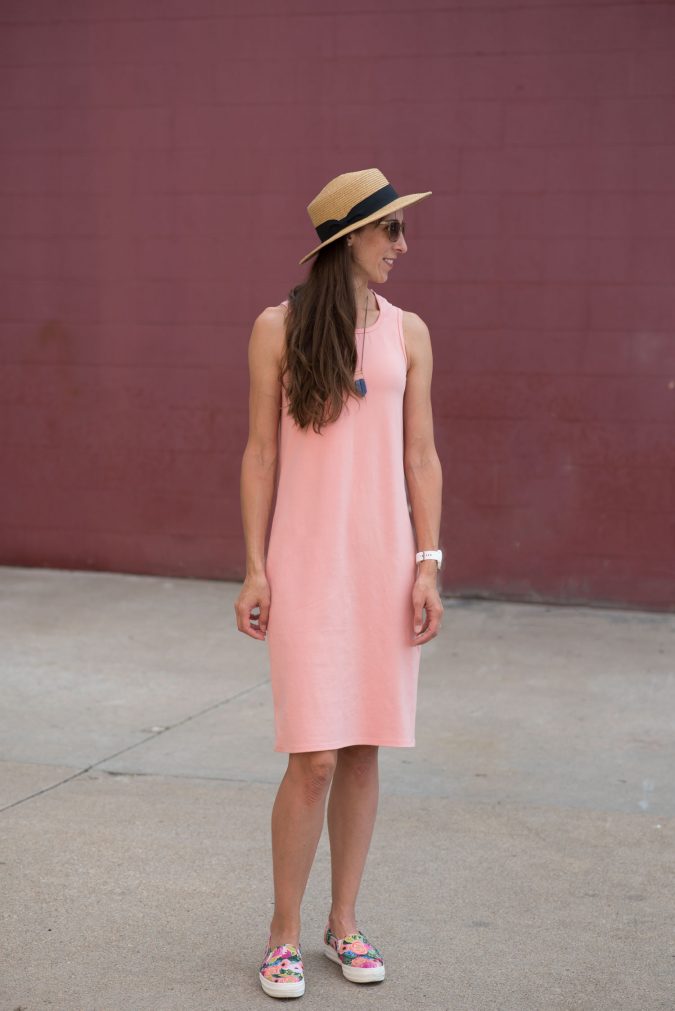
I’m excited to share this free DIY tank dress tutorial because it’s not only easy to make, but it makes getting dressed in the morning so much easier too. Literally, slip it on over your head (15 generous seconds), slide your feet into some comfy sneakers (15 more seconds) and you’re done, level of easy. If you have 20 more seconds to spare then throw a necklace, hat, jacket or cross-body purse on top. That’s still less than a minute. And this look totally works with a top knot, so minute-thirty tops and you are out the door… or don’t go anywhere actually. I wear this all the time at home with my kids to stay cool and look fresh.
Who this tutorial is for:
- Beginner sewists wanting to try their hand at knits
- Beginner sewists wanting to try their hand at simple pattern alterations
- Everybody who loves well drafted free patterns
- Anybody who wants to try a Hey June pattern before buying one
- Intermediate and experienced sewists who like comfortable style
Did I miss anybody?
So are you ready to dive into how easy this is?
Here’s what you need:
- Free Durango Tank pattern
- 1.5-2 yards t-shirt knit fabric (See pattern requirements for specifics) I used this rayon spandex jersey from Indiesew.
- Matching thread
The whole concept of turning this tank into a dress is lengthening the pattern at the hem. The most important consideration for a hack like this is making sure to account for the hips. That is why the Durango Tank is ideal for this hack. The pattern is designed with negative ease at the bust and a couple inches of ease at the hips. Once you pick your size based on your bust and hip measurements and grade at the hips if your measurements require you to do so, you shouldn’t have to add any additional shaping for the hips. Take a look at the finished garment measurements and make sure the hip size is larger than yours and you should be set.
The next thing to consider is how long you want it. I held the pattern up to my body accounting for the shoulder seam allowance and measured how many more inches I would need to add to get to my desired knee length. You can go shorter or longer just remember any longer than the knees and you will likely need to add side seam slits. You don’t need to add any hem allowance because that is already factored into the pattern piece. Err on the long side because you can always take length off prior to hemming.
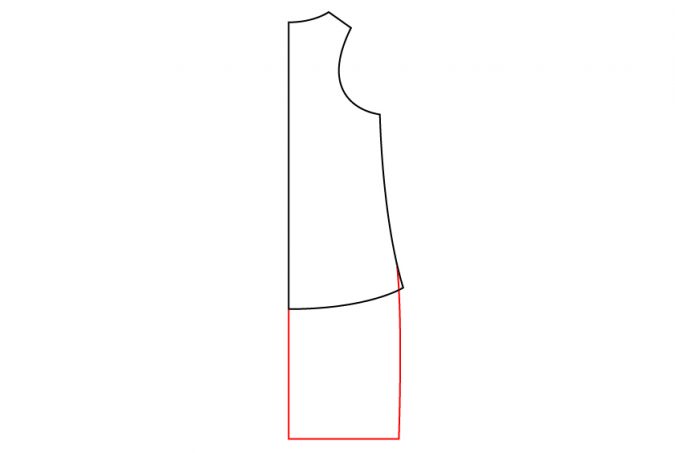
Now you are ready to redraw your pattern pieces. Simply extend the center fold line of the front piece down from the original hem line the number of inches you determined you needed to add. Extend the side seam line as far down as the center line, but start a little higher so you can smooth out the hip curve. Draw a new hem line at the end of the center fold and seam lines that you just drew. This line is straight across, not curved like the original pattern. Do the same for the back, starting with the center cut line.
That is it! The assembly instructions in the pattern are the same for this dress so you don’t need to alter anything else. I promised this was quick and easy. Don’t forget to tag your makes on social media so we can all see! #durangotank #durangotankdress
Additional design change ideas:
- Draw a deep curved hem with the back longer than the front for a high low effect. You will need to hem prior to sewing the side seams with this approach.
- Make a split hem with mitered corners (tutorial here). You can also make the back longer with this look.
- I omitted my center back seam. To do this you would remove the 3/8″ seam allowance from the center back cut line and cut on the fold instead of a mirrored pair.
___________
Thanks so much for that quick and easy tutorial, Michelle! It’s exactly what we all need right now!

Thank you!
It appears as thought the back of you Durango armholes are not cut as deep as the pattern shows. Did you change this also?