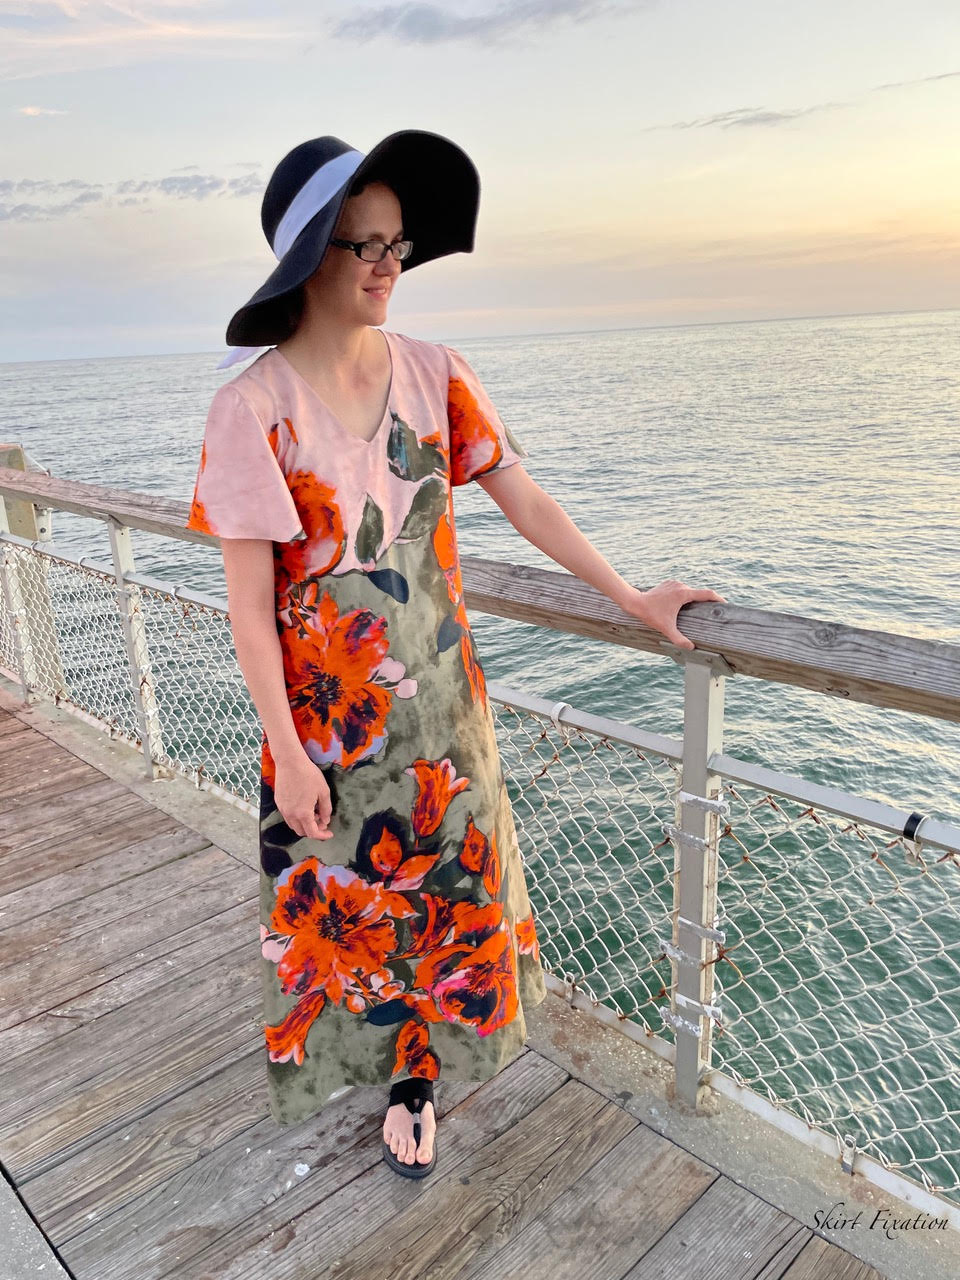
Please welcome Audrey to the blog with a tutorial for her gorgeous maxi-length A-line Amalfi Dress!

Hi there! It’s Audrey from Skirt Fixation and I’m delighted to share my tutorial for the perfect summer dress using the Amalfi Dress pattern. In my opinion, a lot of people overlook the Amalfi pattern thinking the silhouette isn’t for them, so hopefully after seeing this version of the Amalfi, you’ll give it another look.
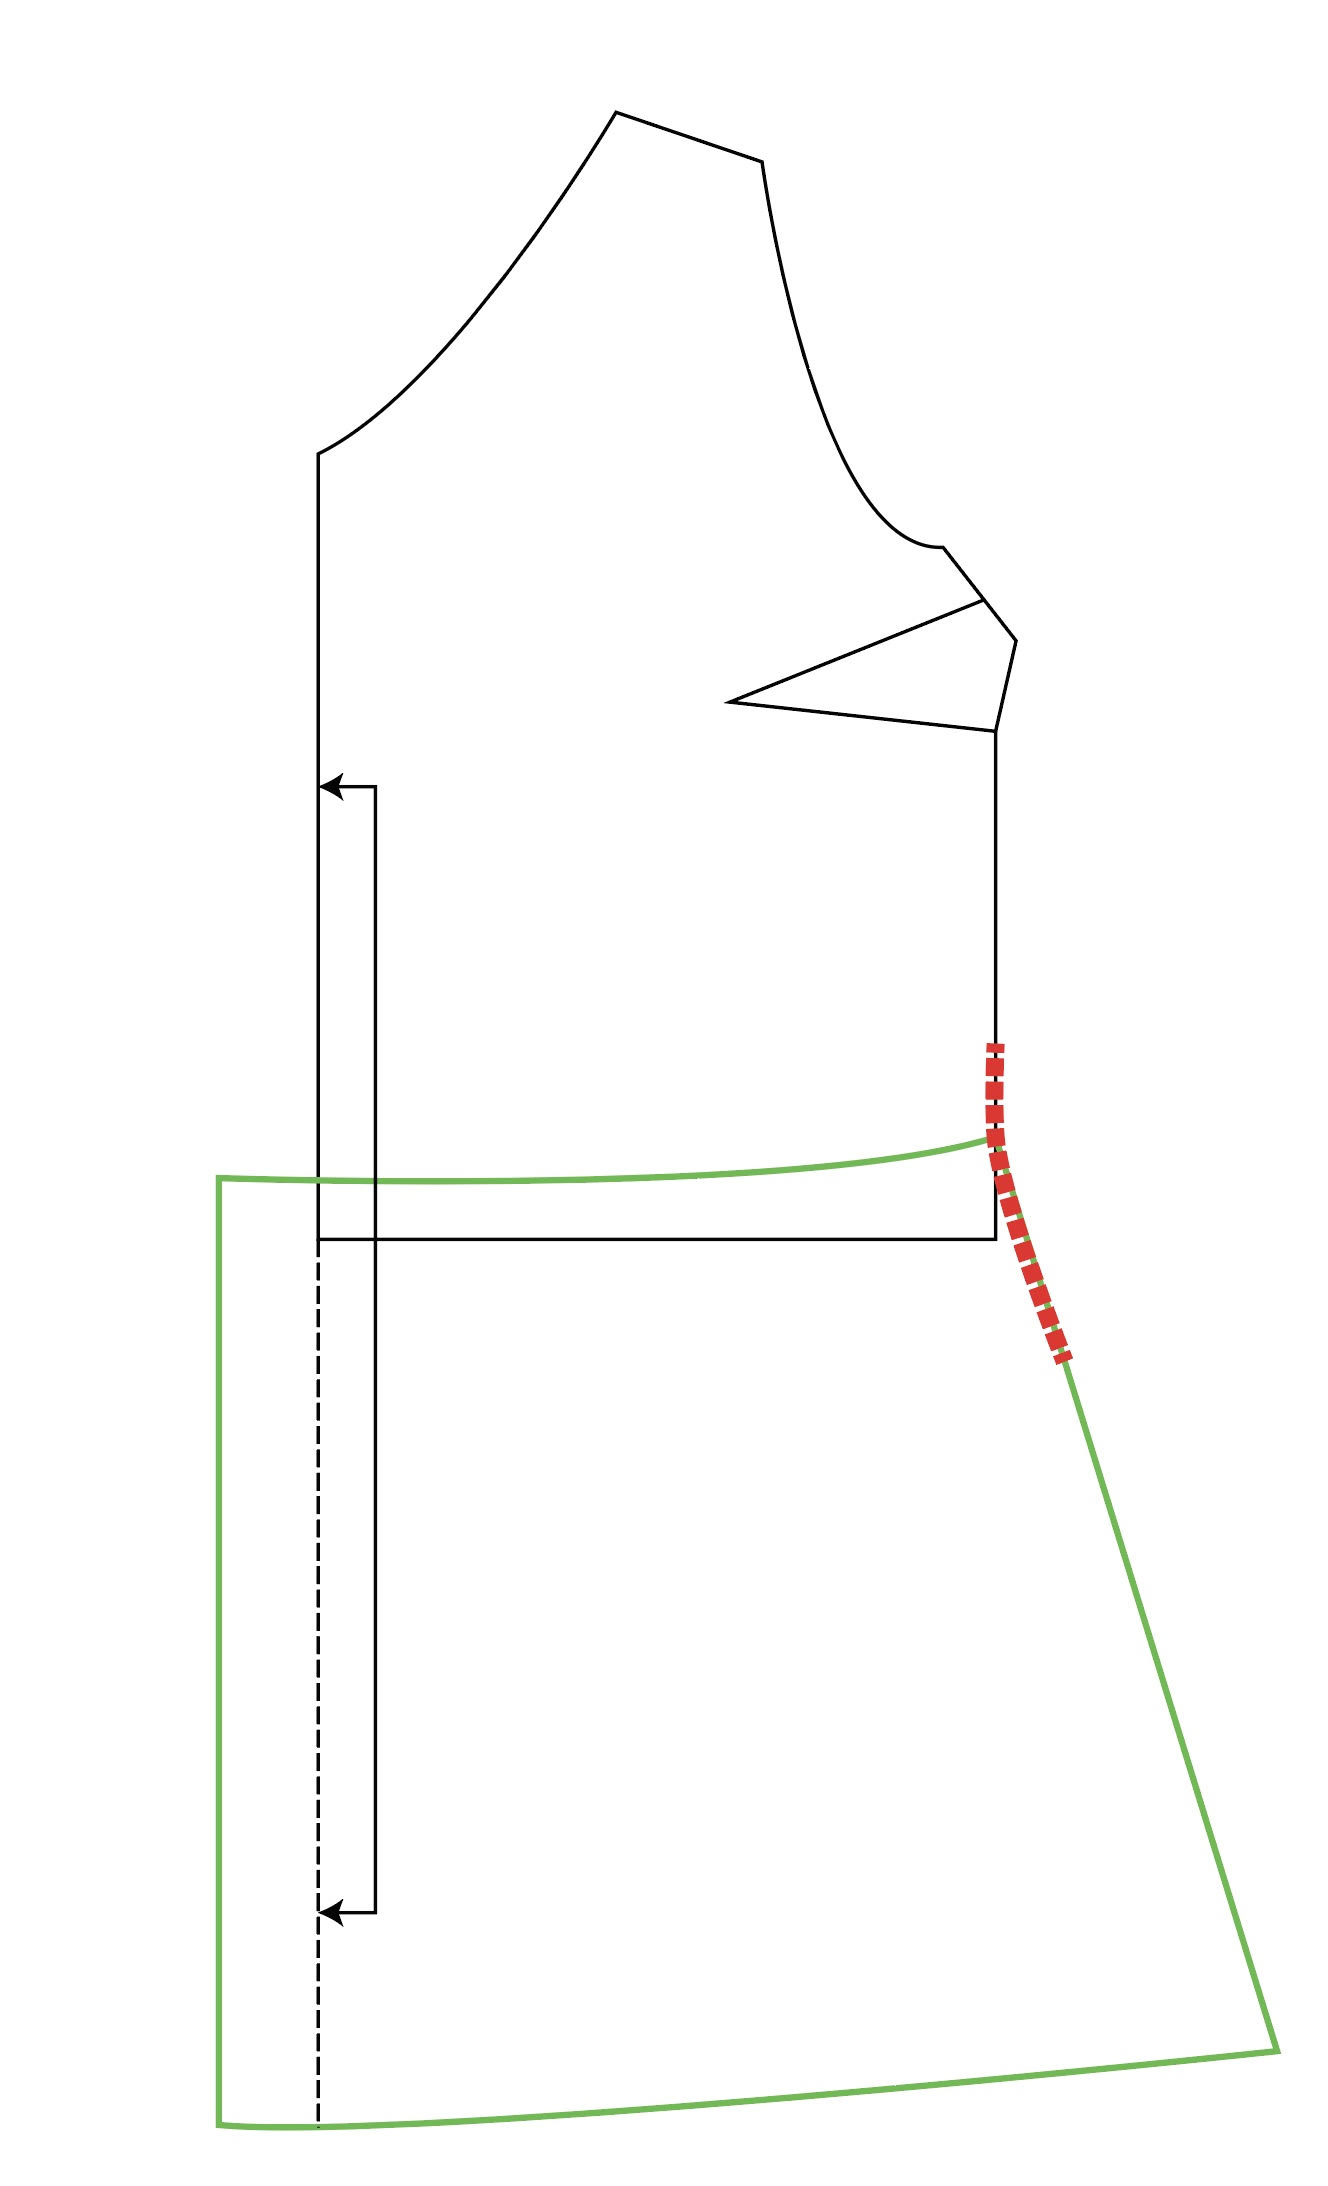
This tutorial is so easy, it’s almost too easy, but I’ve drawn up a photo to show you what I did. Cliff notes version: I eliminated the waist seam by overlapping the top and skirt pattern pieces.
In case you like more explanation, here’s that for you too. When I sewed this Amalfi Dress, I was looking for fast and easy. It may or may not have been the day before I left on a trip to Florida. I could have used another top pattern (like the Lucerne or Amherst) and drafted a skirt, but I was pressed for time!
Amalfi Summer Beach Dress step 1:
When laying the pattern pieces on fabric in preparation to cut, overlap the skirt piece (shown in green) on top of the bodice front (or back) by the width of the seam allowance. Make the side seams match, or line up as close as possible. The skirt piece has more ease (it is gathered when you make the original Amalfi Dress) so it will hang off the edge of the top piece.
Use the center edge of the top piece as the fold line when cutting. Smooth the side seam as when cutting. (red dotted line in illustration)

The only other change I made to this Amalfi Dress was to extend the length to use the entire width of my fabric so as to make it as long as possible for my 6 foot tall height. (This stunning fabric is a border print, so I was actually cutting it out perpendicular to the recommended layout to maximize the print down the front of the dress.)
Amalfi Summer Beach Dress step 2:
Skip all the parts of the instruction that have anything to do with the waist seam. That is literally all there is to it!

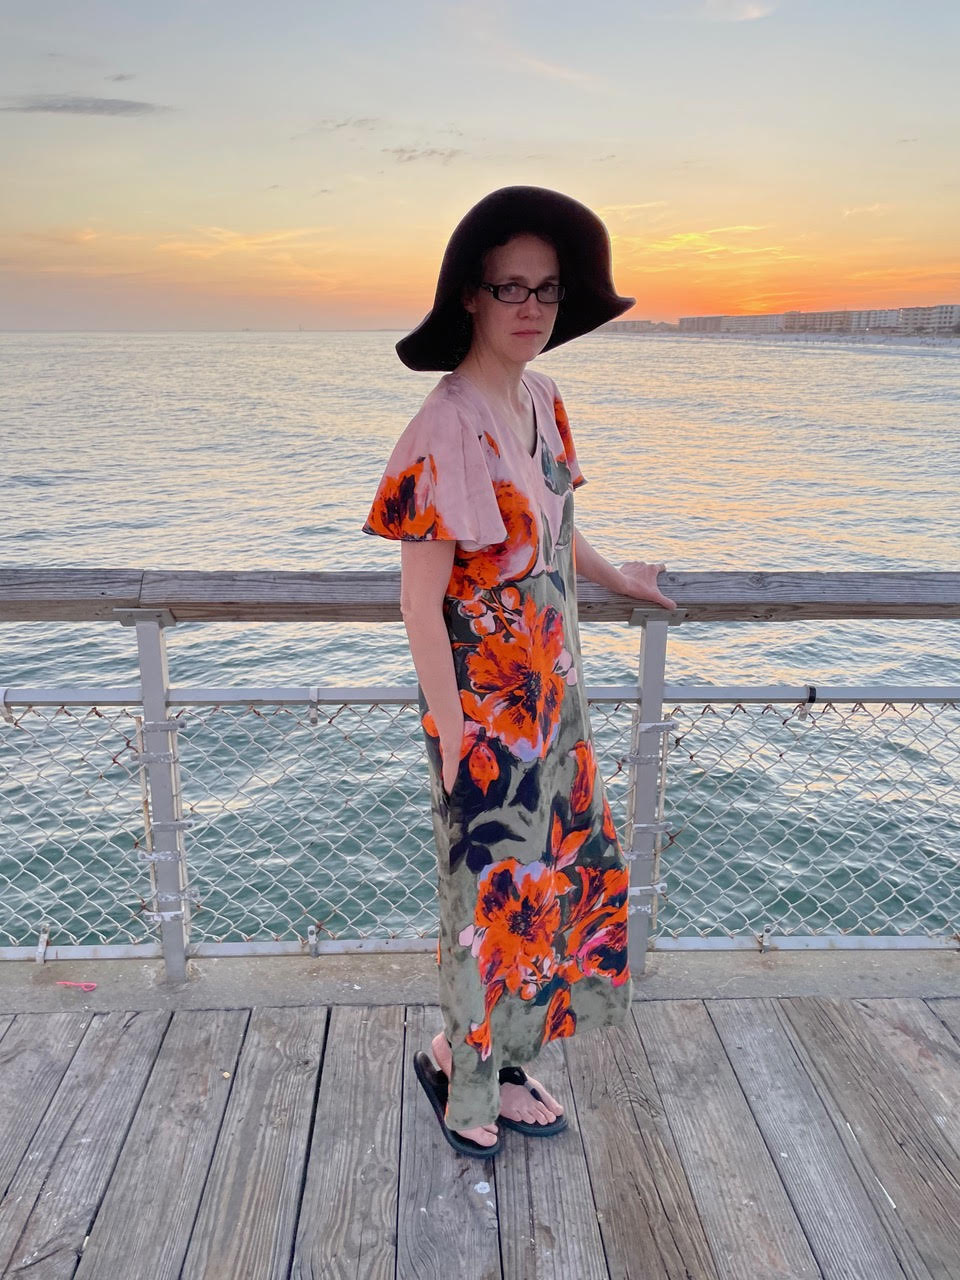
One mistake I made was to change the location of the pockets, thinking they would need to be adjusted since I was eliminating the waist seam. In hindsight, they ended up a tiny bit too low, and I may have been better off just using the markings on the pattern. I’d recommend placing pocket location individualized for your own preference.
For more information on the stunning rayon challis fabric I used and more sunset on the pier photos, please feel free to visit my Skirt Fixation blog.

Thank you so much for the tutorial and for sharing your beautiful vacation pictures, Audrey! If you use this tutorial, be sure to tag #AmalfiDress and @HeyJunePatterns so we can all see! This tutorial would work equally well with the above-the-knee or tea lengths that are included in the pattern, or the other short sleeve style. The sleeves from the Lucerne and Phoenix are also interchangeable with the Amalfi Dress for maximum options!

Great Post, Thanks for Sharing,