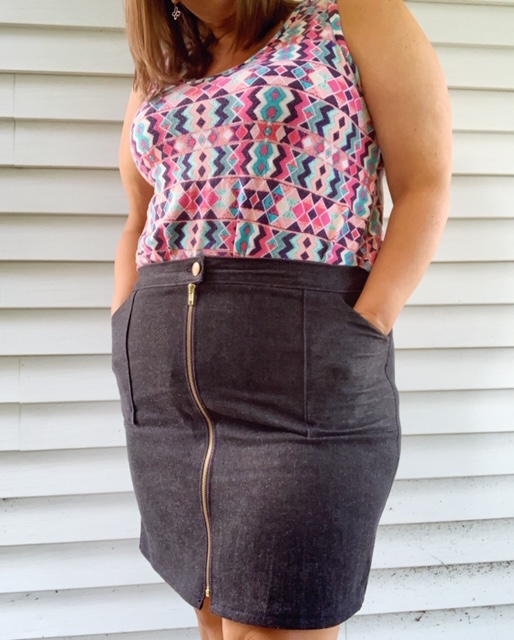
Please welcome Jen as she shares her tutorial to modify the Sandbridge Skirt to be a full zip down skirt. I absolutely love this hack, and I think it works perfectly with a tank top for summer and a cardigan and booties for fall!
Hello! Thanks for having me here on the Hey June Handmade blog! My name is Jen and I’m commonly found on Instagram and occasionally over on my blog A Maker Heart.
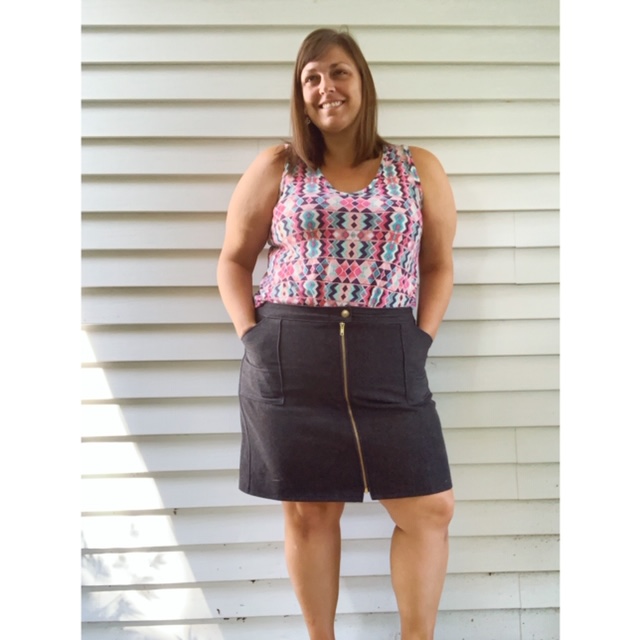
Some people sew a pattern once and move on. Others sew a pattern over and over and over until they’ve filled their closet with them. I’m definitely the latter. I love to make a pattern to perfection or find ways to make it slightly different. My pattern collection is mainly comprised of tried and true patterns that speak to my casual style and relaxed wardrobe.
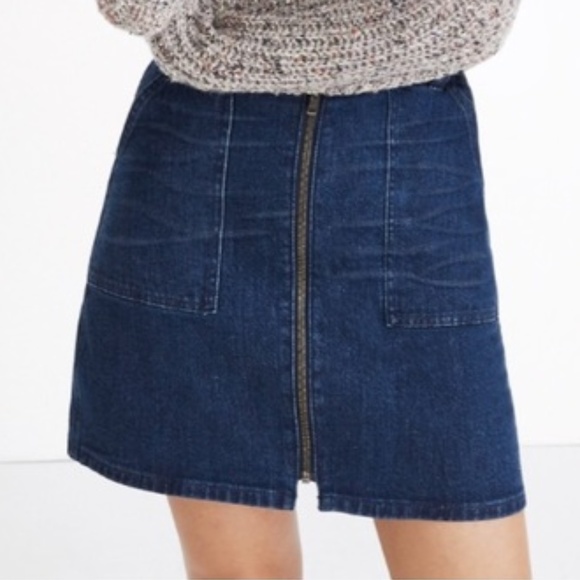
The Sandbridge Skirt was immediately something I knew was missing from my wardrobe. I have made the pattern once already exactly to the pattern instructions and I have been wearing it all summer. After browsing for some denim skirt inspiration, I found an image of a full zip jean skirt with patch pockets from Madewell that I definitely wanted to recreate. The Madewell skirt is no longer available for purchase.
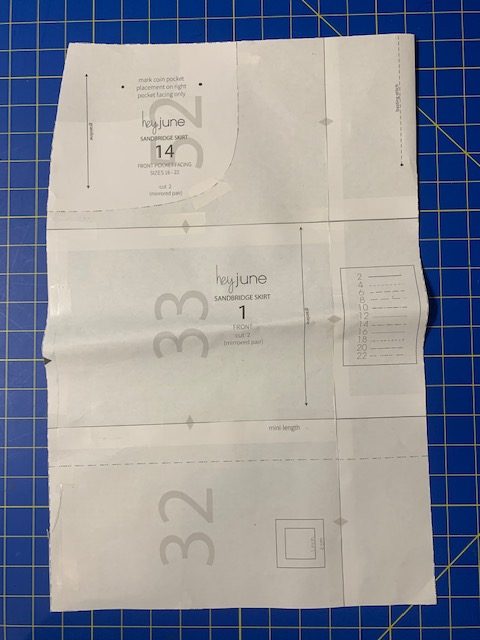
I started by cutting out the pattern in the size 22. My fabric is a heavy weight rigid denim narrow remnant and I have no idea from where or when I purchased it. Normally I grade between sizes for my waist and hip but I wasn’t sure where I would want the skirt to sit on my midsection. I knew I wasn’t going to use the coin pocket piece and I simply didn’t have enough fabric to do back pockets. I also skipped the belt loops. Since I was changing the style of pocket to a patch pocket, I laid pattern piece number #14 (front pocket facing) on top of the Front pattern piece #1 and lined them up to make a continuous side and top.
To create the patch pocket, I used pattern piece #13, the front pocket bag, as a guide. I folded it in half to get the approximate width of my desired patch pocket. Then I cut out two pieces of denim, mirrored, around the pattern piece. I extended the length of the pocket as much as I could with my limited amount of fabric.
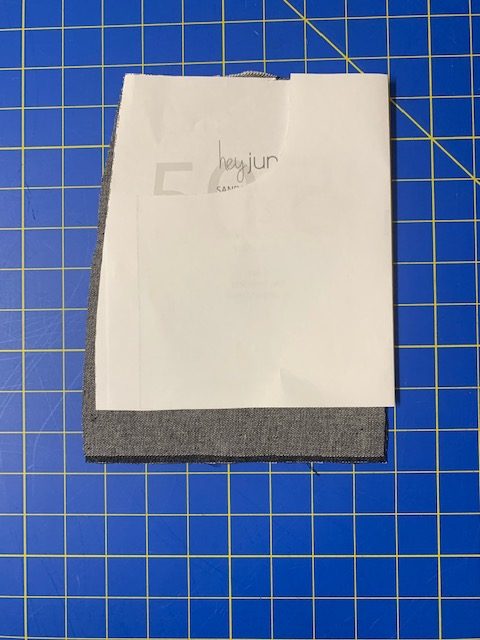
Then I trimmed a triangle off of the corner and interfaced the back of the denim to keep it from stretching with wear. You could also reinforce a bias edge by basting a piece of ribbon or scrap cotton fabric along the underside of edge. I serged all of the edges that would not get sewn into a seam and then folded those serged edges under by ¼”.
Note: you can true the pocket opening hem allowance so it covers the inside fully when turned, but it is not necessary.
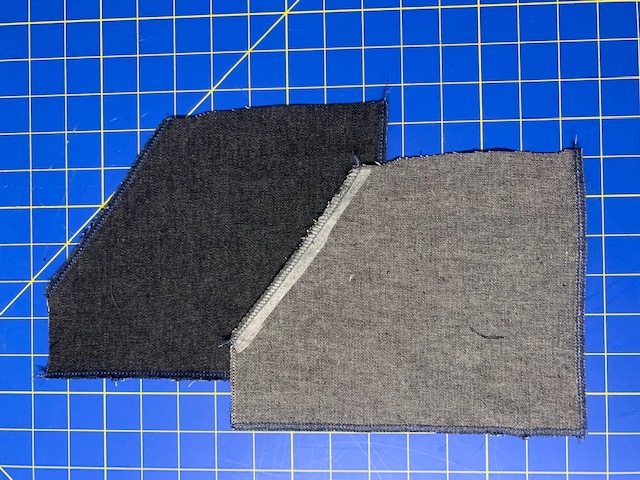
I sewed two rows of topstitching across the new pocket opening and I sewed one row of topstitching on my other folded edges.
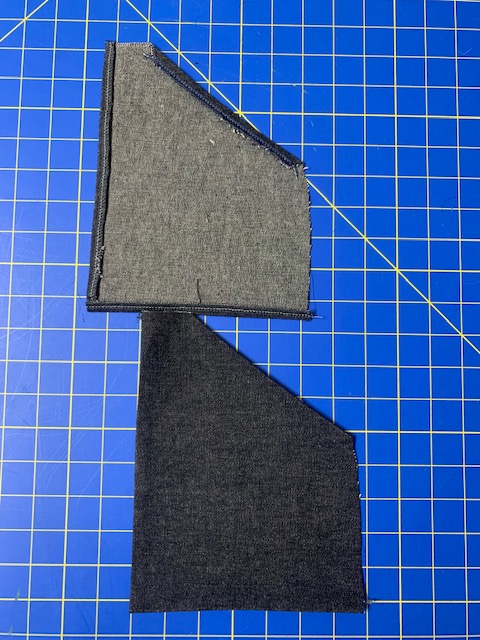
Then I basted the pocket along the side and top seams in place on the skirt Front piece and sewed the second row of topstitching to the folded edges to attach my patch pocket to the skirt.
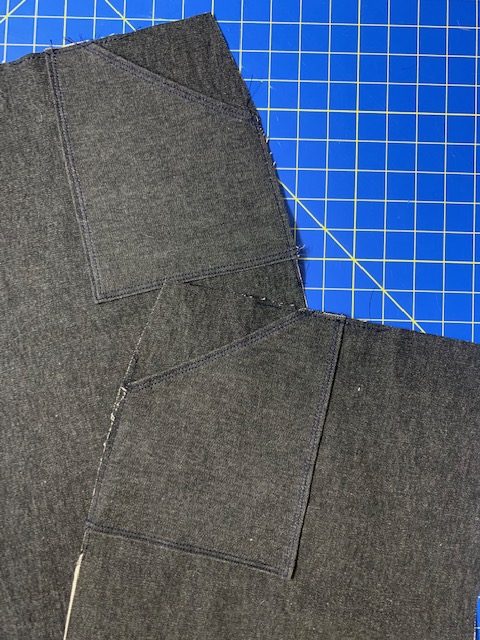
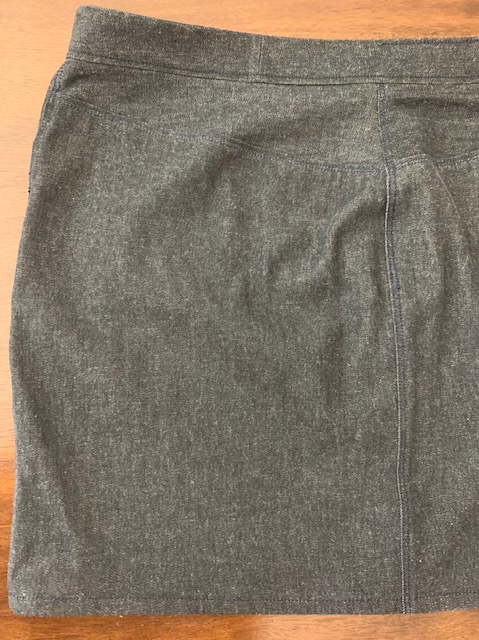
After I had my pockets attached, I sewed the Back pieces and yoke pieces together as the pattern detailed. Then I basted all of my pieces together to check the fit. I found some gaping at the back yoke so I took it in at the top of the center back seam until it fit closer to my body. I expect the rigid denim to relax with wear.
The zipper is a metal heavy jacket zipper. I wanted something that was a separating zipper and would be very strong. I installed the zipper according to the zipper instructions and topstitched along each side.
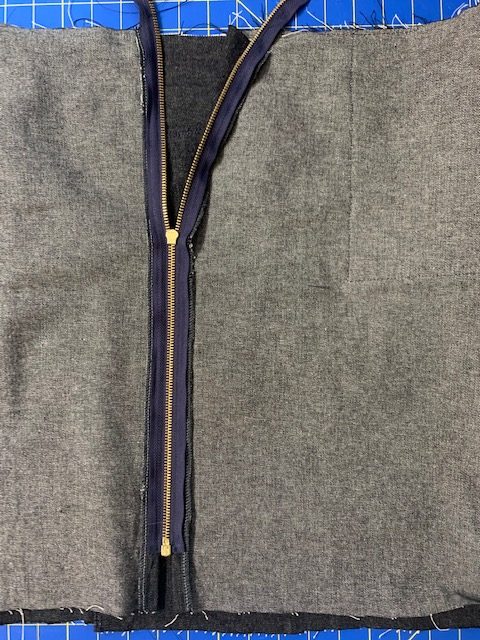
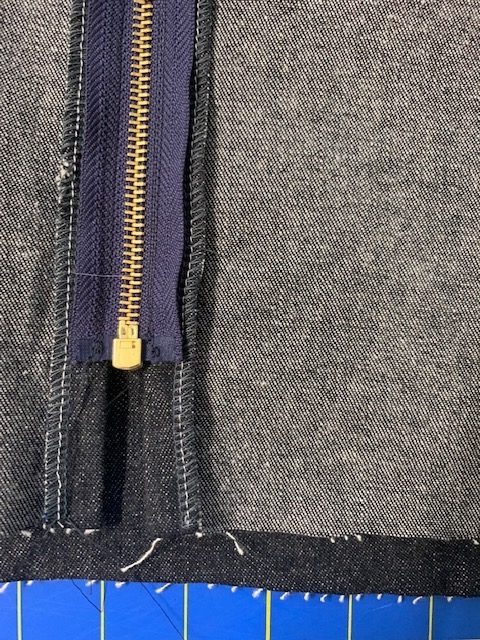
The zipper is fully exposed all the way to the waistband. I considered adding some sort of zipper guard on the inside to be between my body and the metal zipper but ultimately decided not to mess with it. I think it would have been pretty simple to extend the zipper guard pattern piece the entire length of the zipper. You could tack it on the opposite side near the bottom but then your skirt won’t fully unzip and separate.
The only other consideration is to adjust the length of the facing behind the front waistband where your buttonhole is. Since the zipper is exposed you don’t have the extra denim to cover the bias tape that hangs slightly below the facing.
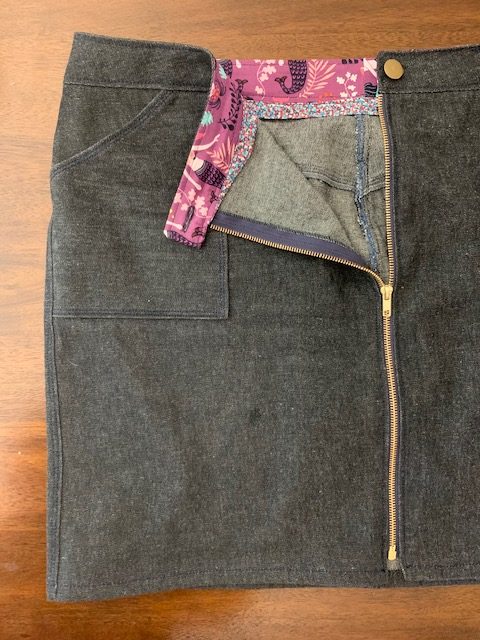
If you made your facing shorter, you could accommodate for that, or you can simply tuck the extra under, stitch it down, and make it work! Can you guess which route I went?
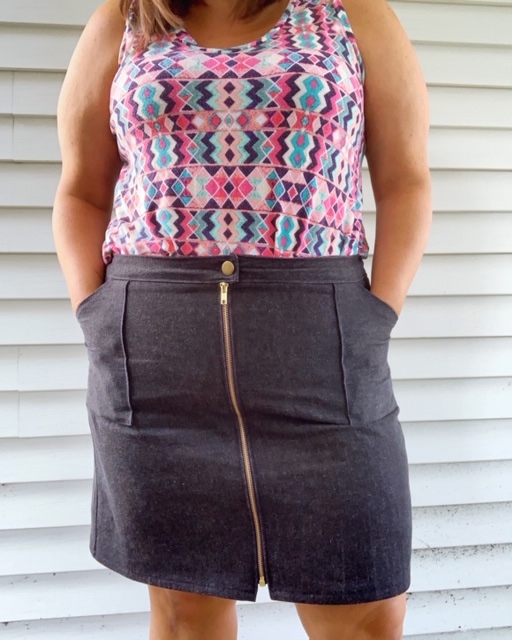
I really love this skirt and I can’t wait to wear it into the fall. My version fits my personal style better than the Madewell version as I prefer the shape my denim skirts to be narrow rather than A-line. I think it will be cute with nearly every top I have in my wardrobe and I could even see wearing it with tights when the weather turns chilly. Thank you to Hey June Handmade for the opportunity to share my Sandbridge Skirt hack with you.
Thank you so much for this gorgeous hack, Jen! It’s even easier than the original pattern! I think it will be perfect for transitioning to fall also!
