
As part of our effort to make the Evans Blazer as simple to sew as possible, the original pattern does not have a back vent. The garment functions perfectly without a vent since it’s a more casual knit blazer, but a vent is a fun detail to add. Luckily, it’s really easy too! I drew up some illustrations for this tutorial and also took pictures, so let’s get started.
Step 1:
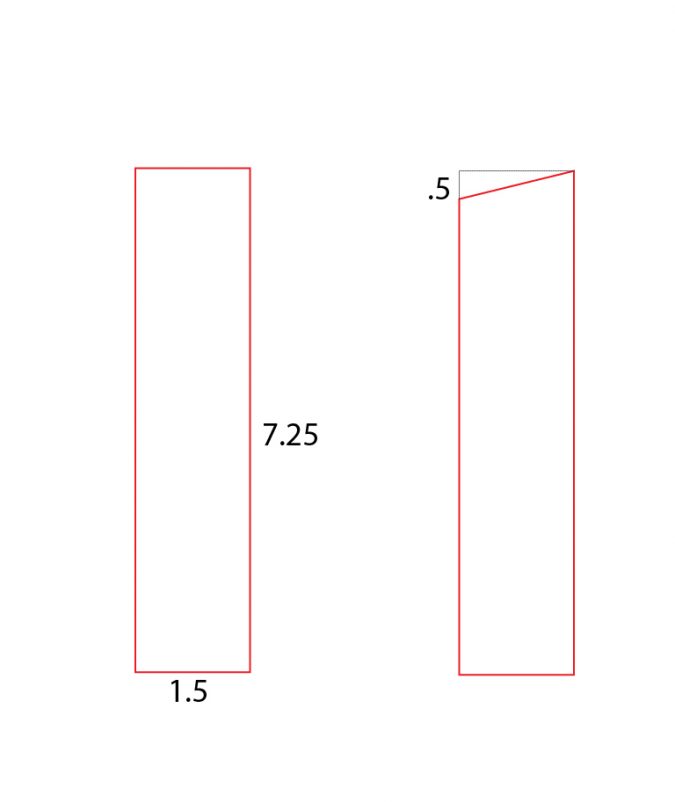
First, make your vent pattern on paper. Ultimately, the height and width are a matter of personal preference, but based on several ready-to-wear garments, I used the following measurements: 1.5″ width, 7.25″ height, with 1/2″ removed from the outer edge at the top of the vent to create a slant. If you are using your own measurements, just remember to include the height of the hem and center back seam in your calculations. For the Evans Blazer, that is 1.5″ and .5″, respectively. My finished vent height will therefore be 5.25″.
Step 2:
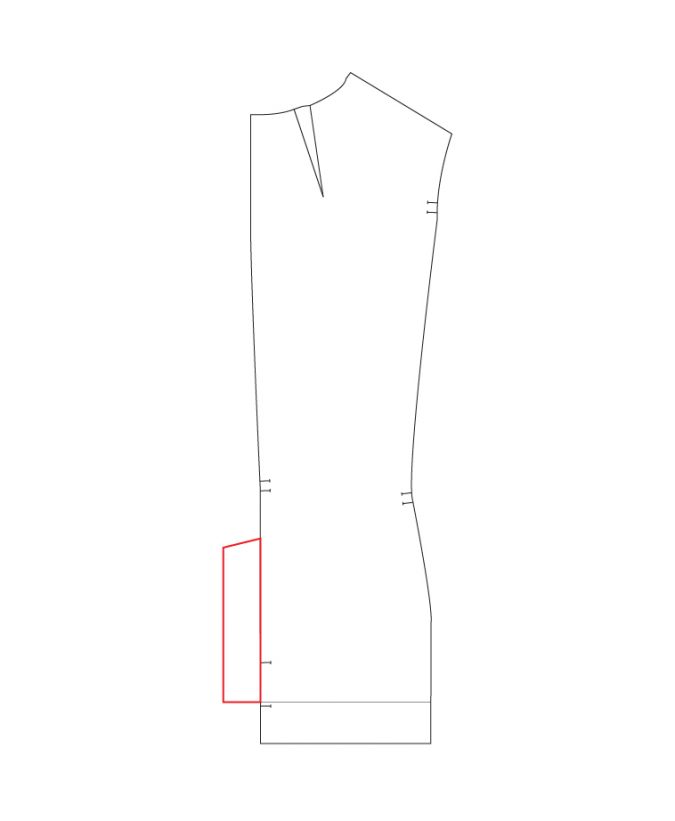
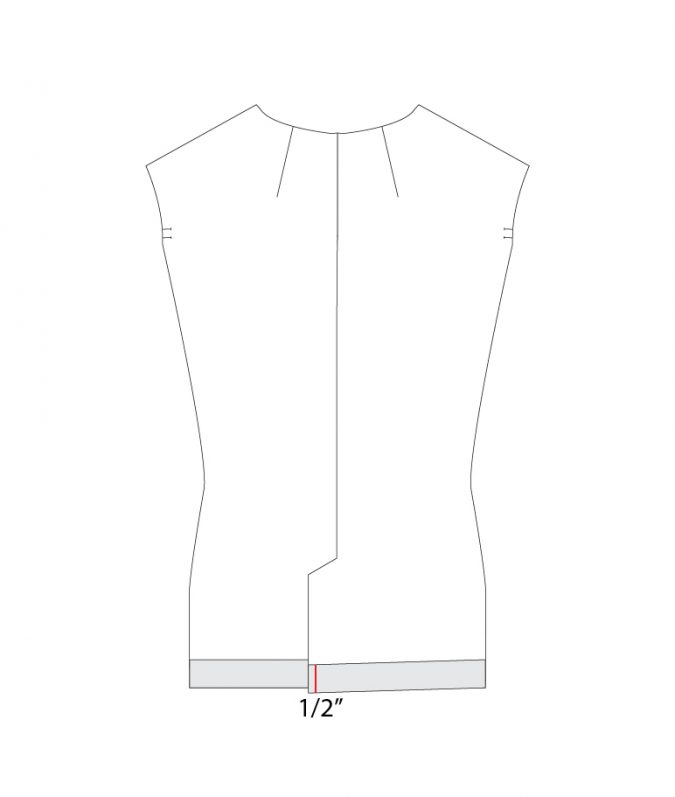
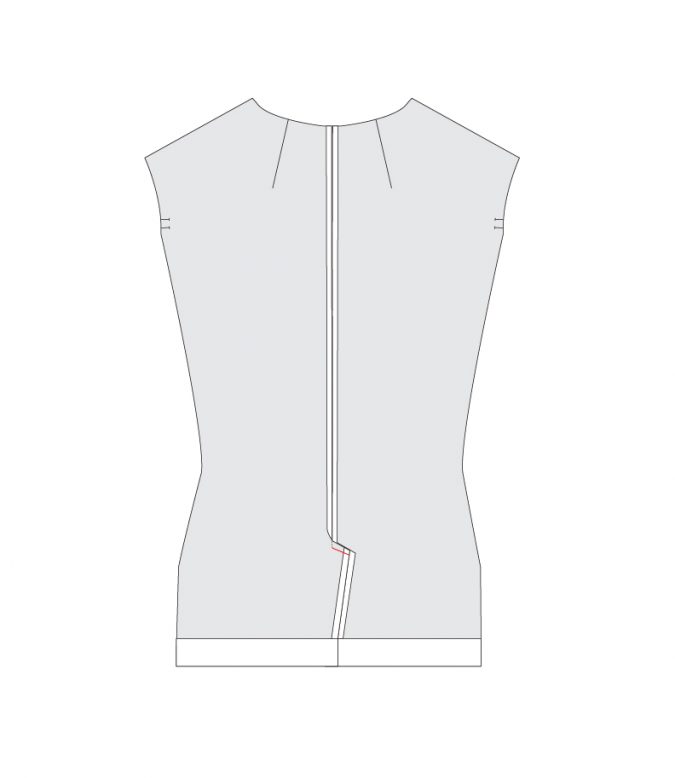
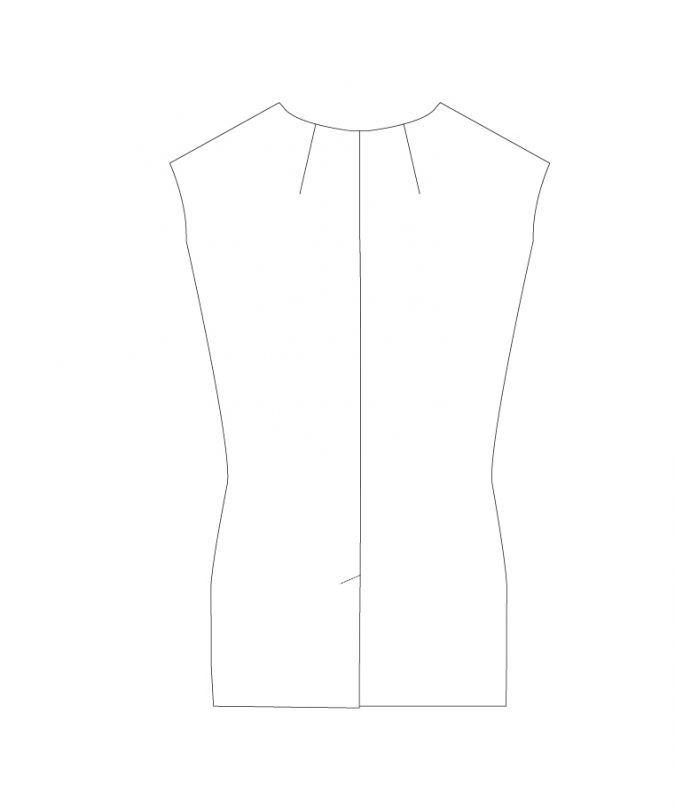
Tape the vent pattern to the center back on the back pattern piece, aligned with the hem. Note that the two views have different hem line heights. View A:


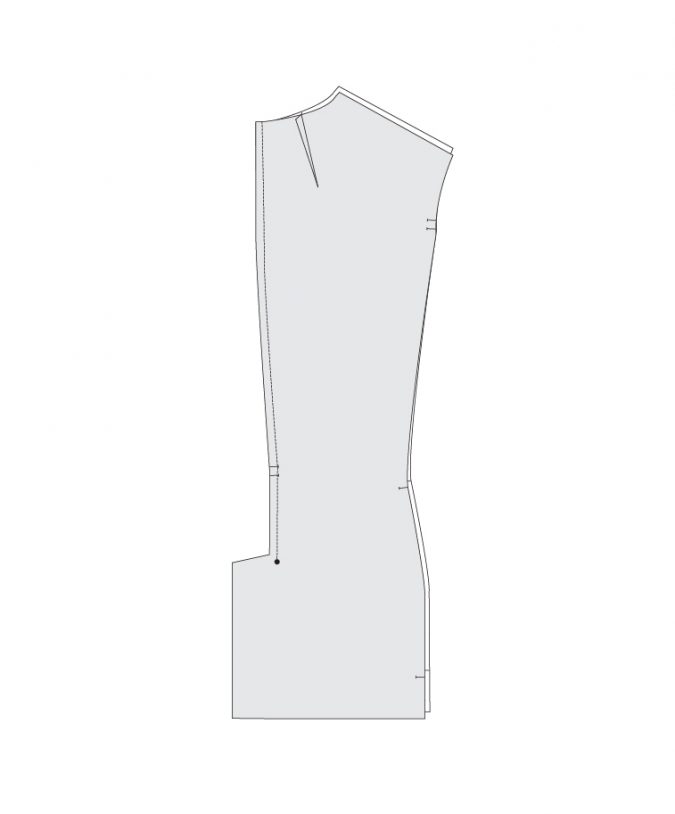
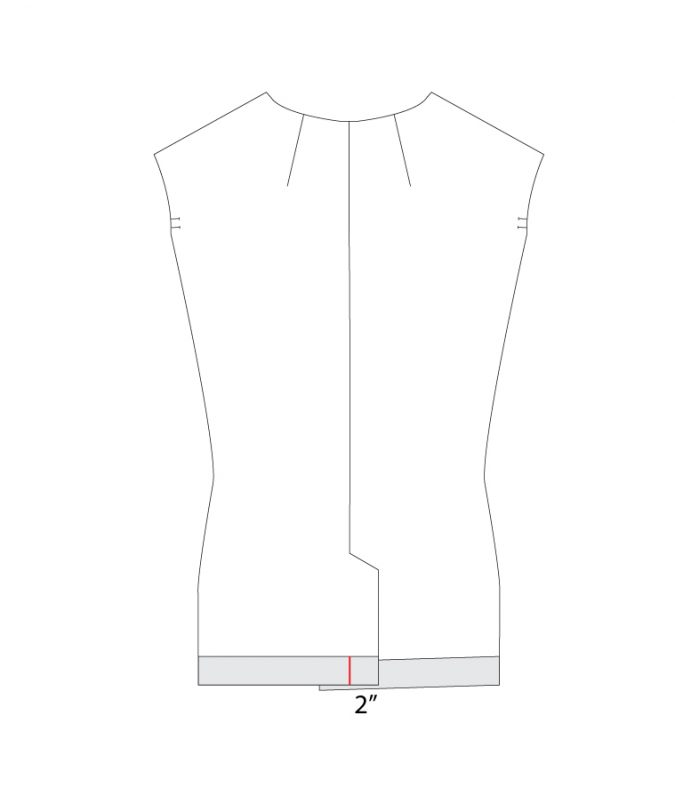
View B (I recommend folding up the hem on the pattern piece for view B instead of cutting it so you don’t have to reprint to sew up view A later.
Step 3:
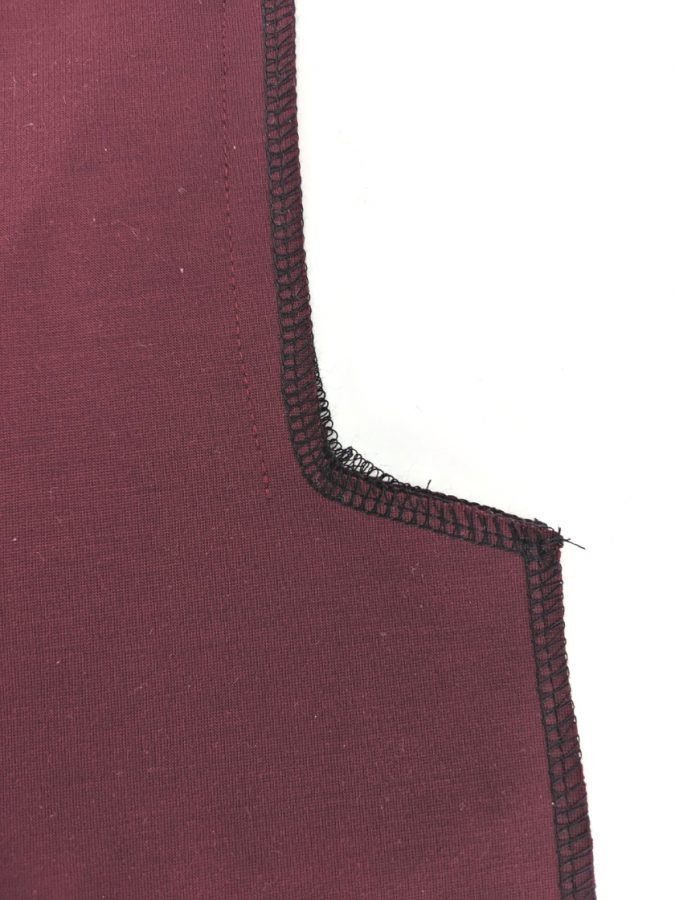
Cut out your new pattern pieces including the vent extensions on each back piece. Finish the center back seam allowances as in step 1 of the pattern instructions. Sew the two back pieces together down to where the vent extension starts. Continue sewing to 1/2″ past the top of the vent (or whatever the center back seam allowance is on the pattern you’re using).
Step 4:
At this point, continue following the pattern directions to sew the rest of the jacket through step 23. You will have a jacket shell sewn with the raw edge of the hem finished. Lay the jacket right side up. Turn the hem up along the marked hem line (1.5″) with the folded hem right sides together.
On the right side of the vent, mark a line 1/2″ from the center back raw edge only the height of the hem.
On the left side, repeat this process, marking a line 2″ from the center back raw edge.
Step 5:
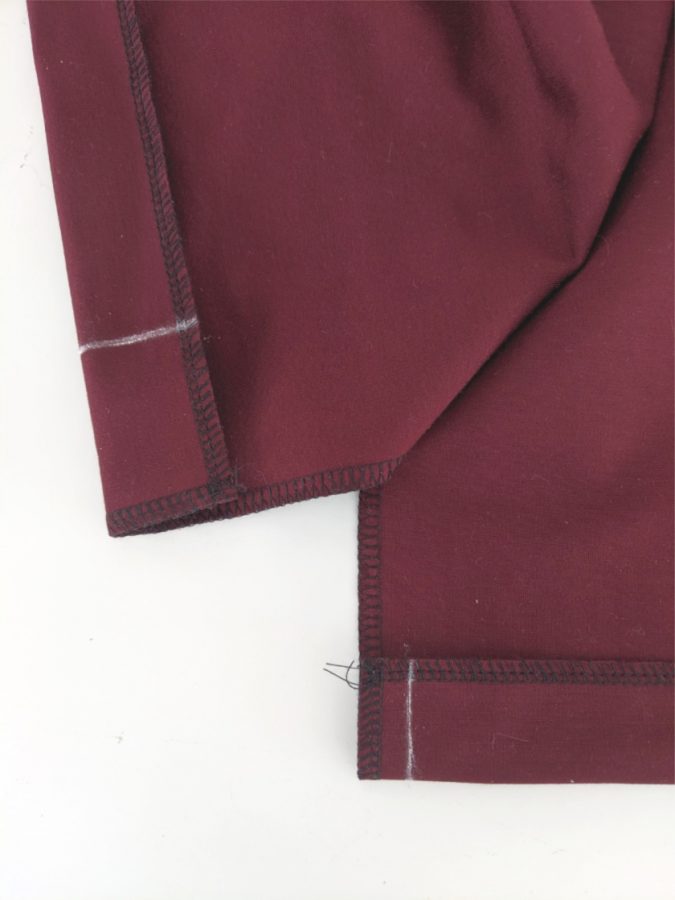
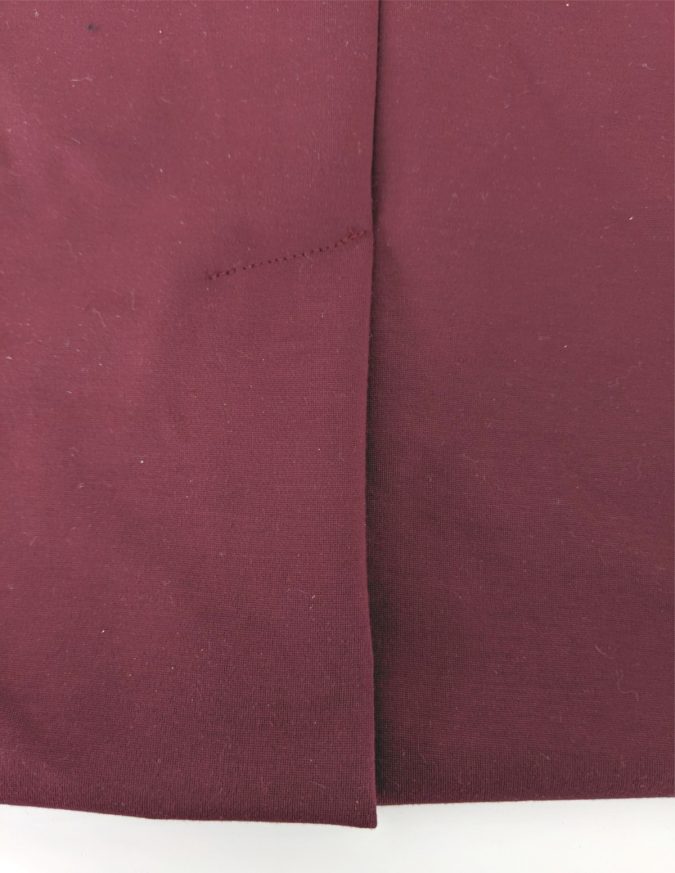
Sew the hems right sides together along the marked lines only. Lock stitches at the beginning and end of both seams. Note: if you want to miter the wider side, have at it! No fanciness required though.
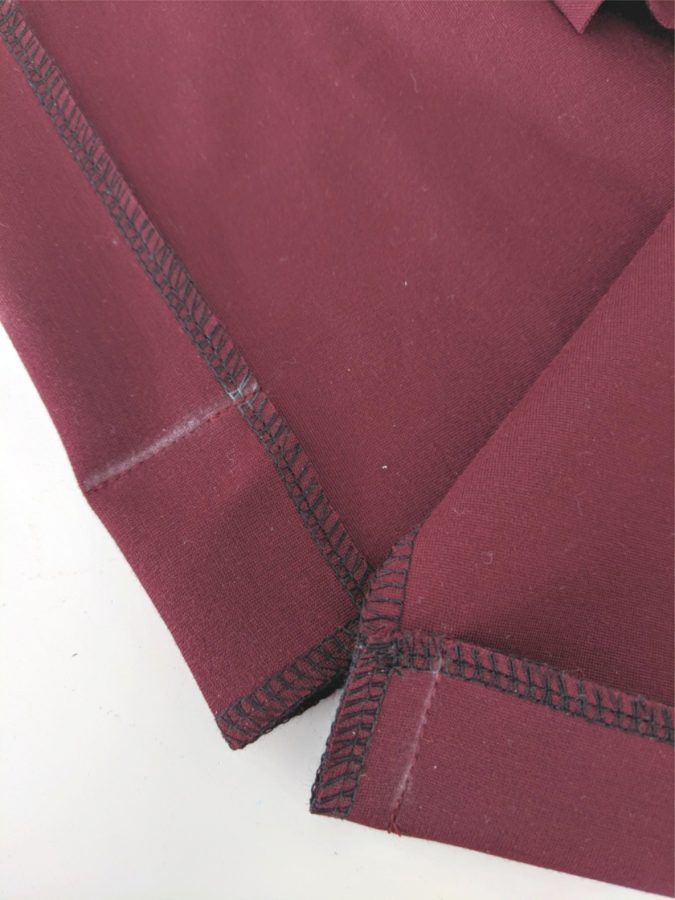
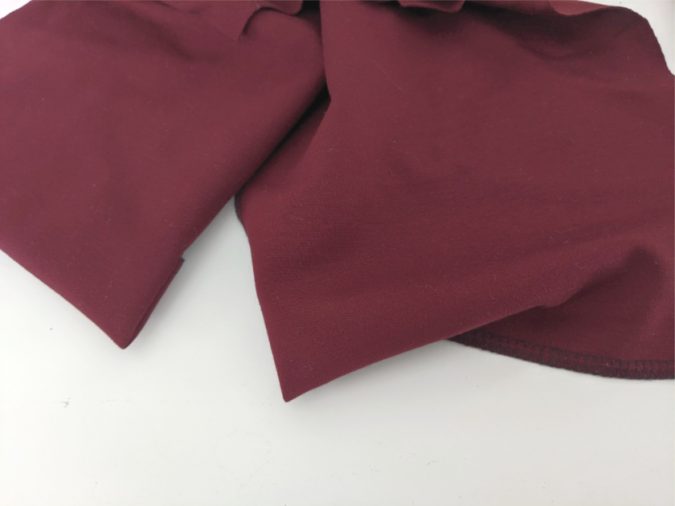
Turn the center back of the hems right side out, pushing out the corners created with those seams.
Step 6:
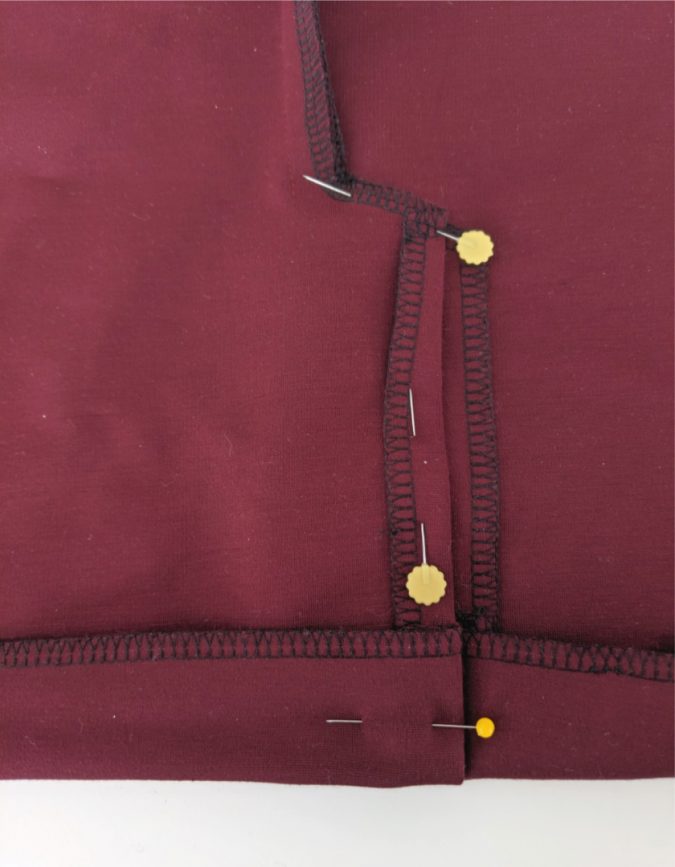
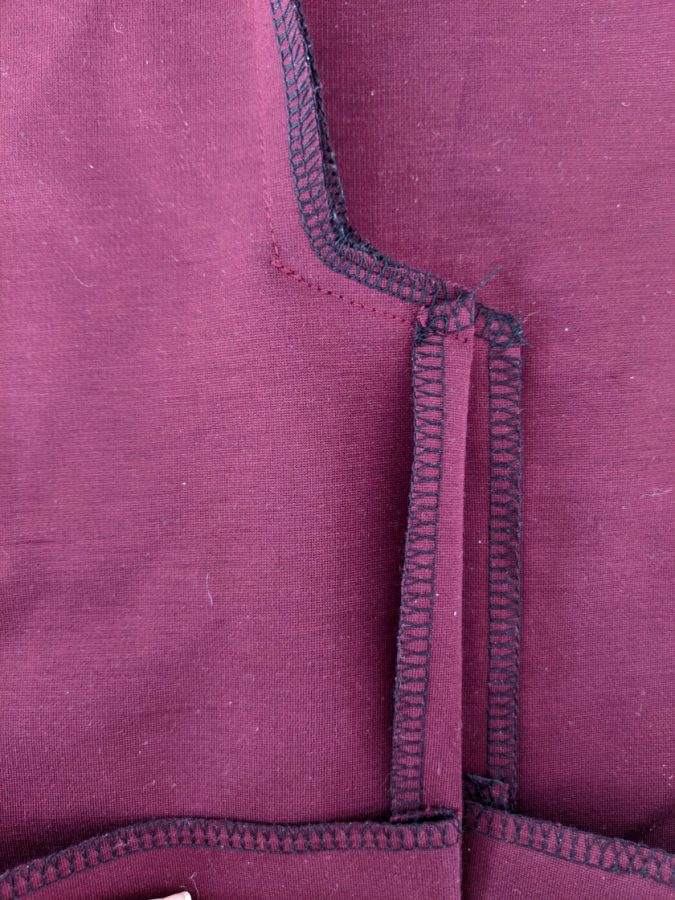
Turn the jacket wrong side up. Lay the vent extension on the left over the vent extension on the right. Mark a line starting at the end of the center back seam and down the slanted vent to the edge of the vent on the left, keeping the fold in place from the hem seam. Pin the vents together with the jacket back to keep anything from shifting.
Step 7:
Sew along the marked line, starting directly at the end of the center back seam. Lock stitches at the beginning and end of this seam.

Step 8:
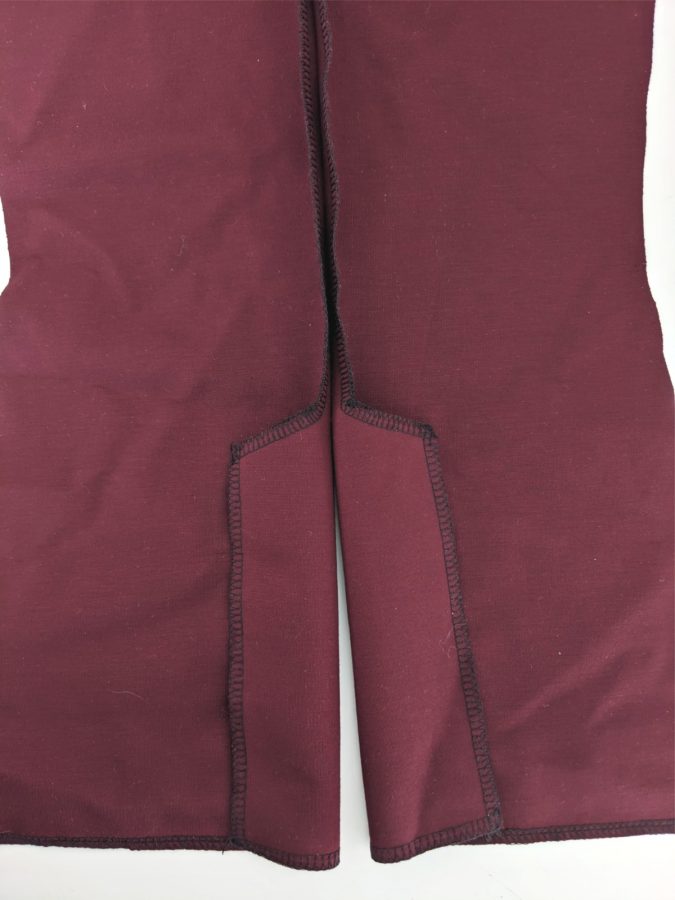
Cut into the seam allowances just above the vent so the seam allowances above the vent can be pressed open. Press the seam allowances on the vent up.
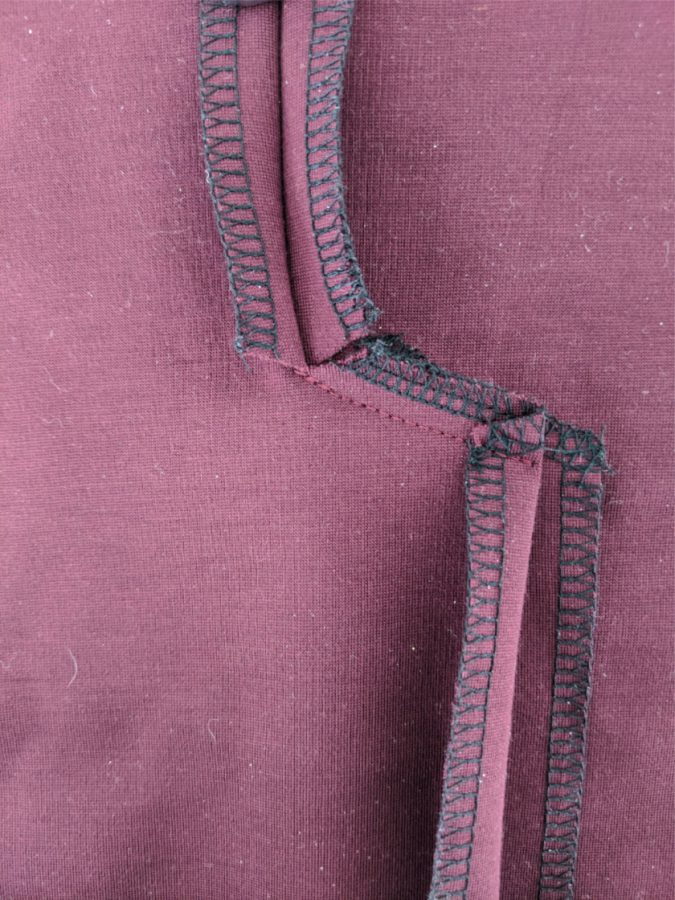
Step 9:
Press the right side of the jacket over the vent with a press cloth.
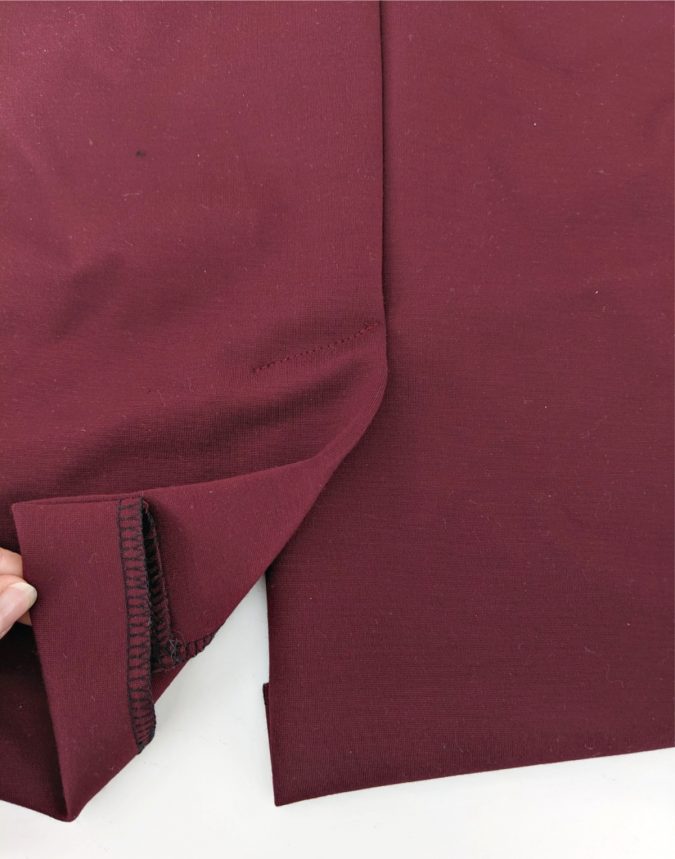
Your back vent is now finished! You can proceed with the rest of the pattern, sewing the hem with a blind hand stitch.