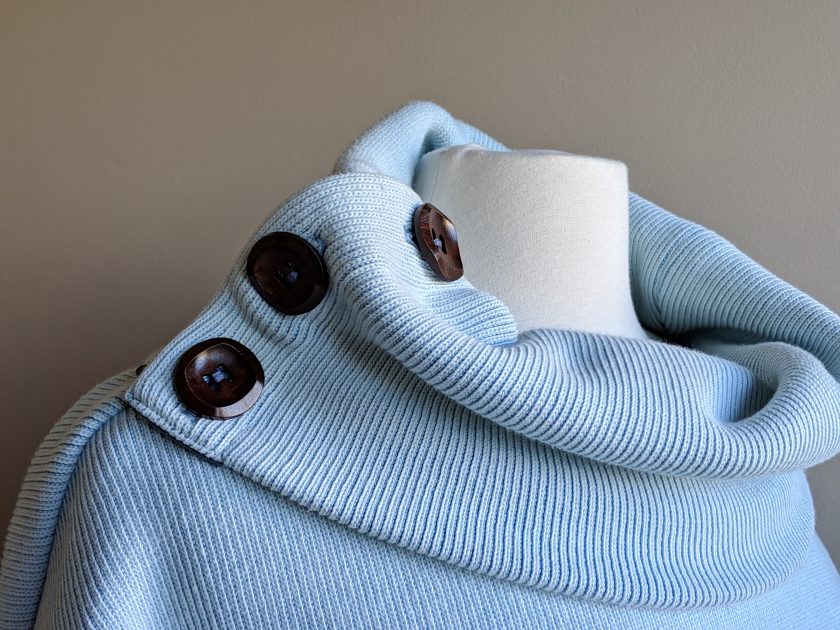
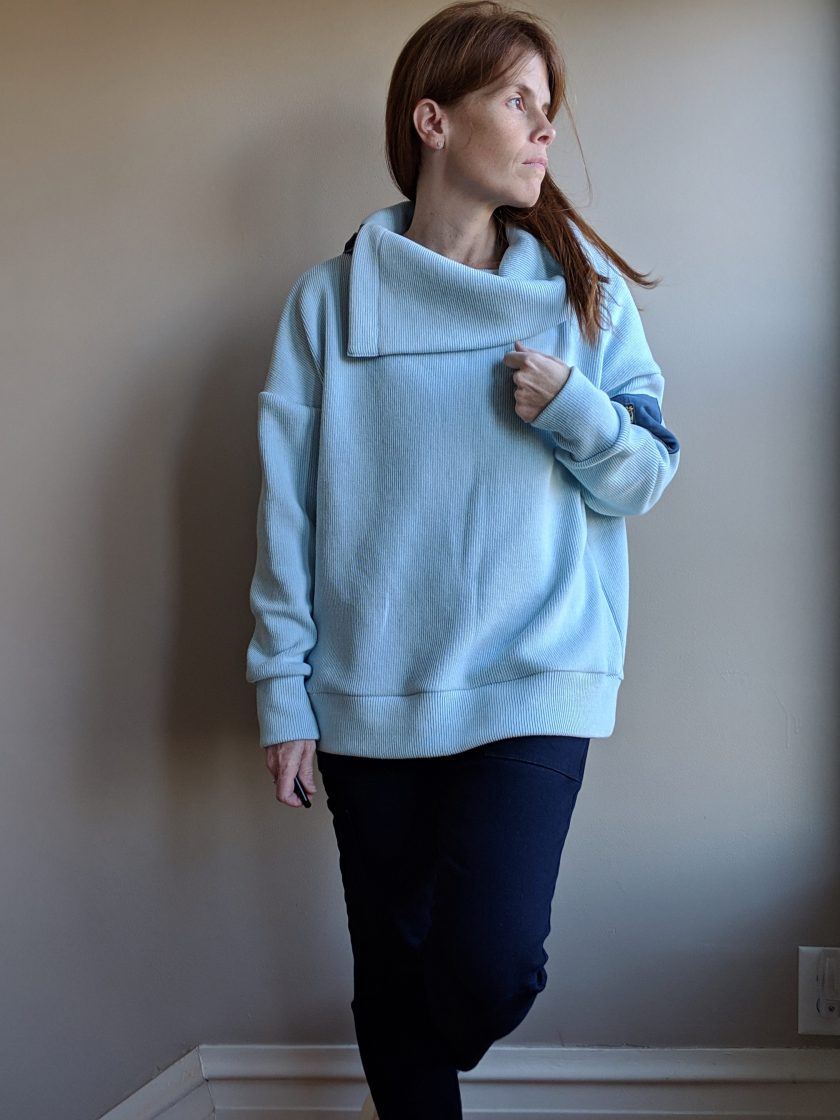
I know we are still excited about the Brunswick Pullover release, but check this out! Loni from HavinSewMuchFun is already sharing a hack! And it is delightful. I think you’re going to love this!
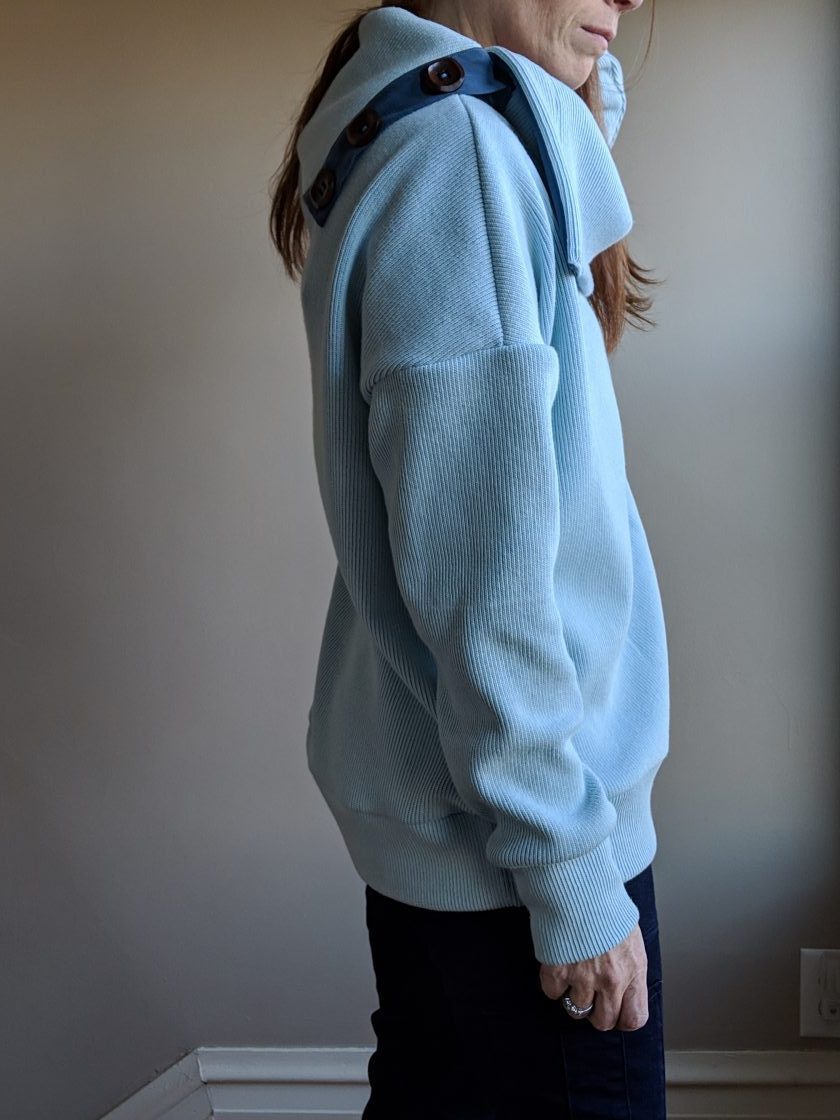
Hey, hey! You’re probably as smitten with the Brunswick Pullover as I am. The placket detail at the side seams, the zippered sleeve pocket, cowl and hood; so much to love! Well, I also enjoy mixing things up so I’ve got a fun remix, so to speak, of Brunswick that I think you’ll enjoy.
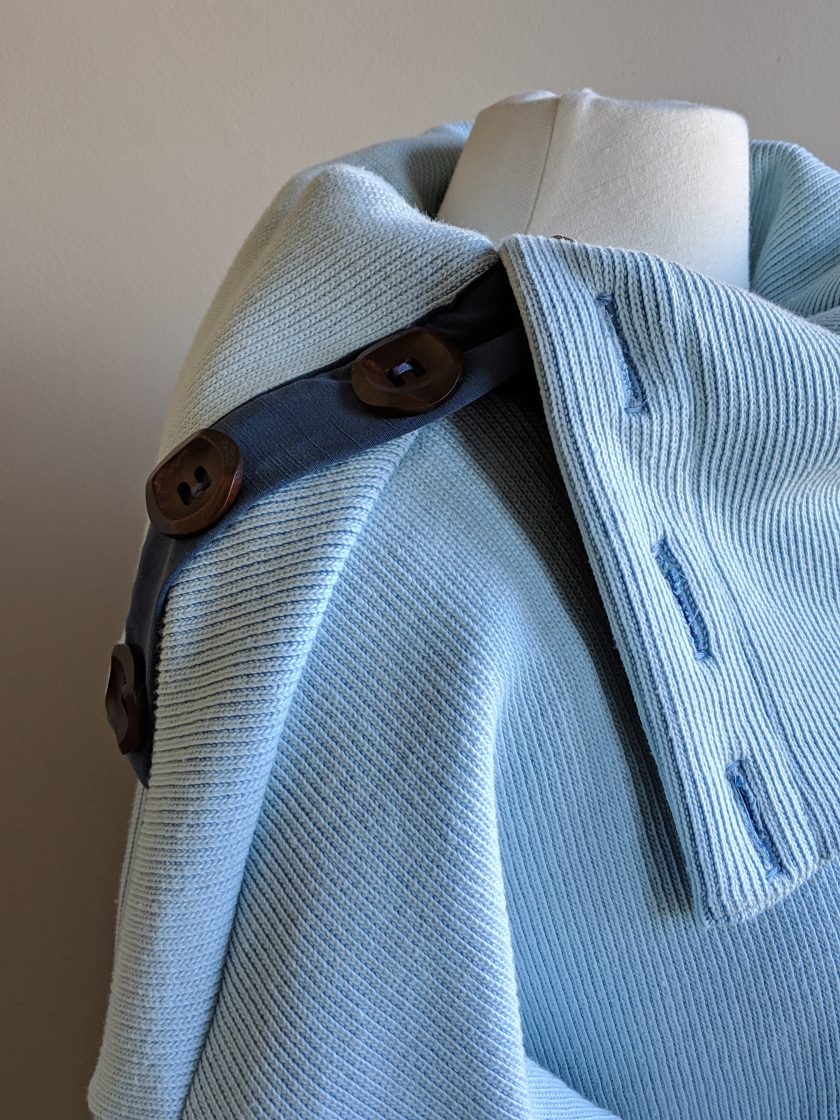
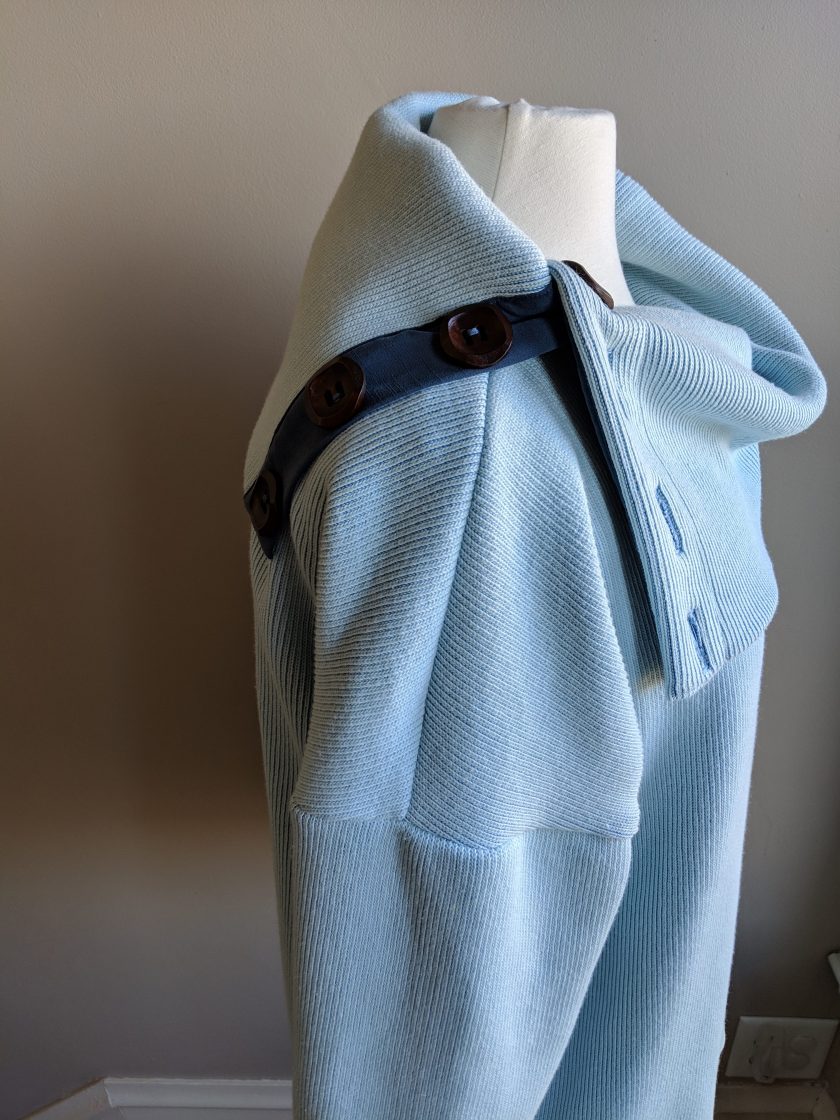
The general idea is to add the buttoned placket feature to the cowl. I did this during testing of the pattern because I was just so inspired! I essentially used the exact same approach as outlined in the pattern instructions for the side seams, with a short (1/2″) side seam on the cowl. The only modification needed for pattern pieces is to lengthen the the placket and interfacing to match the measured length of the cowl’s side seam x 2.
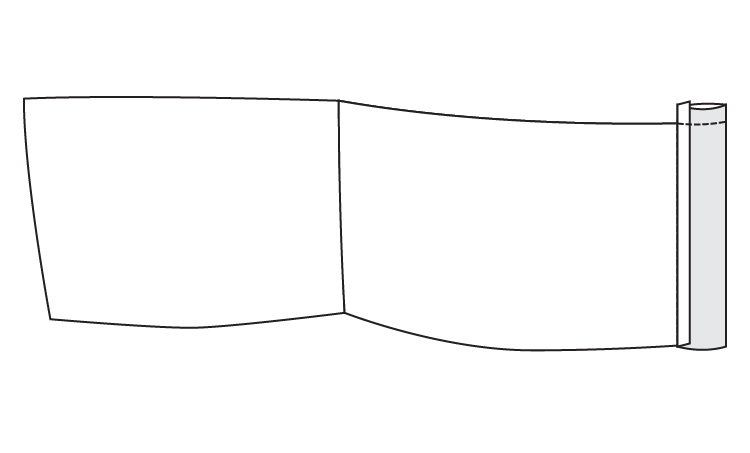
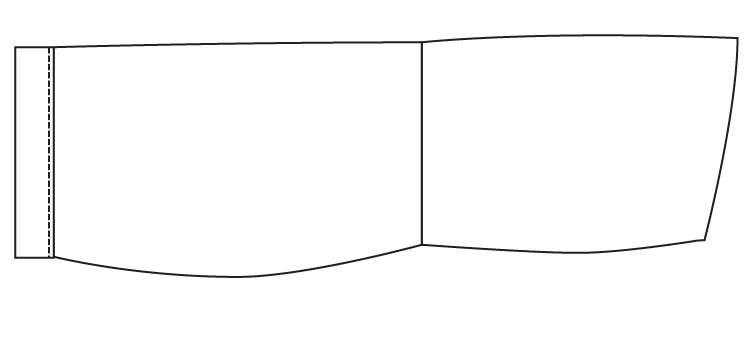
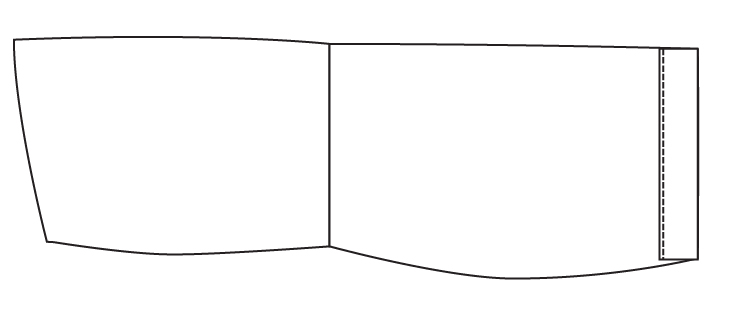
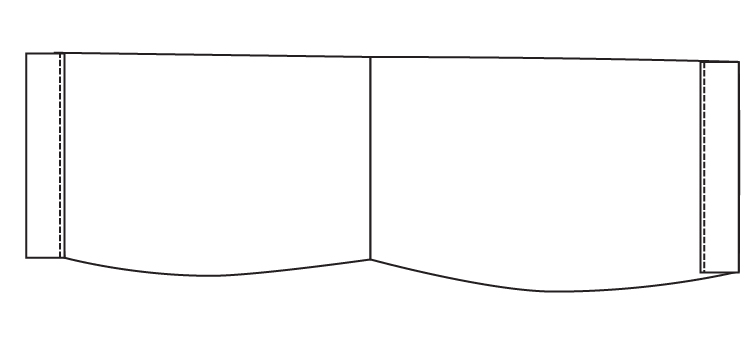
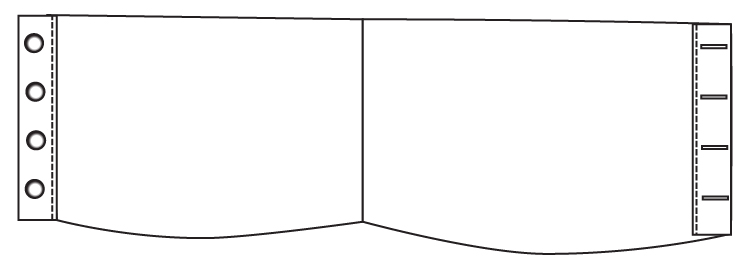
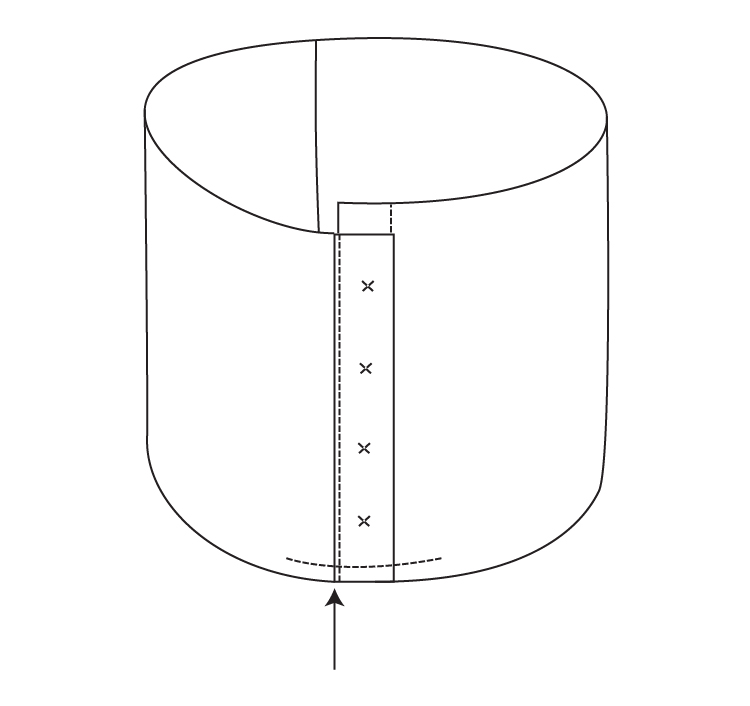
There’s another approach that’s simpler. You can bind each side seam of the cowl independently and then overlap them at the neckline. Adrianna even illustrated it like the pattern designing genius that she is for you as follows:
1. Sew the cowl front and back right sides together along what will be the left side of the cowl, aligned with the left shoulder seam.
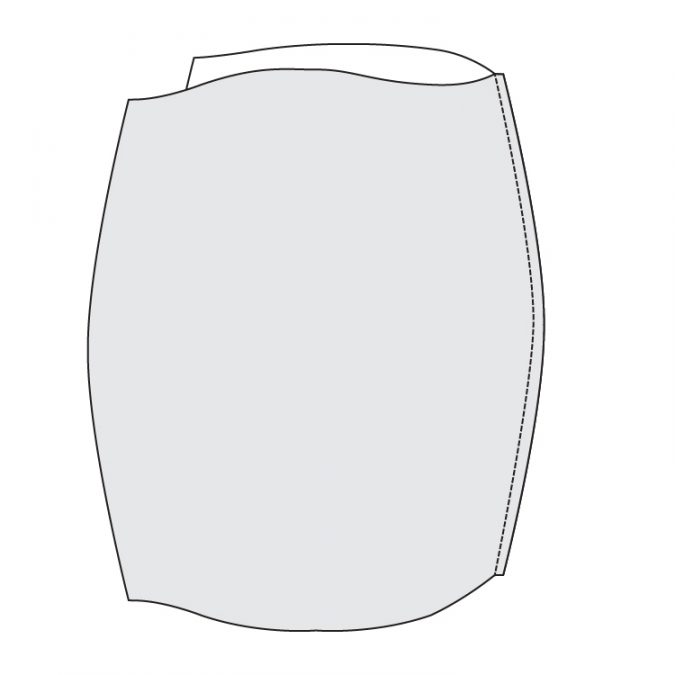
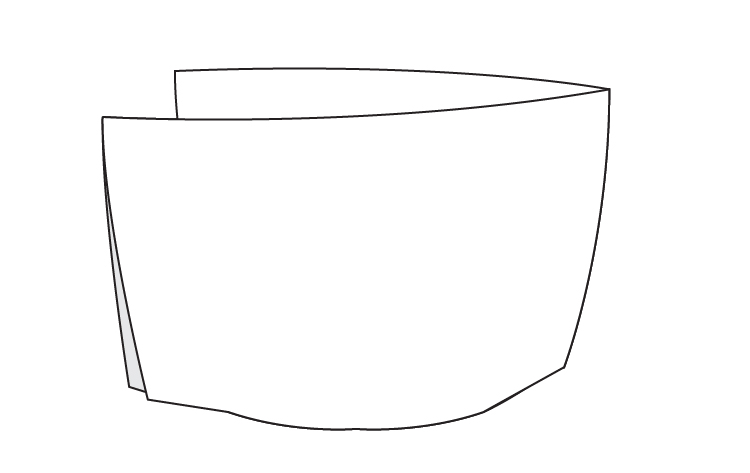
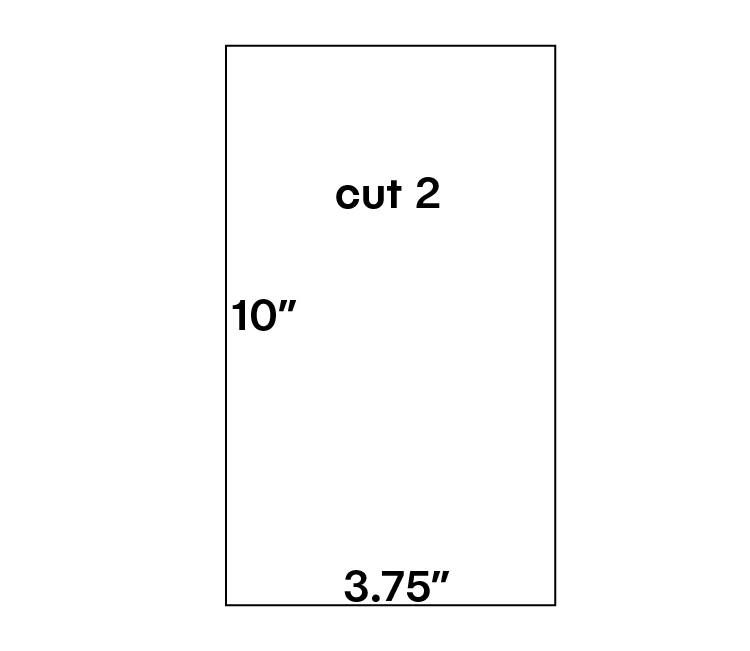
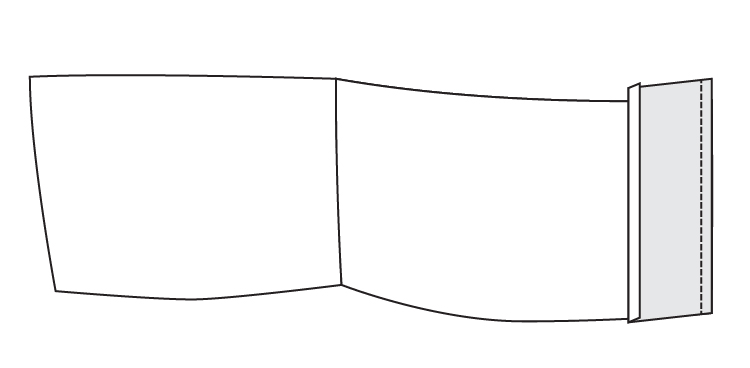
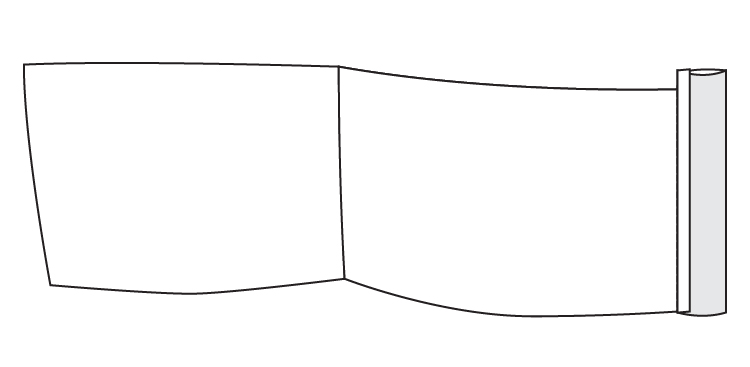
2. Press the seam allowances open and fold the cowl in half wrong sides together. 3. Cut two strips of woven fabric 10″ long by 3.75″ wide. These will become the plackets. Interface both of them on the wrong side with lightweight fusible interfacing. 4. Press one long edge of each placket 3/8″ toward the wrong side. Sew the unpressed edge of one placket to the inside of the edge of the front cowl. Both sides of the cowl show the right side of fabric, so this placket will be sewn right side against the “wrong” side of the cowl, or what will become the part against your neck. Use a 3/8″ seam allowance.5. Fold the placket in half right sides together. The folded edge of the placket should align with the seam from step 4.6. Sew across the top of the placket, aligning it with the top of the cowl.7. Clip the corners at the top of the placket and turn the placket right sides out. Push out the corners. Press well. On the “right” side of the cowl, bring the folded edge of the placket over the stitch line and edge stitch it in place.8. Turn the placket back against the “inside” of the cowl and press well. Edgestitch the placket to the cowl. The placket should not be visible on the “right side” of the cowl at this point.9. The other placket will be sewn the same way to the back of the cowl, except skip step 8. This placket will be “sticking out” from the cowl, not sewn against the cowl. You can leave the placket as is; it sits open nicely over the shoulder. Or style it up with added buttons or snaps. Then, you have the option to adjust the style to your taste with each wear.10. If desired, sew the buttonholes to the front placket and the buttons to the inside of the back placket (the buttons will be against the neck).11. Fold the cowl into a circle, overlapping the plackets. The back cowl placket should be on top of the front cowl placket. Baste the plackets and cowls together using a 1/4″ seam allowance at the neckline of the cowl.12. Continue with the instructions to sew the cowl to the neckline of the garment. The seam that will align with the shoulder seam is the seam between the back cowl and the placket, where the arrow is pointing.
Thank you SO much for this excellent tutorial, Loni! I love how much the button cowl adds to the Brunswick! You can use it for the Halifax and Tallinn too!