
I am so thrilled to finally be sharing this tutorial with you! I’d been seeing all these really cute camp-style button down shirts with dolman sleeves this spring and really wanted to make one happen. And then Patti contacted me about her upcoming guest post and basically described the exact shirt that I wanted to make! This was really no surprise, because she and I basically share the same sewing wavelength. So, great news, now all of you get a fabulous tutorial to turn the Cheyenne Tunic into a dolman sleeved top, and because it’s from Patti you get it about a year sooner than I would’ve done it and you get her trademark gorgeous pictures too! Thanks for reading our minds Patti!
~~~~~~~~~~~
Hi friends! Raise your hand if you love the Cheyenne Tunic… um, yeah, both of my hands were definitely raised just now! This pattern holds a special place in my heart. It was the very first pattern test I was chosen for, and it was back when I had just started sewing for myself. Since I had next to no experience with garment sewing, I had no idea that a woven shirt with a placket, buttons, cuffs and a collar might be beyond my skill set, so I just went for it. And you know what? Adrianna’s instructions made it so foolproof that I made it through the test with two new shirts that I was SO proud of, with beautifully clean finishes inside and out. It sparked my love of garment sewing, and it reinforced my belief that the best way to learn new skills is to just tackle a hard project step by step. And, let’s face it, the fit of this pattern is just pretty freaking amazing!
So now, after wearing my long sleeve Cheyennes to death during fall/winter/spring, I needed a way to bring my favorite pattern into the summer! Bring on the pattern mashing (FUN!) and the muslining (totally necessary, but admittedly less fun…).
To modify the sleeve to a dolman style, I combined the Cheyenne with another favorite – the Willamette. I started by printing the pieces I would need from each pattern (using my typical size for each). I printed the front, back, yoke, collar stand, collar, and button placket for the Cheyenne, and printed the front, back, yoke, pocket, and sleeve cuffs for the Willamette.
For the front, I lined up the two patterns at the collar and the side seam. I started adding the dolman sleeve to the Cheyenne by following the Willamette shoulder seam slope, then curving it down after the shoulder for a less boxy look. I also dropped the bottom of the sleeve to keep the total sleeve height the same, shortened the sleeve, and gave it a slight cap sleeve. Most of this happened through the muslining process, so I’ll just give you some pictures for reference and let you take it from there.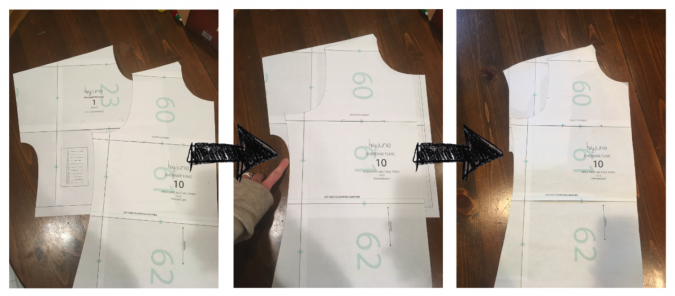
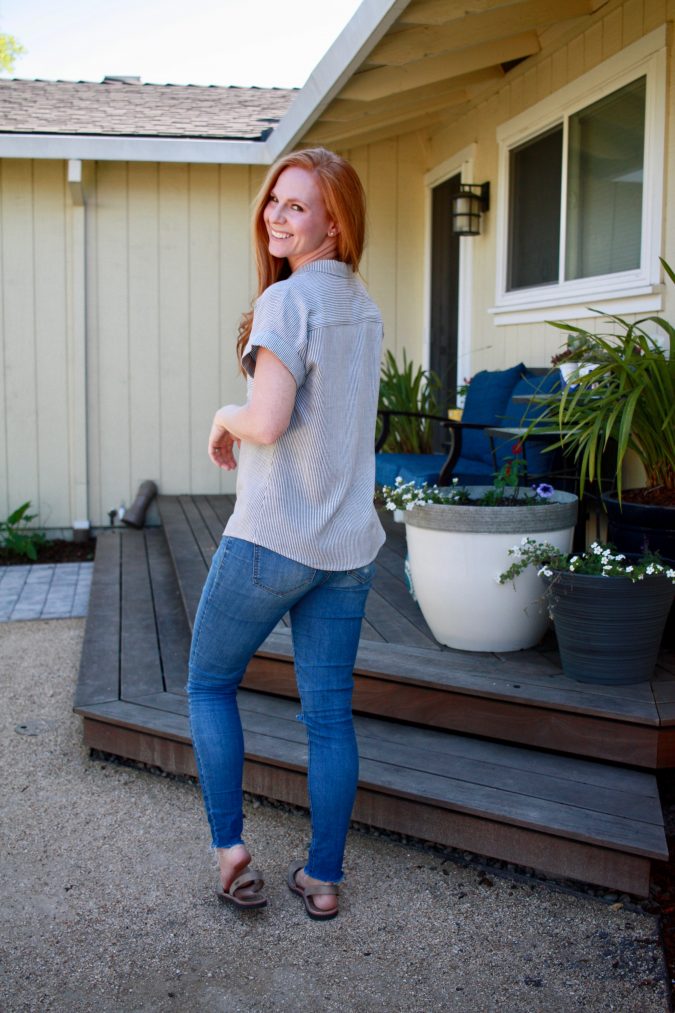
For the back, I duplicated the shoulder seam angle from the front piece onto the back yoke and, after a bit of muslin trial and error, ended up curving up the last few inches of the bottom of the yoke and curving down the last few inches of the top of the back piece to keep the back of the sleeve from gaping. I also took some length off the top of the back piece.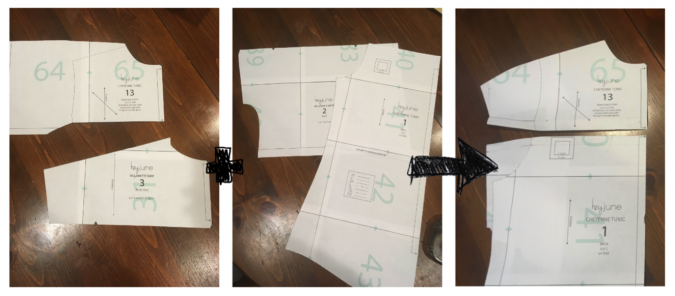
Finally, I shortened the collar by 3/4 of an inch. And if I’m truly honest, Adrianna basically held my hand through all of those alterations. She’s my sewing guru!
To sew, I followed the Cheyenne instructions, omitting the steps for the sleeves, and then attached the sleeve cuffs using the instructions from the Willamette.
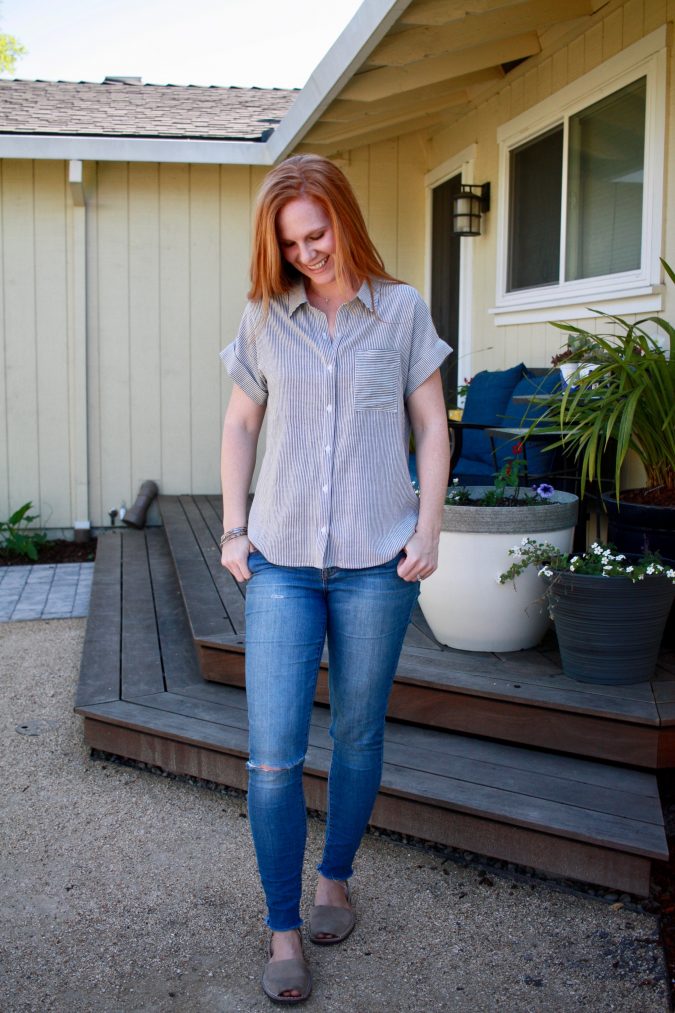
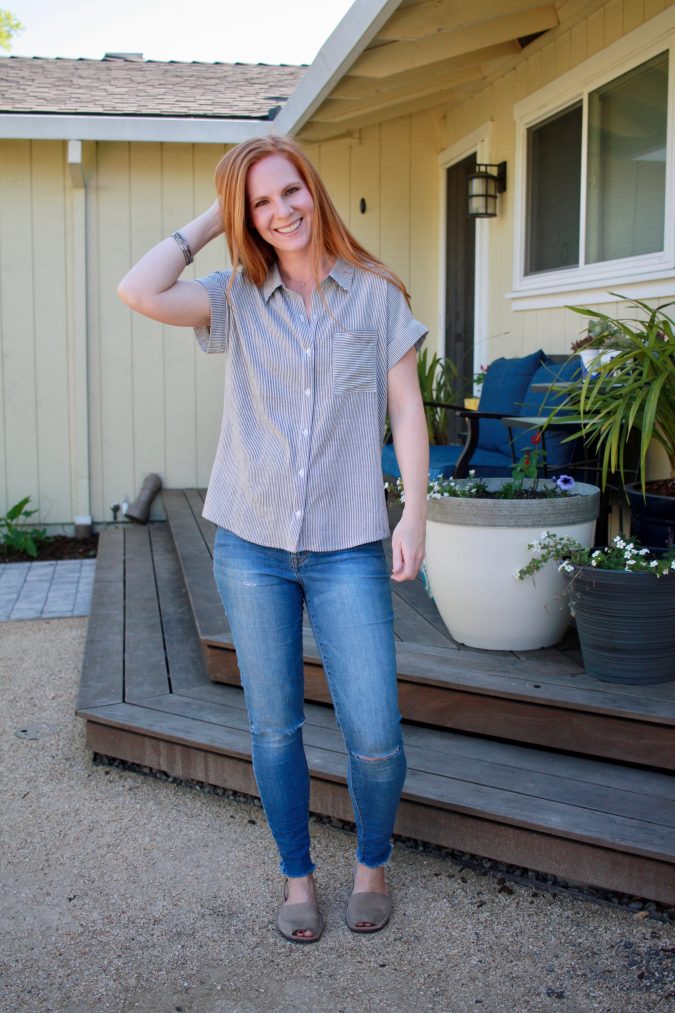
The result is just what I was hoping for! I already have plans for two more of these, and I think for my next one I’ll play with the sleeve cuff a bit to see if I can get it to fall a little better… a pattern hacker’s work is never done. 😉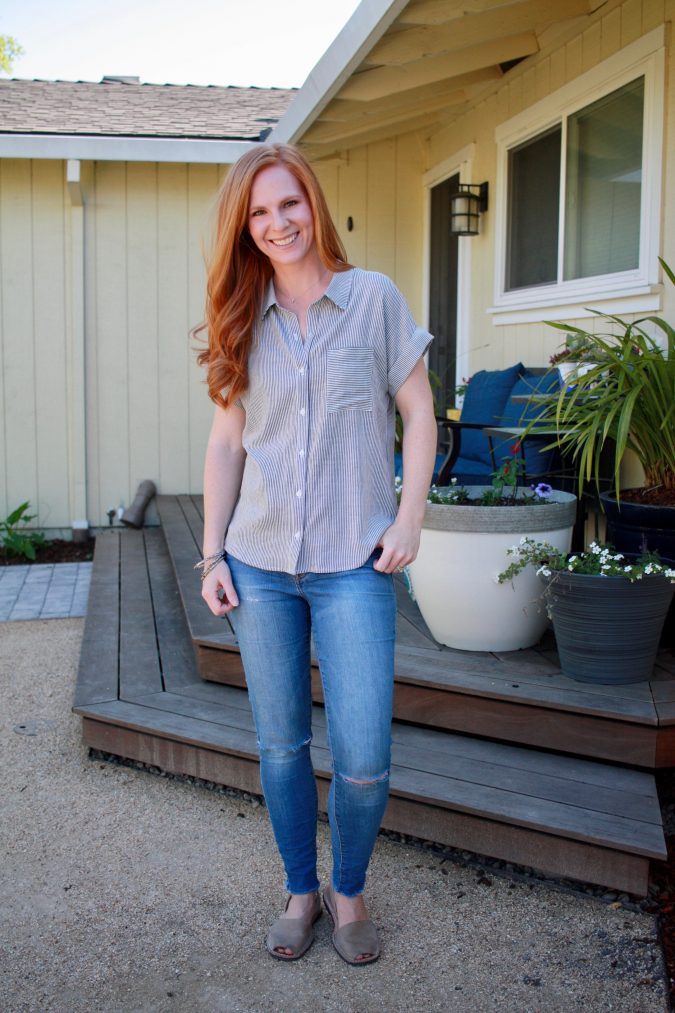
~~~~~~~~~~~
I have to admit, when I first thought I wanted to do this hack, I was going to chicken out on a tutorial. Like Patti said, it really does require a muslin or two to get the proportions right. It’s definitely not a slice and bake. So when she said she would do the tutorial I was like, see ya wouldn’t want to be ya. But she did a terrific job breaking down the steps in a really understandable and simple way to get you on the right track, didn’t she? I’m so impressed! So be prepared to tweak this one a bit to get it just right, but I promise the results are more than worth it! And of course feel free to ask any questions in the comments below or in the Hey June Facebook Group.
Thank you times a million for putting this together for us, Patti! This is my new favorite shirt!